
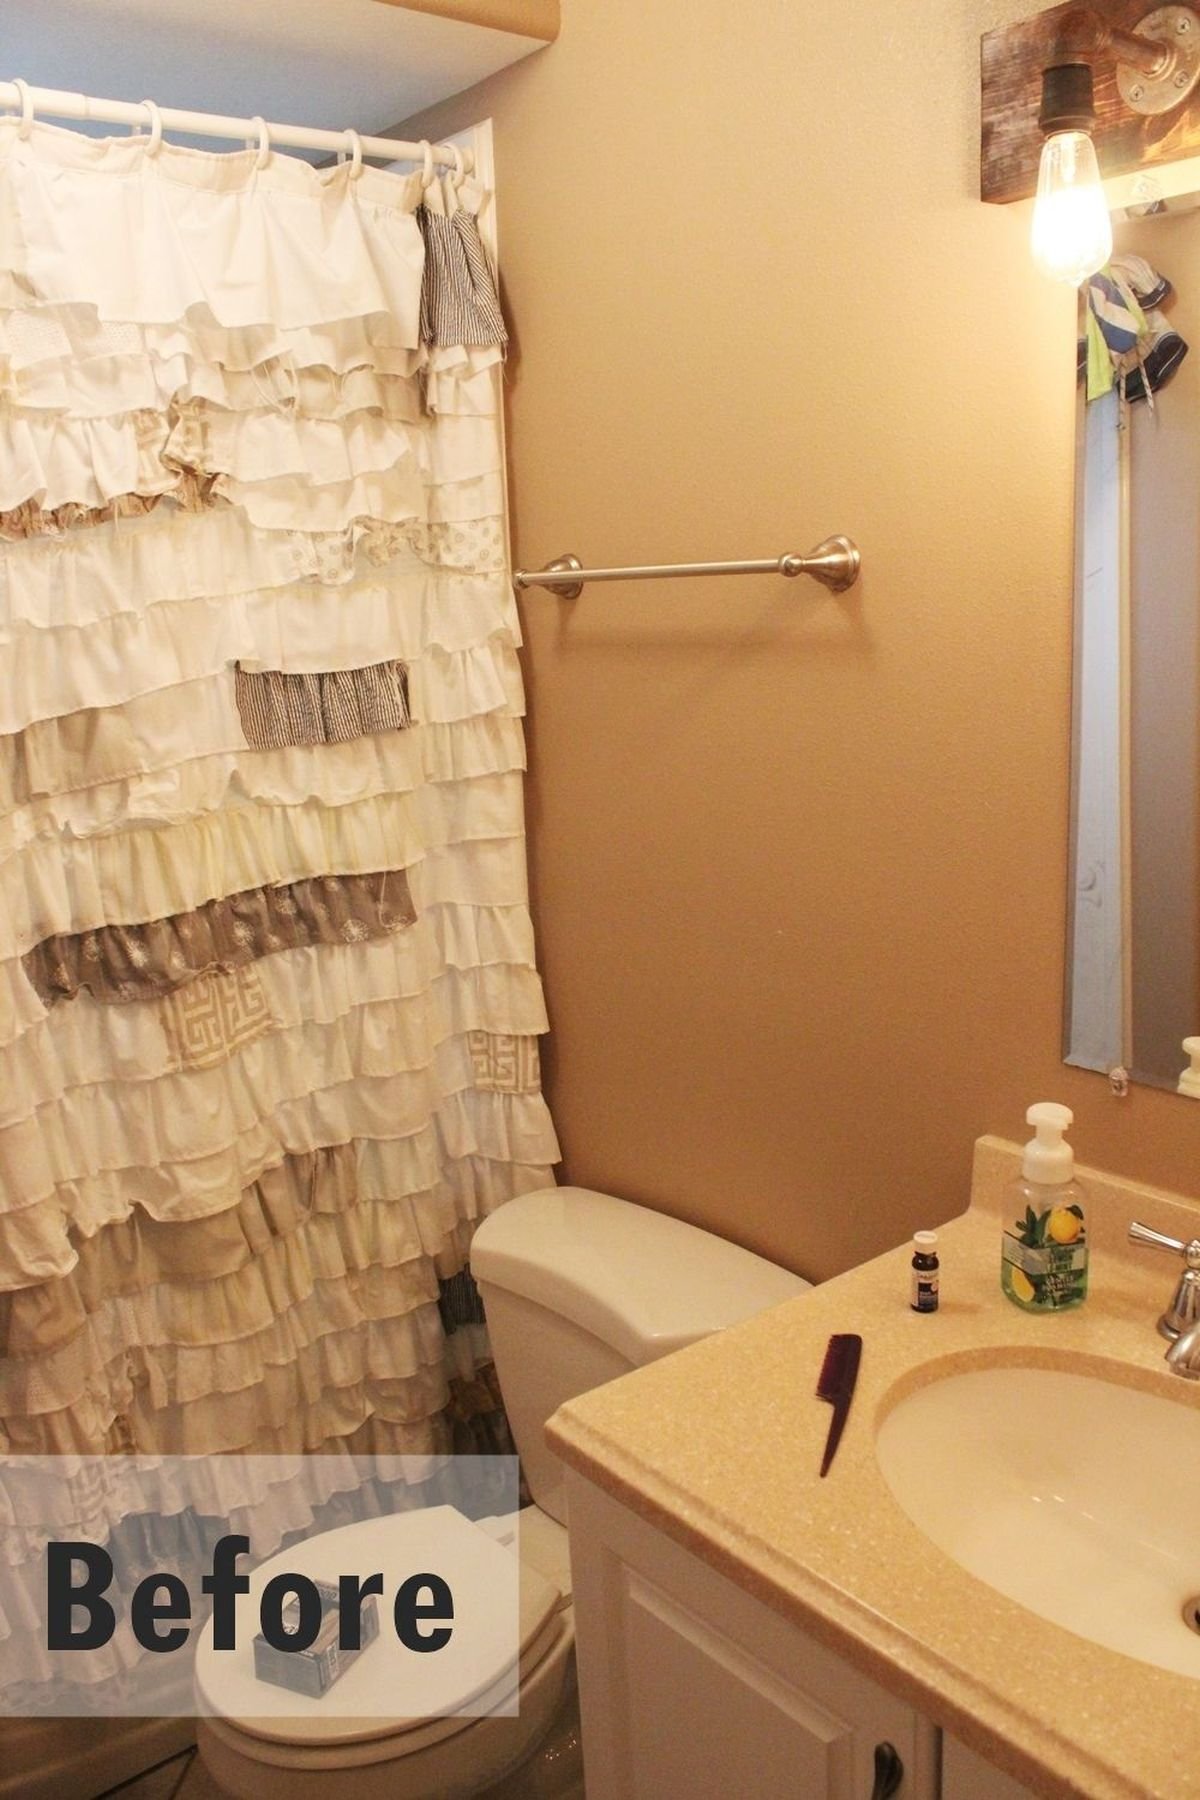
A small bathroom quickly becomes empty of space. Vanities get crowded, cabinets are limited, and anything else gets stacked around the sink or shoved into corners that never seem organized. But there’s one area that sits in front of you every day, even though most bathrooms don’t use it.
The wall above the toilet.
After seeing more bathrooms use this vertical space, it becomes clear how much storage is missed. Instead of adding bulky cabinets or freestanding shelves that crowd the room, floating shelves create a clean layer of storage that stays light, simple and easy to reach.

This is a small bathroom fix that cleans surfaces without making the space look small.
Floating shelves above toilets that replace cluttered counters
The space above the toilet is the perfect height and depth for everyday storage, yet most bathrooms leave it empty. Installing floating shelves here changes how a room functions without changing the layout.
Towels, extra toilet paper, jars and small containers slide off the vanity and onto the wall. Everything becomes visible and accessible, without having to stack things or dig through drawers.
Because the shelves float, the area below remains open. Those details are important in small bathrooms, where heavy storage can make the space feel cramped.

How to build and install shelves step by step
This project may seem complicated, but the structure is simple once broken down into clear steps. The result is a clean, solid shelf system that feels built into the wall.
- Build the inner frame – Use 2×3 boards to build a rectangular frame, adding shorter support pieces lengthwise. This hidden structure will carry all the weight, so keep everything aligned and secured tightly with screws.
- Locate the Studs and Position the Shelves – Use a stud finder to mark where the wall can support the shelves. Hold the frame above the toilet at your desired height and mark the mounting points.
- Secure the frame to the wall – drill into the studs and attach the frame using 3-1/2″ screws. Start with one screw, level the frame, then secure the rest. This step ensures that the shelf stays upright and stable.
- Add the bottom panel – Attach the plywood to the bottom of the frame using wood glue and brad nails. This closes the structure and forms the base for the shelf.
- Install the top and sides – Fix the 1×10 board to the top, then attach the side pieces. These outer layers hide the frame and give the shelf its finished shape.
- Attach the front face – finish with the front board, slightly longer than the top. This detail creates a clean edge and makes the shelf look like one solid piece.
- Sand and Finish – Smooth the surfaces, then paint or stain depending on the style of your bathroom. Lighter tones keep the space open, while darker finishes add contrast.

Why this works better than standard bathroom storage
Traditional bathroom storage often adds bulk. Cabinets, racks and over-the-toilet units take up visual space even when they solve practical needs.
Floating shelves do the opposite.
They move storage upwards, keep the floor clear and align with the wall instead of competing with it. Even though you’re adding more storage than before, the result looks lighter.
This works especially well over toilets as depth is limited. Store what you need without creating a heavy block stuck in the room.

What to store to keep it clean and functional
The success of this setup depends on how you use it. Keep the layout simple and consistent.
- Rolled towels create a soft texture without clutter.
- Glass jars hold cotton pads, soap or small essentials.
- Baskets group things that might otherwise seem scattered.
- Extra toilet paper remains accessible but organized.
Leave some space between items. That balance prevents the shelves from turning into another crowded surface.

A small change that reshapes the entire bathroom
This is not a major renovation. It does not require moving plumbing or changing fixtures.
But once installed, the effect is immediate.
Counters are cleaned, storage is visible, and the bathroom feels organized instead of overfilled. All from a commonly overlooked space.
The wall above the toilet is not empty space. That collection is waiting to be used properly.


