


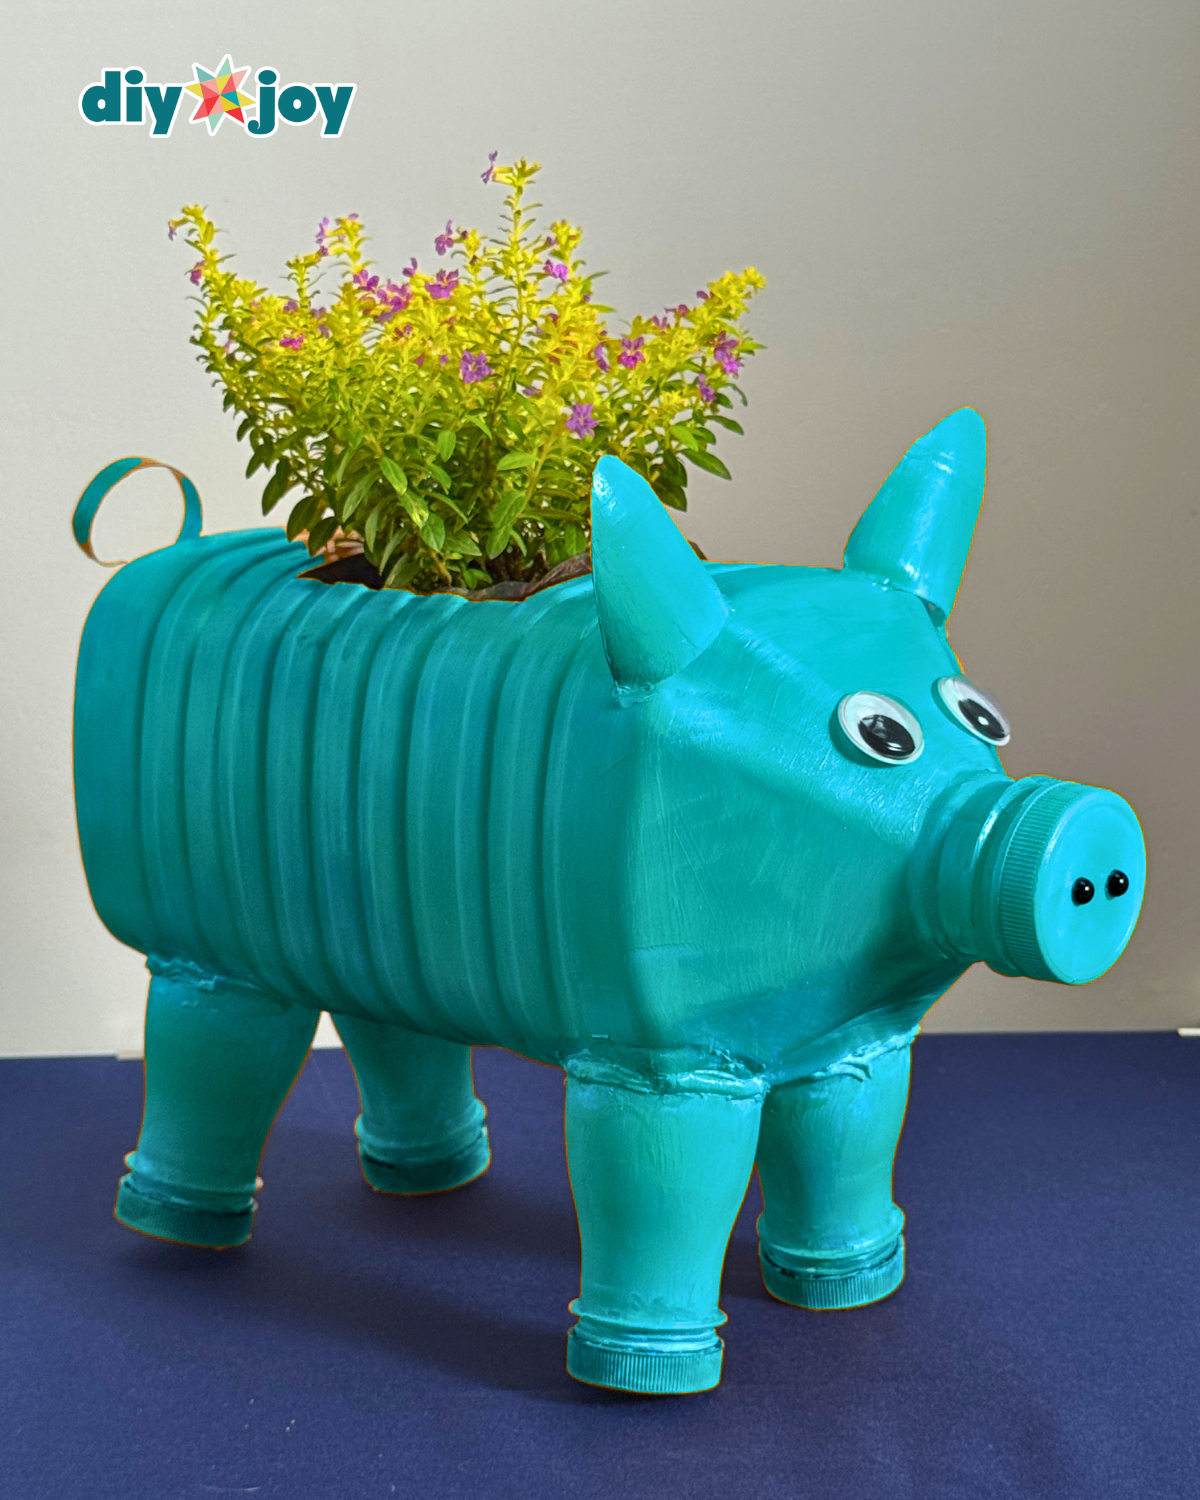
Plastic bottles are usually seen as throwaways, but with a little creativity, they can become useful and beautiful crafts for your garden, like this DIY pig planter. Plastic bottles are the most popular material for upcycled crafts because they are easy to find, versatile, lightweight and surprisingly strong. Did I mention that plastic bottle crafts are free? Instead of adding another bottle to the trash, why not turn it into something you can actually enjoy?
For this project, I decided to transform an empty plastic gallon into a cute DIY pig planter. Since I love gardening and adding handmade pieces around my garden, this seemed like the perfect way to reuse old containers while creating something fun and practical. The best part is that this upcycled planter is a lot easier to make than it looks. The process may seem like a lot at first, but each step gradually brings the beautiful pig design to life.
Here’s another DIY planter to try: Upcycled DIY Light Bulb Mini Planter Tutorial
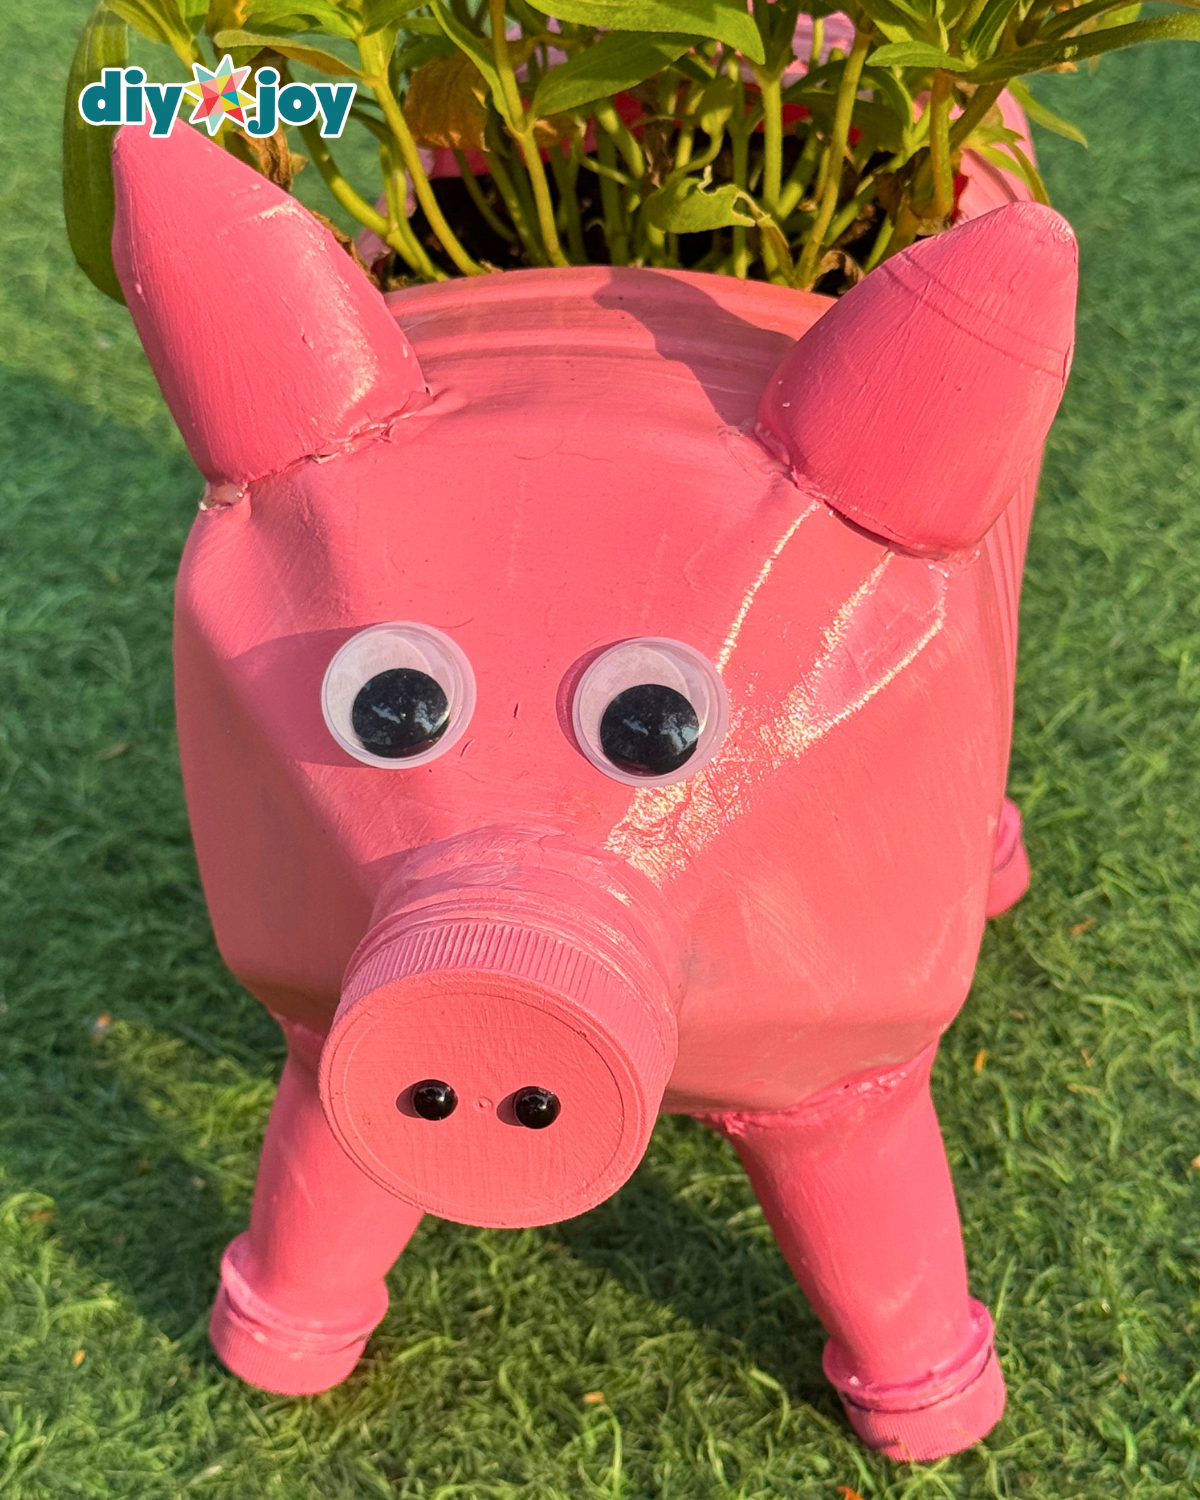
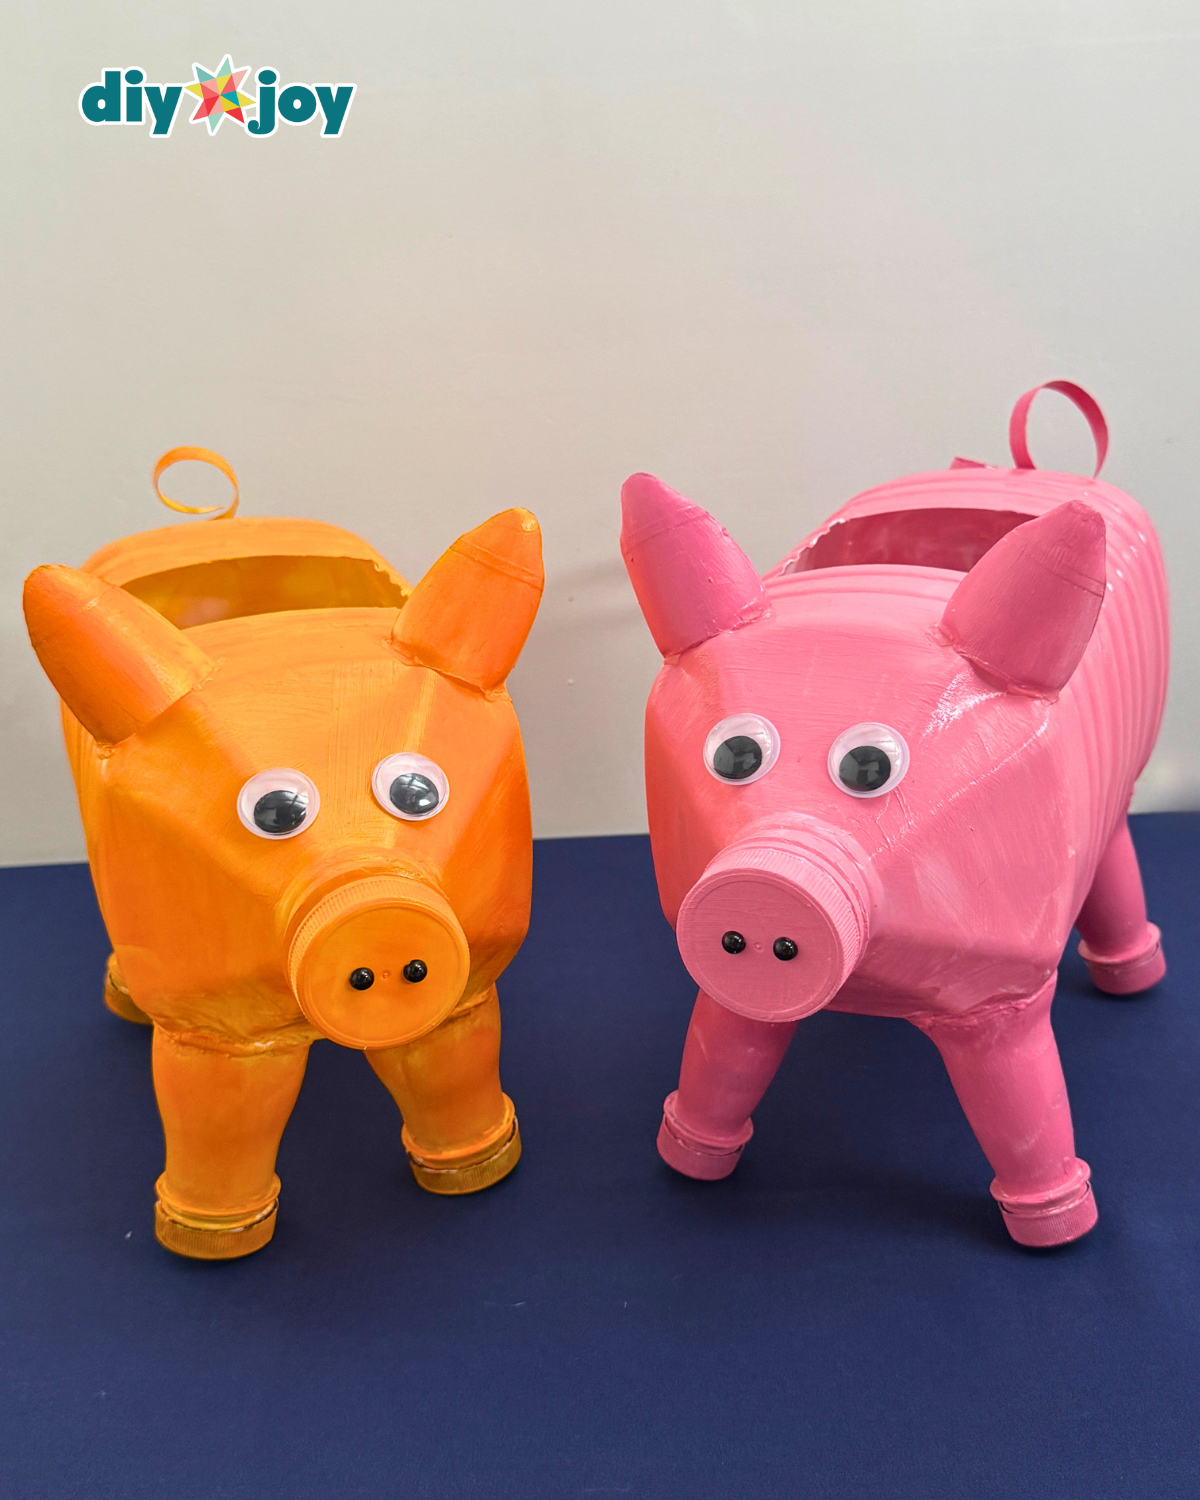
The end result is honestly worth the effort as this plastic bottle planter turns out to be such an attractive addition to the garden. The large gallon size also gives your plants plenty of room to grow, making them perfect for flowers, herbs, or other small plants. You can paint it any color and customize the details to match your garden style.
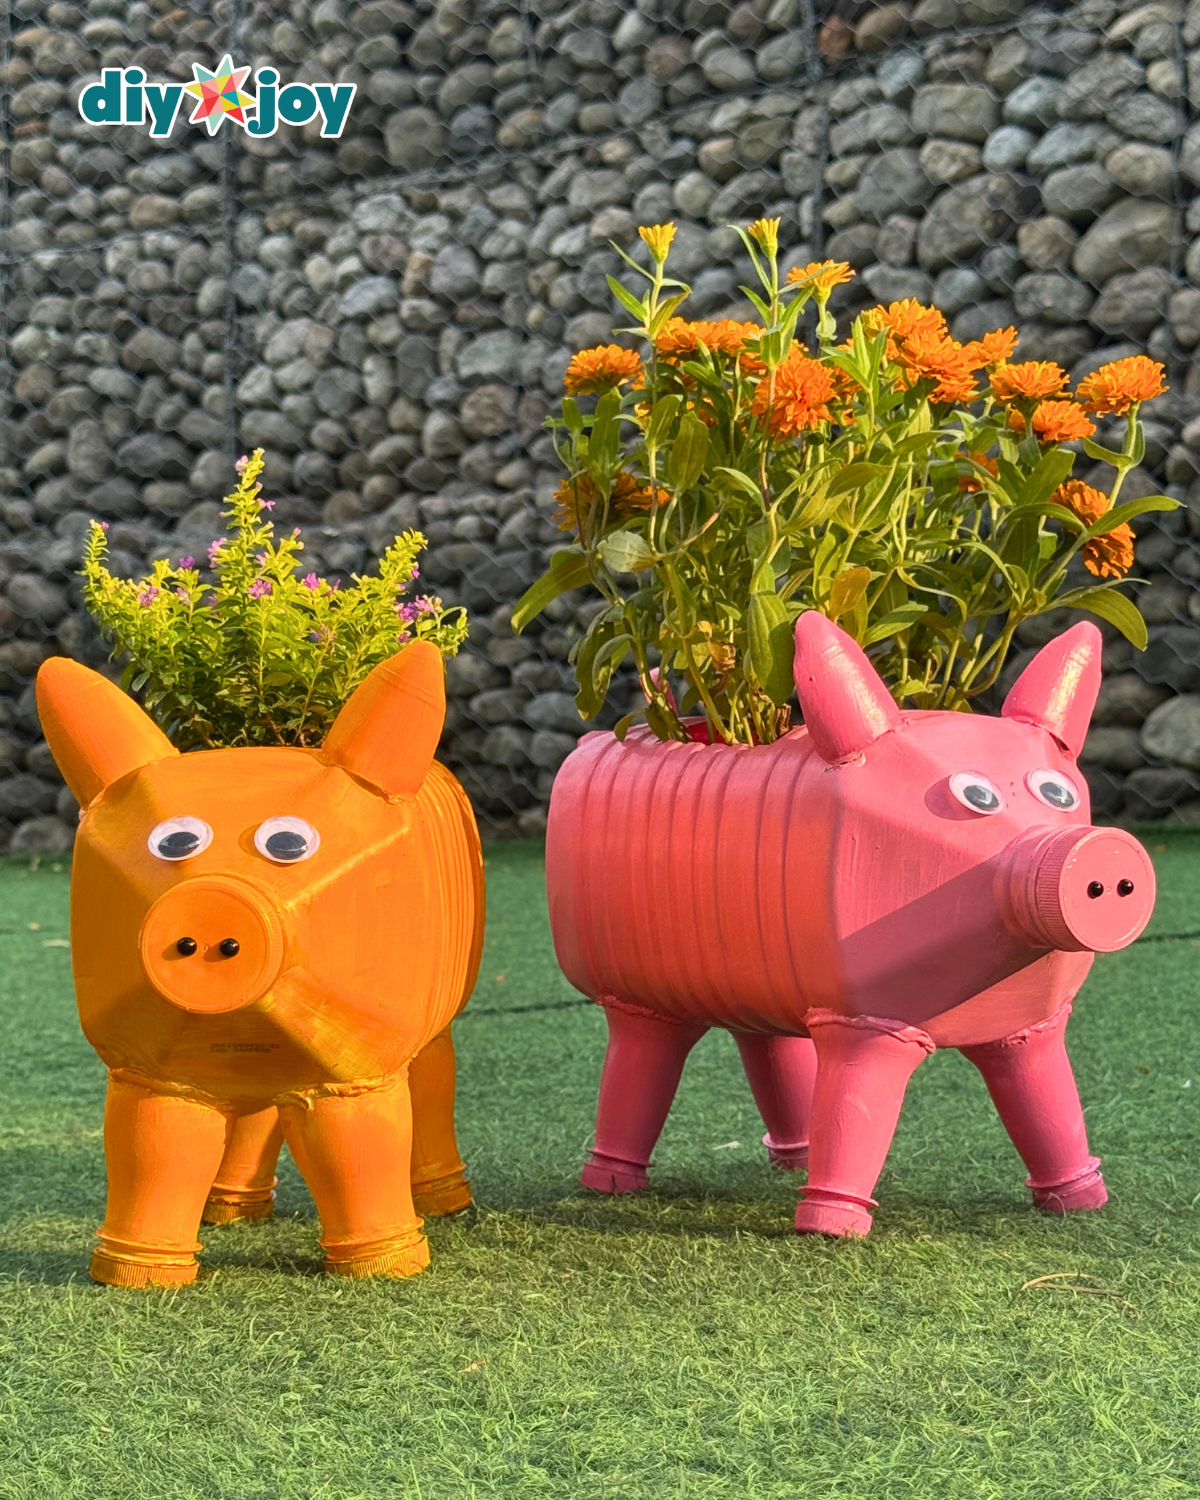
What makes this DIY plastic bottle planter even more fun is making the perfect collection. Imagine having several pig planters lined up around your yard or garden in different colors, each containing your favorite plants. It’s a creative way to recycle, save money, and add a handmade touch to your outdoor space.
How to make a pig planter
-
Step 1: Cut the plastic gallon
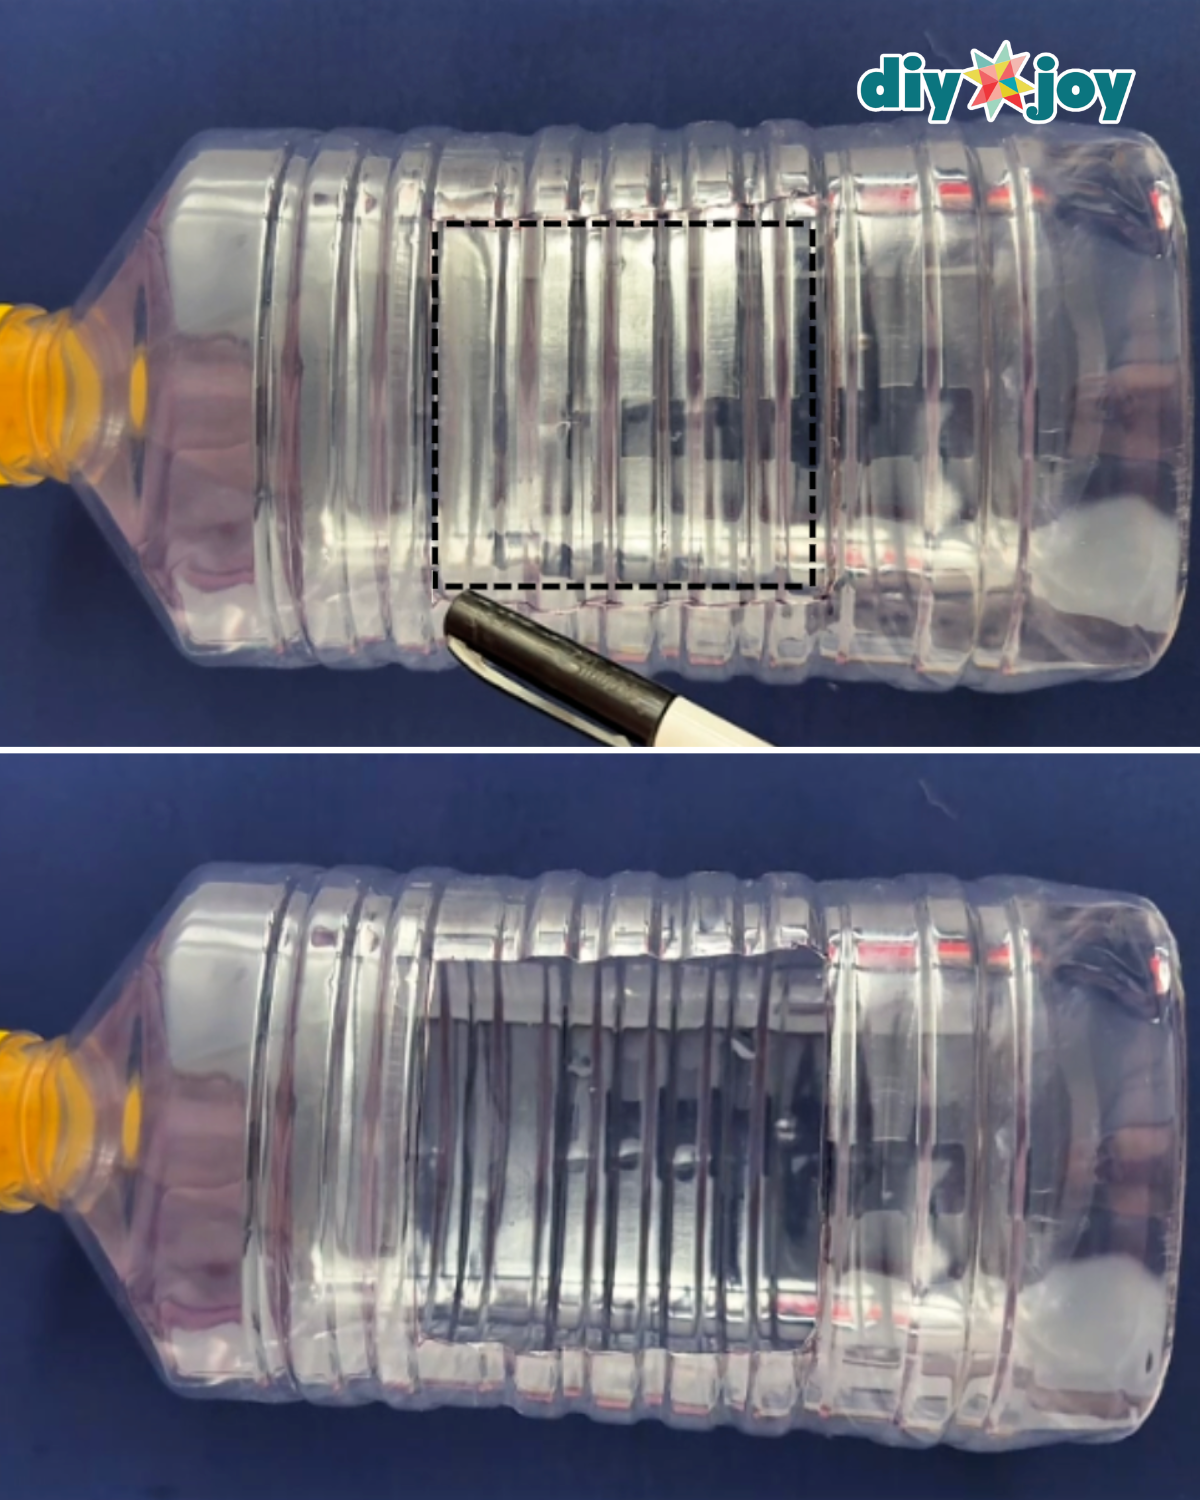
Before starting, remove the label from the plastic gallon. Decide how large you want the planter opening to be, then mark the area you will cut. Carefully cut out the opening using a cutter or scissors and smooth any sharp or rough edges for a secure finish. -
Step 2: Prepare the plastic bottles

Get four small plastic bottles and remove their labels. Clean any remaining adhesive or sticky residue from the surface to ensure the bottles are ready for the next steps. -
Step 3: Cut the neck of the bottle
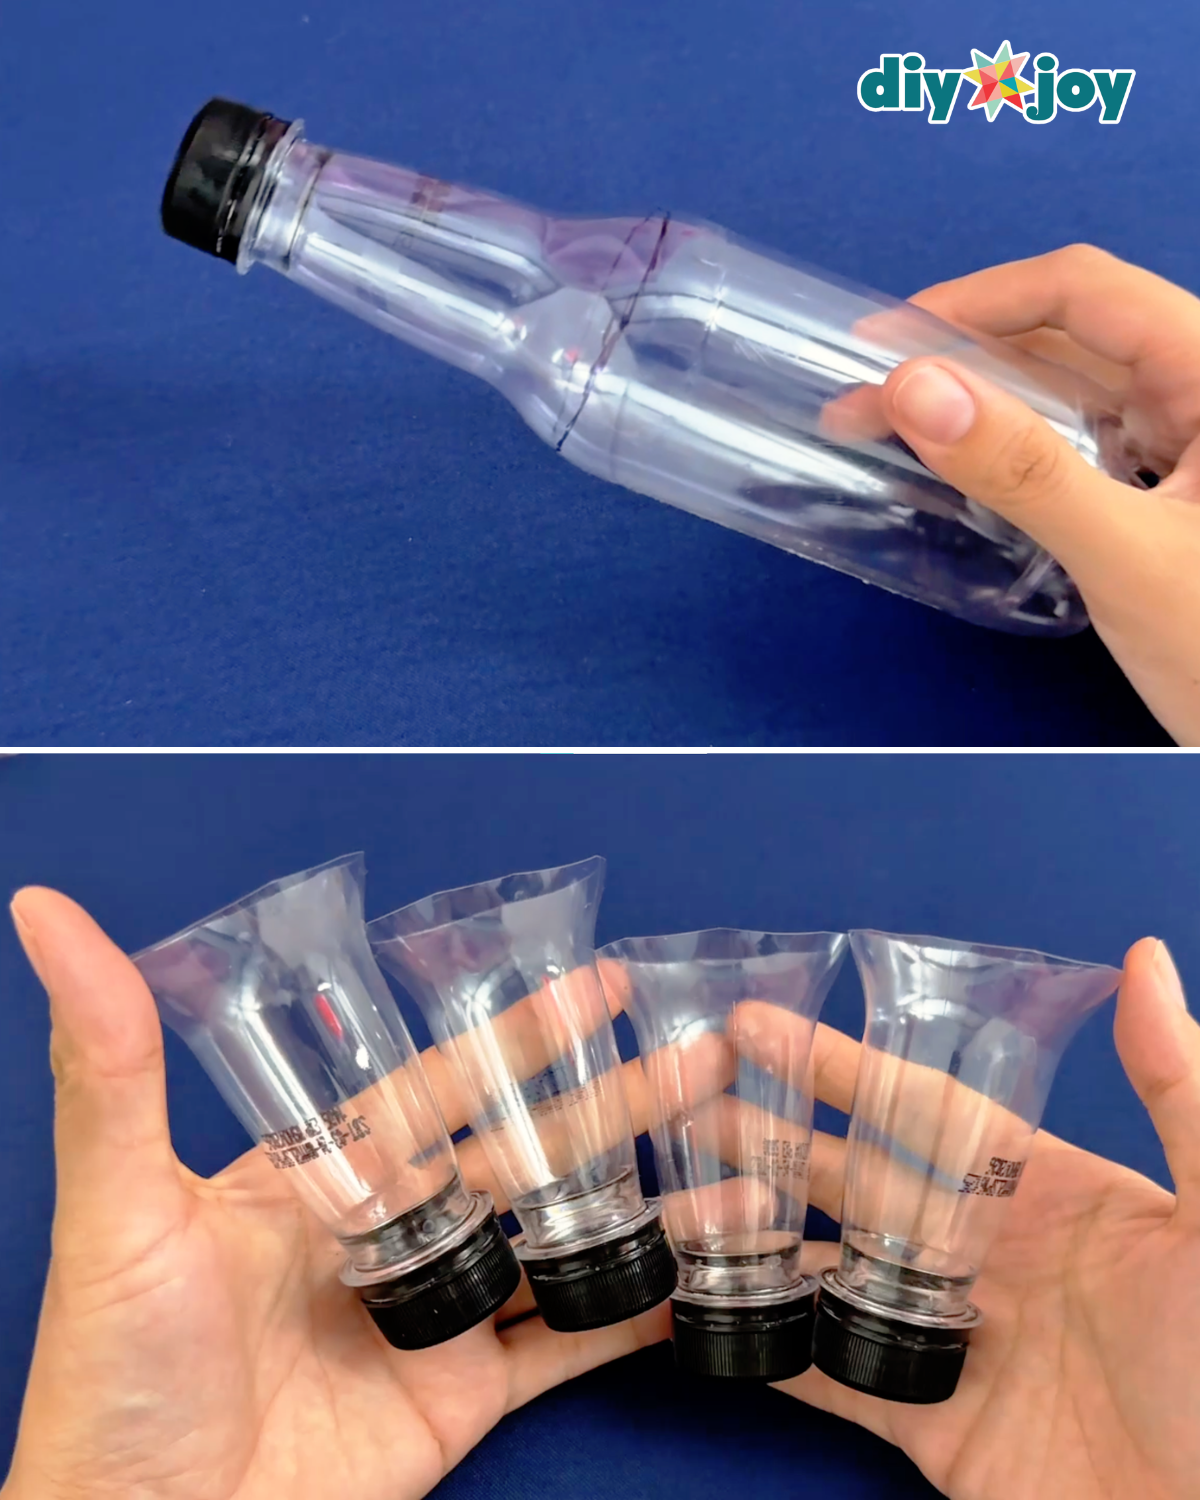
Mark each bottle around the neck area as shown in the video or adjust the length depending on how high you want the pig planter legs to be. Keep in mind that the hat area will serve as the pig’s hoof. Carefully cut along the marked line, then set the bottle tops aside to use as planter legs. Save the rest of the bottle pieces for later use. -
Step 4: Make the ears
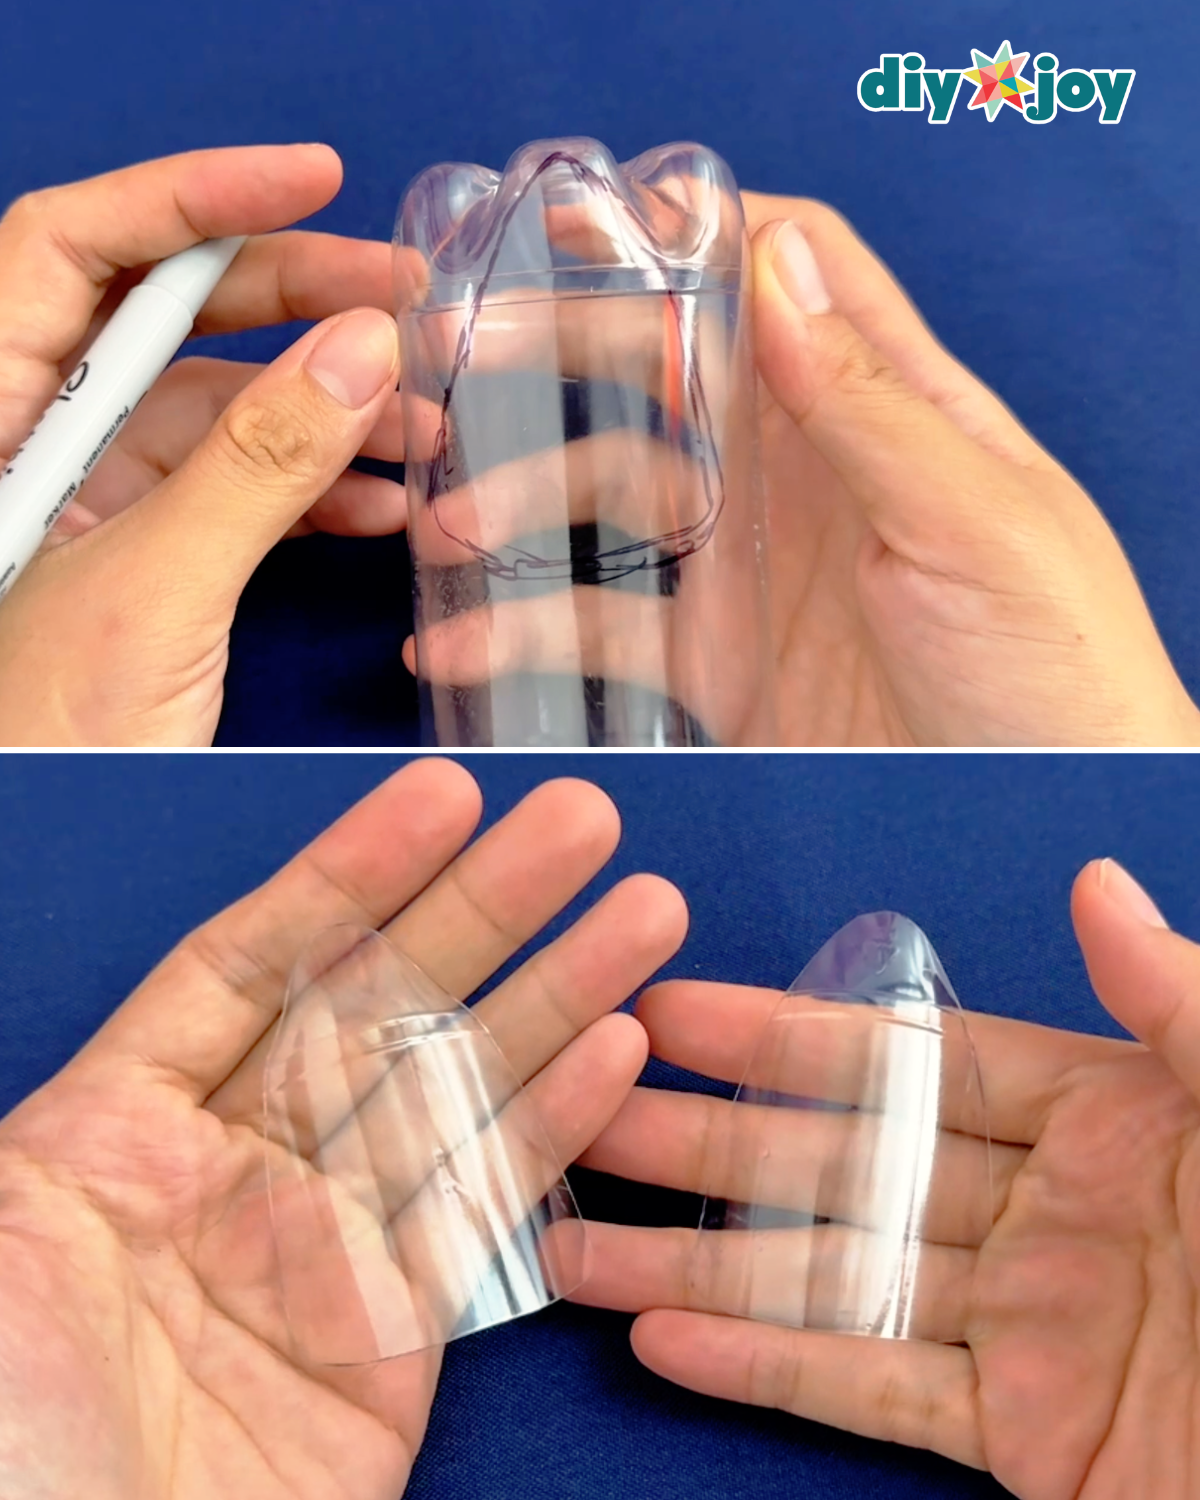
Set the bottle piece aside first and draw a pig ear shape. Cut carefully along the outline, then smooth any rough or sharp edges to create a clean finish. -
Step 5: Make the tail
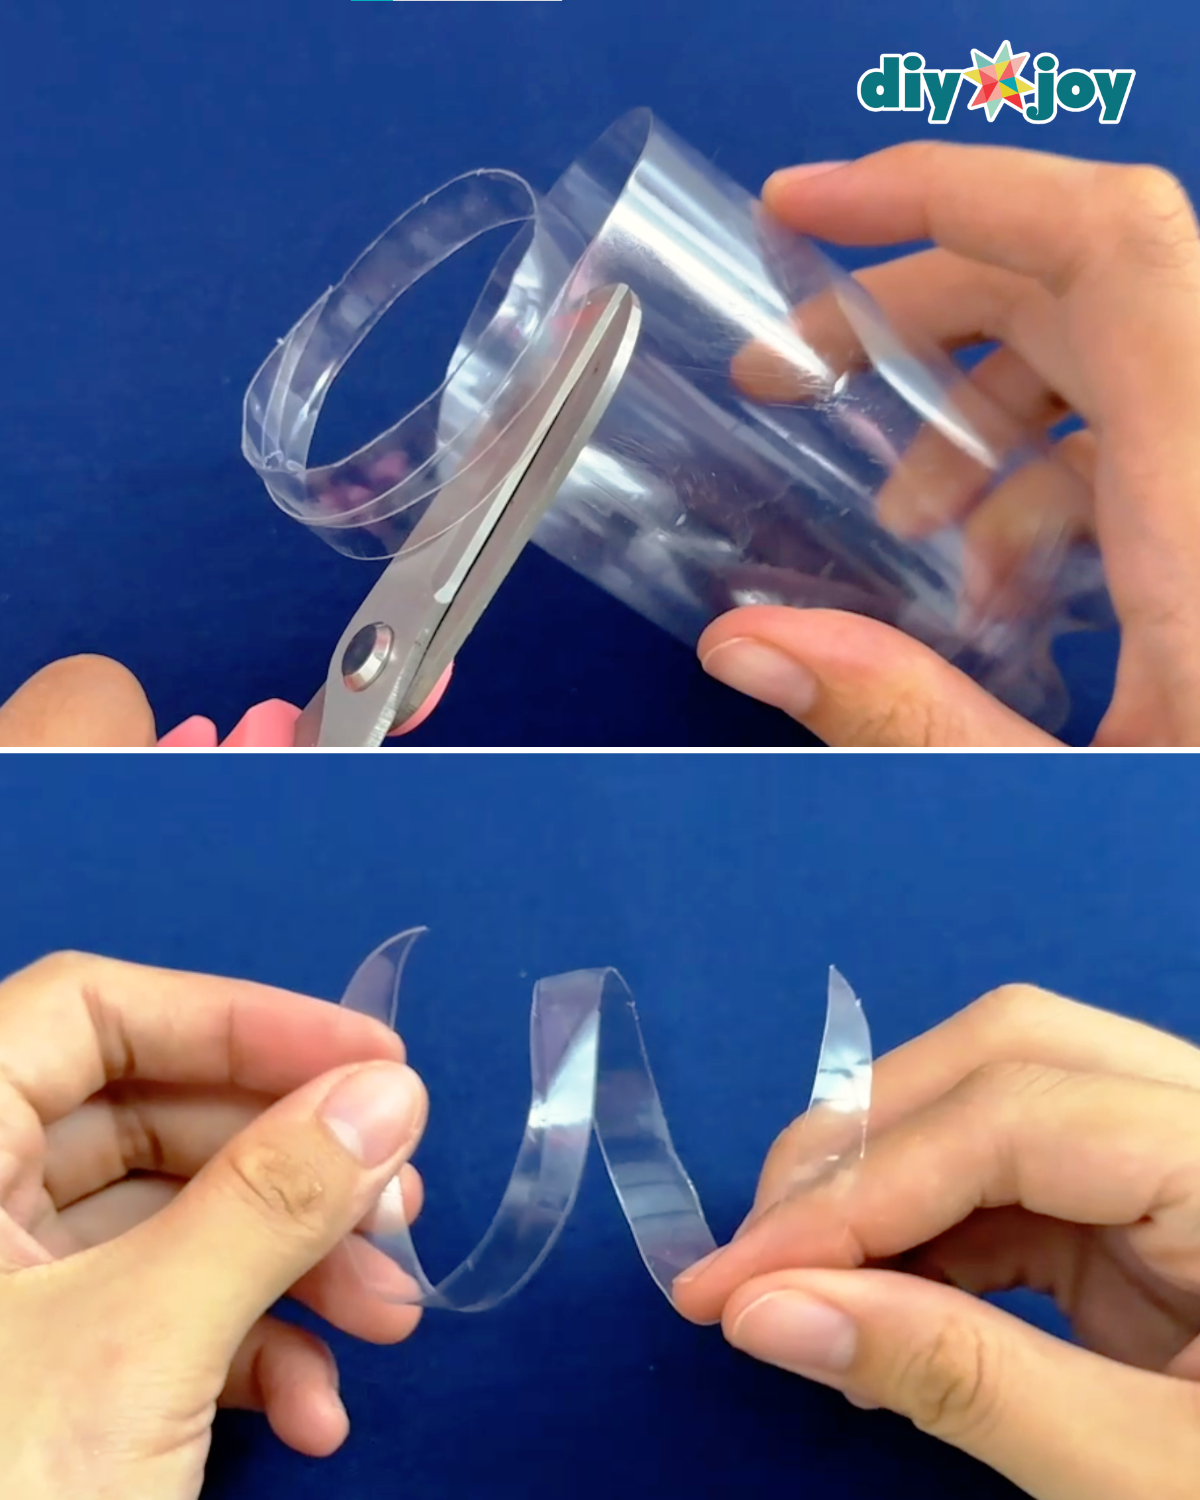
Take another piece of leftover plastic bottle and cut it from the edge in a spiral pattern to make a tail. Smooth out any rough edges, then use a pen or marker to curl and shape the tail. You can also gently stretch the spiral to adjust the length and create the desired shape. -
Step 6: Attach the legs
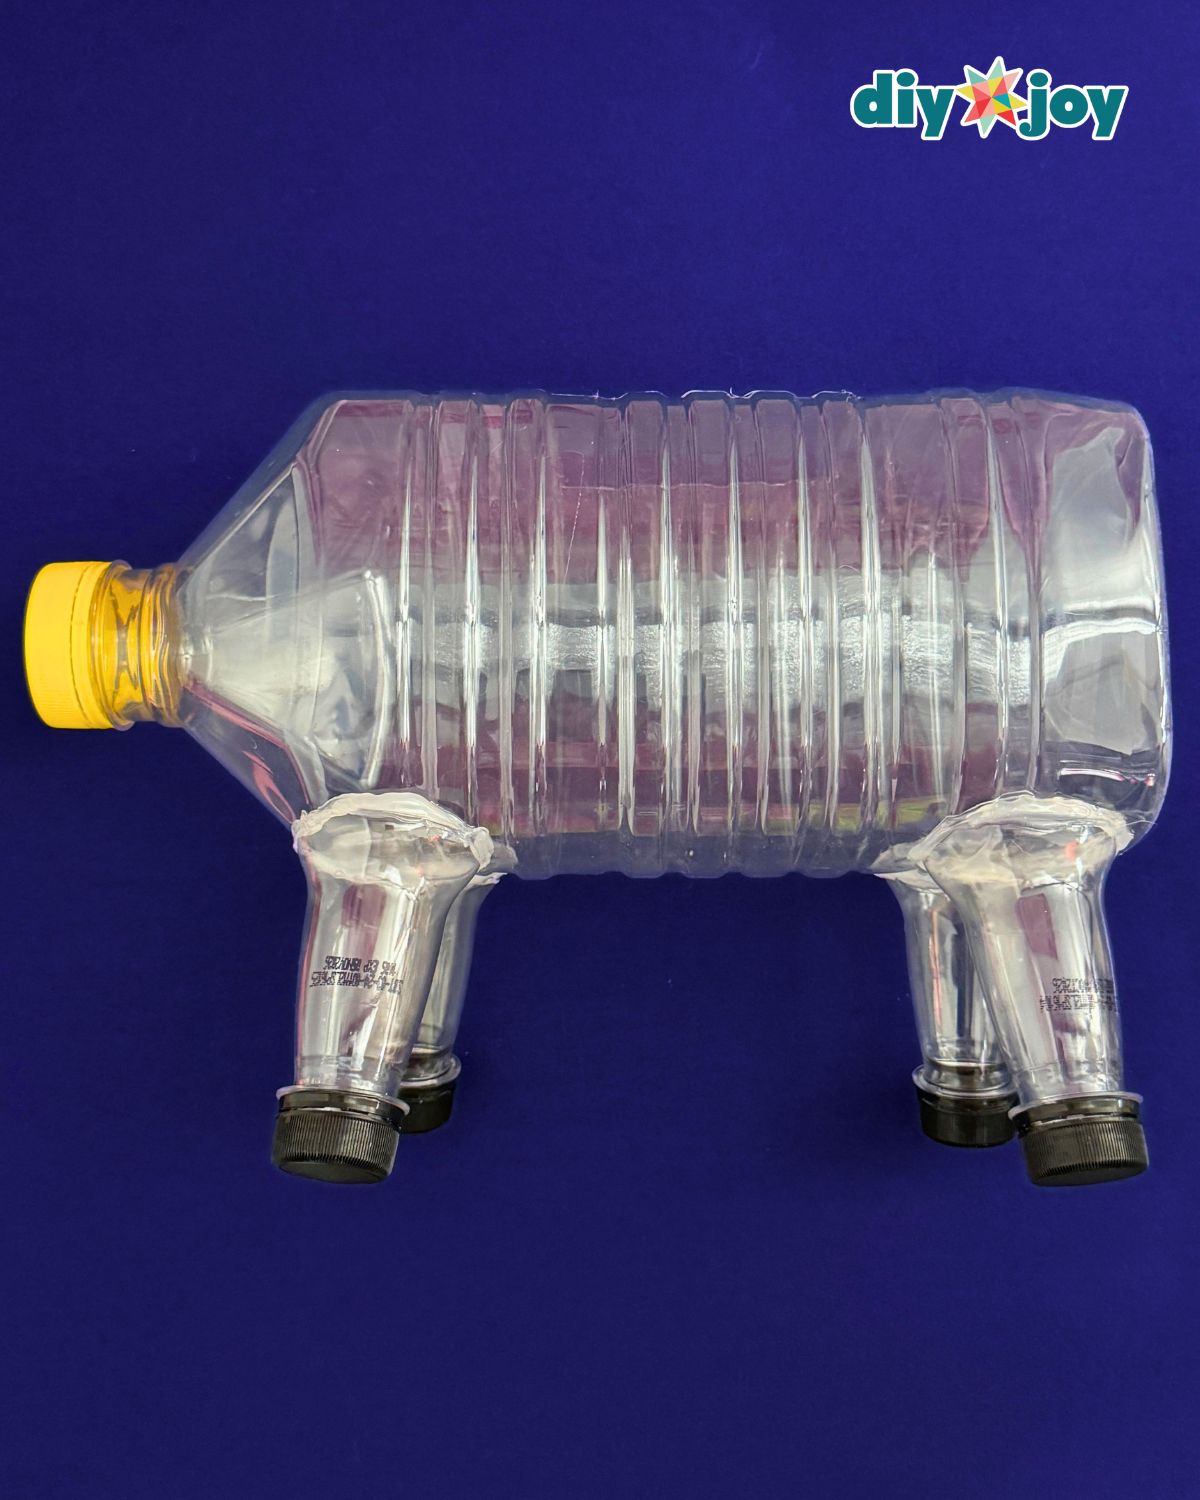
Using hot glue, attach the pig’s feet to the bottom of the gallon, just below the planter opening. Reinforce the sides of each leg with additional glue to ensure they are securely attached and won’t fall off. Allow the glue to dry completely before proceeding to the next steps. -
Step 7: Apply primer and paint
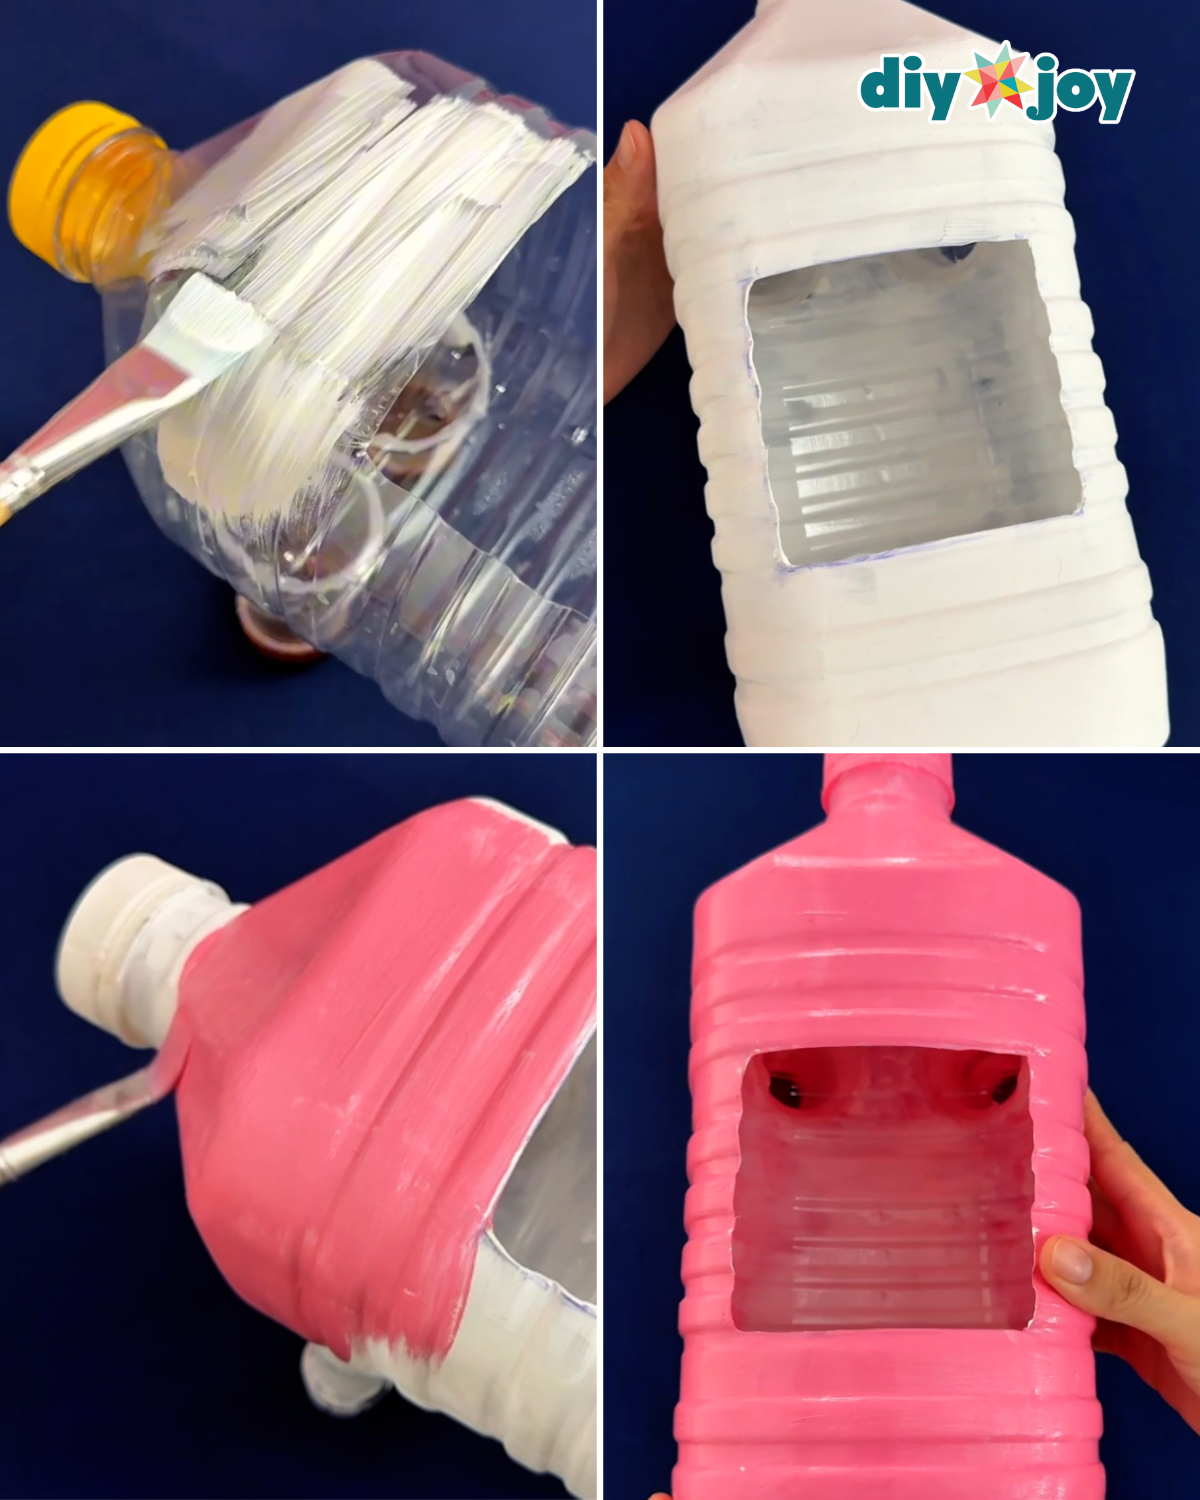
Apply primer paint to the pig planter, including the caps and the areas between the bottles and caps, to create an even white base and cover any visible gaps. Let it dry completely, then apply another coat if necessary. Once the primer is completely dry, paint the planter with your chosen color. Add another coat if necessary, making sure each layer is completely dry before applying the next layer. -
Step 8: Add the pig details and finish the planter
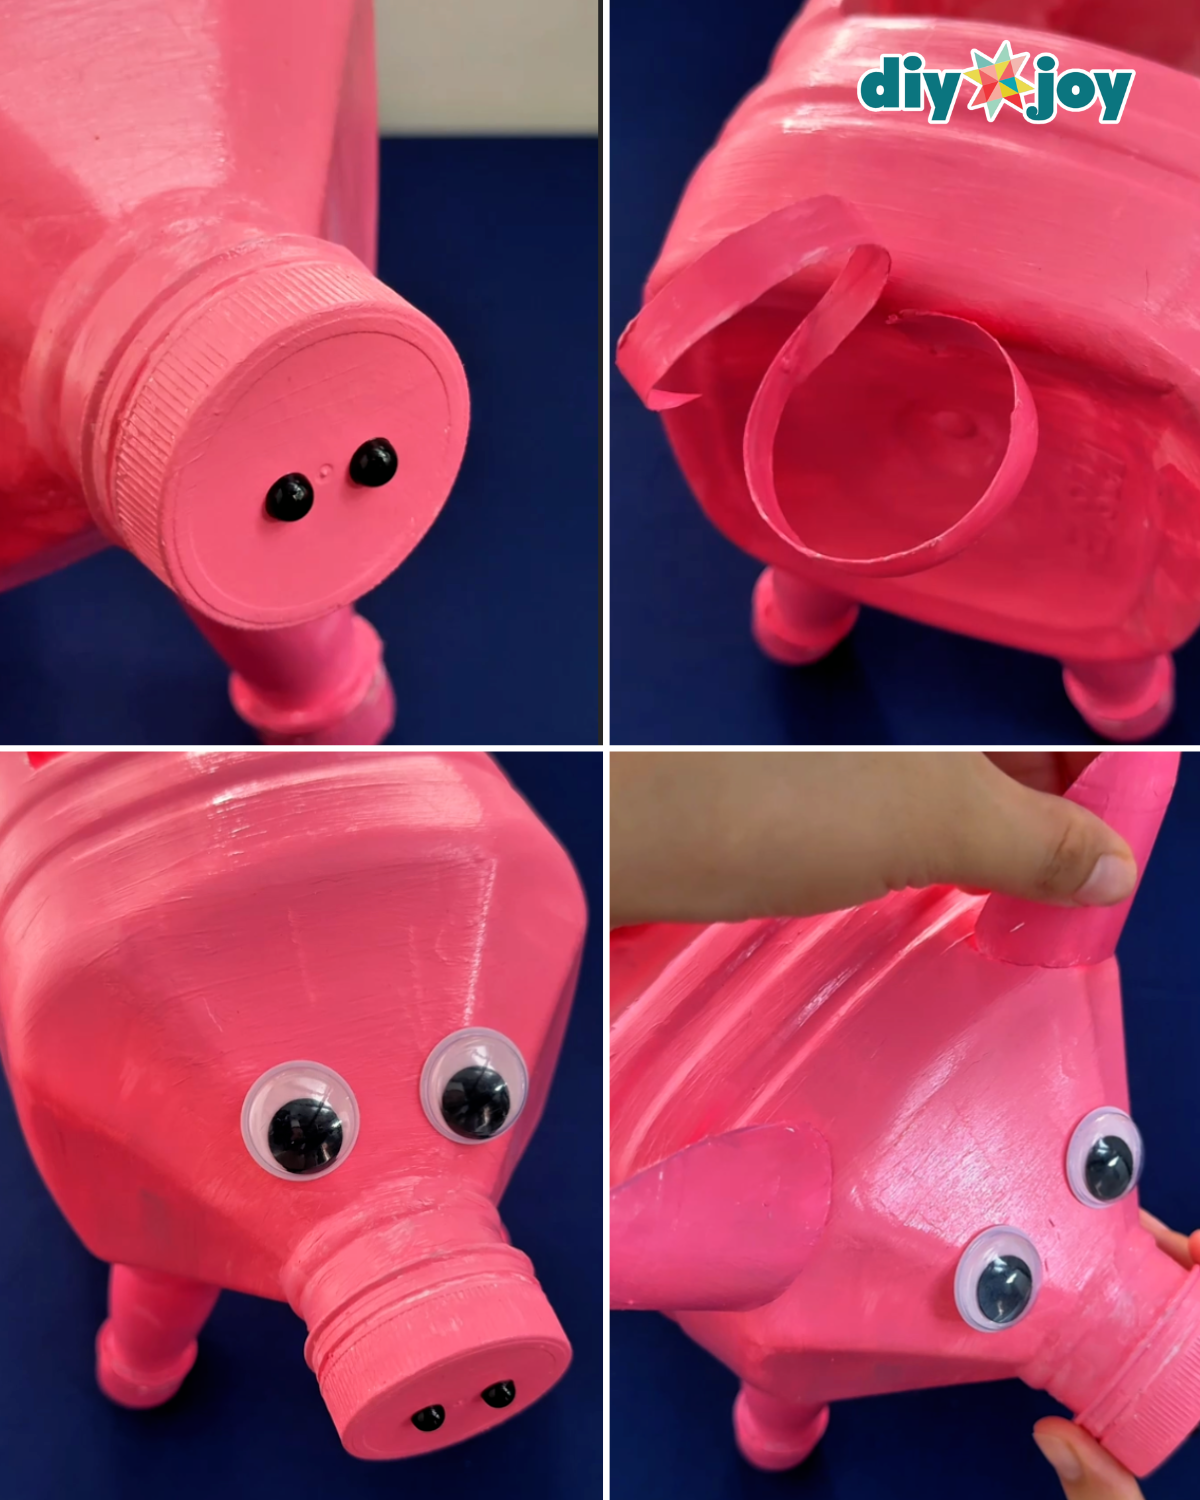
Hot glue two black half beads to the gallon hat to make the pig’s nose. Attach the googly eyes and secure the tail to the opposite end of the planter. Once finished, place your chosen flower or plant inside the planter and display it in your yard or garden.Note: If you want a lighter planter or don’t want to fill it with too much soil, insert a piece of cardboard inside to reduce space and keep the soil level halfway or in the middle.
material
- plastic gallon, for the body
- plastic bottle, for the legs
- paint, Acrylic or spray
- cutter
- googly eyes
- Primer paint
- Black half beads
- Hot glue gun and glue sticks

![]()
Pro tips 💡
- Apply primer first Before painting a plastic gallon to make the paint adhere better and last longer
- Use lightweight clay or add filler Inside the planter if you want to make it easier to move around
- Customize your pig planter With different colors and designs to create a beautiful collection for your garden
Must try crafts:
*If you like this craft, then visit our official website, follow us Facebook pageAnd subscribe to us YouTube channel For more!


