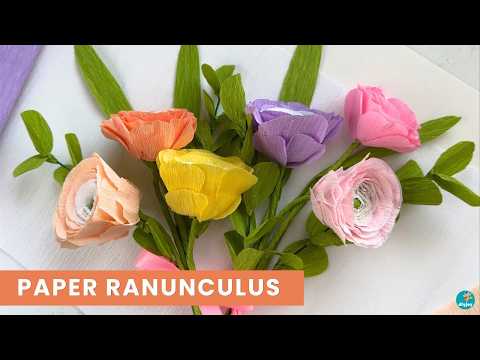

Thinking of making paper ranunculus? Here is a simple guide for you! This paper flower tutorial is very simple and easy, perfect for beginners. Turn your flowers into them Paper flower bouquet For beautiful DIY gifts, DIY bridal bouquets, wedding decorations or centerpieces.
Related: Paper tulips with chocolate
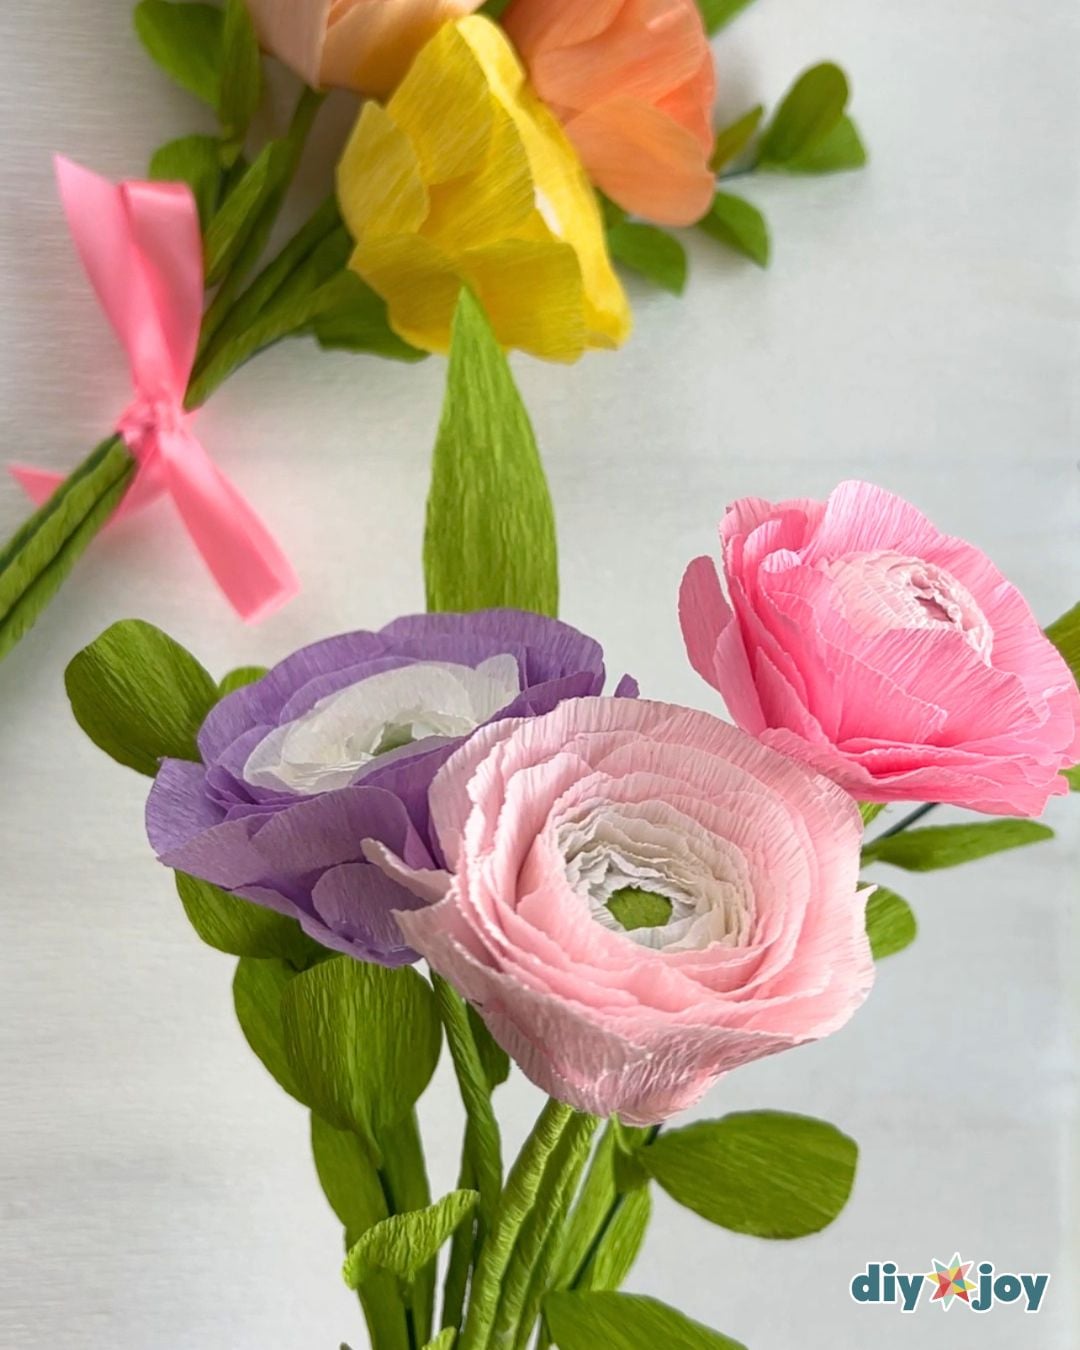
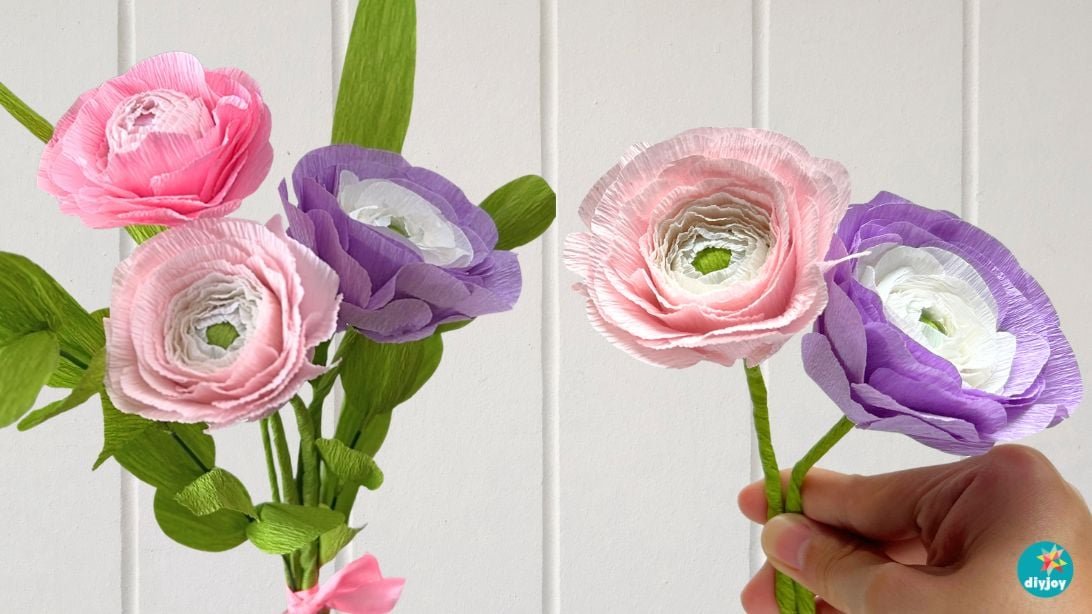
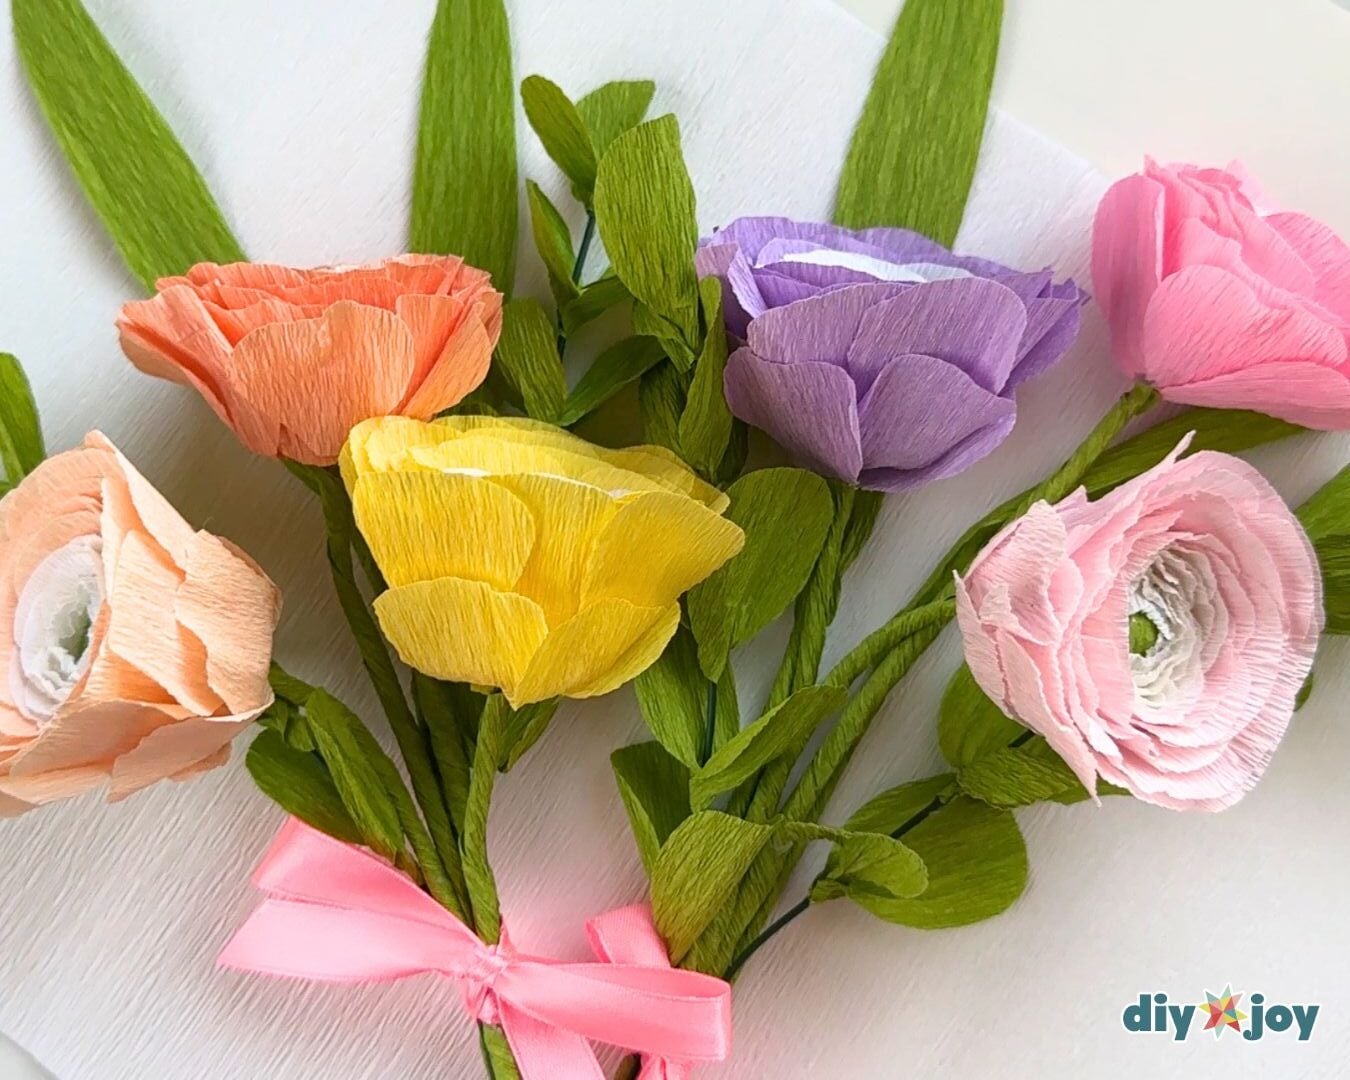
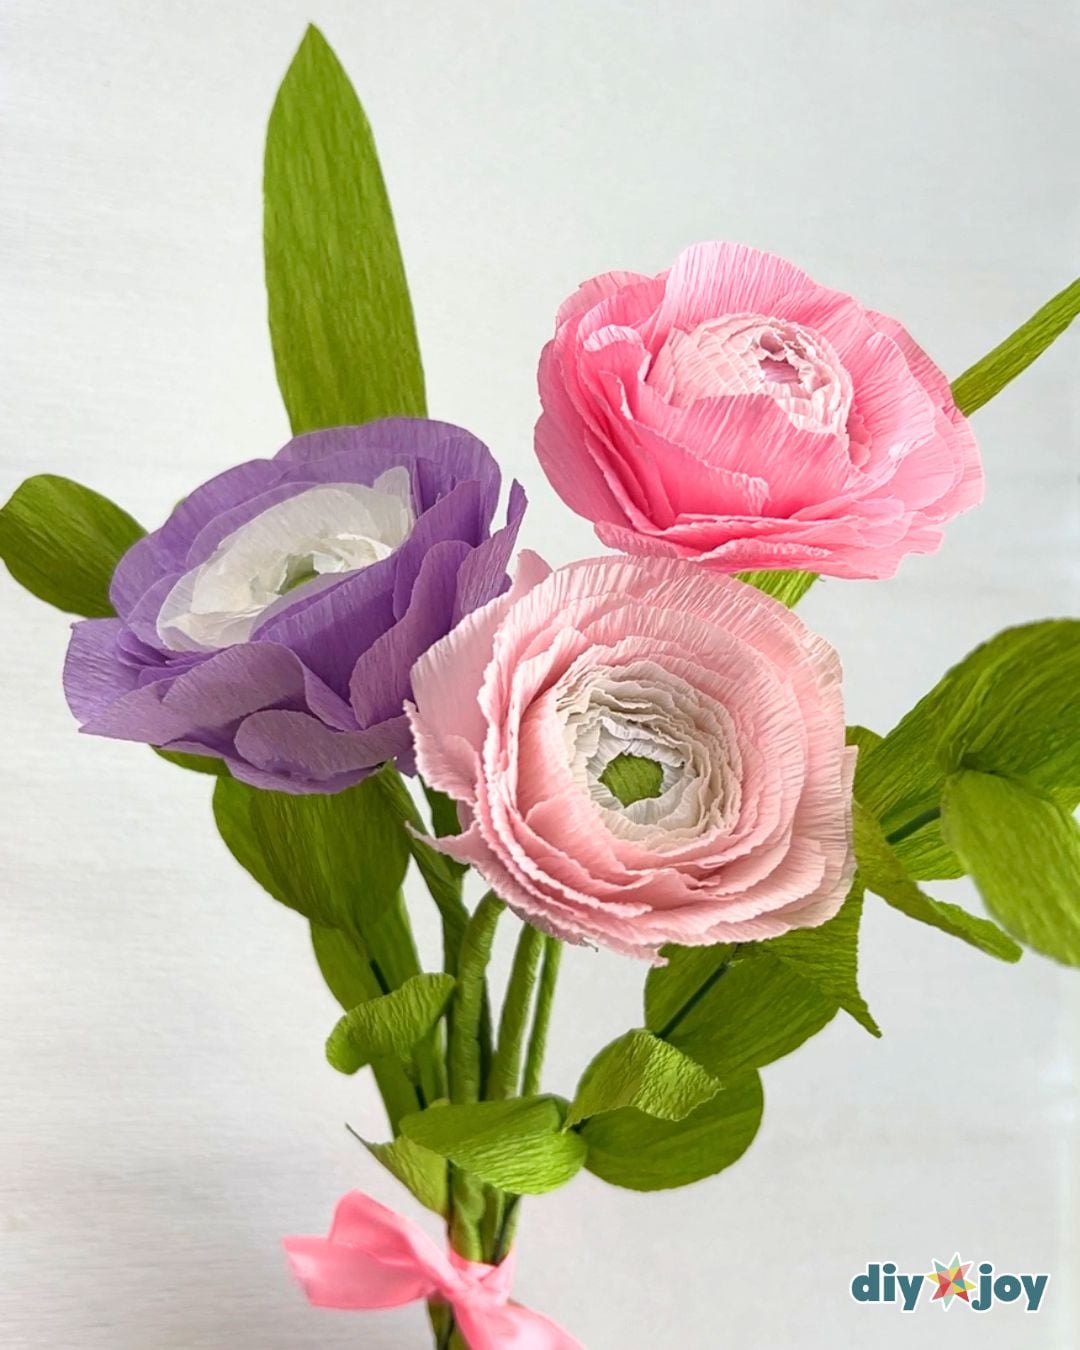
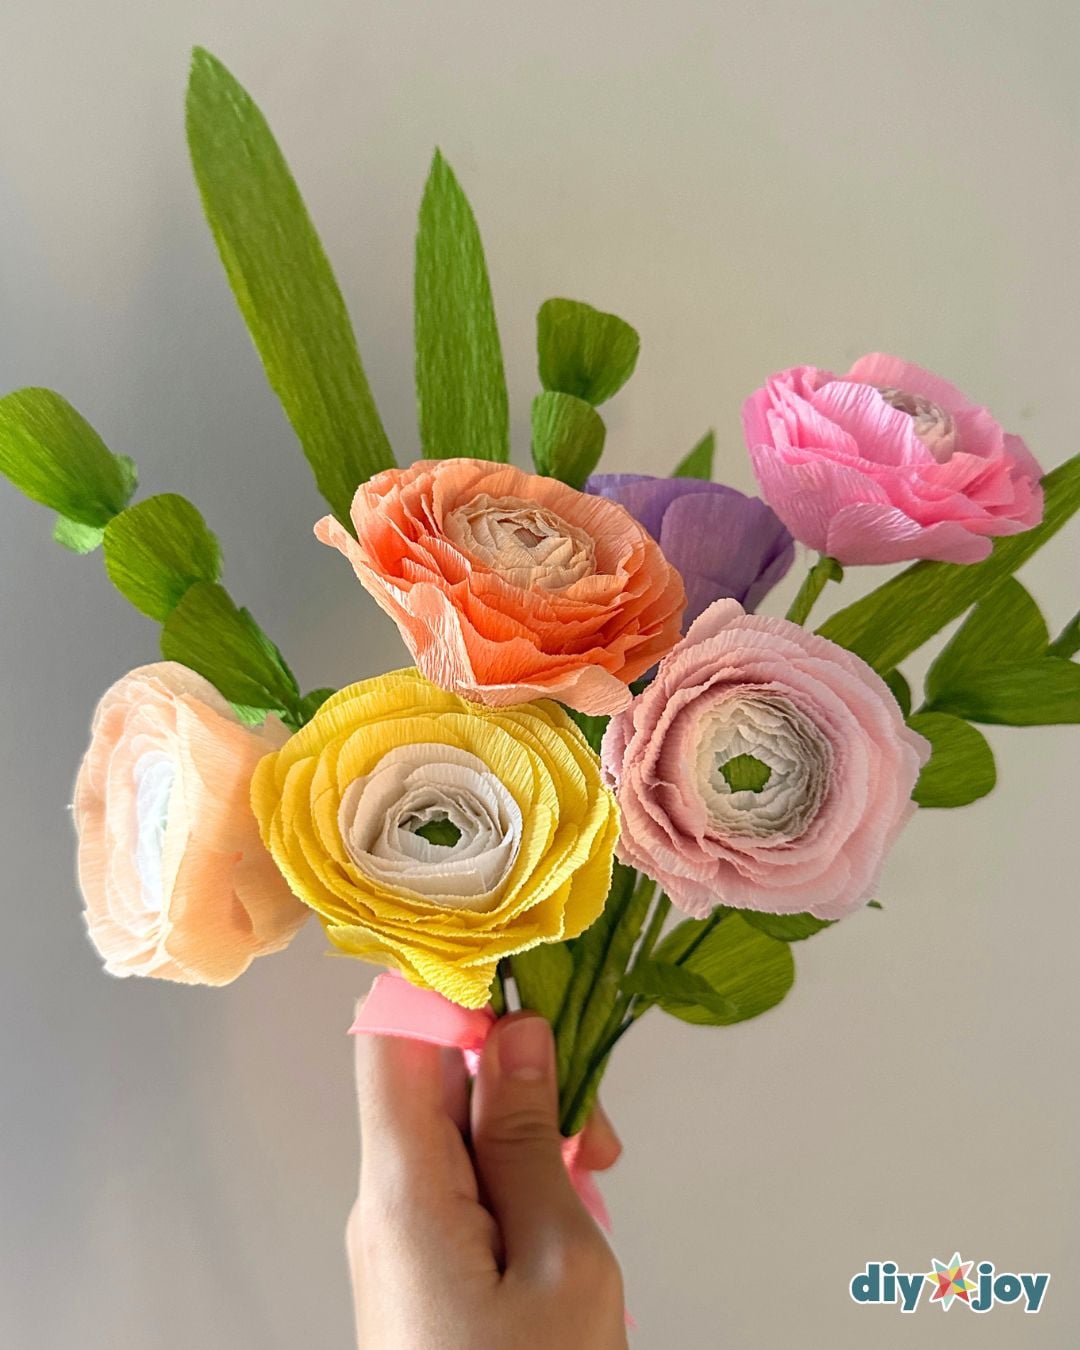
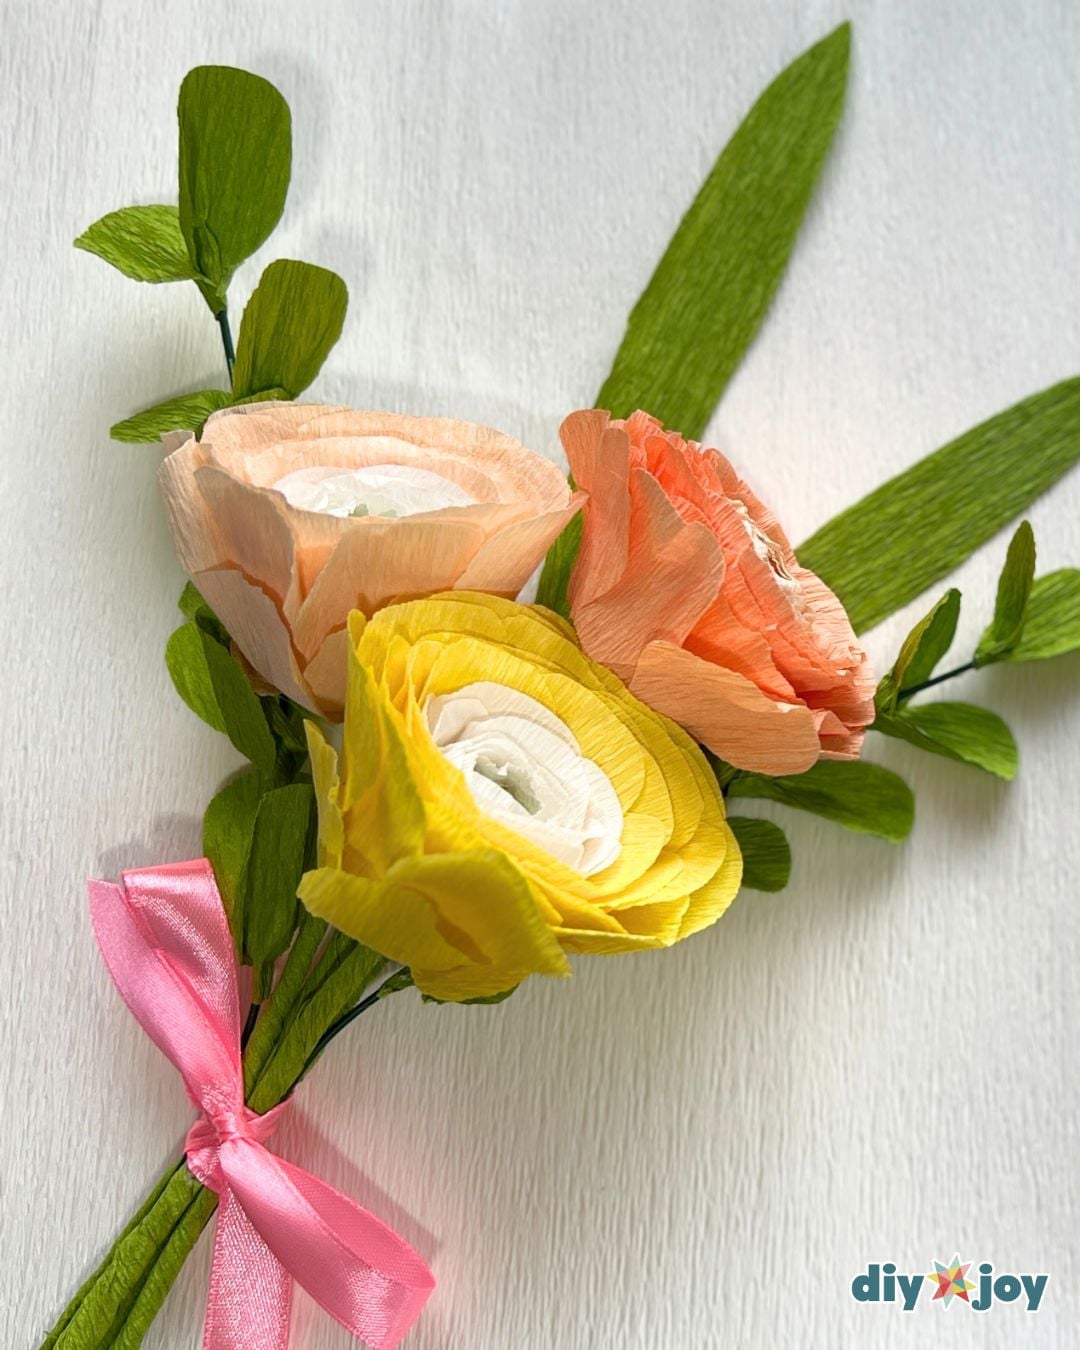
Ranunculus are known for their high number of petals, which gives them a lush and romantic look. Because it comes in a variety of colors, you have endless options to choose from! With that being said, expect to cut and glue a ton of petals for just one flower! But trust me, it’s super easy and fun; All you need is some patience. I made them in different colors: pink, orange, violet and yellow, and they came out beautifully. Feel free to try different shades.
This Paper crafts Totally beginner-friendly, so you don’t have to worry if you don’t have any crafting experience. Learn how to make paper ranunculus step by step with this tutorial. Have fun crafting!
Supply list for paper ranunculus
All of these products are listed on our DIY JOY Amazon store, so you can order and know what you’ll get and when. We earn a small commission on these links and greatly appreciate your support ❤️
Paper Ranunculus Tutorial
Learn how to easily make paper ranunculus with this step-by-step guide.
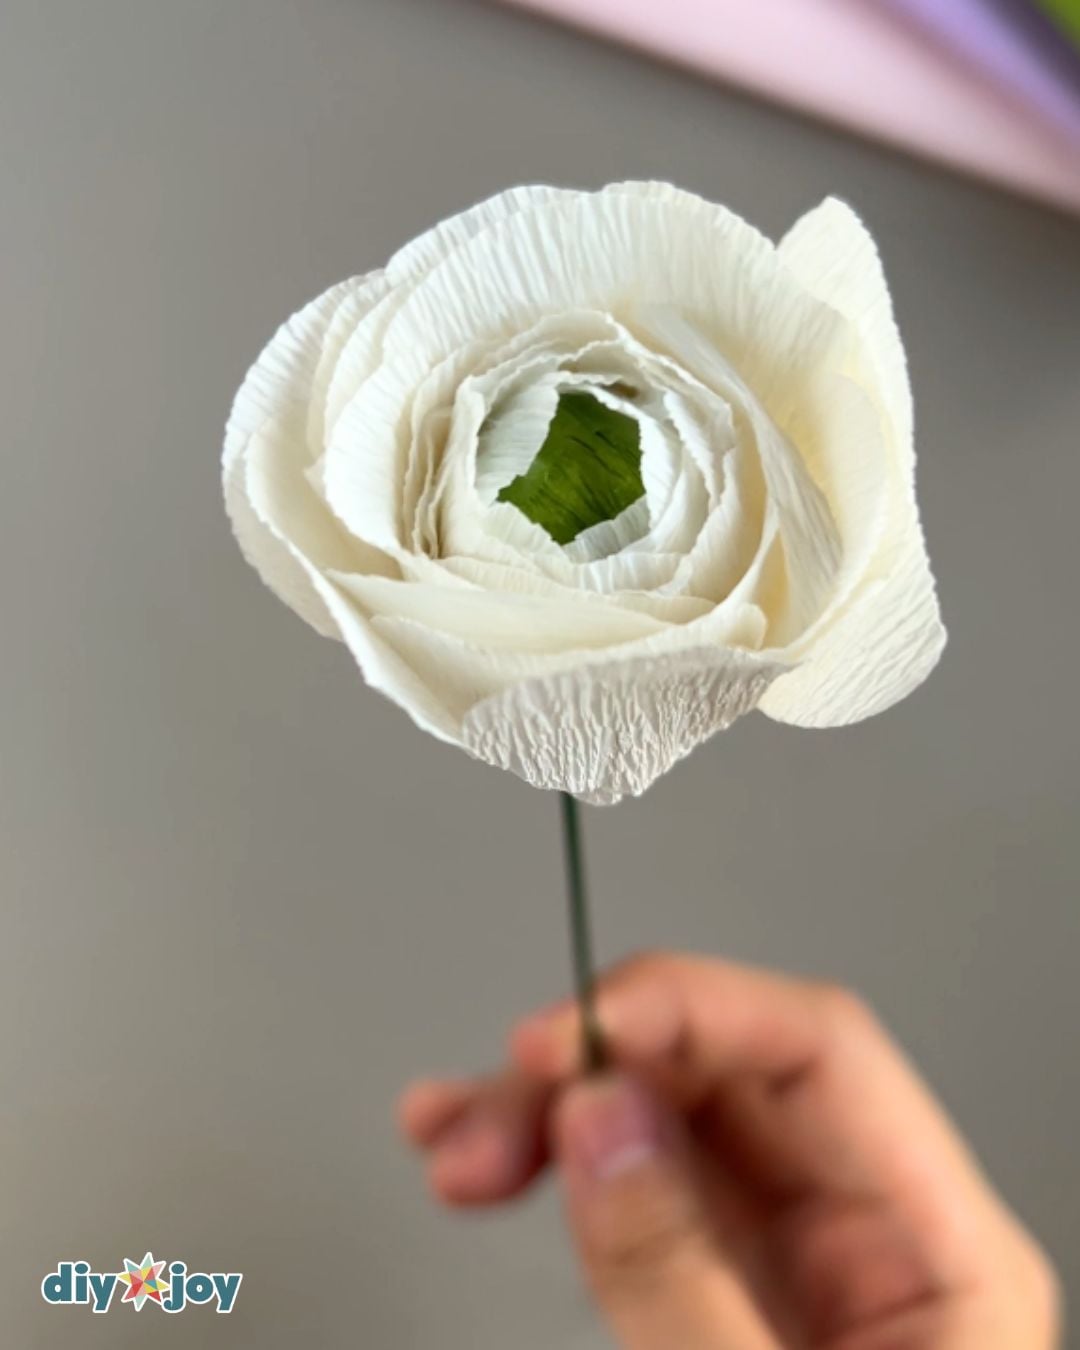
-
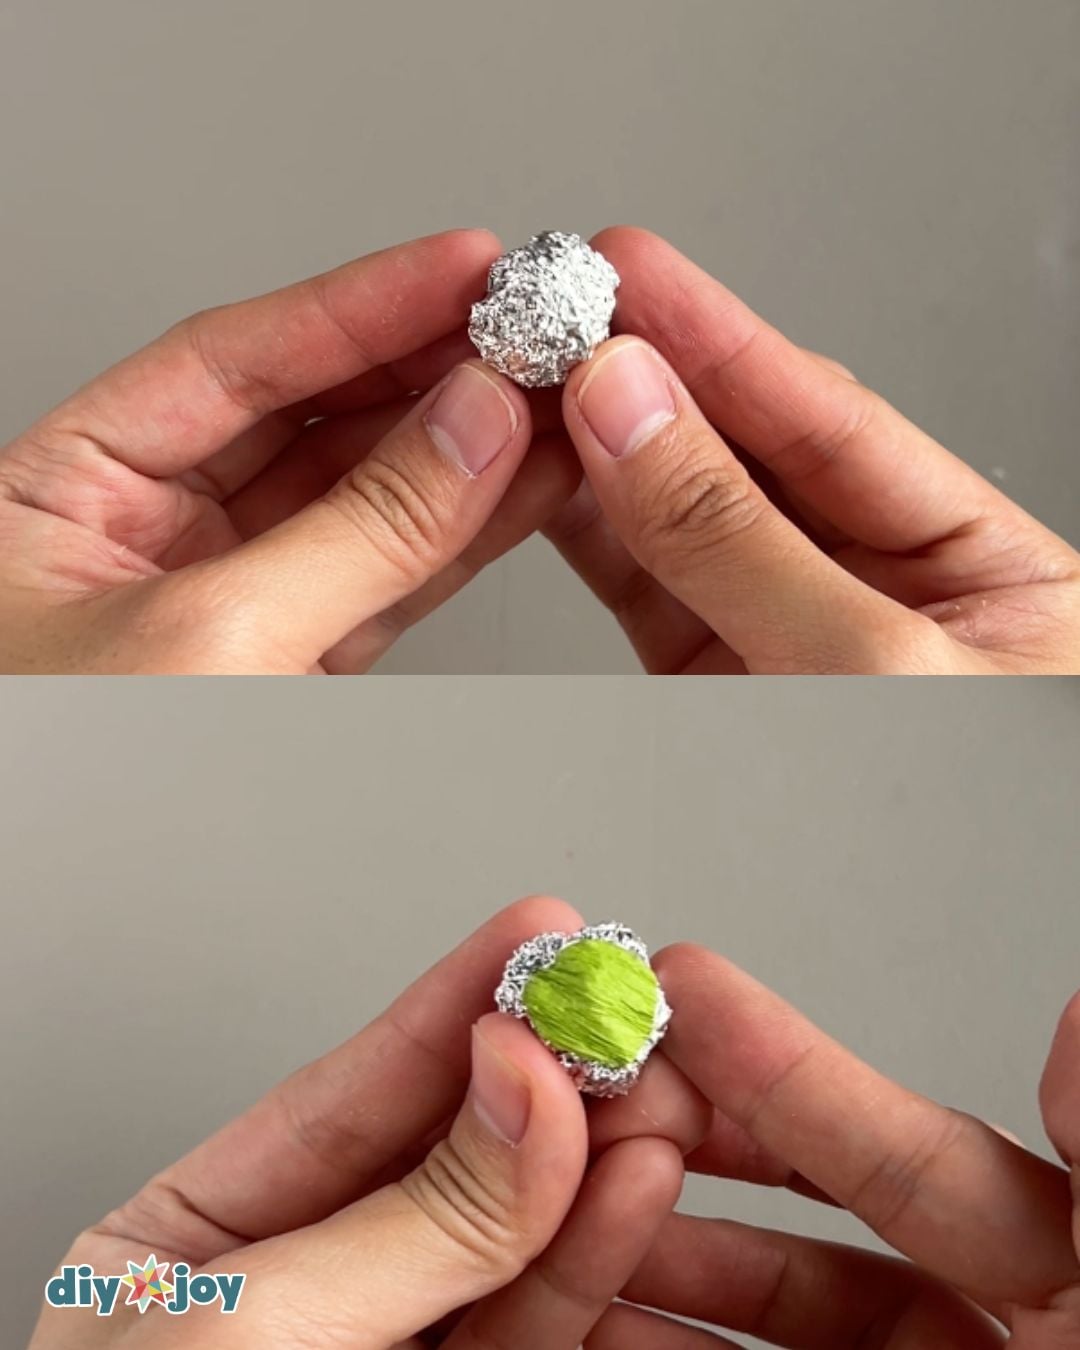
center of the flower
Take a small sheet of aluminum foil and make it into a ball.
Cut a small circle from your green crepe paper and glue it to the ball.
-
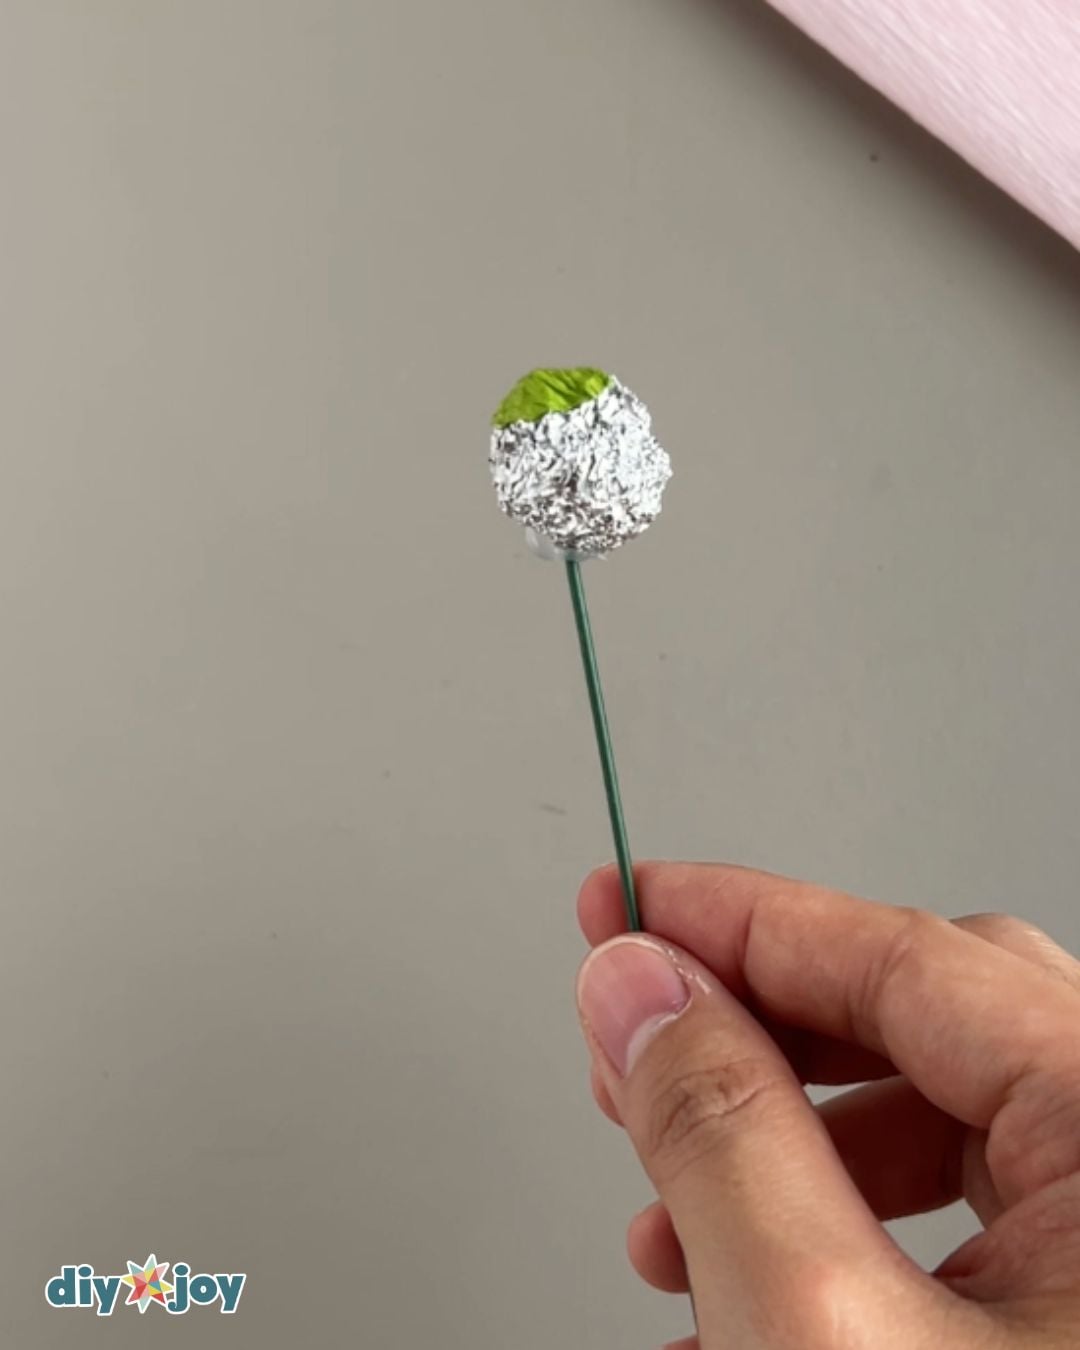
stem
Take the floral wire and insert it into the back of the ball, applying hot glue to hold it in place.
-
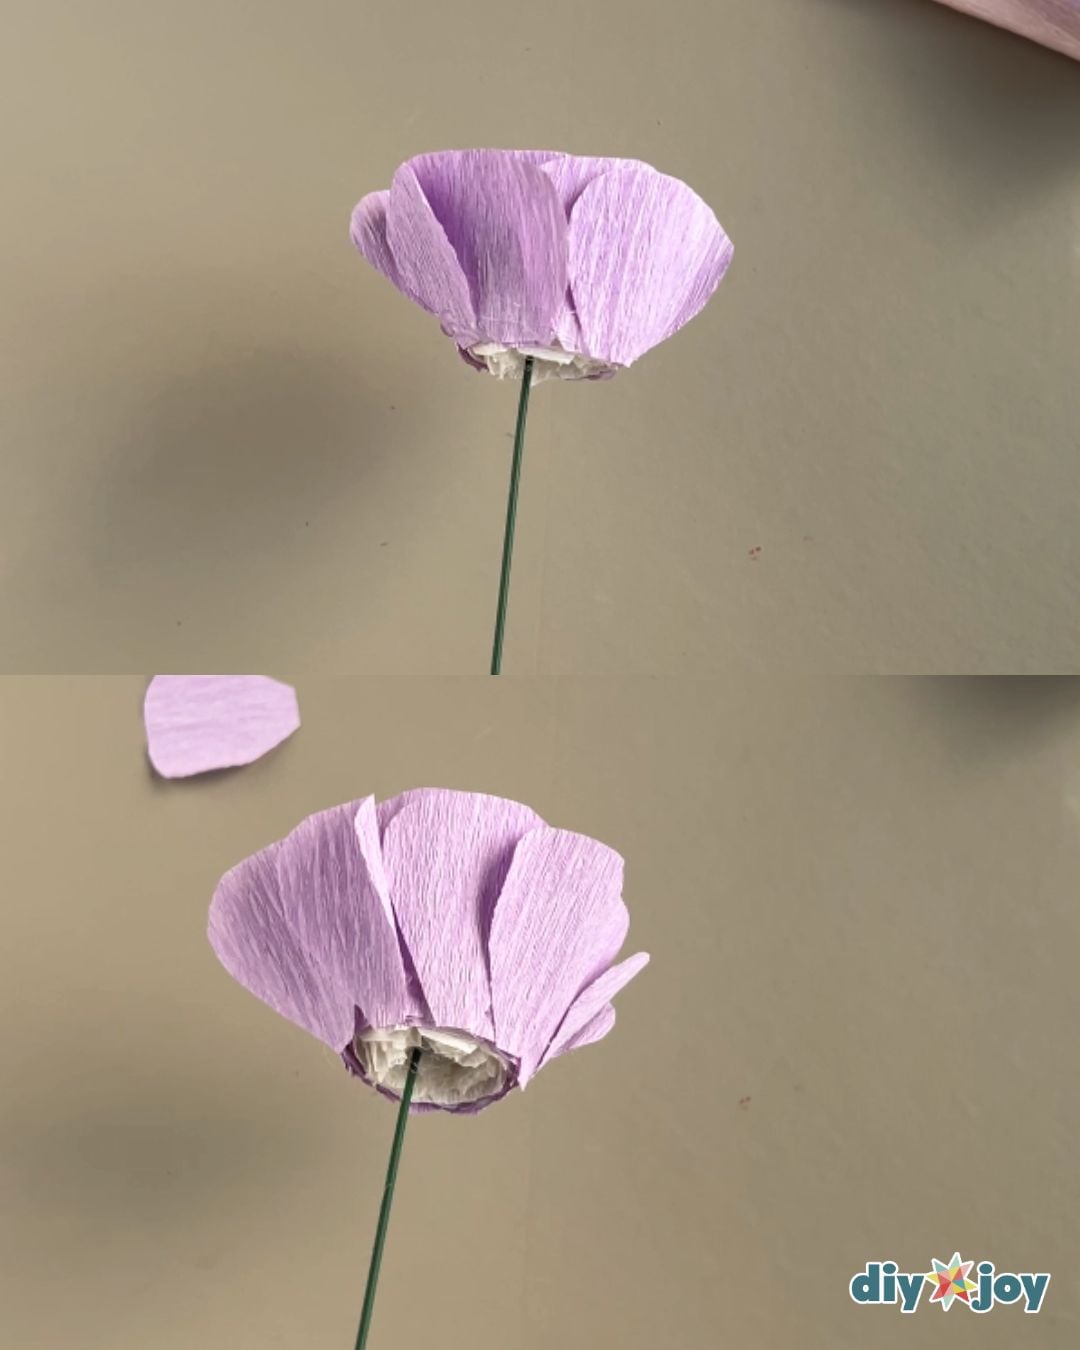
Petals
Cut the petals into 4 different sizes. Note: The length of the base of the petals is 0.2 inch.
First (about 1″ height x 1.1″ width) – 15 pieces
Second (approx 1.2″ height X 1.2″ width) – 15 pieces
Third (approx 1.25″ height x 1.2″ width) – 15 pieces
Fourth (approx. 1.4″ height x 1.2″ width) – 20 pieces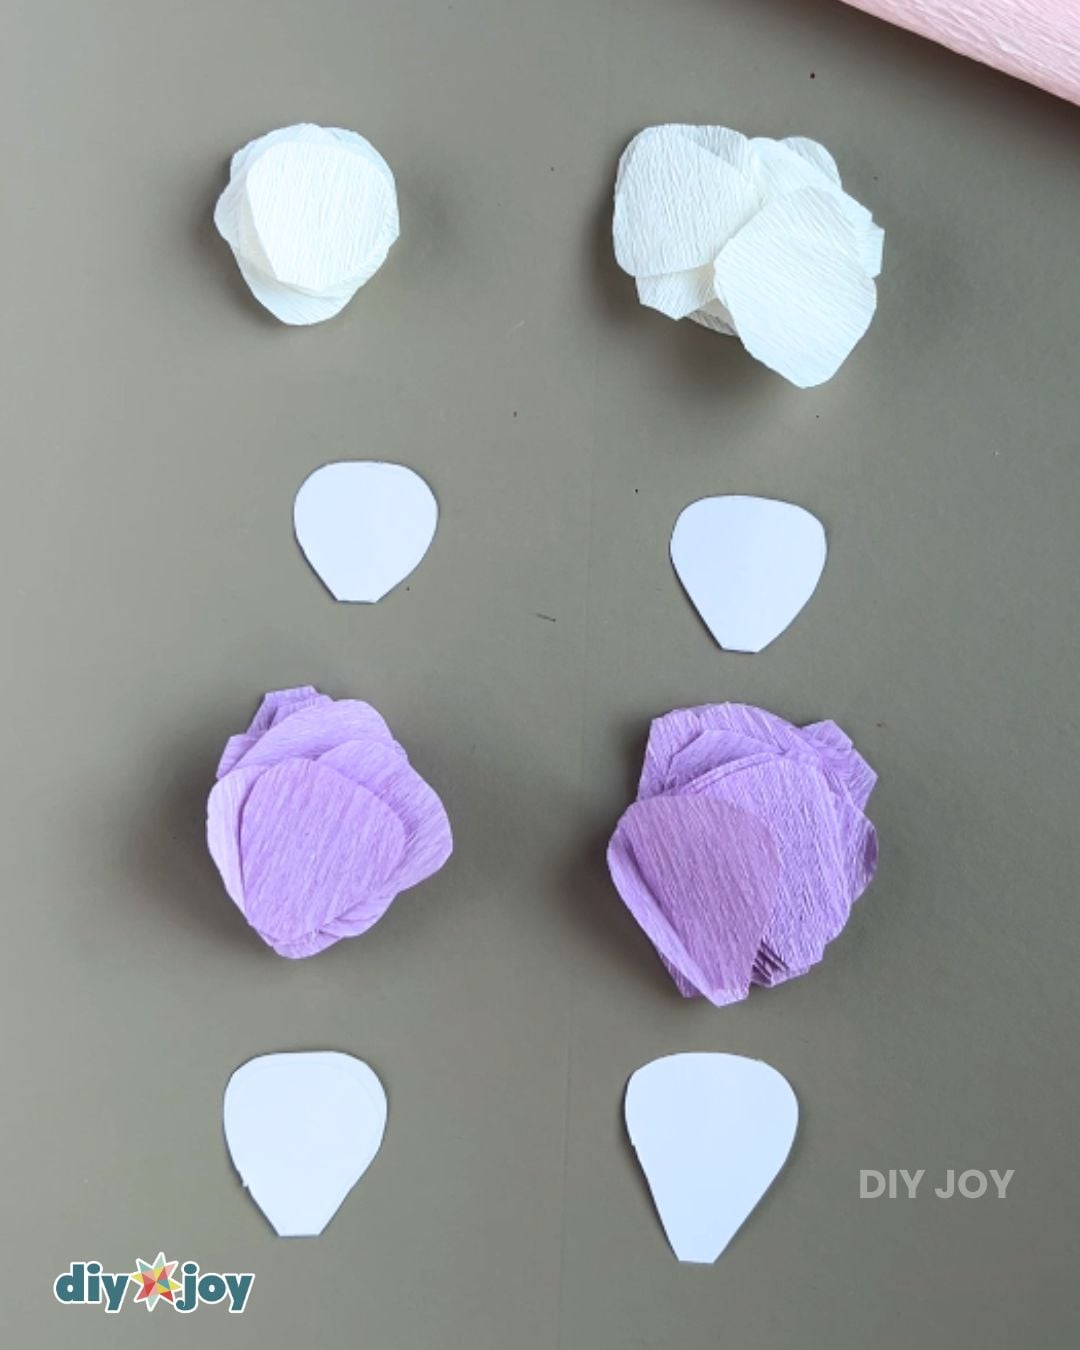
-
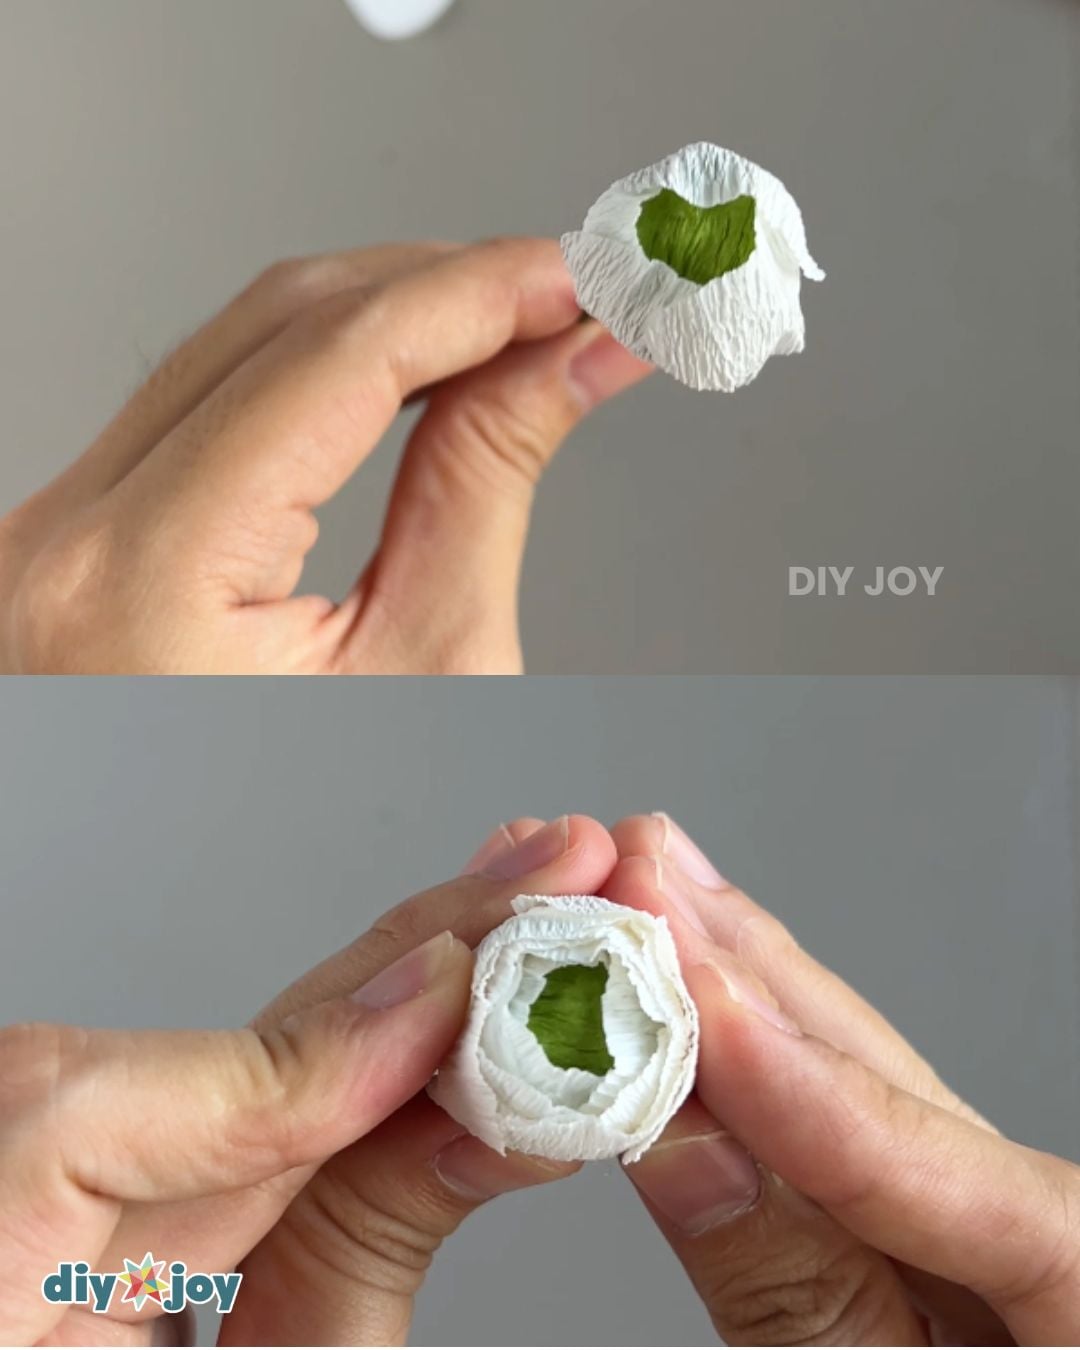
First level
Start by gluing the smallest petals first. Glue the first 4 pieces as close to the center of the green circle as possible, then work your way down with the next pieces to create beautiful layers.
-
second level
Take another set of petals and glue them the same way you did in step 4.
-
Final levels
Repeat the same process for the third set.
For the fourth set, reserve 5 to 6 petals first, then continue the same process.
-
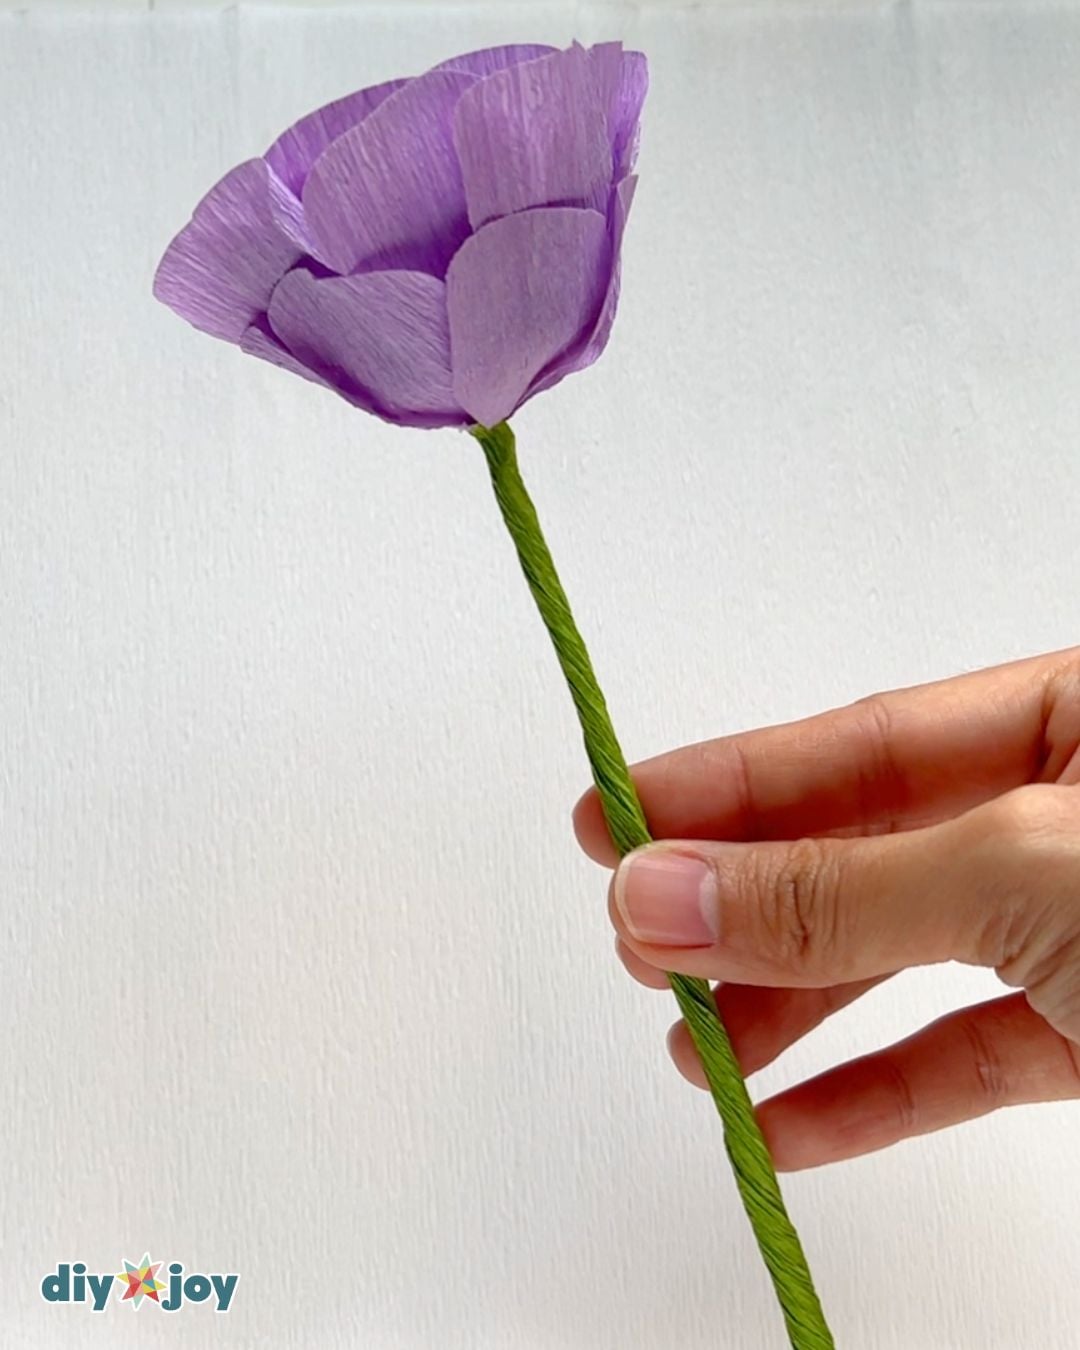
Bottom cover
Use the reserved petals to cover the base of the flower.
 Once finished, use the reserved petals to cover the bottom of the flower.
 -
cover the stem
Cover the stem with green crepe paper.
-
material
- White crepe paper
- Green crepe paper
- Pastel colored crepe paper (pink, yellow, orange or violet)
- Floral wire
- Glue stick
- Petal samples
- Aluminum foil
![]()
Crafting tip
Don’t be afraid to experiment with colors! You can use three or four different shades per color to create a more realistic looking flower.
Creative ideas and diversity
- measure up. You can definitely make these paper ranunculus in different sizes. Just make sure the floral wire you use is strong enough to hold the weight of the flower.
- Colors. Use four different shades of color for just one flower and add some brown lines or paint the edges to make them look more realistic. If you have trouble finding different shades of the same color, try painting white paper instead.
- Paper flower bouquet. If you’re planning to use this as a centerpiece or DIY bridal bouquet, it’s best to style it with paper leaves to add texture and variety. I made paper eucalyptus and some long leaves to match my paper ranunculus. You can also make other paper flowers like our roses or tulips and combine them to make a perfect DIY gift bouquet.
More paper flower crafts
DIY Paper Ranunculus Video Tutorial