
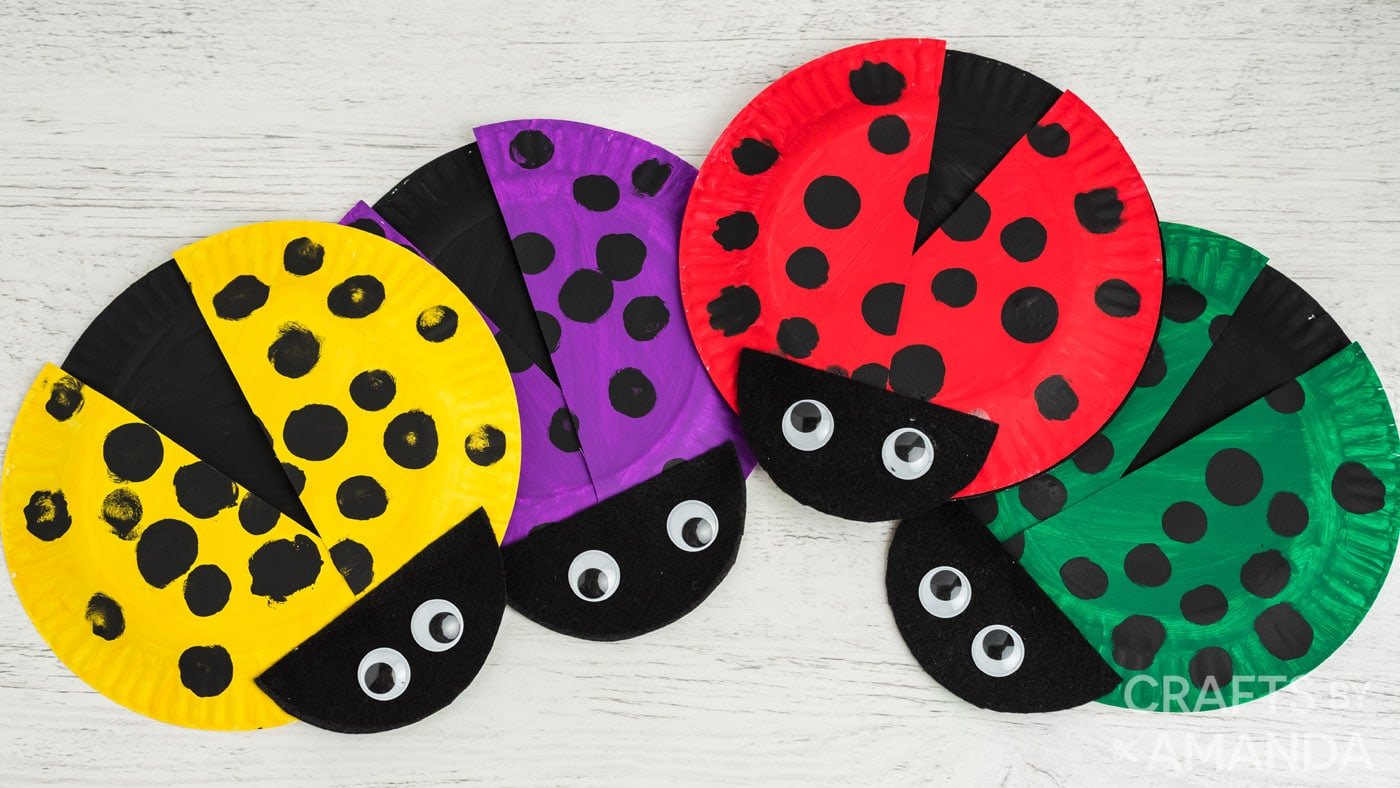
Kids will love making these adorable paper plate ladybugs this spring and summer using colorful paint, paper plates, felt and googly eyes.
Why we love this project
This paper plate ladybug craft is perfect as a summer camp activity or classroom project. You can easily work it into a homeschool lesson on insects or have fun indoors on a rainy day.
There is no doubt that we love Paper plate crafts for kids around here. These ladybugs can be painted in many different color combinations, so let your child’s creative direction take over on this project!

Useful project information:
- Age Level: 6 and up
- Mess factor: Medium
- Difficulty Level: Easy
- Time to complete: Less than 30 minutes
- Price Estimate: Less than $5.00
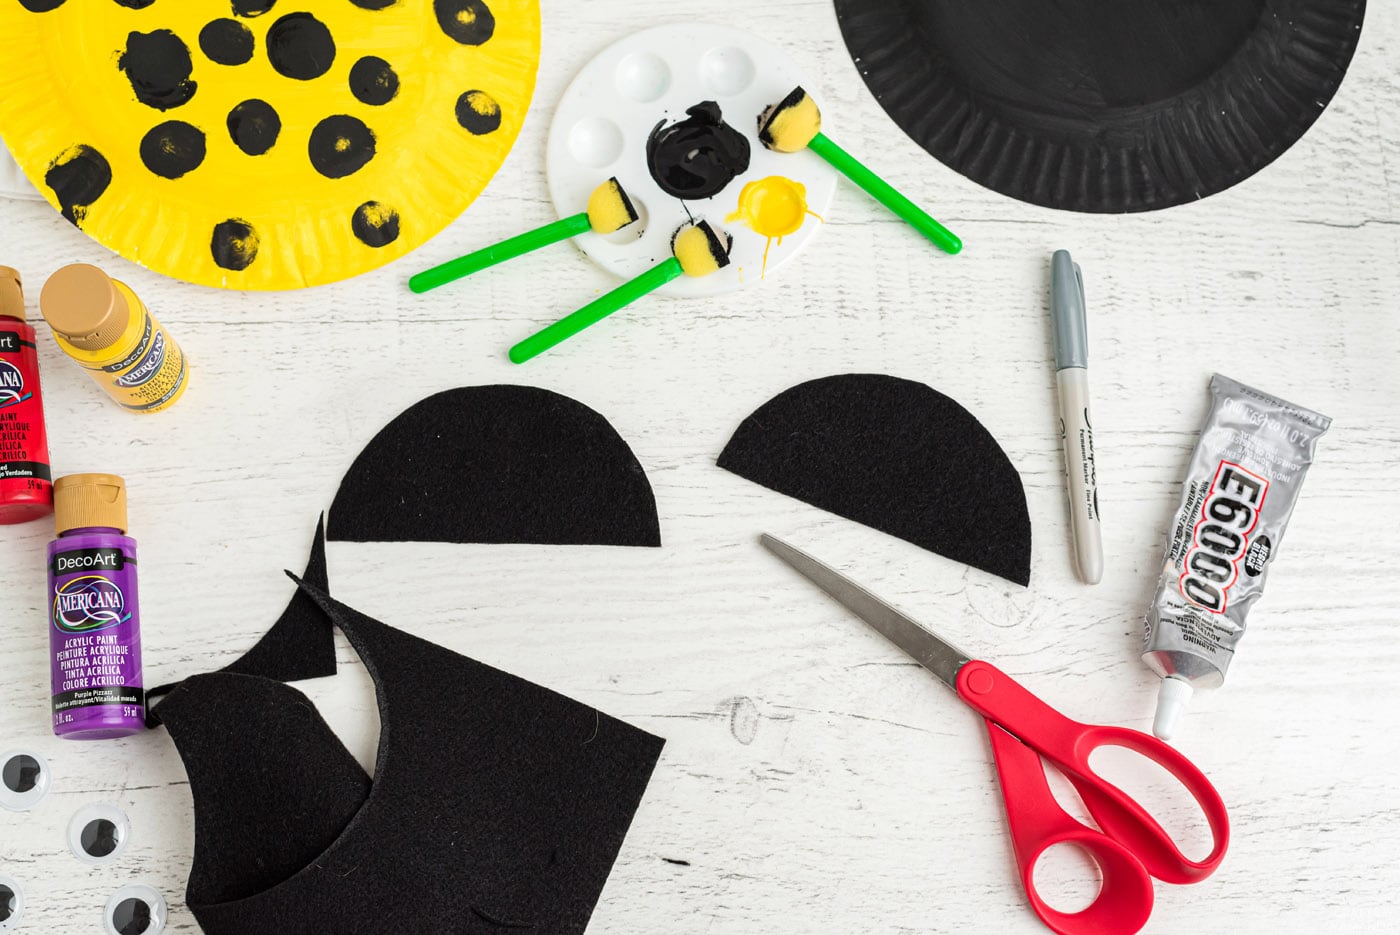
Craft supplies you will need
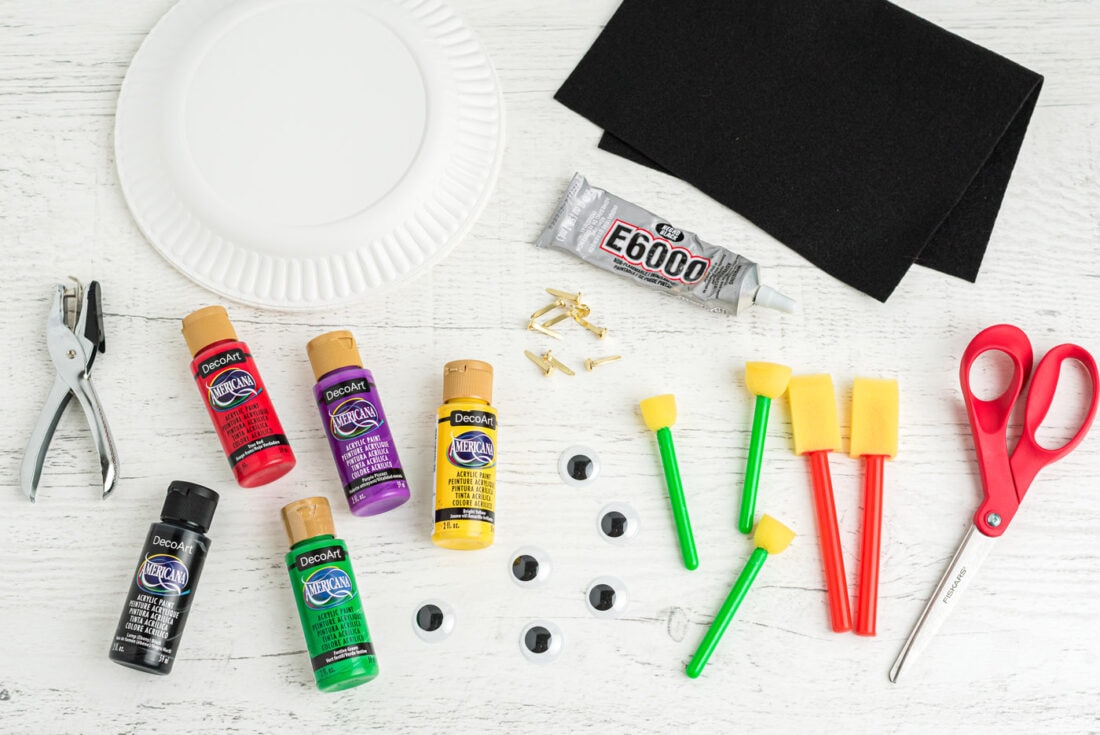
Find the complete list of supplies and directions in the printable version at the end of this post.
How to make paper plate ladybugs
Here are step by step photos and instructions to help you visualize how to build this project. Please scroll down to print the instructions!
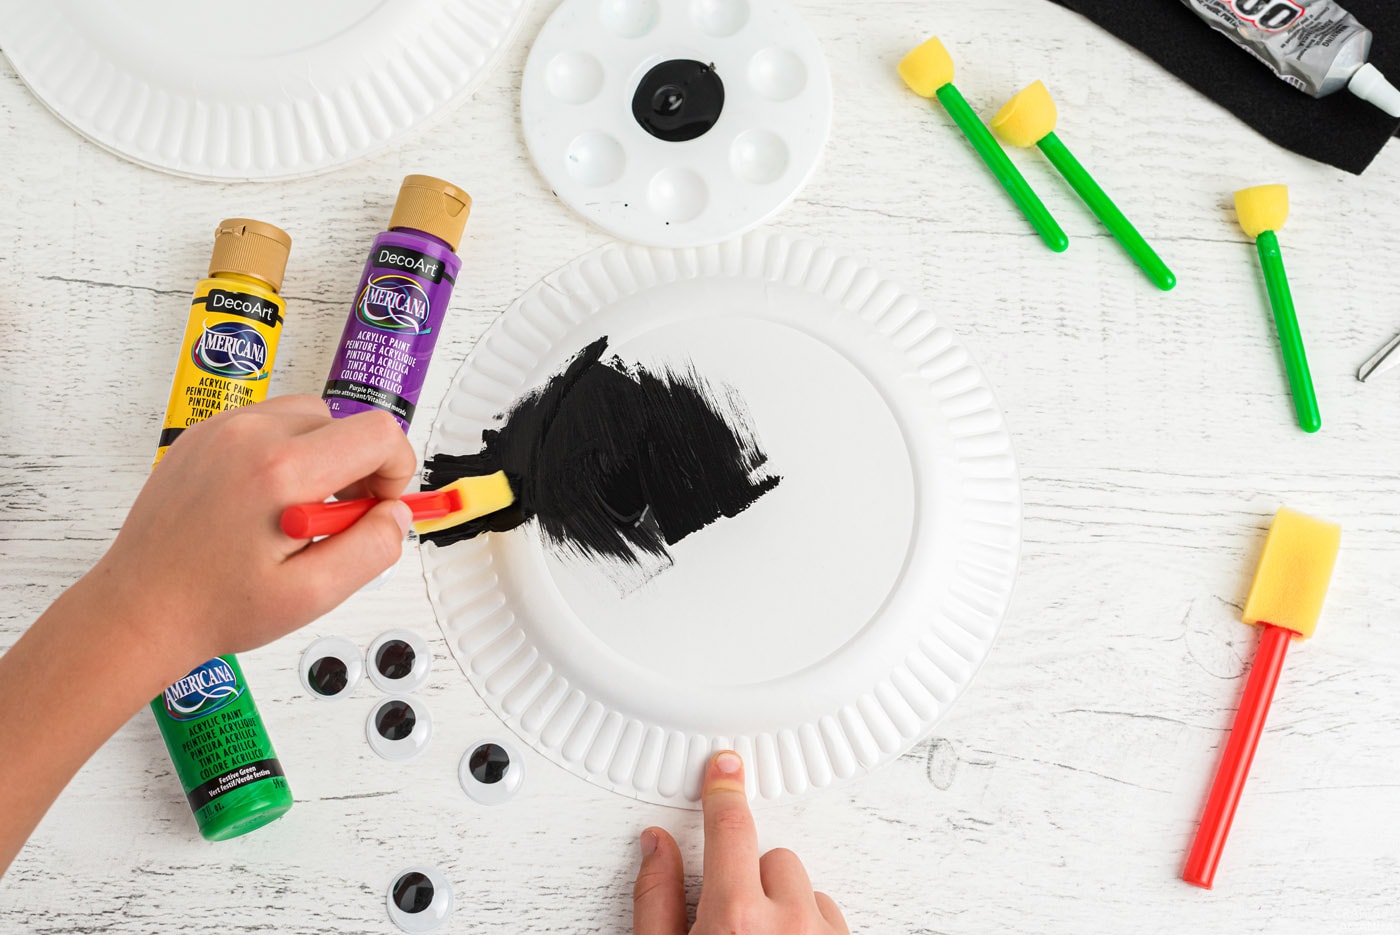
- Paint one paper plate black and the other any color of your choice. Red is traditional for ladybugs, but you can get colorful like us if you want. Set aside to dry.
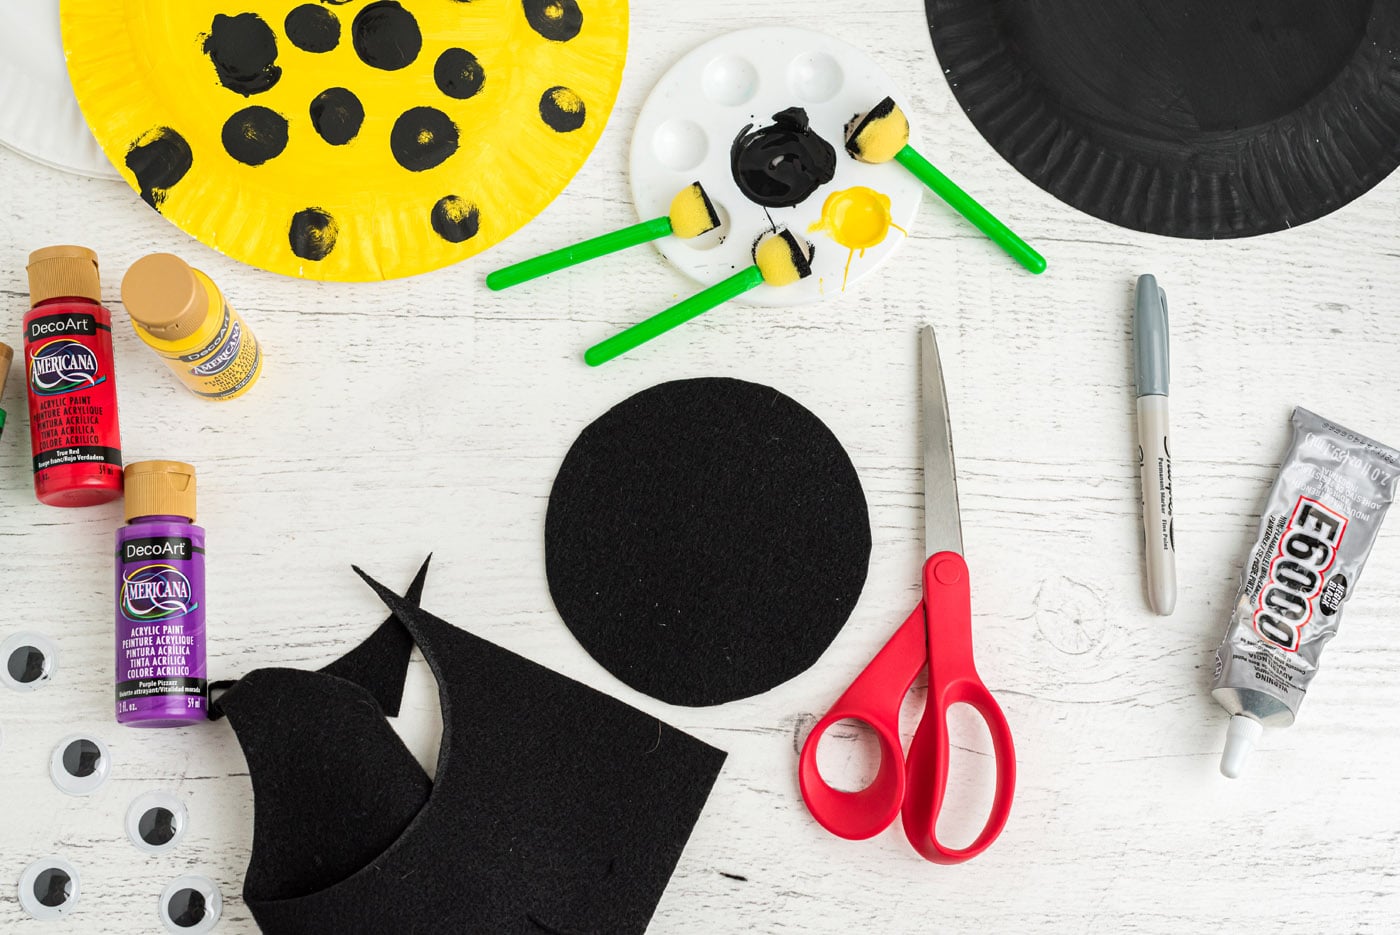
- from felt blackCut a half circle for the head.
Expert tip: Use a medium-sized jar, bowl or cup to trace a circle on the fabric.
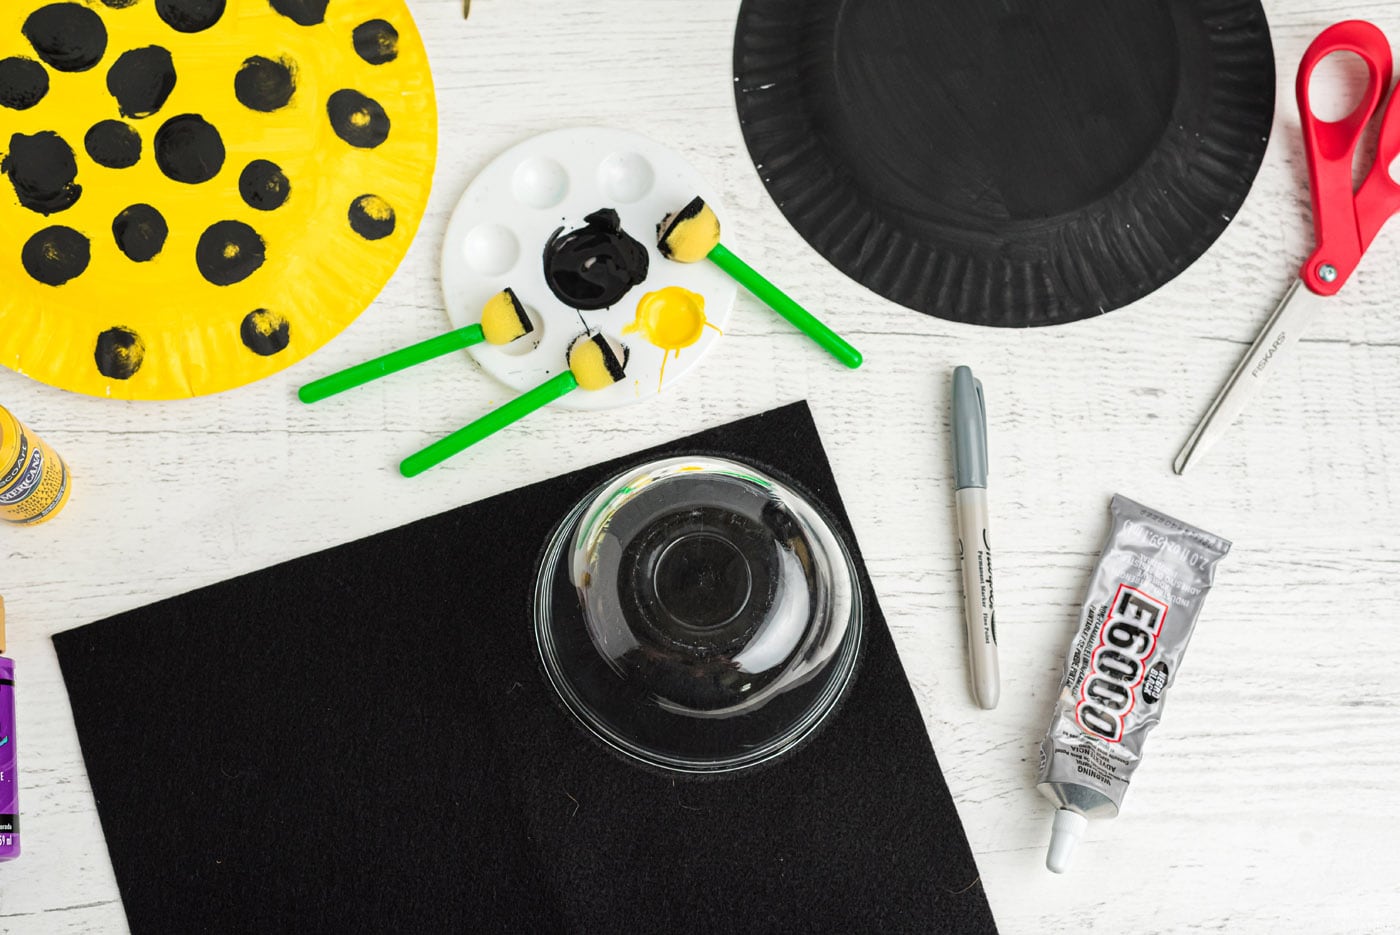
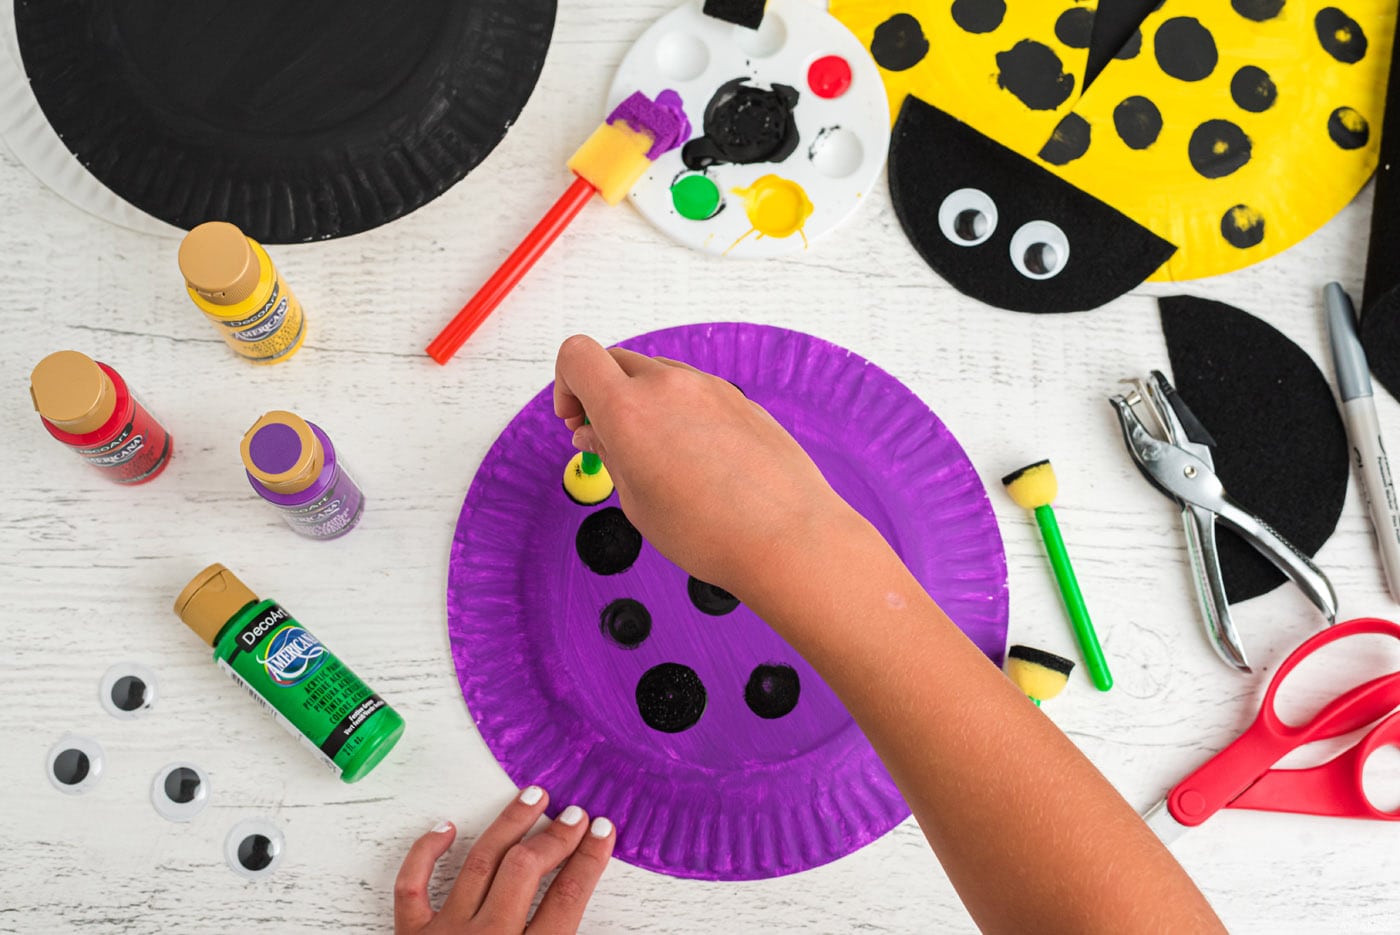
- Once the paint is dry, take your colorful painted plate and start making polka dots using a Pouncer sponge It is lightly dabbed in black. Use medium and large size pouncer sponges to create realistic ladybug patterns.
- After letting the polka dots dry, take a plate of colored paper (not black) and cut it in half.
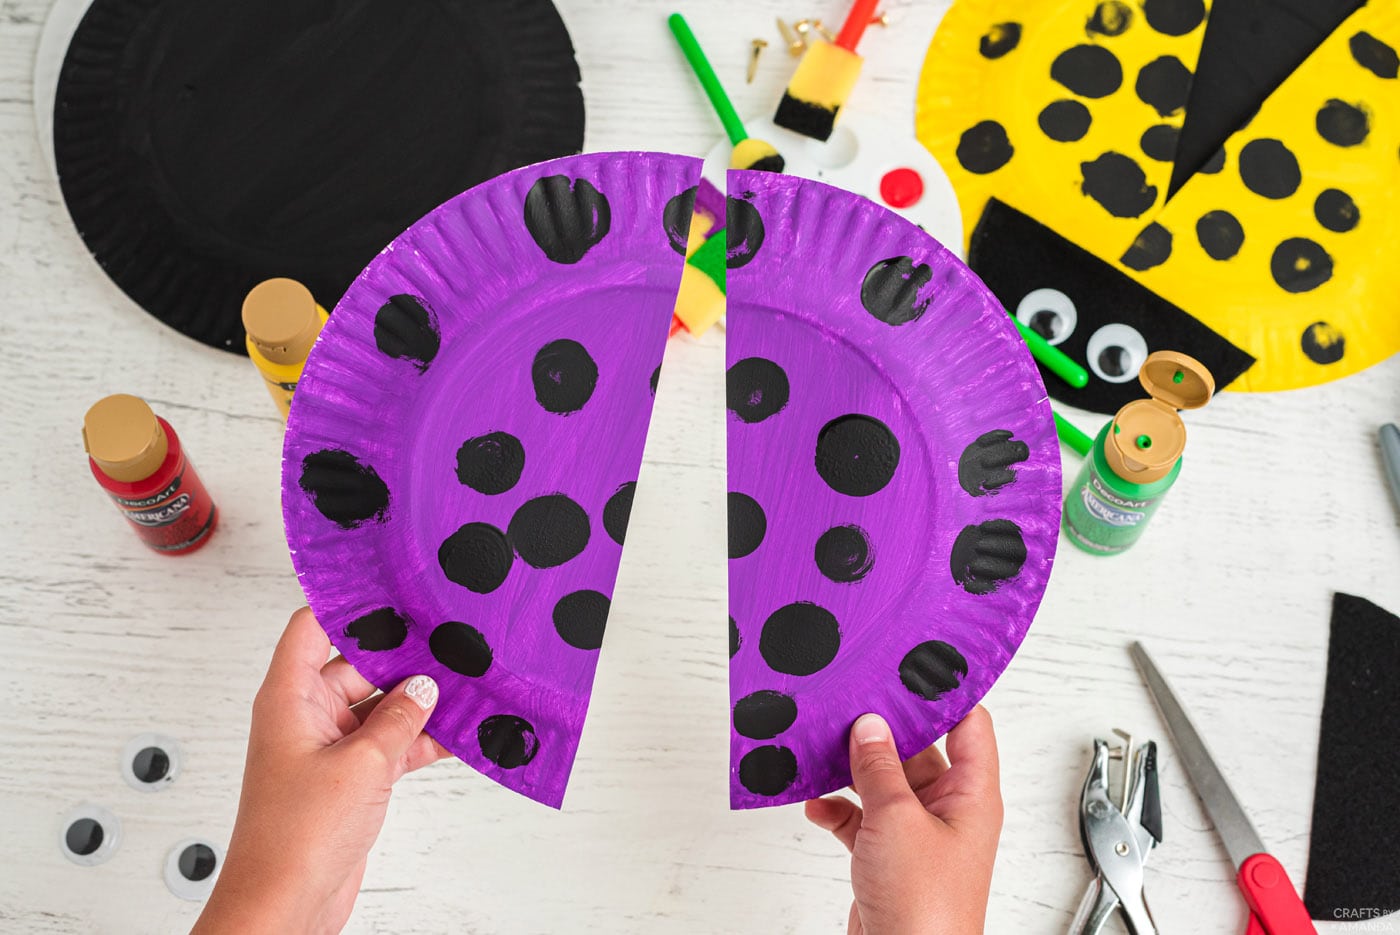
- Bring the two halves together with a plate of black paper and spread the “wings” slightly open.
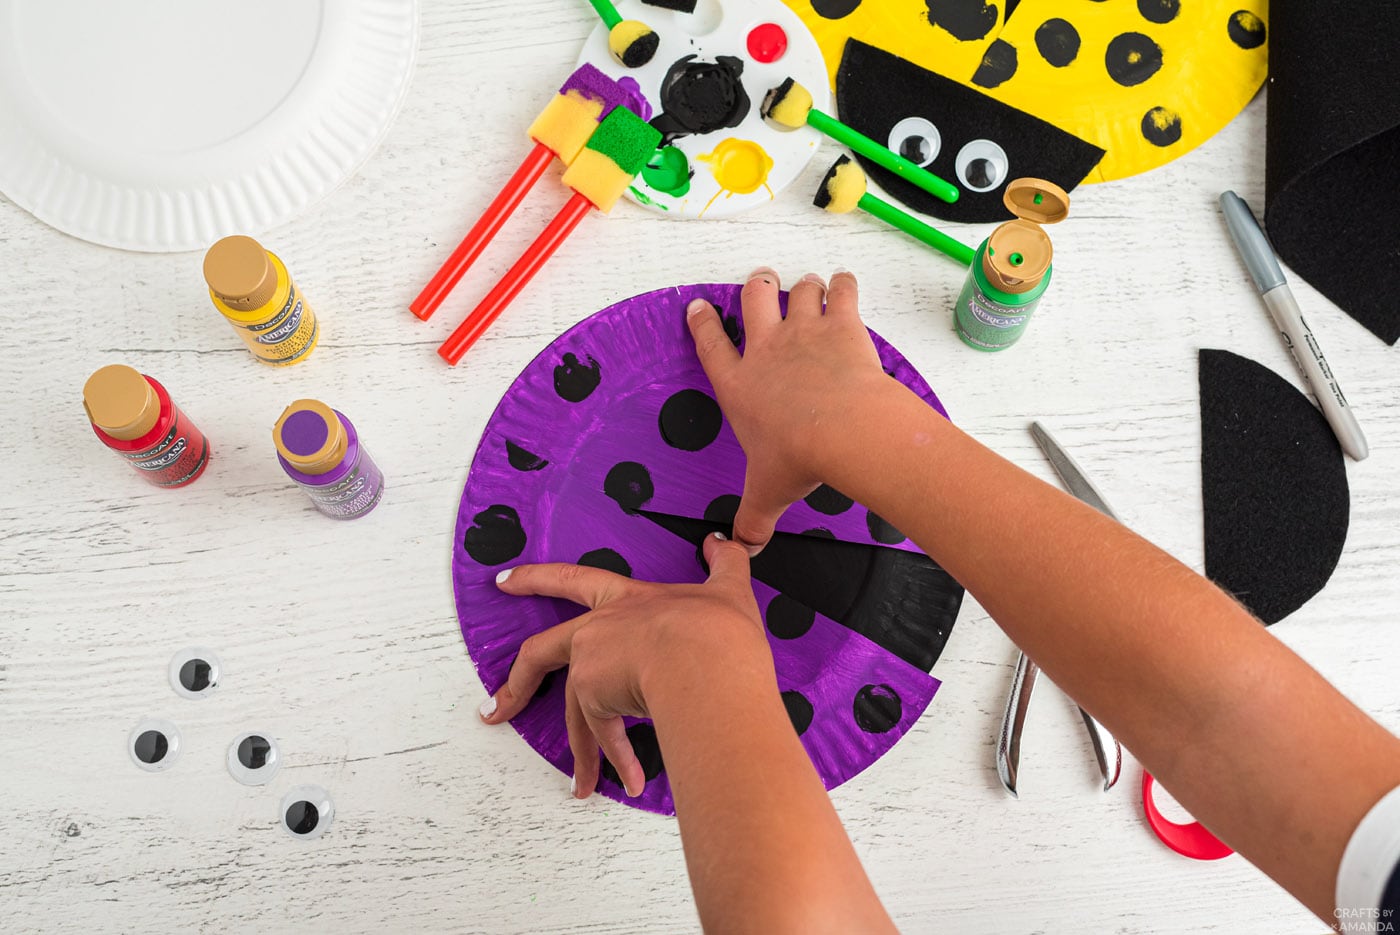
- Hold on top and carefully pierce through the black plate at the top and bottom of the wings.
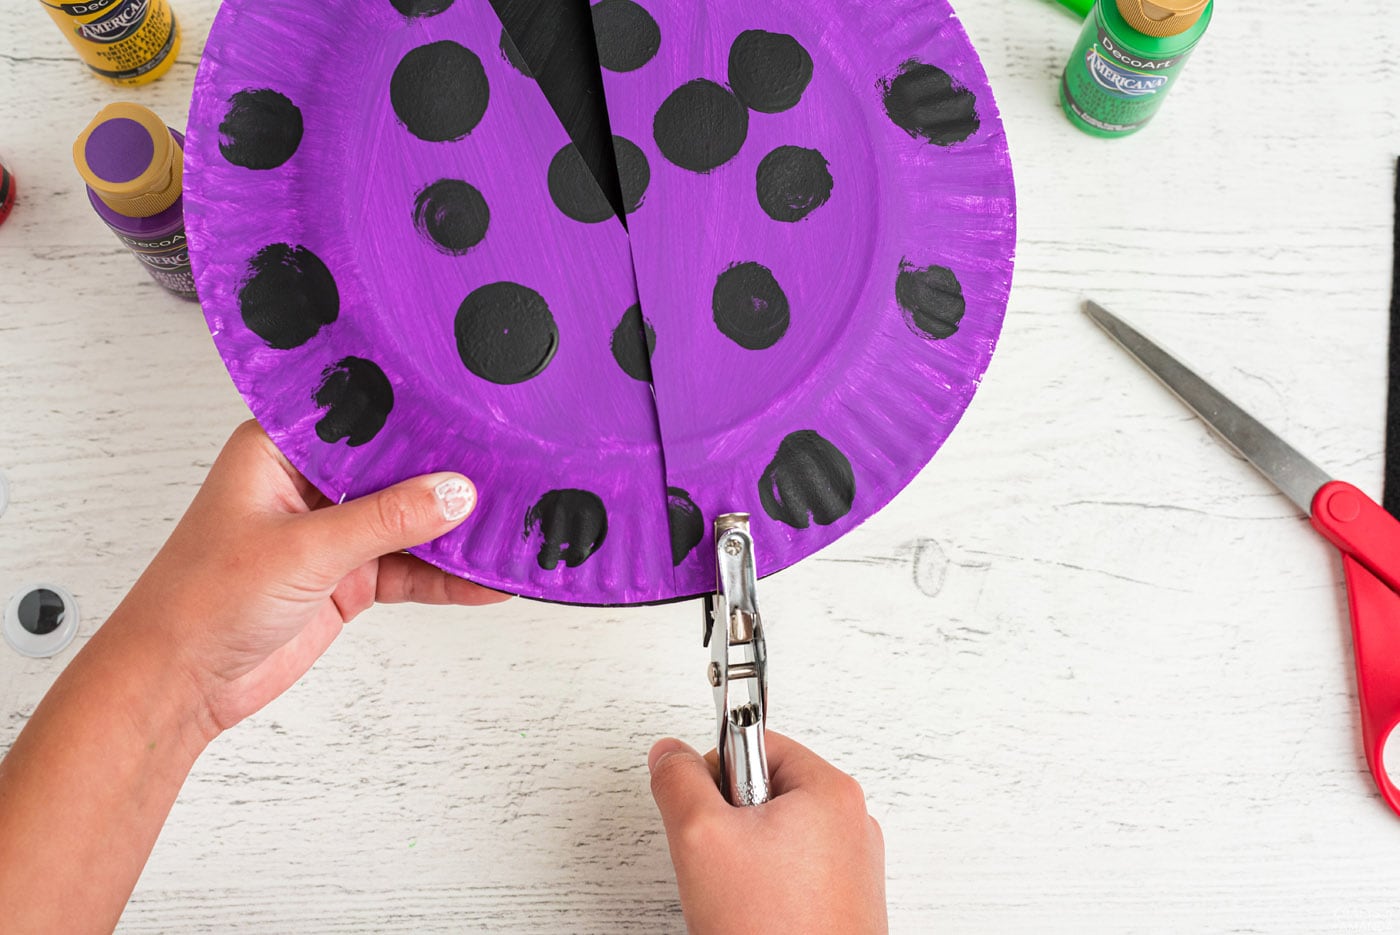
- Still holding it in place, push the fastener through the hole and secure it.
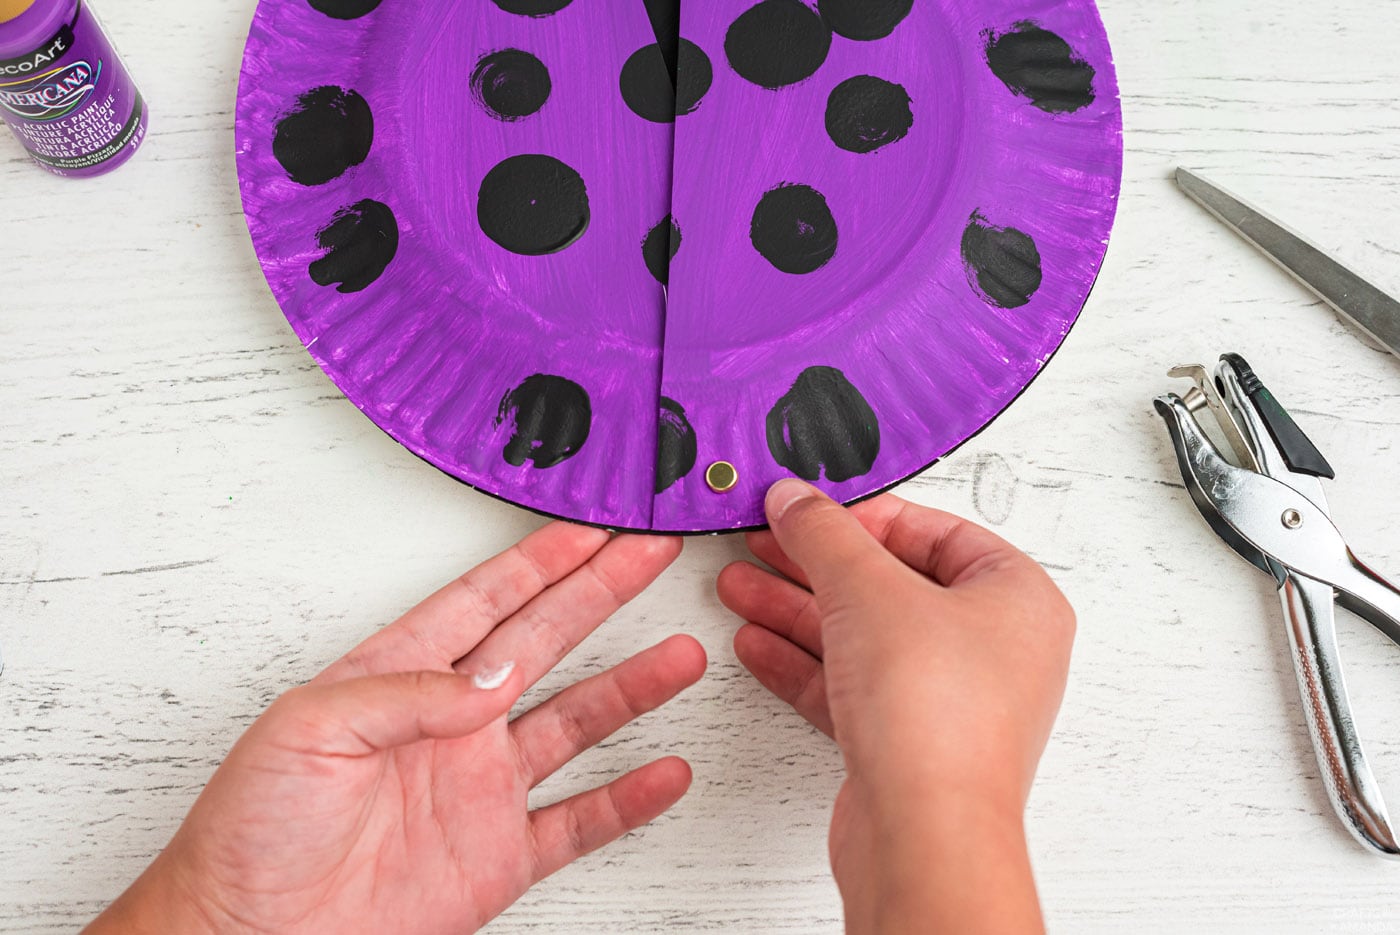
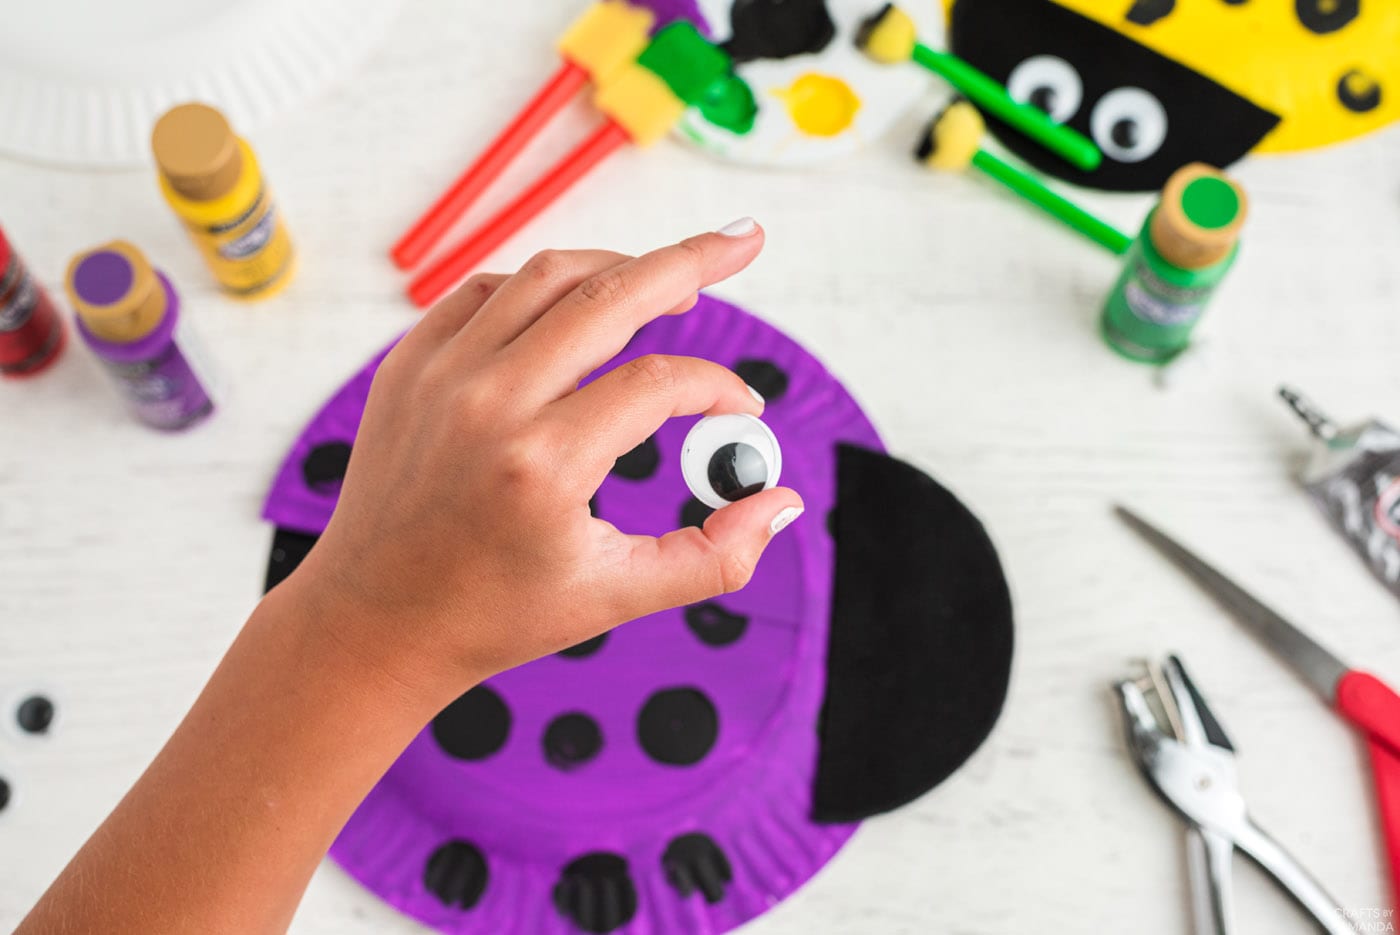
- Glue the head on top of the wings to hide the fastener.

- Glue googly eyes on the head.
Expert crafting tips
- You can replace the black with patterned fabric, craft foam, or construction paper. If you don’t have moving eyes on hand, make your own from white and black felt or craft foam.
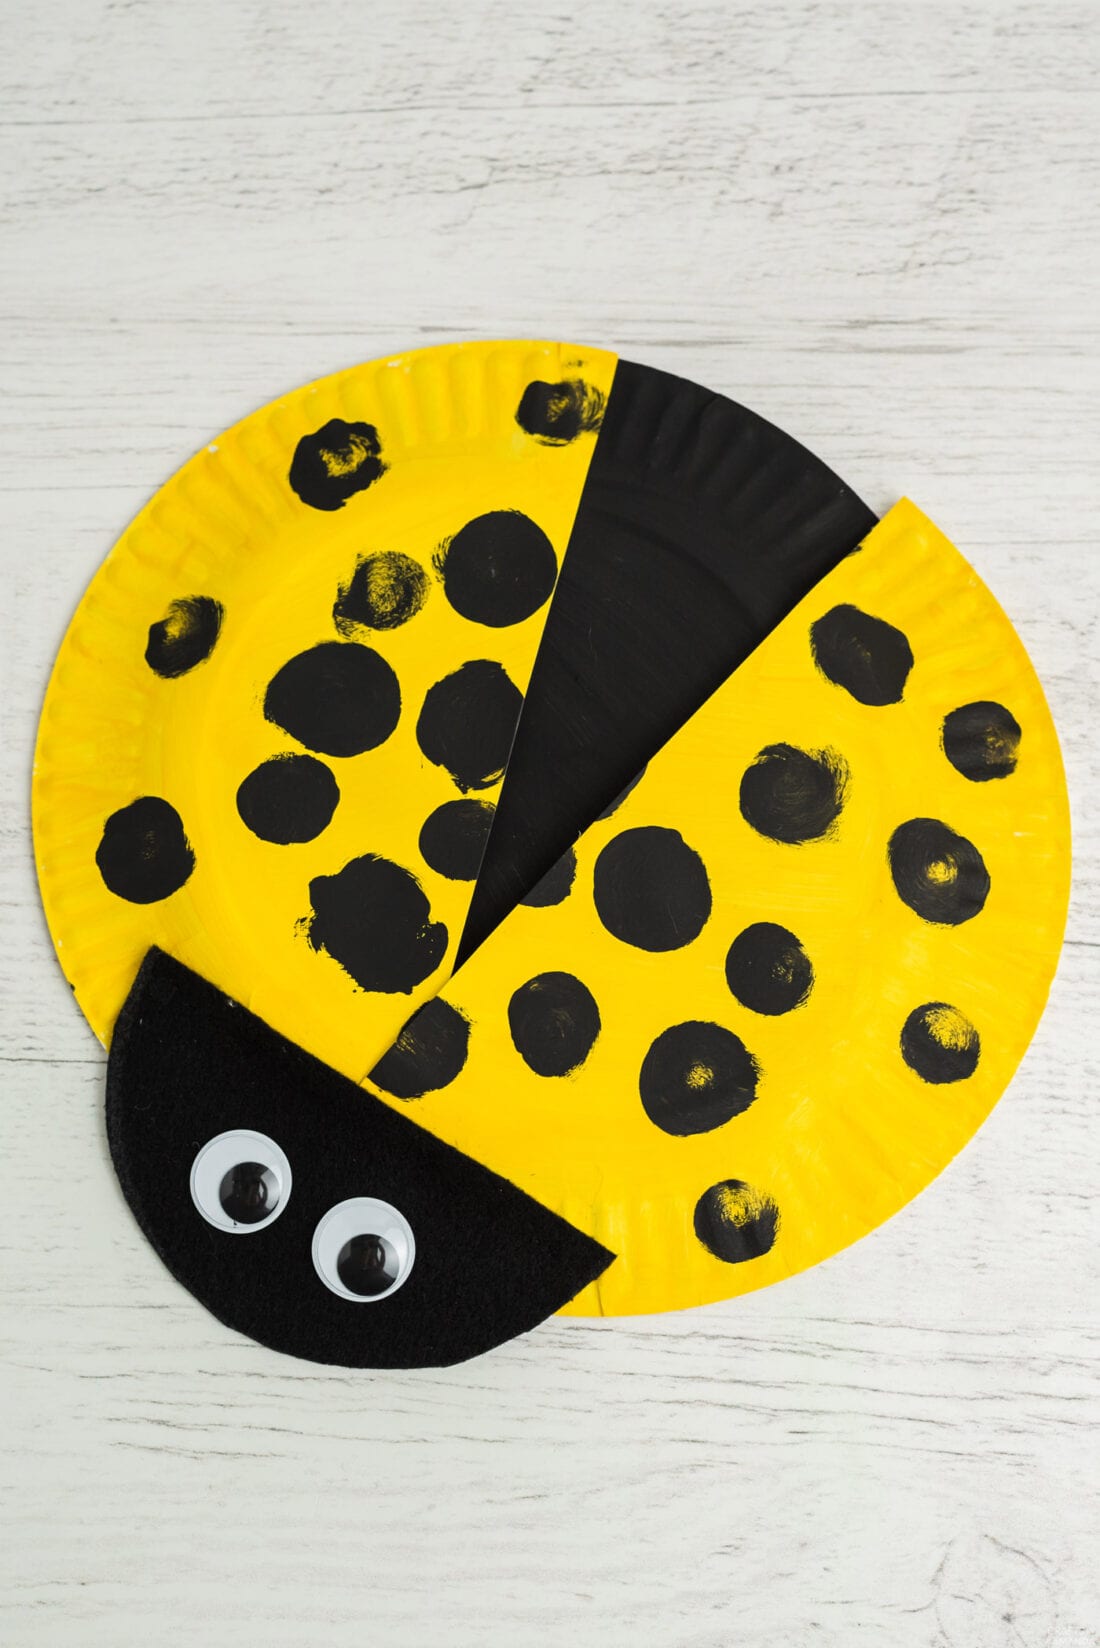
These paper plate ladybugs are a great painting project for kids of all ages. It’s fantastic for helping fine-tune your child’s motor skills while having lots of fun in the process!
More ladybug crafts
I love creating and sharing my projects with you! I know it’s hard to remember to come back and search, so I’ve made it easy for you with my weekly newsletter! you can Subscribe for free And I’ll send you fun crafts and delicious recipes to your email every week.
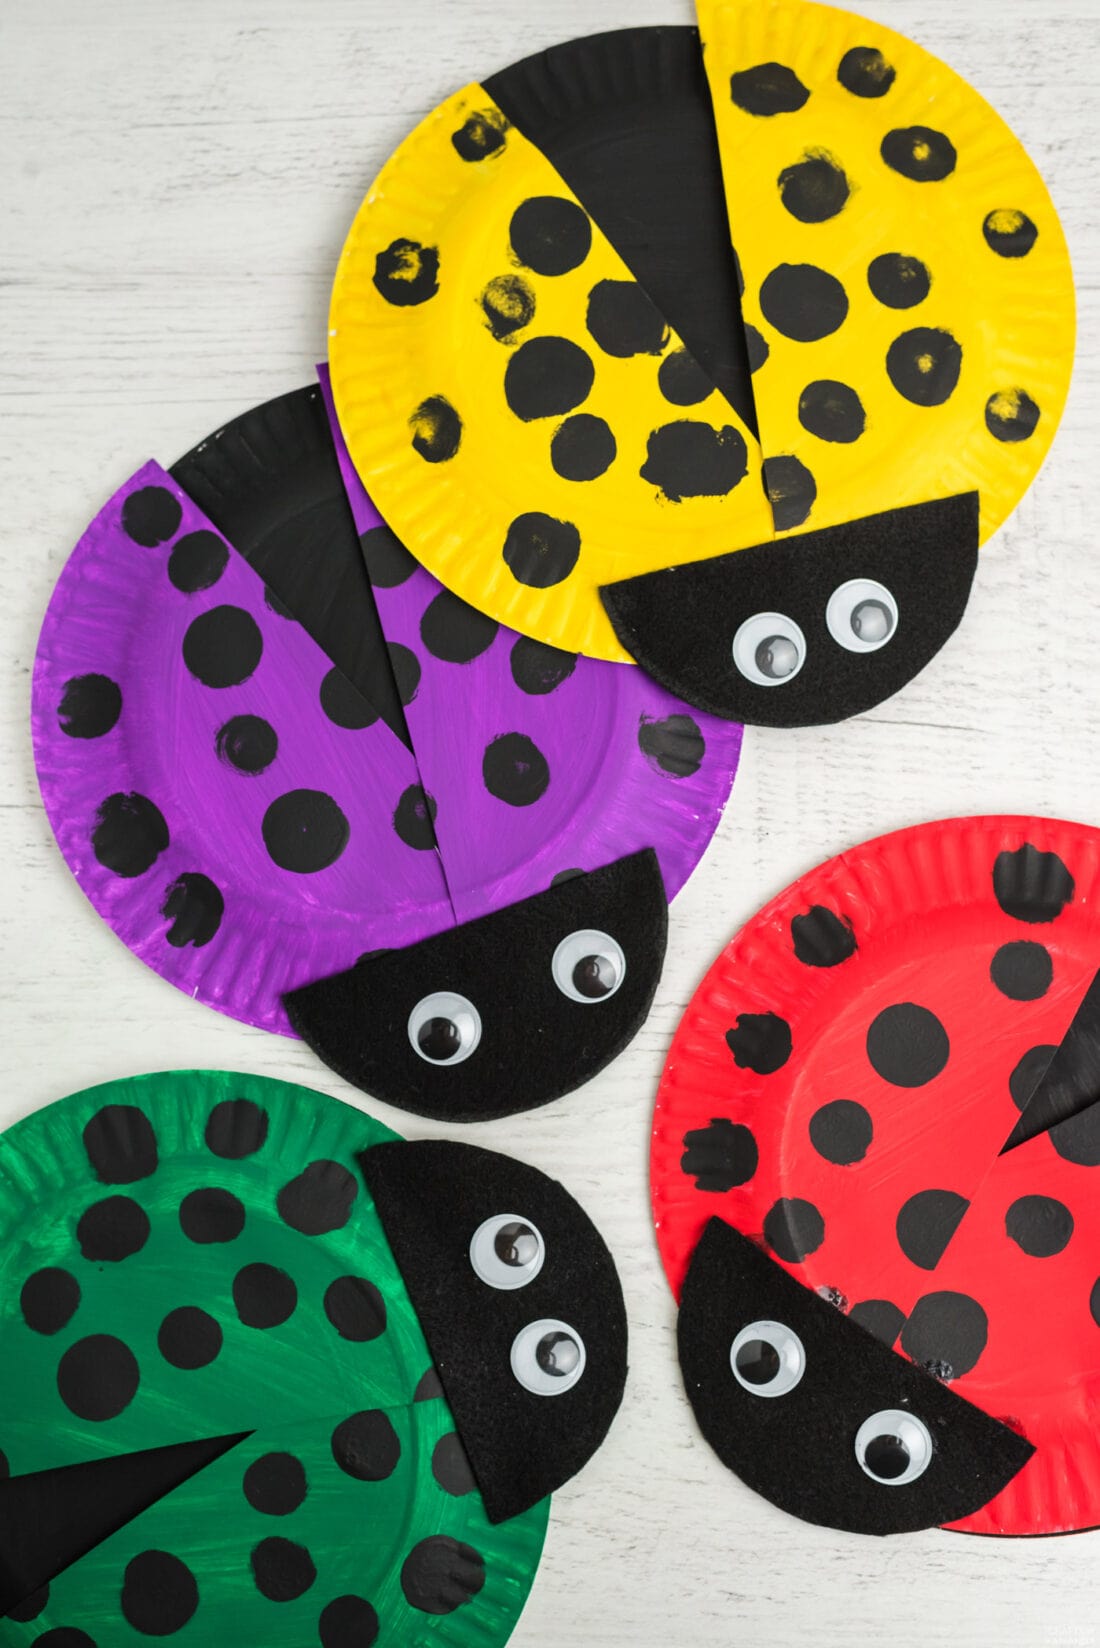
Paper plate ladybugs
These paper plate ladybugs are a great painting project for kids of all ages. It’s fantastic for helping fine-tune your child’s motor skills while having lots of fun in the process!
Makes: 1 Ladybug
supplies
- 2 Paper plates
- Acrylic paint Black and your choice of colors
- 2 Big googly eyes
- E6000 glue or glue stick
- felt black
Craft tools
-
hole punch
-
Paper fastener
-
Pouncer sponges
-
Paintbrush
Instructions
-
Paint one paper plate black and the other any color of your choice. Red is traditional for ladybugs, but you can get colorful like us if you want. Set aside to dry.
-
From black felt, cut out a half circle for the head. Use a jar, small bowl or cup to trace the circle onto the fabric.
-
Once the paint is dry, take your colorful painted plate and start making polka dots using a pouncer sponge lightly dabbed in black. Use multiple sponge sizes to create realistic ladybug patterns.
-
After letting the polka dots dry, take a plate of colored paper (not black) and cut it in half. Bring the two halves together with a plate of black paper and spread the “wings” slightly open. Hold onto the top and carefully jump over the top of the wings and through the black plate below. Still holding it in place, push the fastener through the hole and secure.
-
Glue the head on top of the wings to hide the fastener. Shake the eyes on the head.
Expert tips and FAQs
- You can replace the black with patterned fabric, craft foam, or construction paper. If you don’t have moving eyes on hand, make your own from white and black felt or craft foam.
This post originally appeared here on March 10, 2007 and has since been updated with new photos and expert tips.


