
Perfect for a sustainable gift or to refresh your own space, this project proves that eco-friendly fashion starts at home.
By upcycling men’s shirts into kitchen aprons, you’re not only saving fabric from the landfill; You are creating a functional piece for your home.

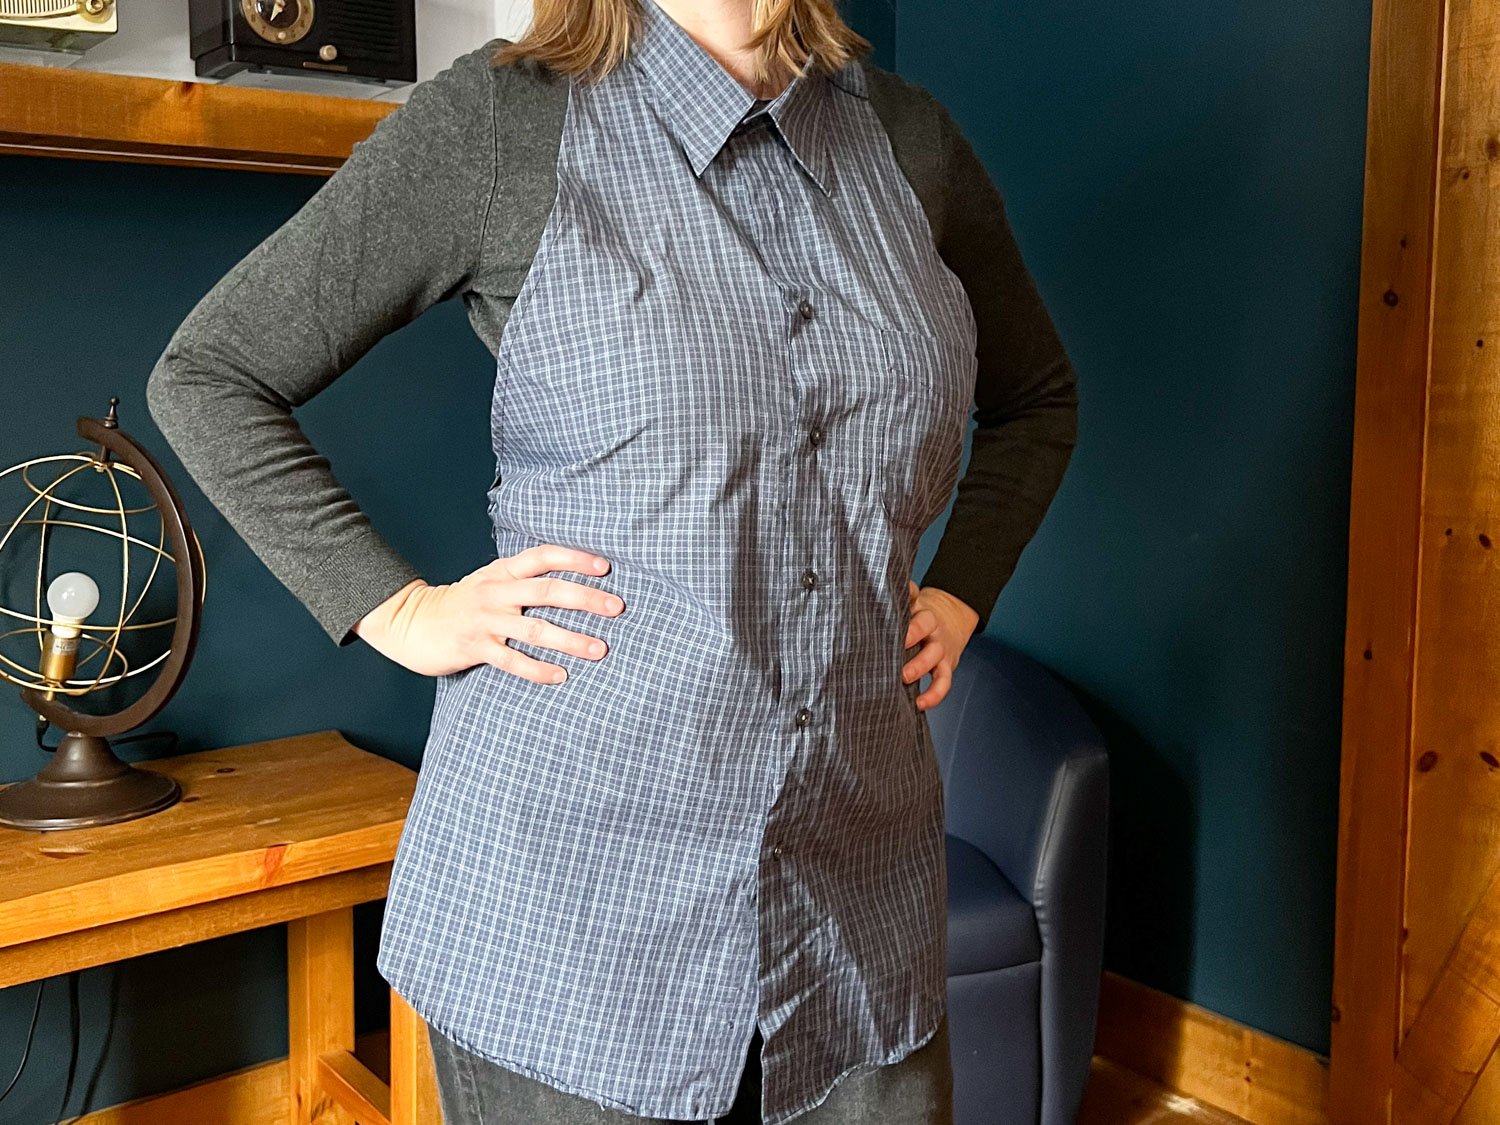
These aprons are lightweight and breathable (thanks to high-quality cotton or linen button-down men’s shirts), and have a unique aesthetic that looks great hanging in any kitchen.
So if you’ve ever looked at an old button-down and thought it deserved a second life, this quick shirt apron sewing project can be done in just 30 minutes!
I’ll walk you through the steps, measurements, and easy finishing touches so you can make your own today.
Why you’ll love this quick clothing upcycle
- Men’s dress shirts are often made from high-thread-count poplin or oxford fabrics, which are more durable and comfortable than mass-produced mixed-blend aprons (that’s high-quality upcycling at its best!).
- Perfect for those interested in eco-conscious living, home cooking and thoughtful gifting
- Using a late father’s (like we did with ours) or grandfather’s shirt to make an apron for the whole family makes a really cute memorial gift.
- It feels good to make a zero-waste kitchen item
- A beginner-friendly sewing tutorial with easy straight seams makes the project doable in 30 minutes or less!

Let’s keep in touch! Subscribe For our latest sewing patterns, tutorials and tips.
Materials needed
- Men’s woven button-up shirt, size L or larger
- Fabric scissors
- Sewing machine and thread
- Wax or chalk for marking, measuring tape
- Iron

How to convert an old shirt into an apron
Cutting and marking
Cut the woven shirt along the side seams from the hem to the armhole.

Cut along the armhole seam to remove the sleeves. Next, cut along the shoulder seam and back neck seam to remove the back body.
Set the sleeves and back body piece aside for now.


Pro tip: keep the original ham. This gives the finished apron a professional looking “curved” bottom hem and keeps the DIY under 30 minutes!
Lay the front body flat on the work surface in front of you with the front button.
Mark the shoulder line 1.75” from the neckline with a piece of chalk or wax.
With fabric scissors, cut the edge of the armhole directly from the side seam at the marked location. Cut the other armhole in the same way.

With an iron, press the side edges to the wrong side ½”. On the sewing machine, turn the edge over another ½” and topstitch in place.

Next, with an iron, press the armhole edges to the wrong side by ¼”. On the sewing machine, turn the edge over another 1/4″ and topstitch in place.

Preparing the cross back straps
To make the back straps, cut the back into four 3” wide strips as shown.

Cut the short end of each strip so that it has a straight/square edge.

With right sides together, join the two strips together at one of the short ends to make the strap longer. You will now have two long pieces to make two straps. Press Open Seam Allowance.

With an iron, press the long edges to the wrong side by ¼”. Next, also press the short ends to the wrong side by 1/4″.

Working with one strap at a time, align the short ends of the straps with right sides together along the 1.75″ long shoulder edge. Half of the strap will extend past the edge of the armhole (photo below).

Sew the edges with a ½” seam allowance. Press the seam allowance to the back.

Fold the other half of the strap to hide the seam allowance in between and align the folded edge with the neckline. Edgestitch the strap along the shoulder seam.


Next, sew the long folded edges of the strap together from the neck to the end of the strap.

Double fold the remaining short end of the strap and stitch to finish the edge.

Repeat with the shoulder strap on the other side.
Strap loops and finishing
Finally, make two belt loops using the remaining scrap fabric from the sleeves or back panel. Cut 2 rectangular pieces measuring 3” high by 2” wide.
Next, with an iron, press the long edges to the wrong side by ¼”. Fold the piece in half to align the folded edges and edges together. Repeat with the other belt loop.
Fold the unfinished ends by ½” and place the belt loops at the bottom of the armhole edge on the body of the apron. Stitch the loops in place along the side edges.

Cross the criss straps and loop the ends through the belt loops and tie at the back to wear.

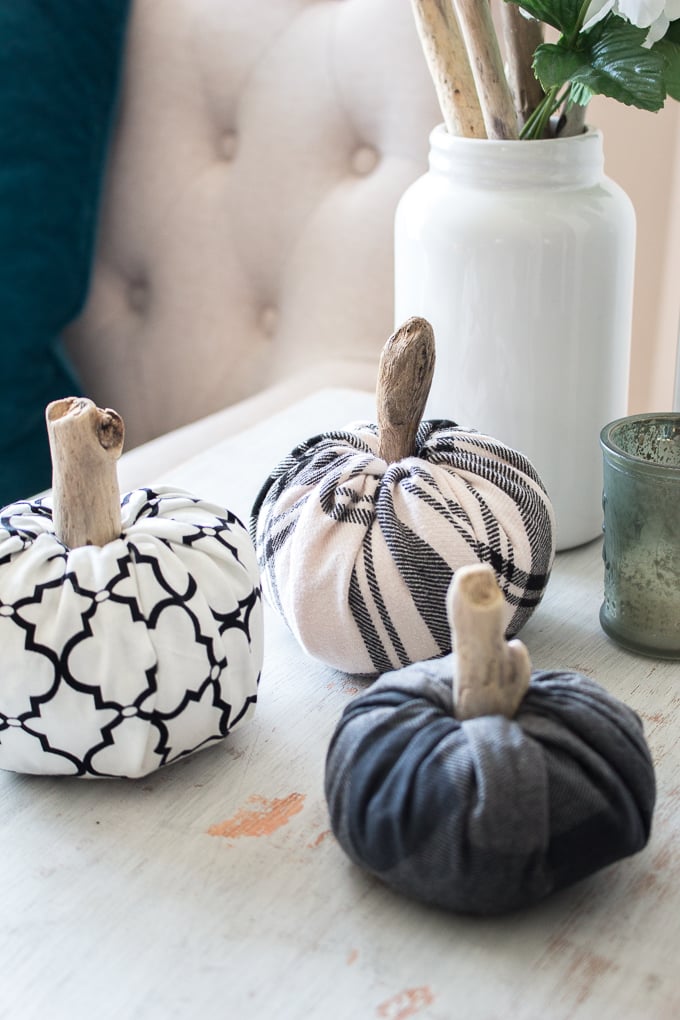
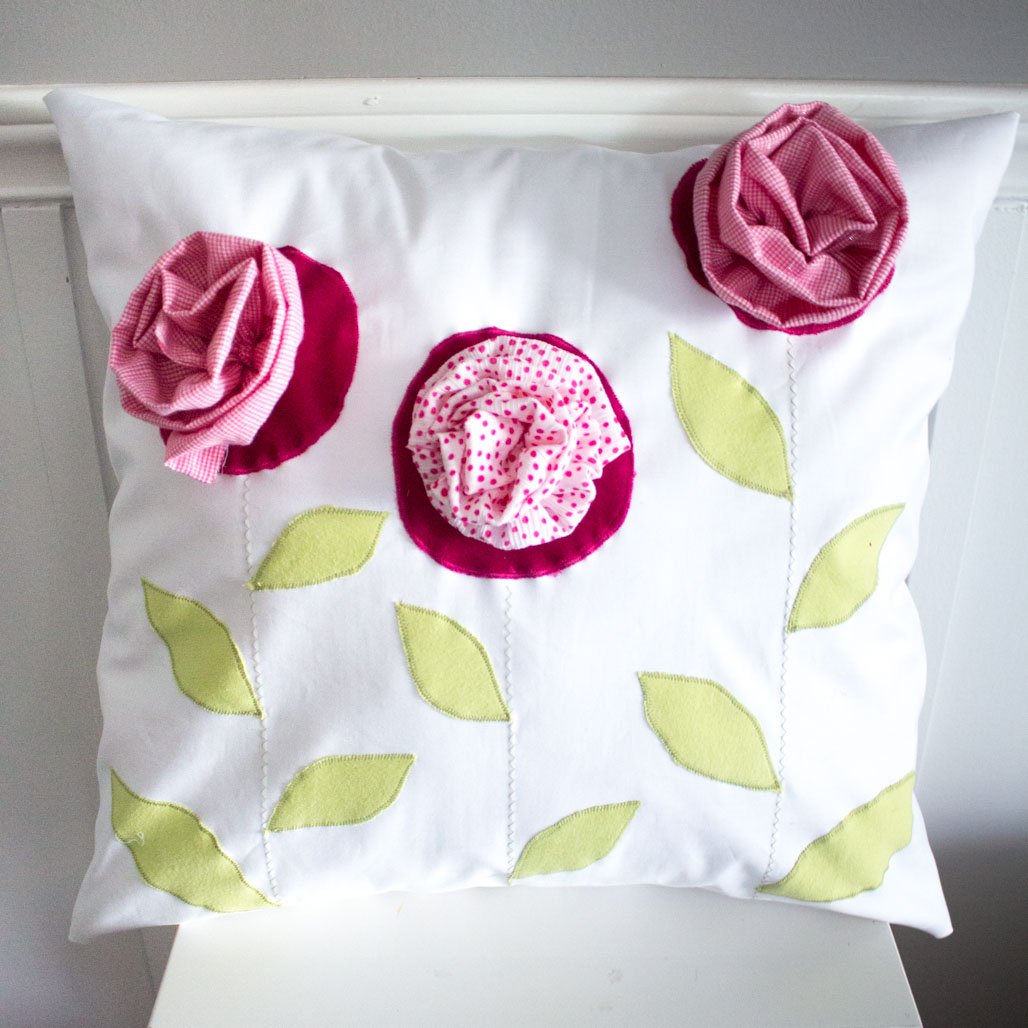
And if you have any leftover fabric from the sleeves, don’t throw it away! Use scrap fabric to make little chicken pocket buddies, book bands, and pumpkin decorations! Doesn’t upcycling feel good?!


Pro tips and men’s shirt apron variations
Strap length
When cutting your cross back straps, try the apron before final stitching:
- Cross the back strap and pin it in place to check comfort.
- Make sure the strap is long enough to cross the crease and tie back in the middle.
Fabric and color options
A chambray or denim shirt gives off a classic farmhouse feel, while a brightly patterned shirt makes a fun kitchen apron.
You can also mix fabrics and textures to give your upcycled apron a high-end look. For example, swap matching fabric ties for cotton twill or herringbone tape. The contrast between the fabric of the shirt and the strap material makes the finished piece look professionally produced rather than handmade.
Use the shirt’s original chest pocket as part of your design! It looks great and comes in handy for holding your phone.
Additionally, if more pockets are needed, cut a rectangular piece from the leftover sleeve fabric and sew it onto the apron.

Sustainable gift giving
Fold an apron neatly with a wooden spoon and a handwritten recipe card to make a cute housewarming or Mother’s Day gift.
Once you’ve made one, it’s hard to stop at just one — I’ve already got my eye on the next shirt in the pile. If you make one, please send us a picture, we’d love to see it!
More DIY sustainable style at home


Join our crafting community To find more DIY and upcycled craft ideas. It feels good to reuse and upcycle!
like? Pin it for later!

How to make a shirt apron with cross back straps
Learn how to transform a men’s shirt into a chic, functional kitchen apron with this easy upcycling tutorial.
- Men’s Woven Button Up Shirt Size L or larger
- Fabric scissors
- Sewing machine and draw
- wax or chalk For marking
- Iron
-
Cut the woven shirt along the side seams from the hem to the armhole.
-
Cut along the armhole seam to remove the sleeves. Next, cut along the shoulder seam and back neck seam to remove the back body. Set the pieces aside.
-
Lay the front body flat on the work surface in front of you with the front button.
-
Mark the shoulder line 1.75” from the neckline with a piece of chalk or wax.
-
With fabric scissors, cut the edge of the armhole directly from the side seam at the marked location. Cut the other armhole in the same way.
-
With an iron, press the side edges to the wrong side ½”. On the sewing machine, turn the edge over another ½” and topstitch in place.
-
Next, with an iron, press the armhole edges to the wrong side by ¼”. On the sewing machine, turn the edge over another 1/4″ and topstitch in place.
-
To make the back straps, cut the back into 4 3” strips.
-
Cut the short end of each strip so that it has a straight/square edge.
-
With right sides together, pin the two strips together with one of the short ends. Press Open Seam Allowance.
-
With an iron, press the long edges to the wrong side by ¼”.
-
Working with one strap at a time, align the short end of the strap with right sides together with the edge of the shoulder. Half of the shoulder strap will extend past the edge of the armhole.
-
Sew the edges with a ½” seam allowance. Press the seam allowance to the back.
-
Fold the other half of the strap to hide the seam allowance in between and align the folded edge with the neckline. Sew the folded edges of the strap together from the neck to the end of the strap.
-
Fold the remaining short end double and stitch to finish the edge.
-
Repeat with the shoulder strap on the other side.
-
Finally, make two belt loops using the remaining scrap fabric from the sleeves and back panel. Cut 2 rectangular pieces measuring 3” high by 2” wide.
-
Next, with an iron, press the long edges to the wrong side by ¼”. Fold the piece in half to align the folded edges and edges together. Repeat with the other belt loop.
-
Fold the unfinished ends by ½” and place the belt loops at the bottom of the armhole edge on the body of the apron. Stitch the loops in place along the side edges.
-
Cross the kris strap and loop the ends through the belt loops.


