
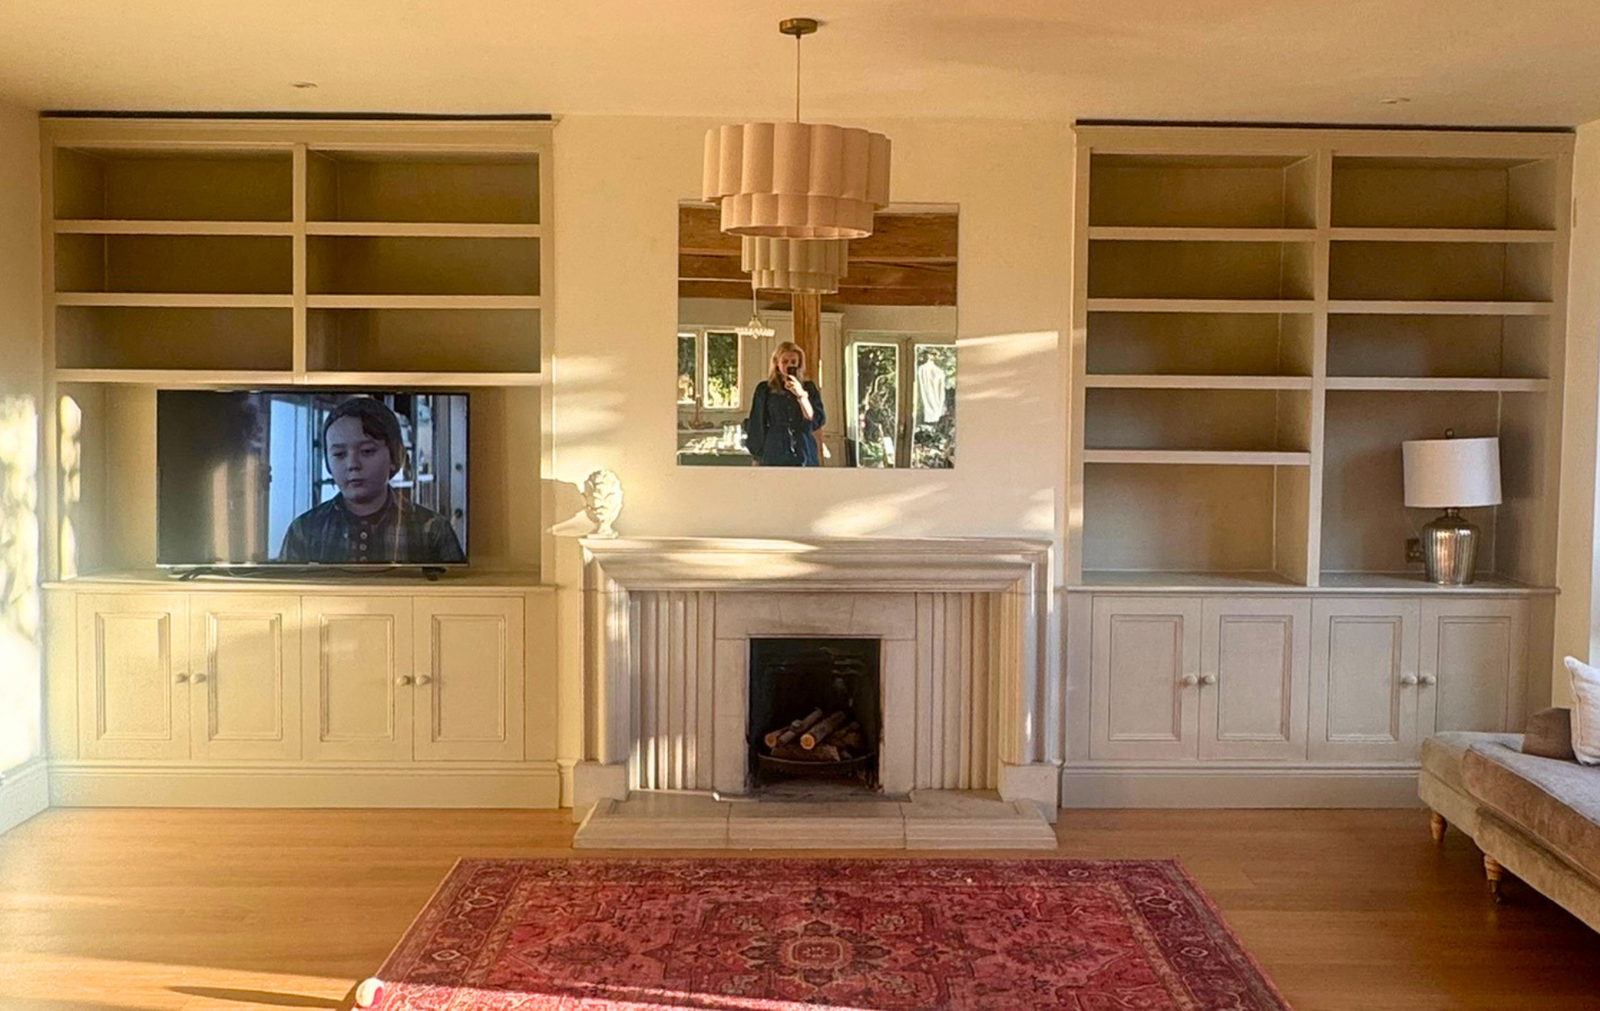
Built-in storage is a fantastic way to optimize redundancy Living room alcovesBut unfortunately it can be quite expensive, with installers often charging thousands.
While Georgia and Josh, the social media stars behind Hey Barn on InstagramQuoted £4,300 for the work, they took matters into their own hands and opted to DIY it for a fraction of the price. This decision saved them a whopping £3,840.
If you’re curious to know how they did it and what you need to buy to get started, we’ve explained everything you need to know below.
Article continues below
What will you need?
To create their bespoke alcove units, Georgia and Josh use the following:
- IKEA Metod cabinets, 602.055.22 (x4) – Available from IKEA
- IKEA Encoping doors, 805.057.65 (x8) – Available from IKEA
- IKEA Utrusta Hinges, 805.248.82 (x8) – Available from IKEA
- IKEA Urusta shelves, 102.056.09 (x2) – Available from IKEA
- B&Q 12mm Pine Sheet, 1.2mx 2.4m (x2) – Available from B&Q
- Build base 9mm MDF sheet, 1.2mx 2.4m (x1) – Similar found at B&Q
- Planed pine, 46 x 21 mm (x14) – Available from B&Q
- Base moulding, 21mm (x6) – Available from Wicks
- Barrel moulding, 34mm (x2) – Available from Wicks
- Half round moulding, 21mm (x2) – Available from B&Q
- Skirting Boards R Us Skirting Board, 171mm 330 (x1) – Similar found at B&Q
The couple already had six to 11 items on this list, bringing their total for resources to just £460.
Where to buy materials

Available in black or white, this wall cabinet frame is moisture- and scratch-resistant.

These white doors are compatible with IKEA’s Metod cabinets and can be mounted on the left or right.

Made from durable melamine, these scratch-resistant shelves come in white, black-grey or wood-effect black finishes.

Add decorative trim to your alcove unit with this pine barrel molding.

These hinges have integrated dampers, so your doors close slowly and smoothly.
How they did it
Georgia and Josh started by building the cabinet, which they said was the fastest part of the job. Since their floor was not level, they ordered adjustable feet (Like these furniture levelers from Amazon) to raise the height of the units and ensure they are stable and horizontal.
To make the Shaker door a little more decorative, they cut out the molding using a miter cutter and glued it to the inside. Stixall (Available on Amazon). The IKEA Method cabinets were then put together and clamped using the shelf holes. To give units a Built-in storage See, they used 2×1 lumber on the top and bottom for that custom feel.
At this point, the unit had gaps on both sides, so the couple decided to fill them with MDF boxes. To do this, they used scrap pieces of wood to cut MDF strips to the width of the gaps, creating boxes that could slide into the sides.
To raise the top unit, Georgia and Josh added 2×1 lumber to the back, which was attached to the wall using brackets. The MDF tops were cut to size and then screwed into place.
The stair frame was made using 2×1 lumber, glued and screwed together. Then they cut the MDF to the same size, glued it to the sides, and weighed it down while it dried.
On the MDF side of the ladder, Georgia marked where each shelf would go and then glued and screwed them to the battens. To save time the plywood shelves were cut to size by B&Q and then lifted into place on the unit.
Finally, the skirting boards were cut and stuck in place using Sticksel, the units were primed and painted, and the doorknobs were added.
This project goes to show that you don’t have to spend a fortune to achieve beautiful, custom-looking results – And putting together your dream alcove unit may be easier than you think.
For more budget-friendly DIY hacks, see how our Content Director Laura Crombie made them Built-in pantry for just £350. Or learn about 10 common ones DIY mistakes You should avoid.


