
The last mouse pad I used looks pretty old and worn lately. However, I really wanted a chance to sew my own mouse pad, so this came at the perfect time!
Sewing a mouse pad is such an easy and quick sewing project that anyone would love. It’s basically like sewing a planter as the method is the same.
If you’ve ever sewn a planter, then I’m sure you’ll recognize the steps below.
*This post may contain affiliate links. We will earn a commission at no additional cost to you if you use one of our links. Please read our disclosure for more details.
I went ahead and filmed the entire process of sewing this mouse pad from start to finish.
All you need is a bowl or round pan and your fabric! It’s that simple.
(If you want to personalize it further, you can also quilt it for added detail!)
Mouse pad sewing tutorial
Consumables
Here’s what you need to make this mouse pad:
- Patterned fabric (2 pcs.)
- Cotton wool (1 piece)
- Cup
- Chalk/Fabric Marker
- Sewing machine
- scissors
- Pins
- Iron
If you want high quality, AD-FREE version of this sewing guide with step-by-step instructions included below each photo, get the printable PDF guide here!
Video tutorial
Instructions
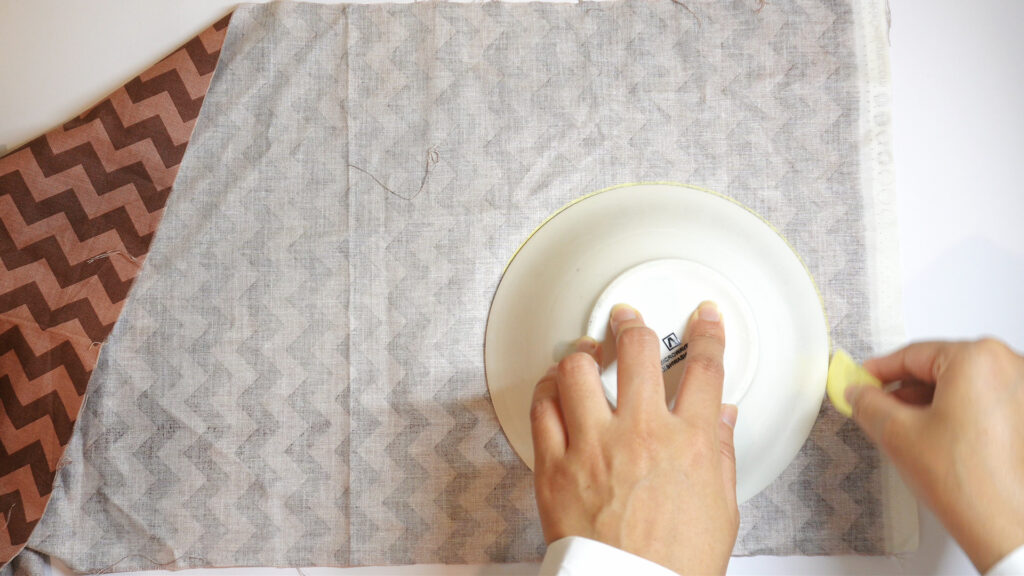
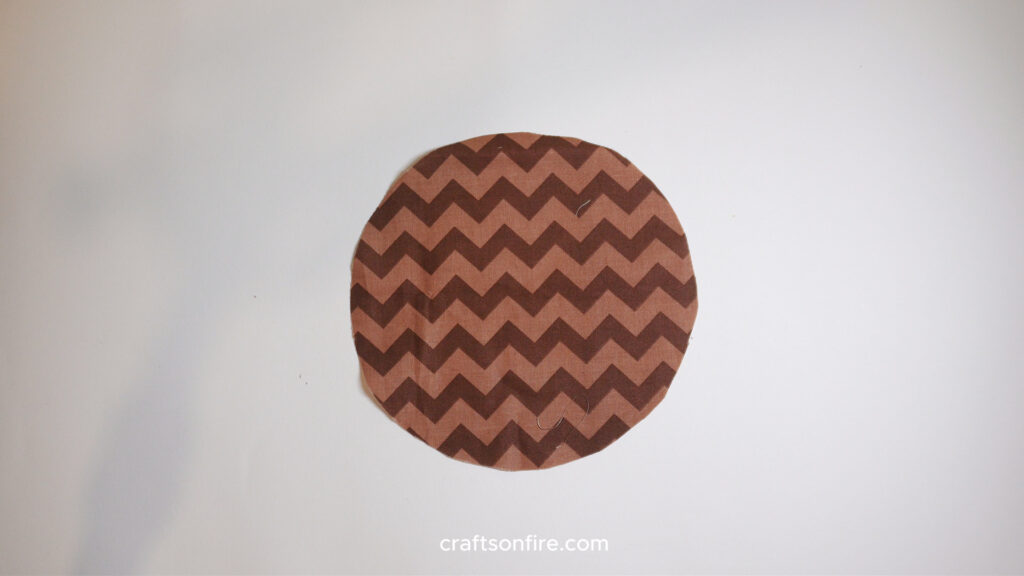
Step 1: Place a bowl on top of your fabric. Use chalk or a marker to trace the shape of the bowl onto the wrong side of the fabric.
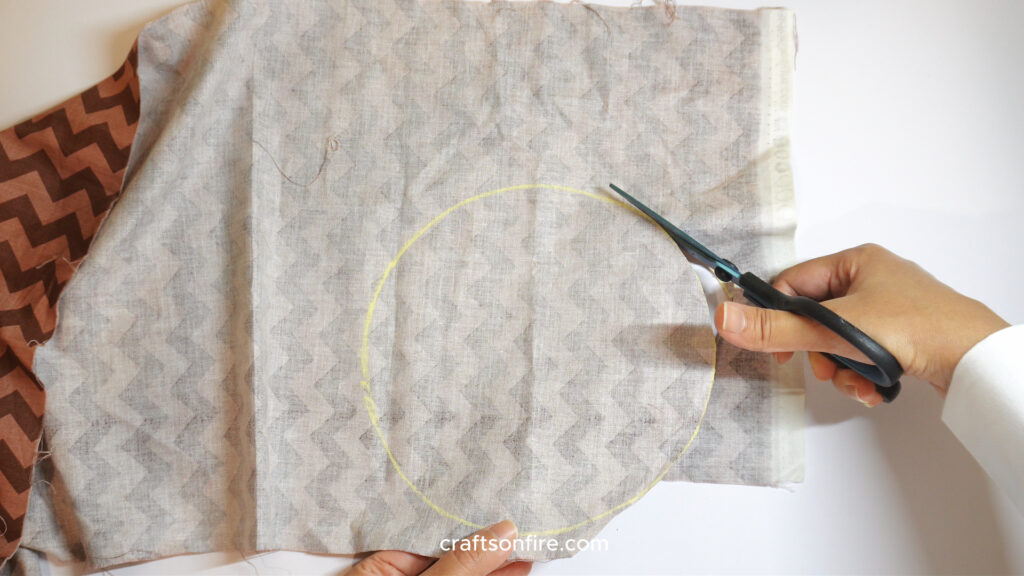
Step 2: Once you have your circle, cut out the fabric.
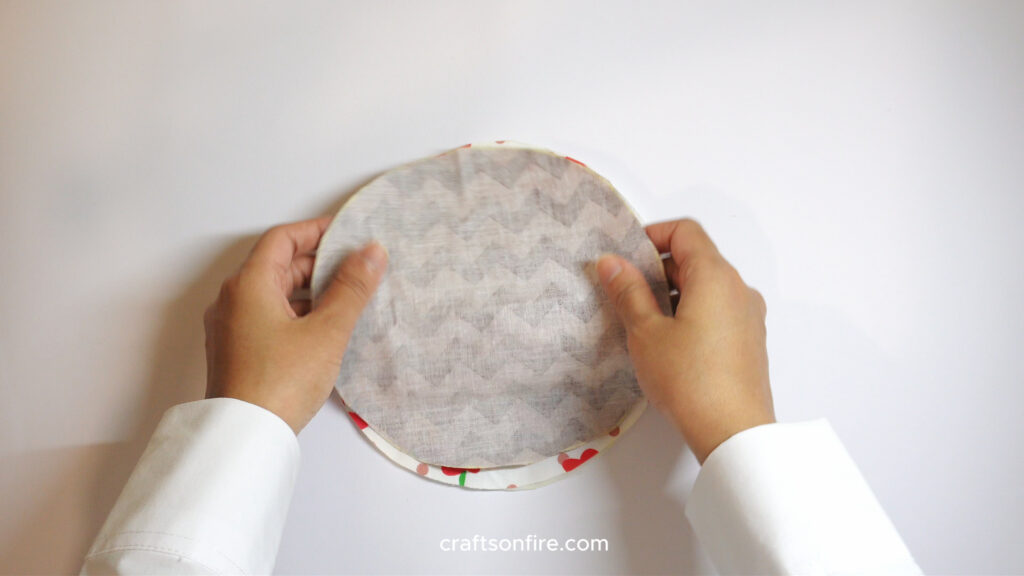
Step 3: Repeat this step for the batting and the second patterned piece of fabric.
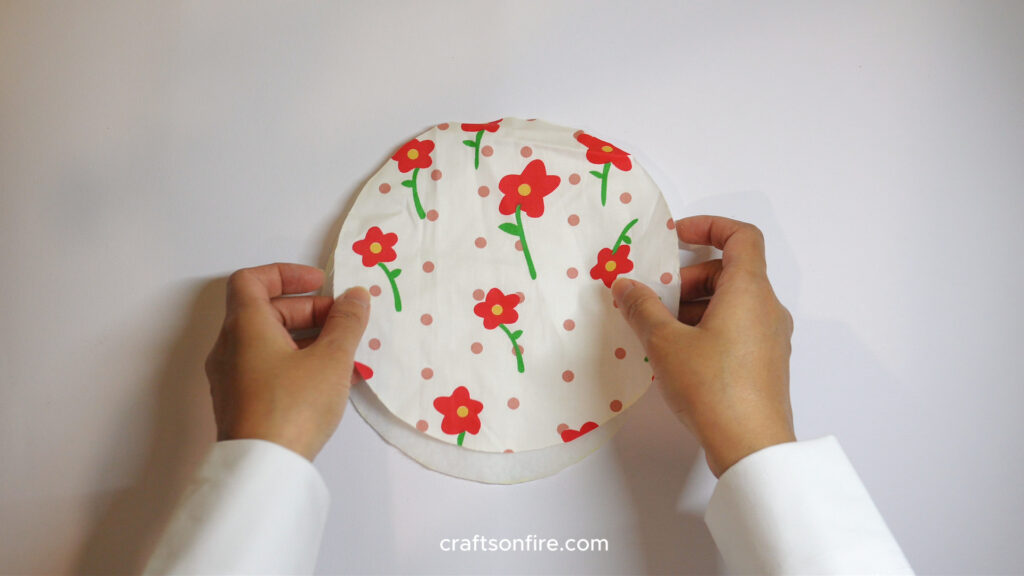
Step 4: To begin assembling your mouse pad, place the patterned piece of fabric on top of the batting.
Step 5: Now place the other patterned circle of fabric on top of it right side up.
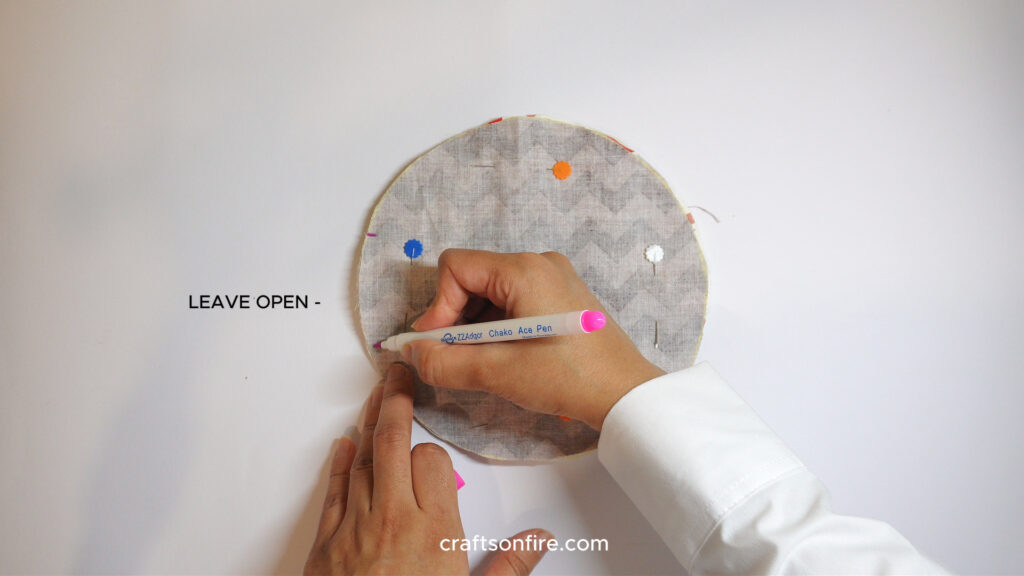
Step 6: Pin the fabric to hold it in place. Mark a small area on the circle. You want to leave this area unstitched for turning.
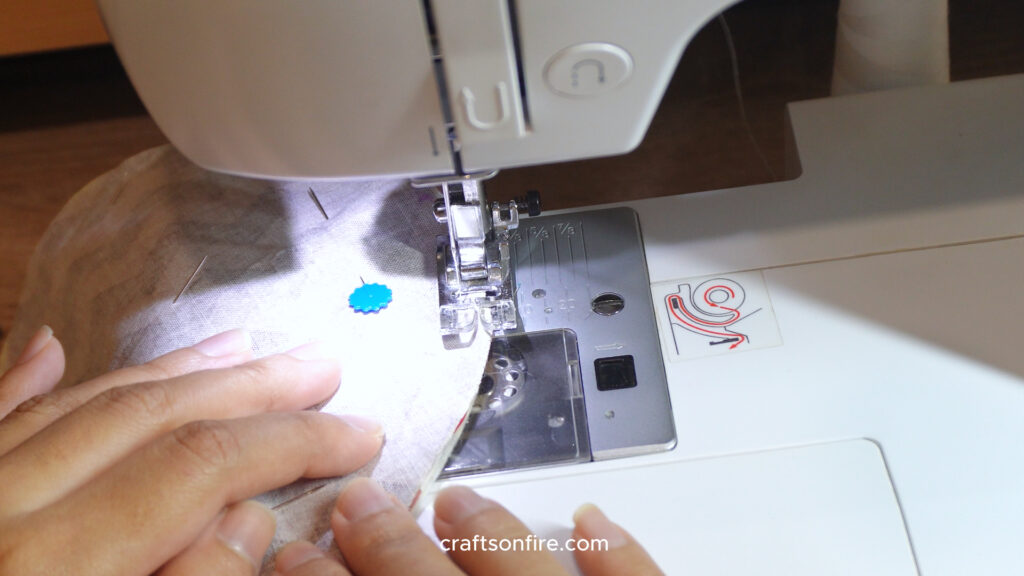
Step 7: Go ahead and sew the piece. You can use 1 cm or 0.5 cm seam allowance.
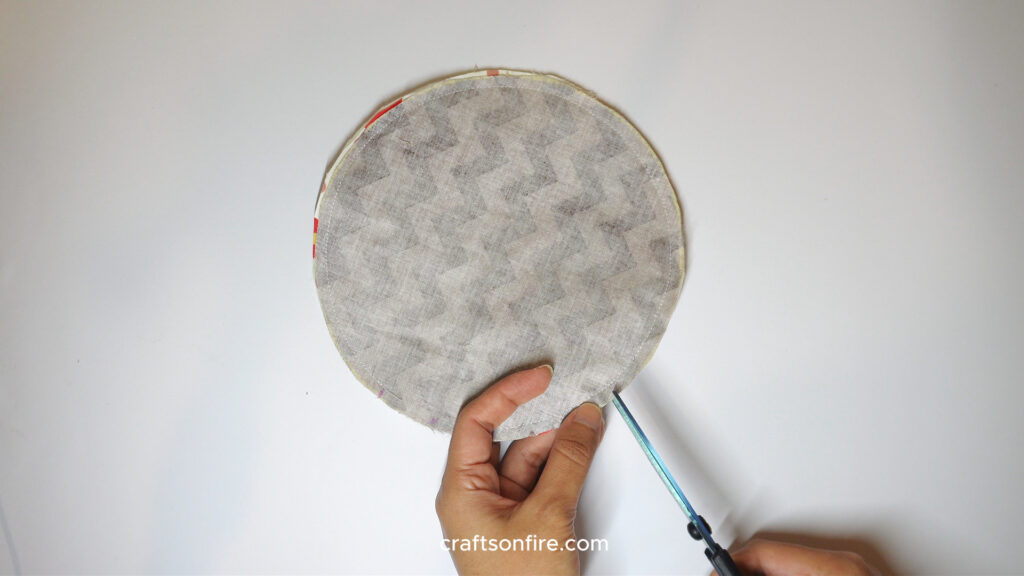
Step 8: Make small cuts all around the circle.
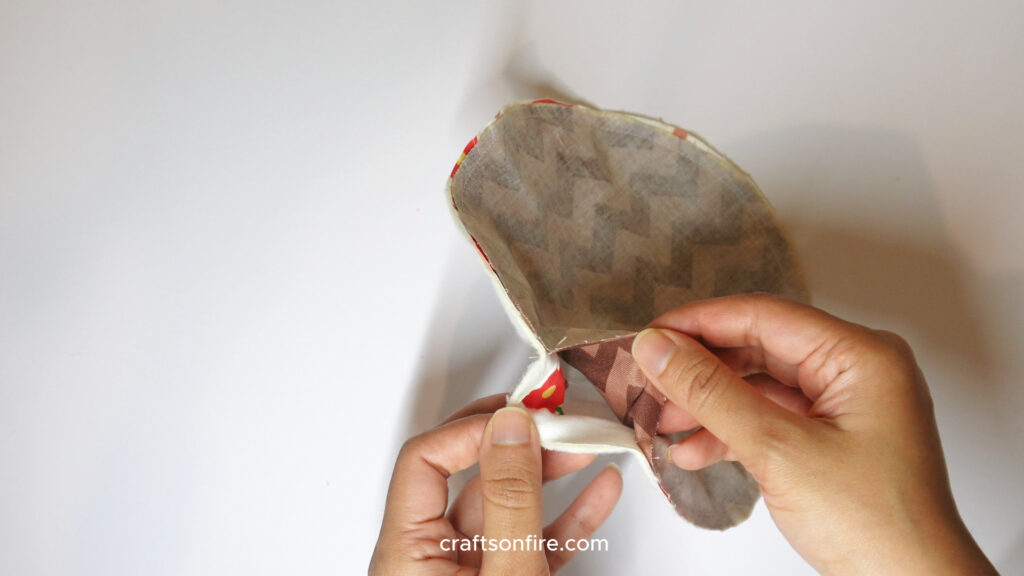
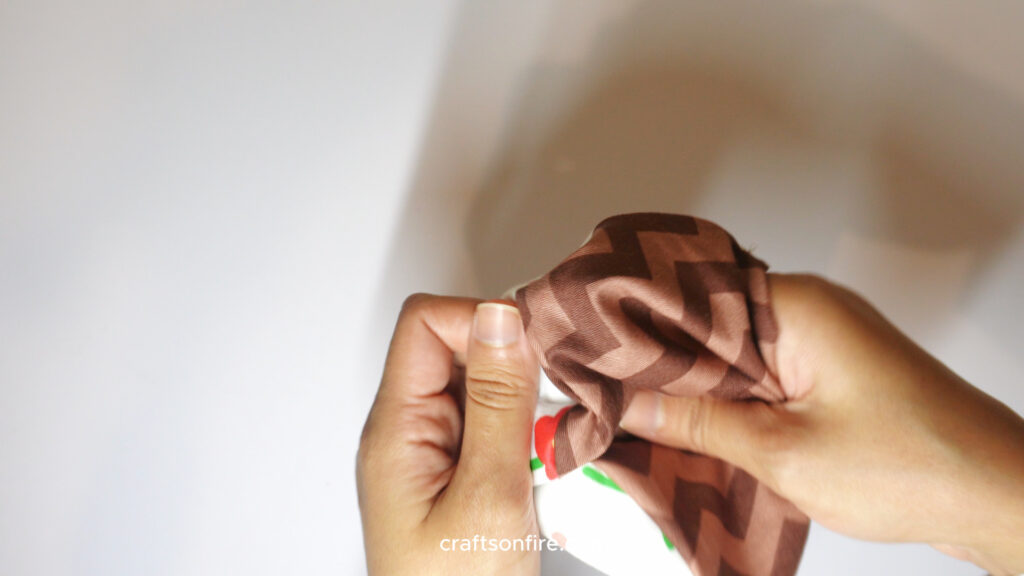
Step 9: Use the hole to pull the fabric right side out.
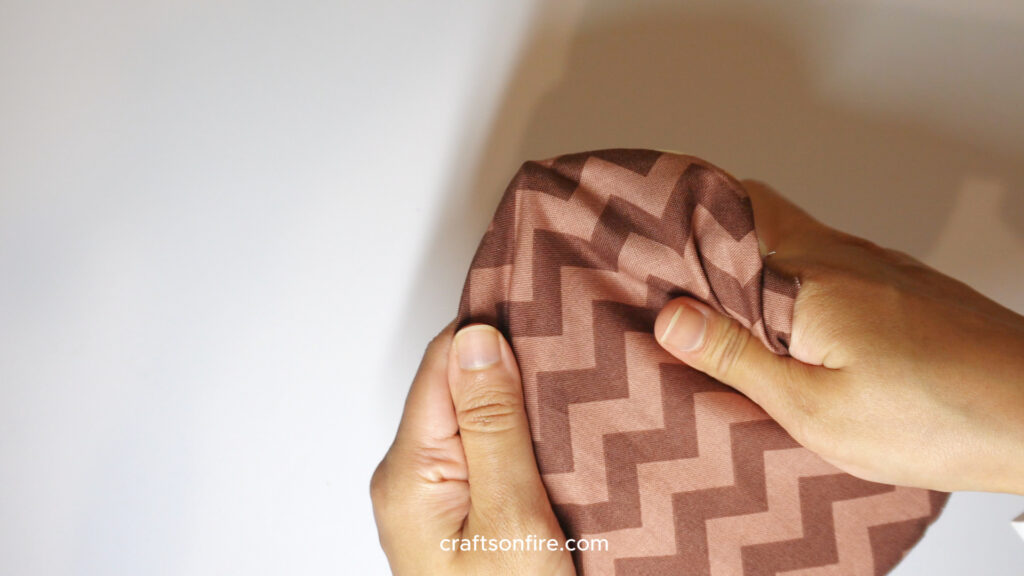
Step 10: Then use your finger to open the fabric following the curve.
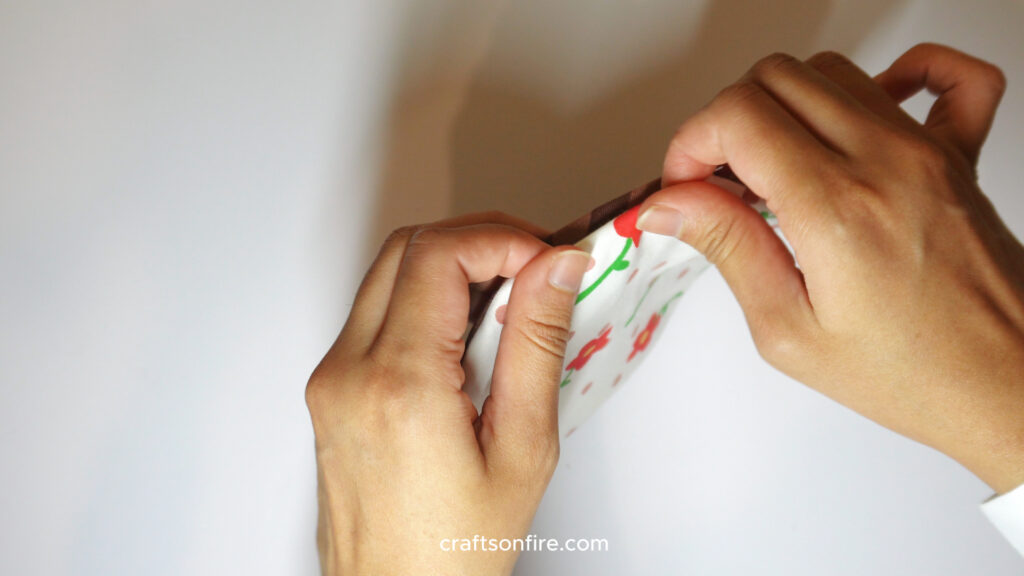

Step 11: Fold the raw seam inward and pin. Then quickly press the piece with the iron.
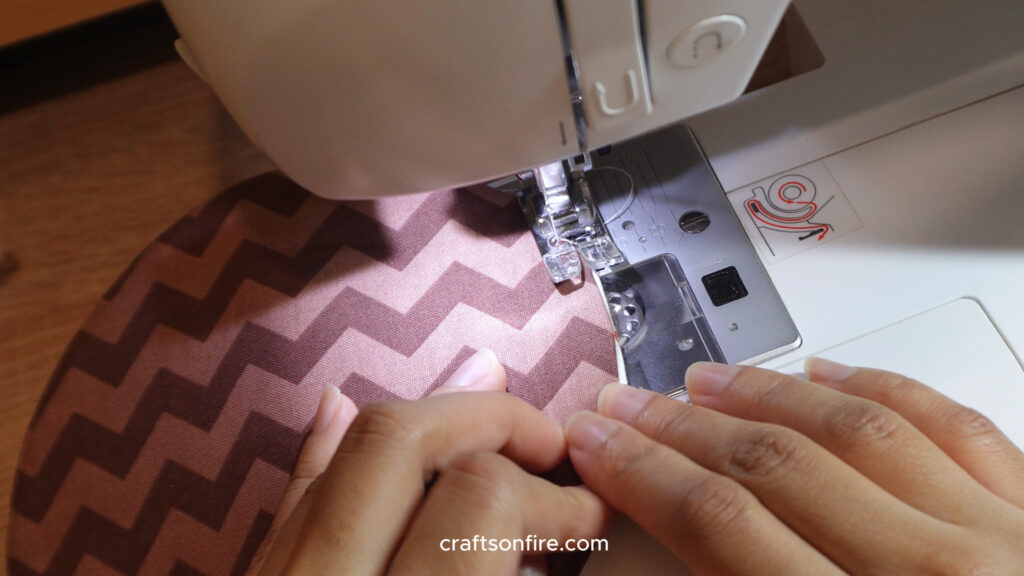
Step 12: As a final step, add topstitching to the mouse pad. This should also close the opening.
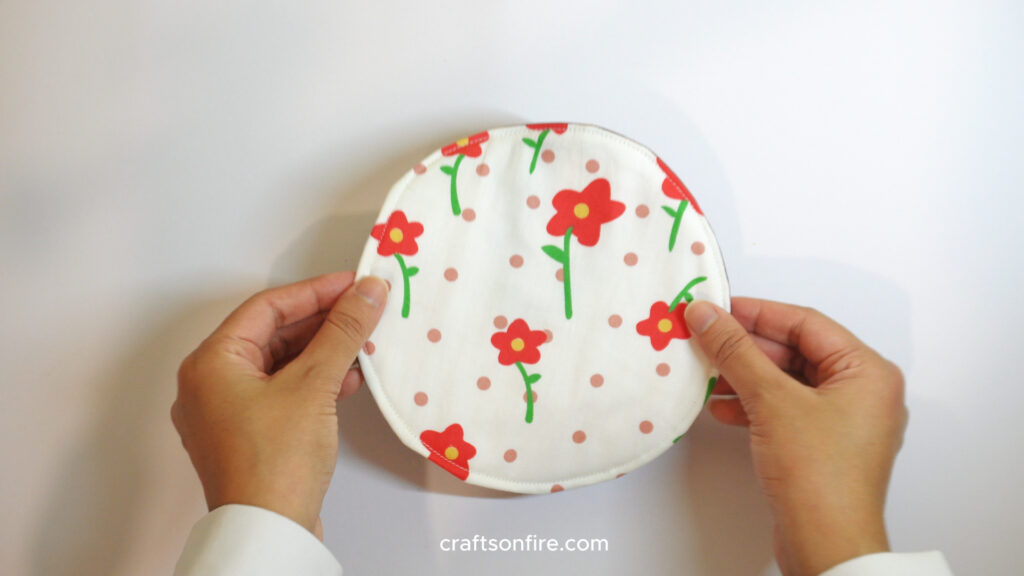
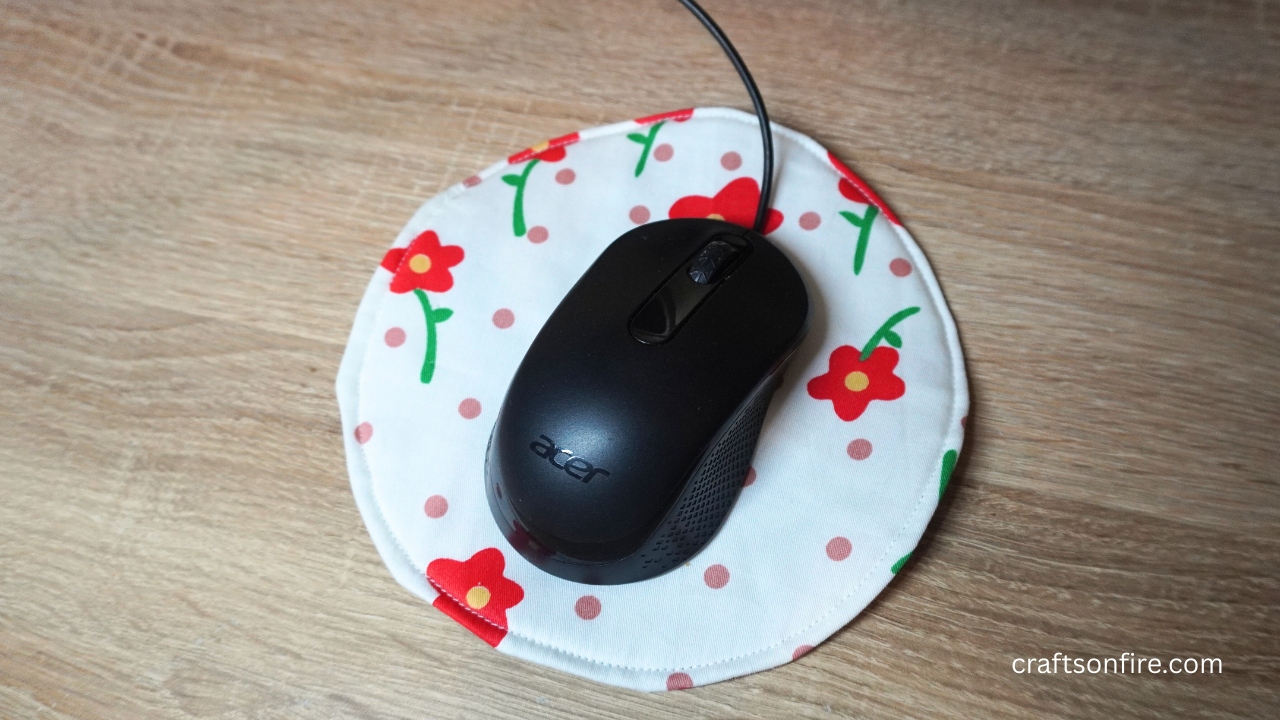
You are done!

Completion
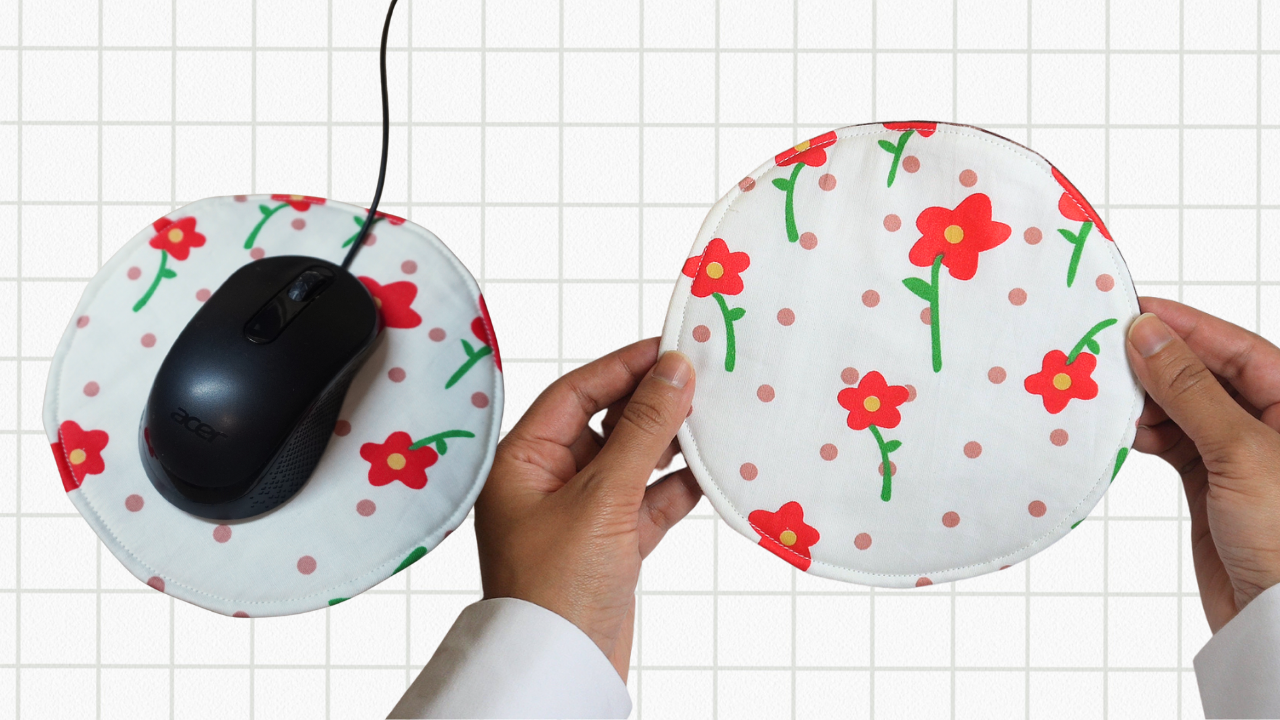
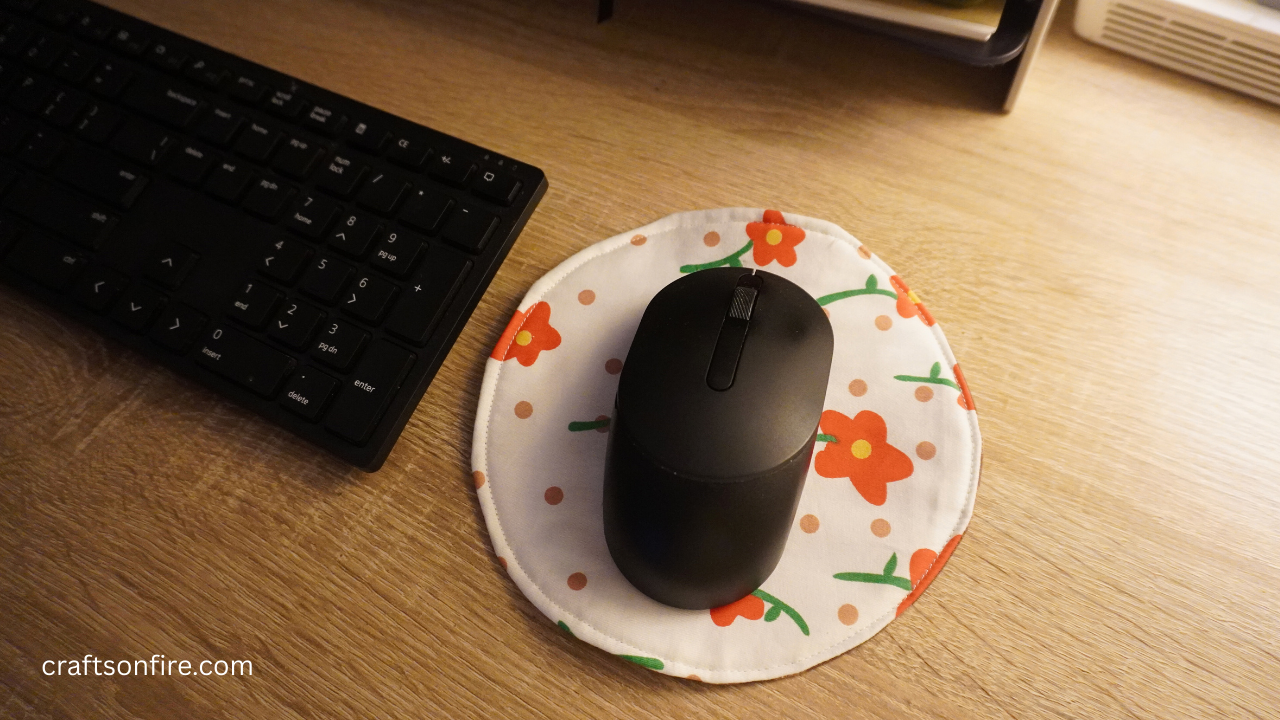
It’s such a simple process to sew a mouse pad. I’m really pleased with how mine turned out. It is much cuter than expected and you can use any fabric you have to sew it.
The great thing about this mouse pad is that it’s reversible, so you can always change things up by flipping the mouse pad to the other side whenever you want.
This mouse pad is quite light and the mouse moves well on it.
However, if you want a thicker pad, just add more layers of wadding. But if you want a thinner mouse pad, consider using the Vilene instead.
This should work pretty well to help you achieve what you want.
I hope you plan to sew your own mouse pad using my tutorial. If you found these steps easy to follow, please let me know in the comments below!
Also, here are some other easy sewing projects for beginners to check out next:
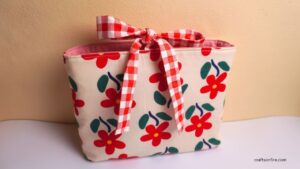
How to Sew a Ribbon Book Sleeve (Beginner Tutorial)

See you on the next one!


