
Sharing is caring!
If you’re looking for an easy DIY home decor project that adds warmth and texture to your space, learning how to make a bead necklace is the perfect craft to try.
This simple handmade embellishment combines wooden beads, soft tassels and customizable colors to create a stylish accent for shelves, trays, mantels and more.

The best part? All you need are a few inexpensive supplies and a little creativity to create a beautiful wreath that fits your home decor style.
Whether you love farmhouse decor, boho accents, or a minimalist style, this DIY beaded wreath tutorial will walk you through every step. Plus, you can easily customize the size, bead colors and tassel style to suit any season or occasion.
Why you’ll love this boho-chic DIY
- Uses simple and cheap craft materials
- Beginner-friendly with complete step-by-step instructions
- Makes a beautiful handmade home decor idea
- Perfect for tiered trays, mantels, shelves or gift decor ideas
- Easy to customize with different bead sizes, tassel colors and seasonal themes
Want tons of inspiration and money-saving ideas for decorating, gifting, and crafting? join up here!
Materials needed
- twine
- Scissors
- Hot glue gun
- Wooden beads, ¾” diameter
- Ruler / measuring tape

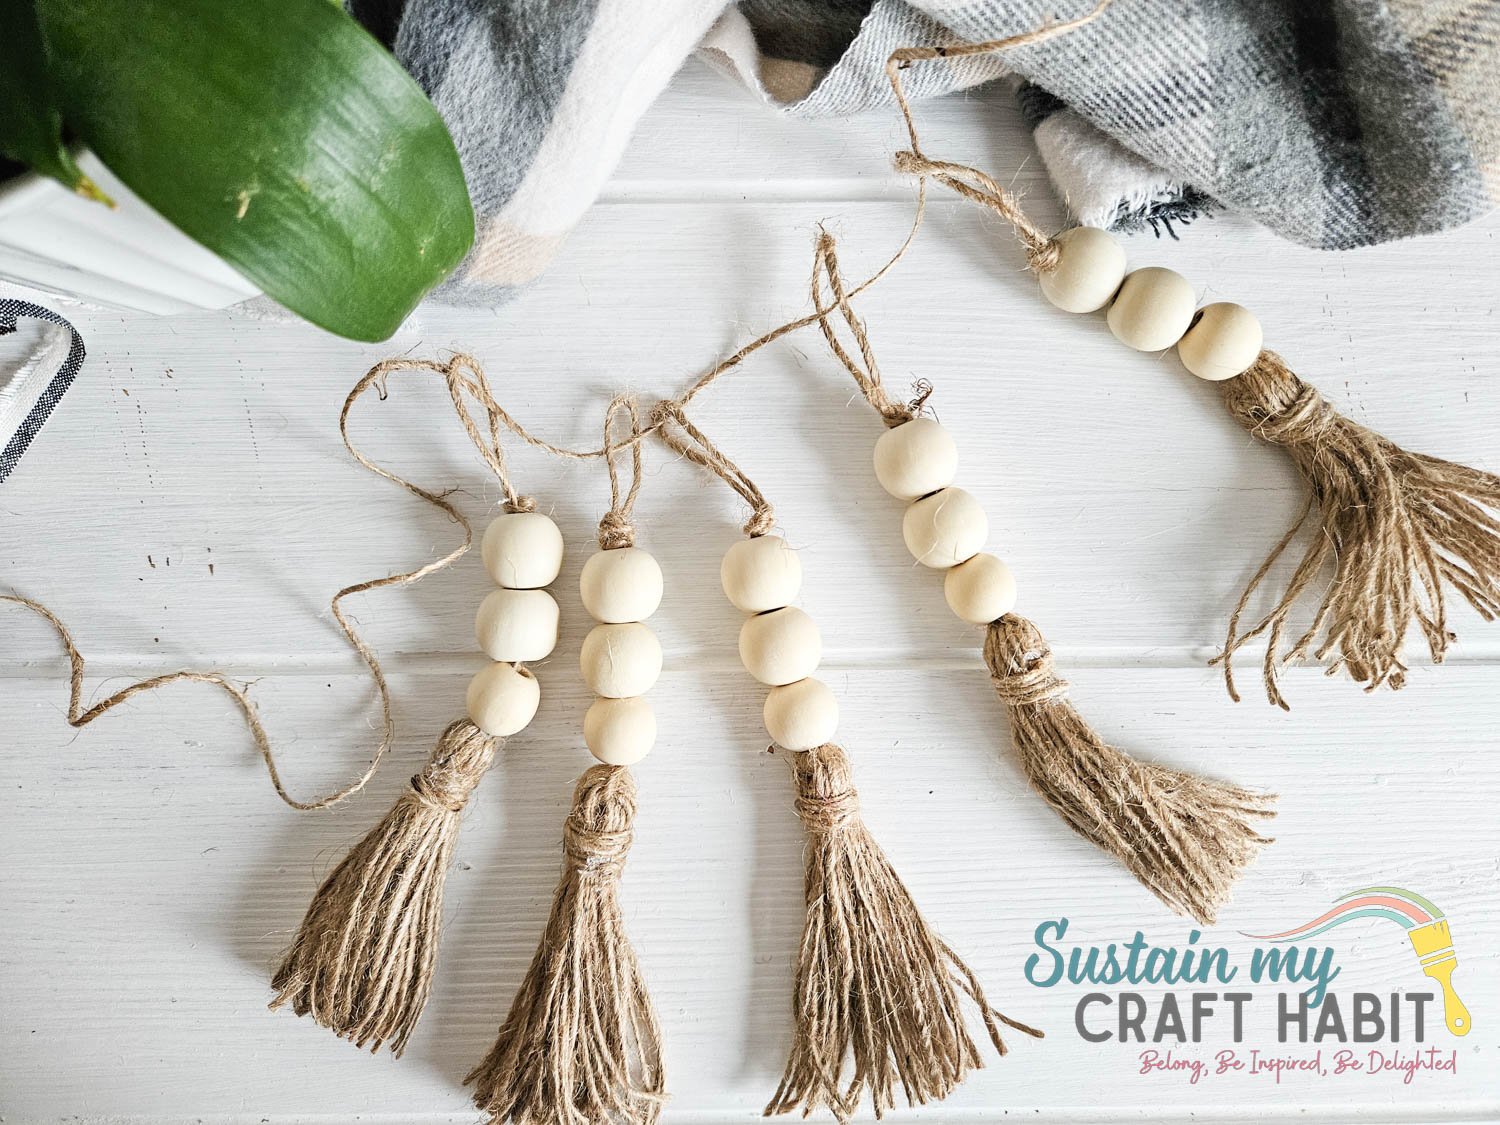
How to make a wood bead tassel garland
Measure and cut a piece of twine 14″ long. Fold it in half and tie a knot about ½” from the cut end.

Measure and cut 24 pieces of twine 8” long.

Stack the pieces together and fold in half and center the fold on top of the knotted end of the other piece.


Thread the looped end of the twine through a bead and hot glue the bead to the mass of twine.

Cut another piece of twine about 5” long and wrap it around the bulk under the fold.

Glue the ends in place to secure the hanging ends.
Thread the second bead and tie another knot just above the top bead to hold it in place. About 1” of twine should extend from the top of the bead for threading and hanging on the bead.

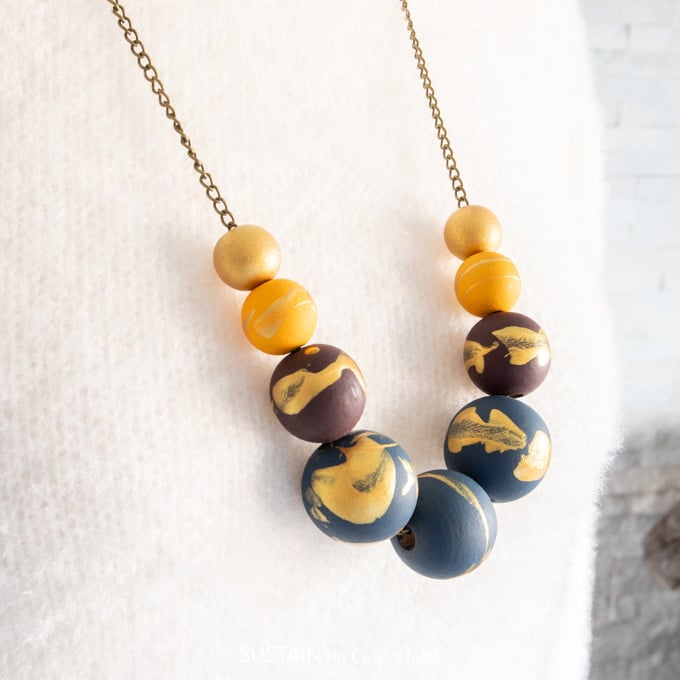
Try different styles of beads
One of the easiest ways to personalize your DIY beaded wreath is by changing the beads. Natural wood beads create a rustic farmhouse look, while painted beads add a colorful modern touch. You can also mix up bead sizes for added texture and dimension.
Experiment with tassel colors
Neutral tassels work beautifully for everyday home decor, but seasonal colors give your wreath a festive feel year-round. Try:
- White and green for spring
- Red and gold for the holidays
- Orange and cream for fall decor
- Black and metallic for a modern style
Make a mini garland
If you want a smaller project, make mini beaded beads for a tiered tray, coffee table, or gift wrapping. Short beads are also perfect as handmade ornaments or party decor accents.

Great Ways to Display Your Wood Bead Tassel Garland
Handmade beaded garlands are one of the easiest ways to add a cozy charm to your home. Here are some simple styling ideas:
Mantel or shelf style
For a soft layered home decor idea, drape your bead necklace over a mantel, bookshelf, or floating shelf. Pair it with candles, framed prints or greenery for a cozy finished look.
Tiered tray decor
Mini garlands wrapped around mugs, candles or small signs look attractive on a tiered tray display. These are especially popular for seasonal decorations and holiday accents.
Gift Decor Ideas
Use your handmade garland as reusable gift decor by wrapping it around a gift box or basket. It adds a thoughtful handmade touch and doubles as a gift.

Add personality to your home instantly
Whether you’re draped over a mantle, styled on a coffee table, or using your favorite textile scraps to create tassels, this easy DIY project is the ultimate budget-friendly way to achieve a high-end, boho-chic look. Perfect for a quick creative afternoon!
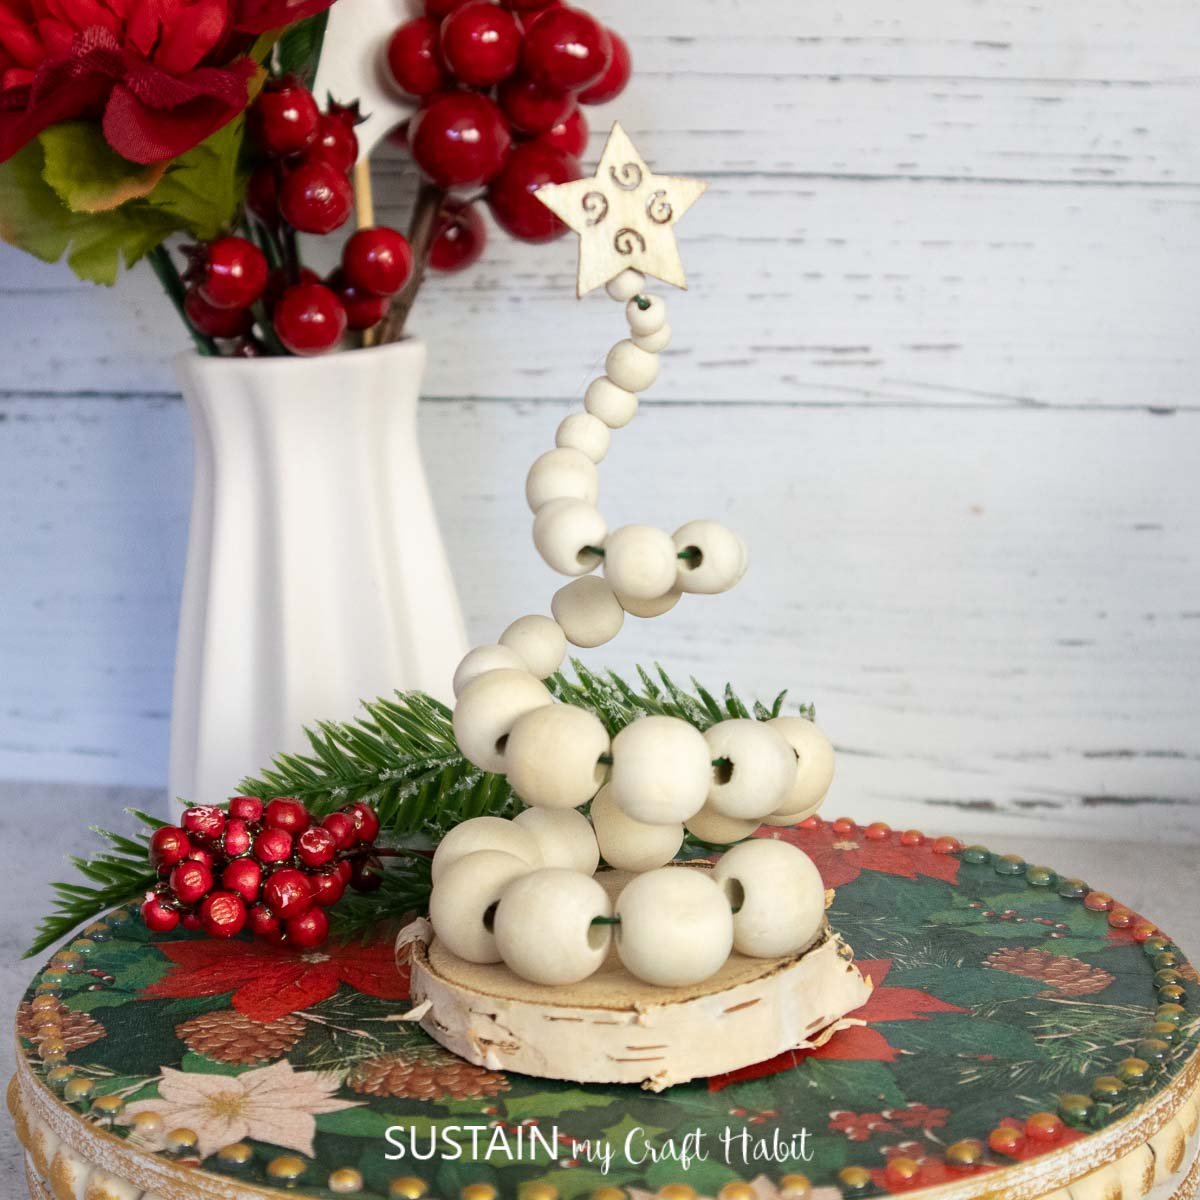
More crafts with wooden beads


Be a Sustain My Craft Habit Insider Have fun for free!
like? Pin it for later!

How to make a beaded tassel garland
Whether you’re draped over a mantle, styled on a coffee table, or using your favorite textile scraps to create tassels, this easy DIY project is the ultimate budget-friendly way to achieve a high-end, boho-chic look.
- twine
- Scissors
- Hot glue gun
- Wooden beads ¾” diameter
- ruler or measuring tape
-
Measure and cut a piece of twine 14″ long. Fold it in half and tie a knot about ½” from the cut end.
-
Measure and cut 24 pieces of twine 8” long.
-
Stack the pieces together and fold in half and center the fold on top of the knotted end of the other piece.
-
Thread the looped end of the twine through a bead and hot glue the bead to the mass of twine.
-
Cut another piece of twine about 5” long and wrap it around the bulk under the fold.
-
Glue the ends in place to secure the hanging ends.
-
Thread the second bead and tie another knot just above the top bead to hold it in place. About 1” of twine should extend from the top of the bead for threading and hanging on the bead.
Sharing is caring!


