


How to DIY a Cornhole Board
Cornhole tournaments can be a blast. With everyone pairing up and competing to knock each other out of the bracket, there’s plenty of time for good-natured ribbing and wonderful memories.
Building your own cornhole set can be just as fun if approached with the same positive attitude. The following steps offer a quick, easy roadmap to making your own cornhole board. While it’s not a difficult task, be sure to read all the instructions before starting and then take it one step at a time.
Step 1: Place the board frames.
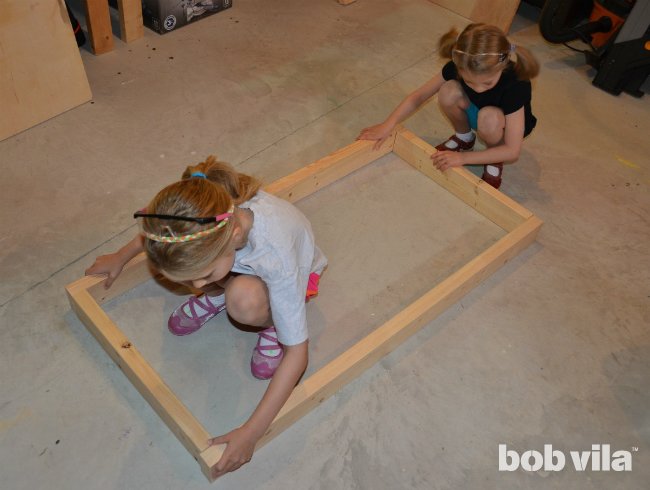
The first step in making a cornhole board is to place the frames. Find a large, flat surface available to build the frame.
First, there are two ways to orient a 2×4: on the flat or on the edge. One of the 3 ½-inch sides will be “on flat” when lying on the ground. The smaller 1 ½-inch side will be “on edge” when it is on the ground. For this project, orient the 2x4s on edge.
Lay out your 2×4 lumber and set up the rectangular frame of your first cornhole board. Lay the long lengths (48-inch 2x4s) parallel to each other. Place the 21-inch boards on their ends between these long boards.
This next step is very important: the 21-inch lengths go between the 48-inch boards. And there is a reason for that.
Cornhole boards should be 48 inches long and 24 inches wide. Given that the 2×4 is actually 1 1/2 inches thick, the shorter board (21 inches) plus the two 1 1/2-inch-thick outer boards comes out to a total width of 24 inches. Measure to make sure your frame is the regulation size.
Step 2: Drill pilot holes for the frame screws.
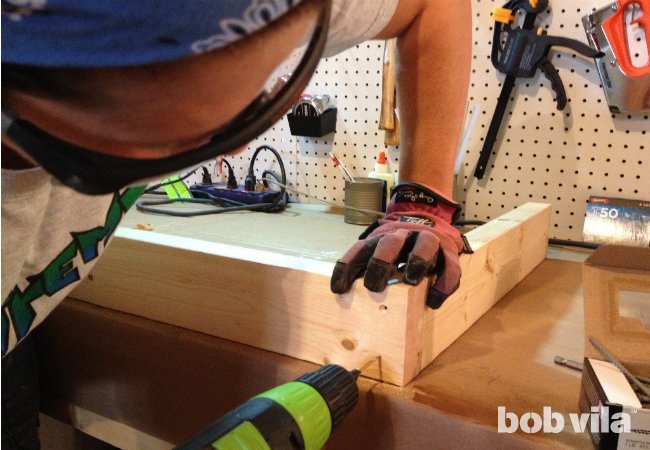
With the frame laid, it’s time to connect the individual boards together. For this step, grab a drill and a ⅛-inch drill bit.
Measure ¾ of an inch from each end of the 48-inch board, making a pencil mark on the flat side of the 2×4. use the Speed squared To draw a line on this mark, spanning the width of the board. Drill two holes on each line, about ¾ inch from each edge.
Step 3: Glue and screw the frame.
With the holes drilled, attaching the frame boards to each other is a cinch. run a small bead of Glue Align the end with the end of the 21-inch board and the end of the 48-inch board. Drive two screws from the outside of the 48-inch board into the end of the 21-inch board. Repeat this process on all four corners.
Do your best to make sure the frame stays square through this step. The following step will allow for some adjustment, but it is best to have as square a foundation as possible.
Step 4: Cut and attach the plywood tops.
If the plywood tops have not already been cut, now is the time. A Saw the circular The easiest option, but a little patience and Jigsaw Will do the trick too. Measure, mark, and cut the plywood into 24-inch-wide by 48-inch-long boards.
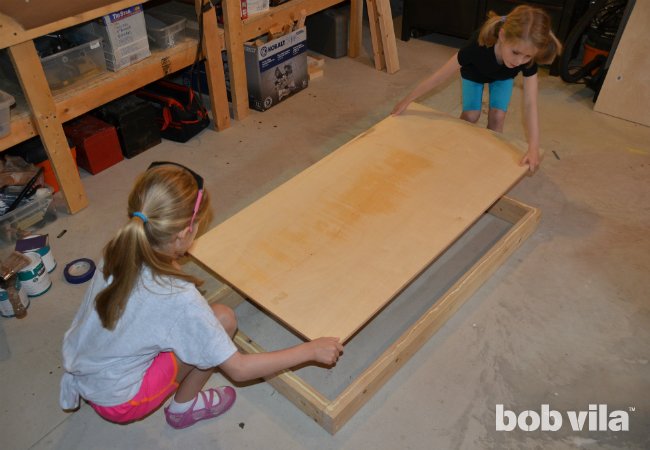
Run a bead of wood glue along the top edge of the frame and place a 2-foot x 4-foot piece of plywood on top. Then, attach the plywood to the frame with 1 1/4-inch trim screws (about 20 on each board). It’s a good idea to predrill the board using a ⅛-inch drill bit to avoid splitting, and make sure the screw heads are slightly countersunk.
For tip: If the frame is slightly out of square, line up the top of the plywood flush with two adjacent corners and drive a screw through each. This allows enough flexibility to rack the frame into shape, at which point two other corners can be attached to hold it in place. Then continue with the remaining screws.
Step 5: Mark the holes of the cornhole board.
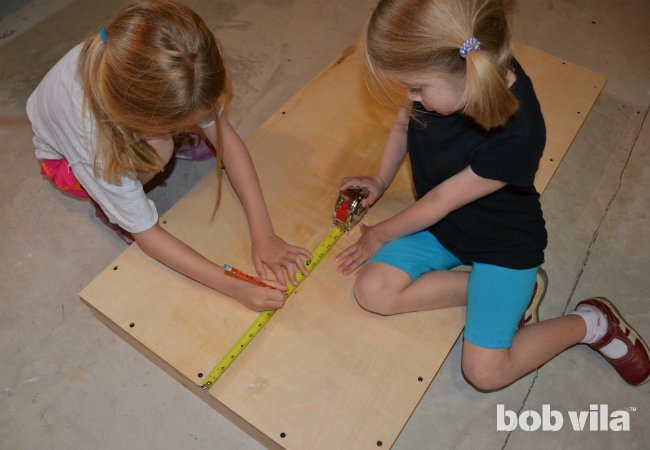
The next step is to make the holes. Believe it or not, this is an important step in ensuring that the board meets regulatory standards.
Hook the tape measure over the end of the board (one of the short sides) and make a pencil mark at 9 inches on the face of the plywood. Then, hook the tape over one of the long sides of the board, and make a pencil mark on the plywood at 12 inches. Align these two marks to find the center of the hole the beanbags will fall into.
The diameter of the hole needs to be 6 inches, so set the compass to 3 inches and draw a circle around this point.
Step 6: Cut the Cornhole Board Holes.
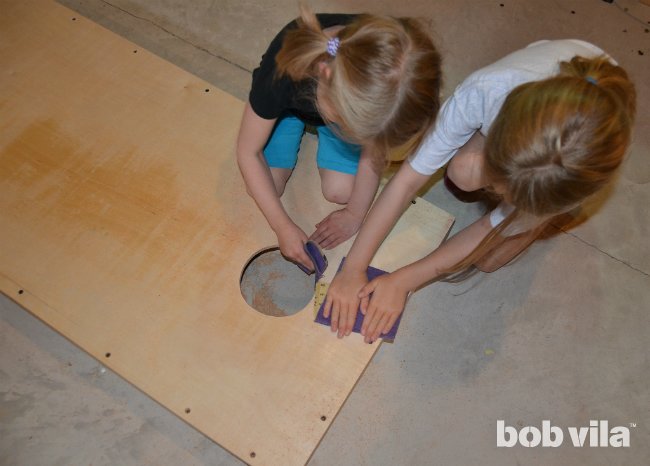
Cutting a 6-inch hole may seem intimidating, but it’s well within the capabilities of an experienced DIYer. The following two options will get the job done, so it just comes down to preference and tool availability. (Home Depot also sells Plywood cornhole sheets with precut 6-inch holes. Buying this can save you time and energy on this step.)
Option 1: Cut with a jigsaw.
Use a ⅜-inch drill bit to drill a hole inside the circle, about ½-inch from the line. Then, insert the jigsaw, and cut along the guide to make the hole.
Be sure to smooth the edges with sandpaper. If not, the beanbag can hang on the rim, preventing the famous 3-point Cornhole score. And no one wants to play 1 point game at a time.
Option 2: Cut a hole with a saw bit.
An easier alternative is to use a 6-inch hole saw bit to cut the open hole. With the hole saw chucked into the bit drill, put the point of drill bit At the center mark. Squeeze the trigger and apply gentle pressure, allowing the hole to be punched.
Again, be sure to sand the hole smooth with sandpaper to allow for fast-paced, high-scoring games.
Step 7: Prepare and drill the holes for the legs.
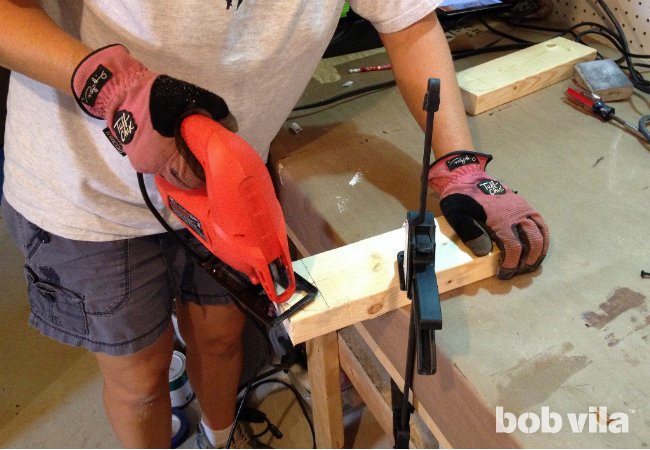
For the DIY cornhole board to work, one end of the board needs to be tall with a 12 inch long leg. Measure and cut the leg to length using a Saw the circular.
The legs need to be collapsed or folded into the frame for easy storage, so one end of each board needs to be rounded. To do this, measure and mark a point that is 1 3/4 inches from the top and 1 3/4 inches from each side. Set the compass to 1 3/4 inches and draw a half circle from that mark. Cut with a jigsaw and sand smooth.
The center mark used for the compass will also serve as the drill mark for the carriage bolt. Using a ⅜-inch drill bit, drill a hole at the mark. With the cornhole board upside down, place the rounded end of the leg inside the top corner of the frame, and use the existing hole as a guide to drill the corresponding hole through the frame.
Step 8: Fill the visible screw head holes.
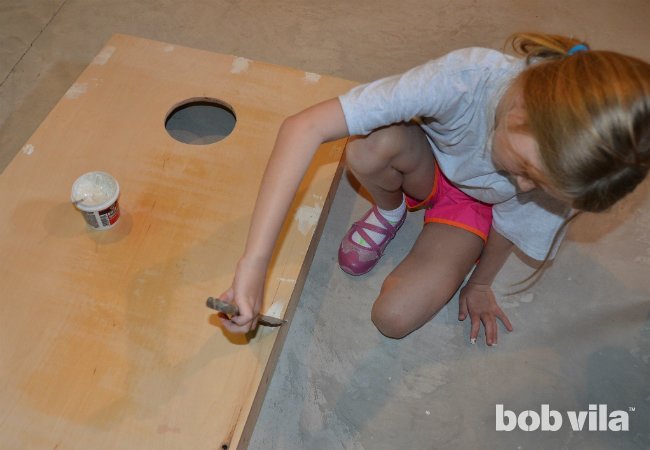
The top of the DIY cornhole board needs to be as simple as possible to prevent any unfair advantages. This means filling the screw holes and sanding everything until it’s smooth.
using the speckle knifePush a bit of wood filler into each screw hole on the face of the board. Remove excess by scraping a knife across the surface. Let the wood filler dry, and then use a piece of sandpaper to smooth the sand. If there are still ridges, ridges or depressions, repeat this step until they are smooth.
Step 9: Stain and paint the cornhole board.
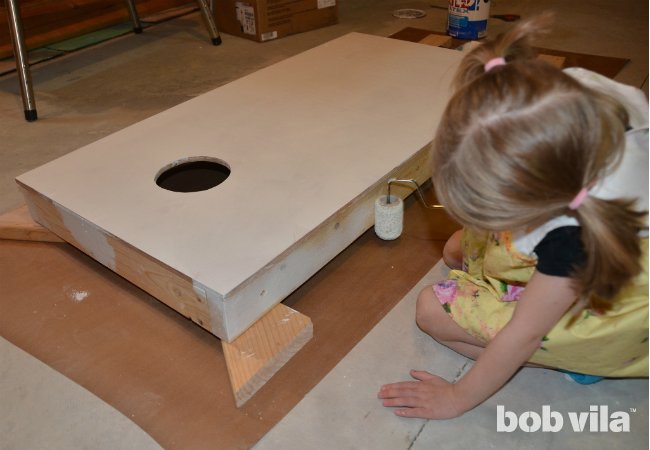
This DIY cornhole board isn’t a full-blown construction project, but it does take effort, time, and materials. For this reason, it is important to protect the investment and hard work with proper weather protection.
Using a paintbrush or roller, apply a coat of stain killer or primer to the top, sides and legs of the board.
When the Primer Dry, dream up a design for the face of the board. A traditional decoration for a cornhole involves a triangle pointing to a hole in the board, but this is open to customization. Consider using a bullseye pattern, family initials, or a variety of other designs. The possibilities are endless.
With an agreed design in mind, use painter’s tape to cover it. Use a paint roller or paintbrush to paint the face with desired colors. Finish it off with a polyacrylic top coat so that the beanbag will slide well over the surface of the board.
Step 10: Secure the legs.
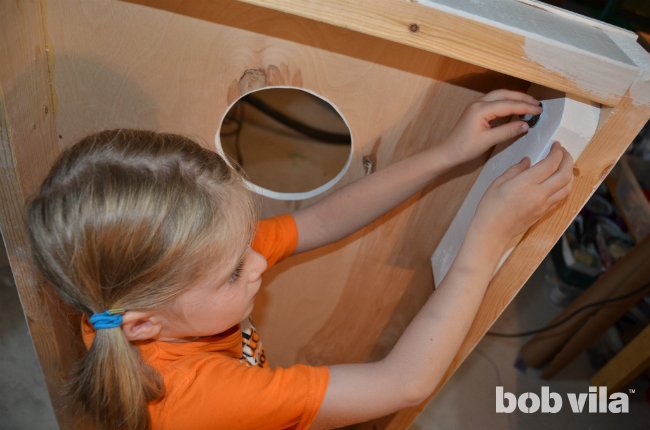
Attaching the legs is easy, but it is important to let them dry completely from the previous step. If they are not dry, the feet can heal in place and hurt.
Assemble the leg hardware as follows: Place the carriage bolt through the hole so that the round head is outside the frame. Next, place the washer on the bolt. Follow the washer with the leg, then the washer again and finally, the nut. Even if the carriage bolts are tight, the washer between the frame and the legs will allow the legs to rotate.
This is also the point for attaching utility pulls, which carry handles. Install a handle on the side of each board, slightly off-center toward the hole, to promote balance. Generally speaking, this involves holding the handle in place, marking the screw holes with a pencil, predrilling, and screwing the handles in place.
Step 11: Repeat the steps for the second board.
If space does not allow for both boards to be made at the same time, it is necessary to repeat these steps to make the other half of the DIY cornhole set.
Repeat steps 1 to 10 to make another board. Consider painting a different design on the surface of each board.
With both DIY cornhole boards assembled, painted and dry, it’s time to start the family cornhole tournament. Grab a board and find a level area in the backyard.
Cornhole rules
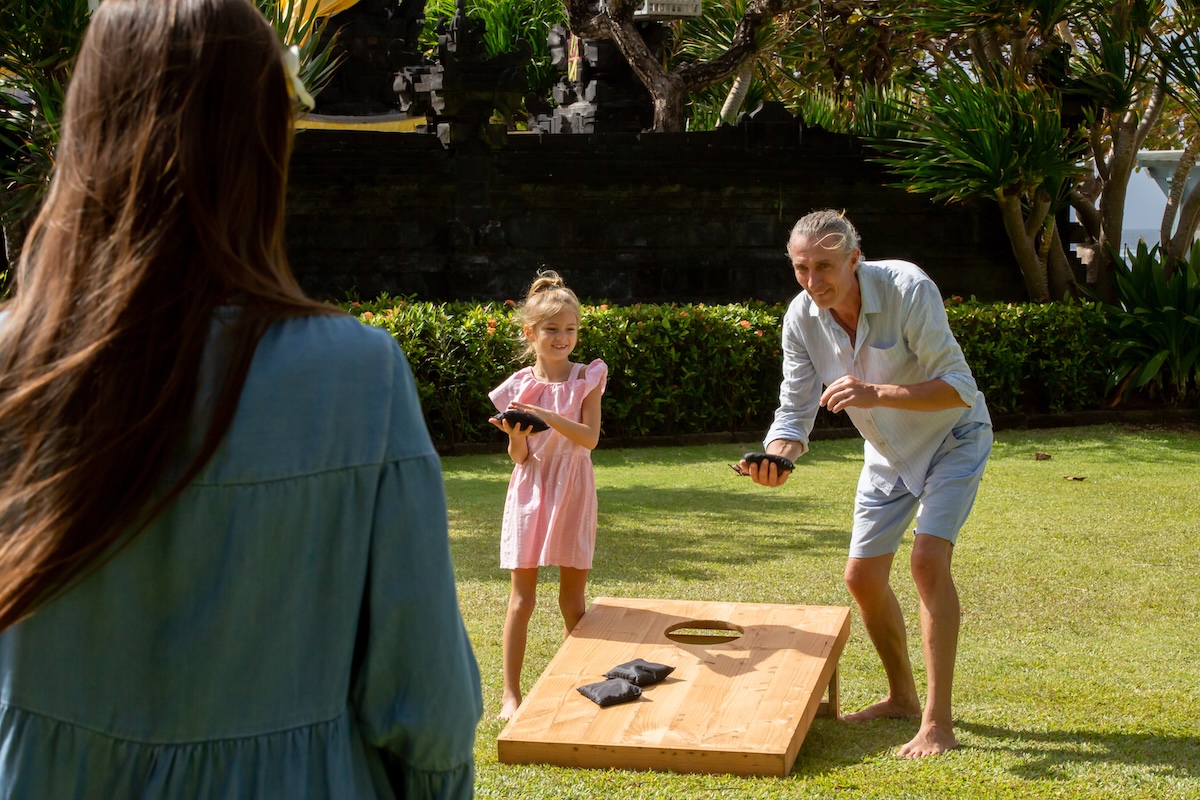
Regulations call for 27 feet of space between the fronts of each board, so it’s helpful to have a tape measure handy. Kid cornhole rules allow juniors to stand up to 6 feet in front of the board, but everyone else must stand back. While these are the official rules, it’s your tournament, so interpret and adjust them as you wish.
FAQ
Here’s a basic overview of cornhole rules: The distance between the front of each board is 27 feet except for juniors (12 and under). Stepping in front of the board is a foul for anyone over the age of 12. A bag in-the-count (or woody) is a bag that comes to rest anywhere on top of the board. It’s worth a point. A bag-in-the-hole (cornhole) is a bag that falls into the hole or is knocked into the hole. It is worth three points. Games are played to a score of 21, with cancellation scoring. Cancellation scoring means one player’s points cancel out the opposing players’ points, round-by-round. The distance between the front of each board is 27 feet, except for juniors (12 and under). Stepping in front of the board is a foul for anyone over the age of 12. A bag in-the-count (or any woody that comes out on top) is a bag. It costs one point. A bag-in-the-hole (cornhole) is a bag that falls into the hole or is knocked into the hole. They are worth three points. Games are played to a score of 21, with cancellation scoring in place. Cancellation scoring means that one player’s points cancel out the opposing players’ points round-by-round.
There are more rules and regulations, which you can find here American Cornhole Association website
The regulation distance between the front of the cornhole board is 27 feet, but juniors stand as far apart as 21 feet. Those are the rules for regulation, but feel free to adjust them to your own Backyard Tournamentthe requirements of.
No. A one-handed, underhand toss is a toss allowed by regulation. Overhand, over-the-head and two-handed releases are considered fouls by cornhole regulations.
Technically, you only need one board to enjoy a game of cornhole, but two boards allow each team member to stand on each side, eliminating the need to walk back and forth to collect beanbags.
Meet the tools of the year 2025



