
This felt craft can be used any time of the year, not just for the holidays. Help your little ones learn about the changing seasons through play and discovery!
Four Seasons Felt Board Craft
This felt board craft is great for anyone, no matter where you live. If you’re in a warm climate where it never snows, just adjust the foliage and plant parts you create to reflect that.
You can keep the background the same and change the environment to reflect the weather during different parts of the year, which makes it awesome nature crafts for kids!
If snow is a regular occurrence for you and you don’t get mild temperatures even in the middle of summer, just match your accessories accordingly.
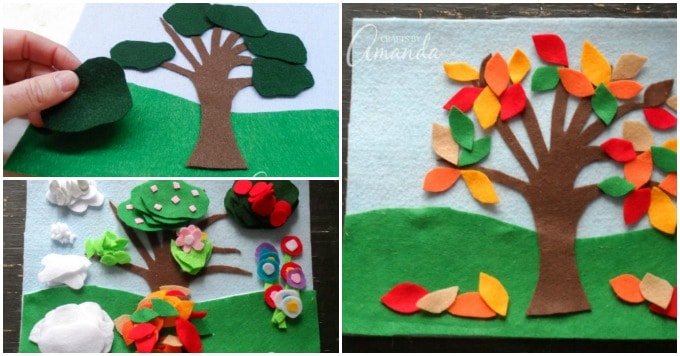
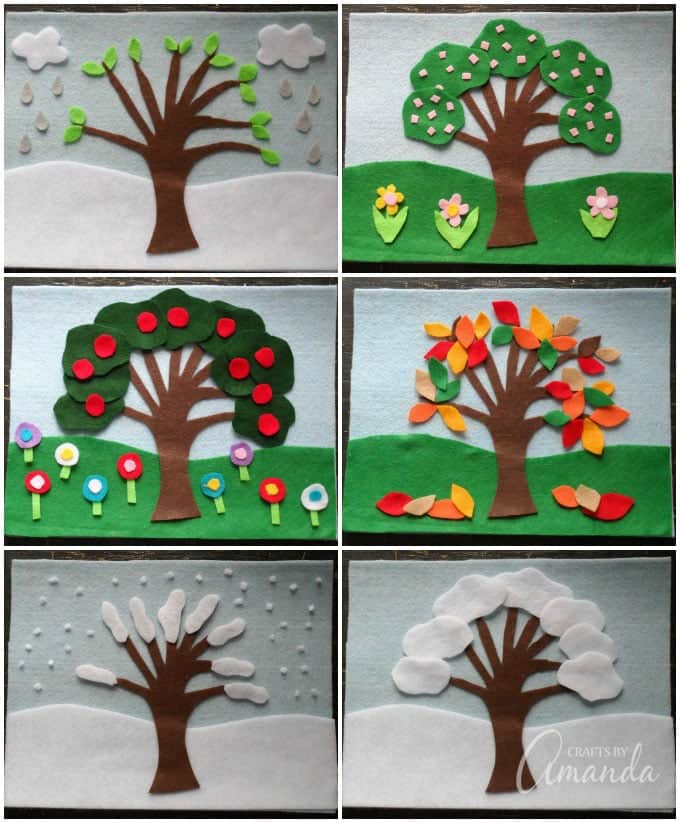
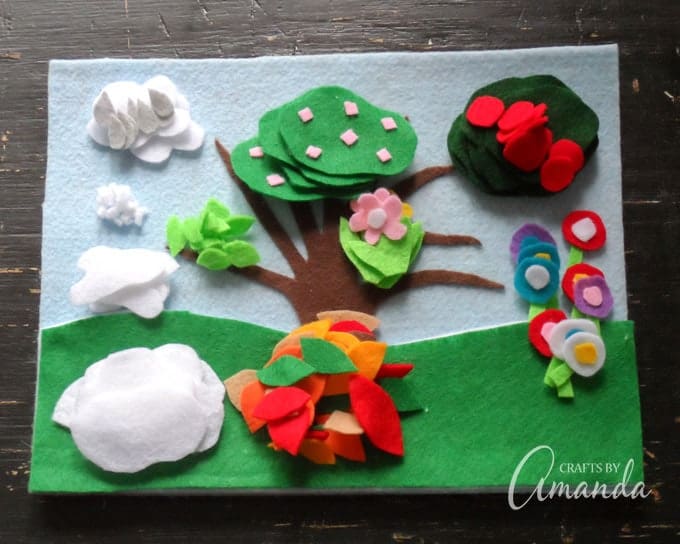
Make this felt board to match yours seasons!
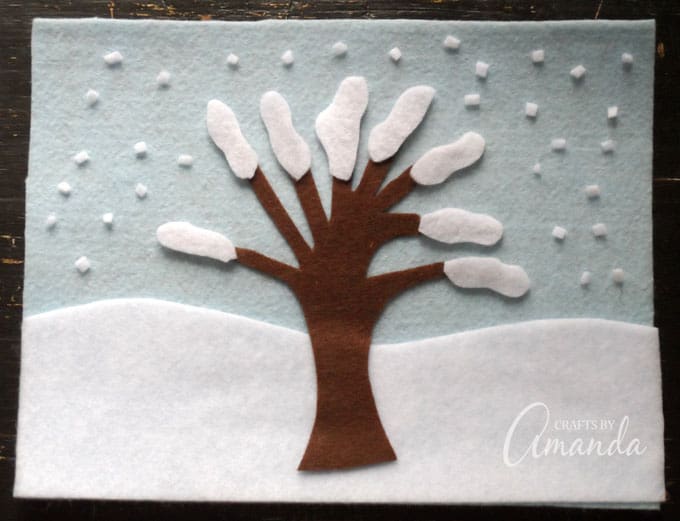
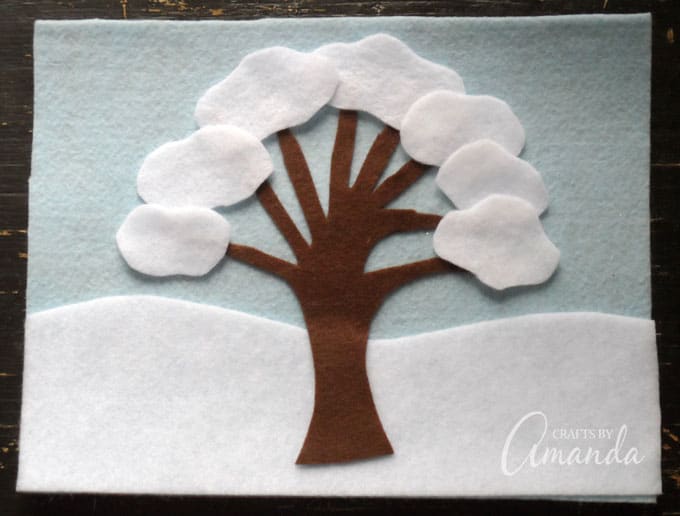
Create a cool winter scene with small pieces of felt to look like snow!

Or make a piece of art with different colored leaves for fall!
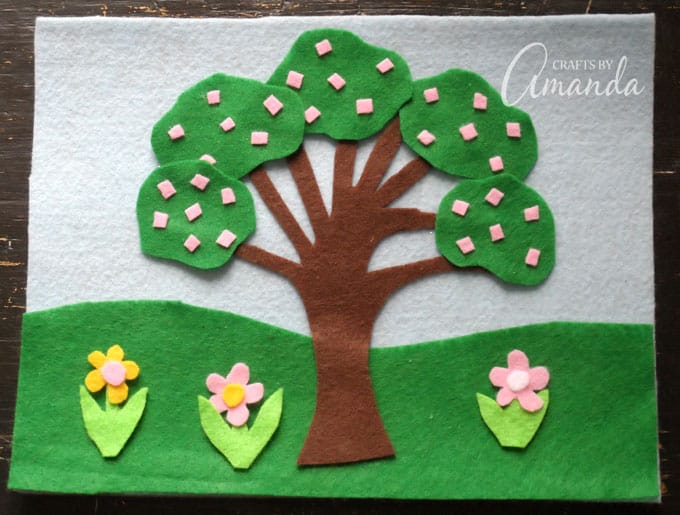
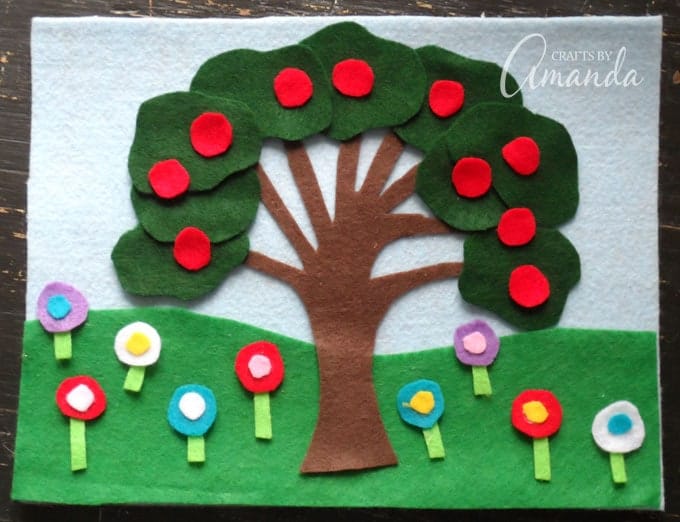
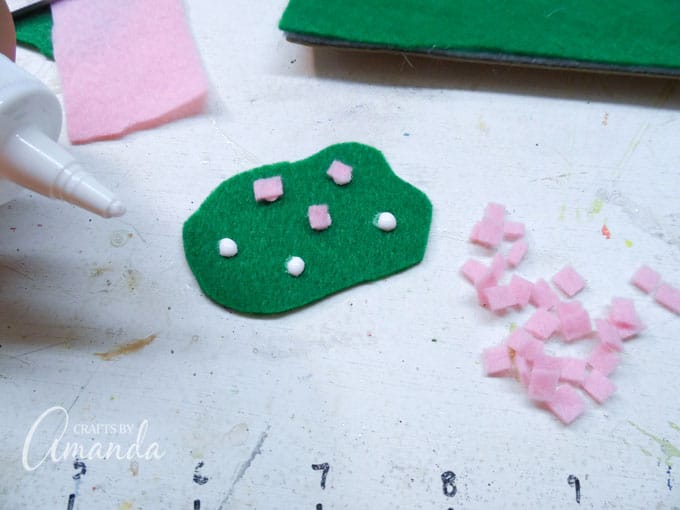
Add some cherry blossoms to the trees and some pretty flowers for spring!
What you will need to make this felt board craft
Find the complete list of printing supplies and instructions at the end of this post.
How to make a Four Seasons felt board craft
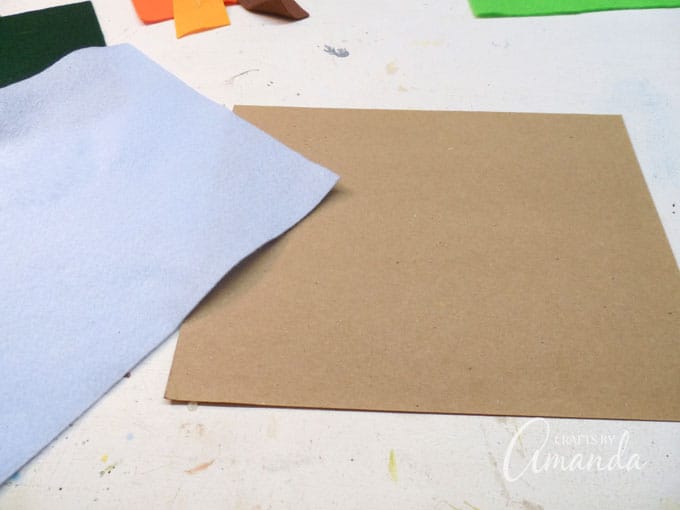
- Start with a piece of cardboard. The back of a writing pad or cereal boxes work great!
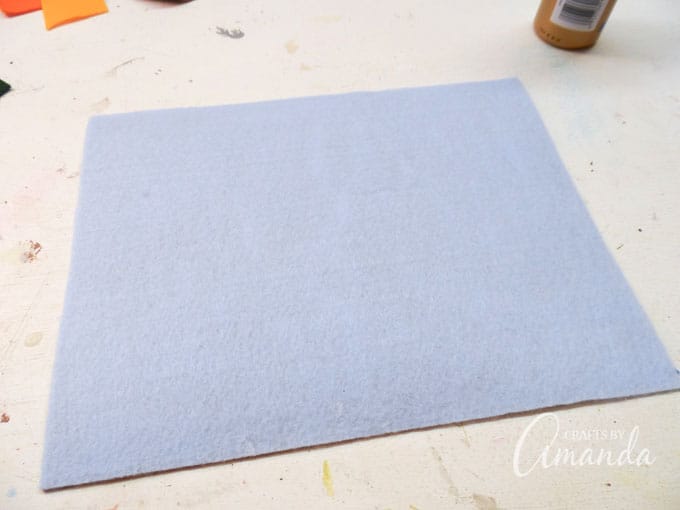
- Glue light blue felt onto the cardstock for your main background.
- The ground will be green felt for the warm months and white felt for the snowy months.
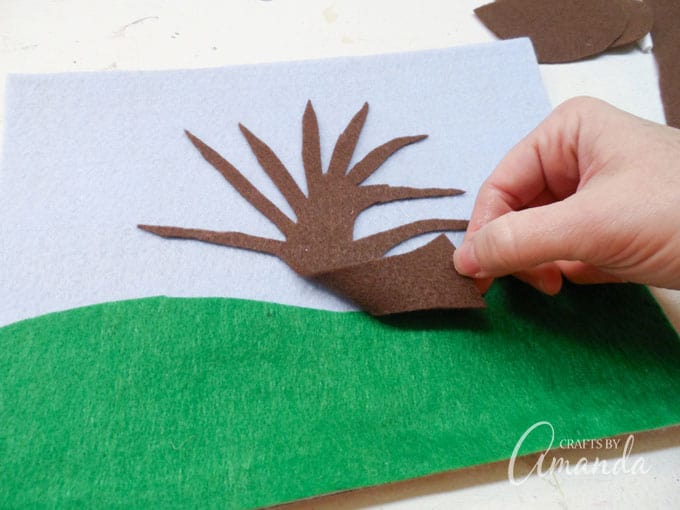
- When you glue the wood, glue only the top half. This way you can lift the bottom of the tree to change the ground.
- Cut out pieces for trees and flowers, rain and snow, apples and flowers, you get the idea.
- You can even add animals and birds, whatever you want to do!
Four Seasons Felt Board Craft
This felt craft can be used any time of the year, not just for the holidays. Help your little ones learn about the changing seasons through play and discovery.
Consumables
- 8 x10 piece of cardboard back of writing pad, cereal box, etc
- 1 sheet of light blue felt
- 1 a sheet of green felt
- 1 sheet of white felt
- ½ sheet brown felt
- Various other colors of felt scrap pieces work great
- scissors
- White craft glue
Instructions
-
Cover the cardboard with white glue and smooth it with your finger. Attach the light blue felt to the cardboard and cut off the excess.
-
From the white and green felt, cut each sheet in half. From half of each color, cut out your “ground” (grass for the warm months and snow for the cold months). Do not glue the ground to the board.
-
Cut a tree out of brown felt. A simple trunk with a few branches works perfectly. Glue only the branches to the board, leaving the trunk of the tree free so you can lift it to change the ground as the seasons change.
-
Use different colors to cut seasonal shapes from felt. Here are my suggestions:
-
White – snow for branches, clouds, snowflakes, flowers
-
Gray – raindrops
-
Light green – early spring buds, flower stems and leaves
-
Dark green – summer tree leaves
-
Autumn colors (green, red, orange, tan, brown, gold, yellow) – autumn leaves
-
Green – spring parts of tree leaves
-
Red – apples, flowers, autumn leaves
-
Pastels (pink, yellow, light blue) – spring flowers, apple colors
-
Turquoise blue – summer flowers
-
Purple – summer flowers
-
Store the pieces in individual ziplock sandwich bags according to the season. To attach, simply place pieces of felt on the board and they will stay in place. Keep the board flat on the table as the pieces may fall.
I originally made this project for my monthly column in the Chicago Tribune. This post was originally published on this blog on February 22, 2013.


