
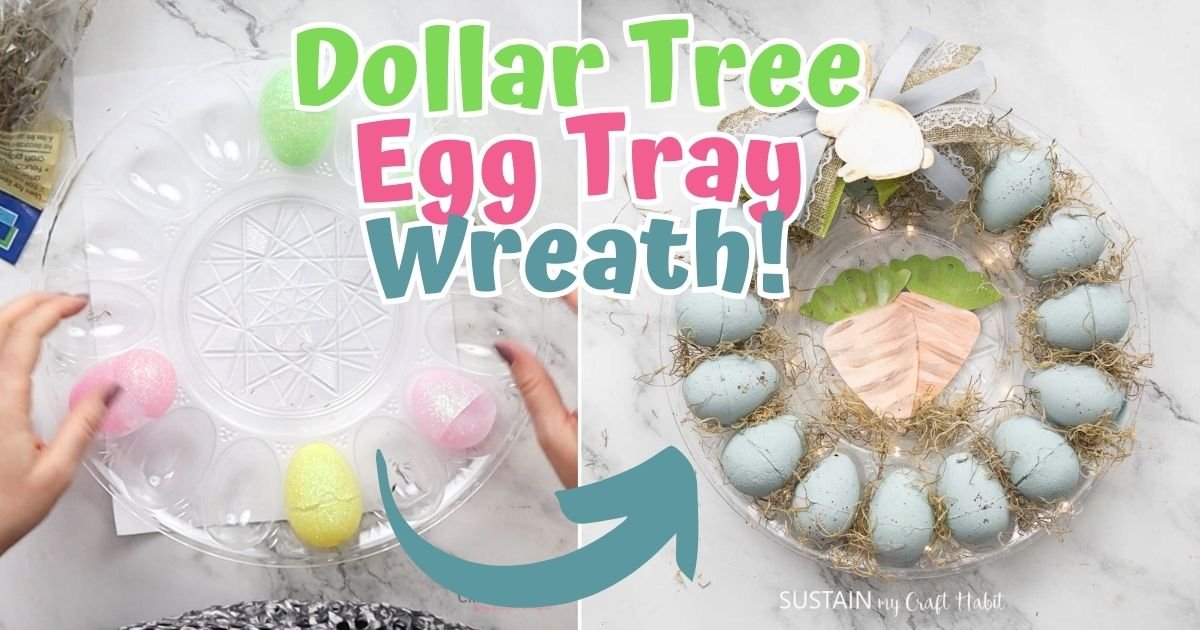
Spring decorating can get expensive fast, especially when you want something that feels seasonal but not flimsy. this Wreath tray for Easter eggs is a creative way to turn an ordinary egg container into cheerful Easter decor.

The project uses materials you may already have or can pick up at a thrift store, takes very little time, and works for doors, walls, or even table displays.
If you like crafts that feel relaxing rather than fussy, this one fits the bill perfectly. I’ll walk you through the step-by-step instructions on how to assemble the spring wreath, plus some easy ways to personalize it with paint or artificial flowers. You can keep it soft and neutral or go for pastel Easter energy. Let’s get started!
Why you’ll love this project
- Beginner friendly with simple tools
- Flexible style options, from rustic to colorful
- Makes a wonderful Easter home decor idea or handmade gift
- Lightweight and easy to hang or store
Want to get lots of inspiration and money-saving ideas for decorating, gifting and crafting? Join in HERE!
Required materials
- Plastic egg tray for the wreath base (we got ours from the Dollar Tree)
- Plastic Easter eggs
- Color in blue, green, orange, brown
- Paint brushes
- Wood cuttings
- Ribbon
- moss
- Hot glue gun

How to make an Easter egg tray wreath
Making plastic eggs
Paint the plastic eggs with blue chalk paint. Allow the paint to dry and add an additional coat of paint for better coverage.

Add some brown paint to a paintbrush and tap the handle lightly so the paint slides onto the eggs. This will give the eggs a mottled appearance.

Preparation of the crown
Then paint the wooden cutouts and let dry. We used carrots and bunny.


Glue the painted eggs onto the tray.

Glue moss to the tray, covering as much as you want of the eggs and the tray.


Add the wooden cutouts in the middle of the tray.

Finally, attach a bow and bunny to the top of the wreath.

Show and enjoy!

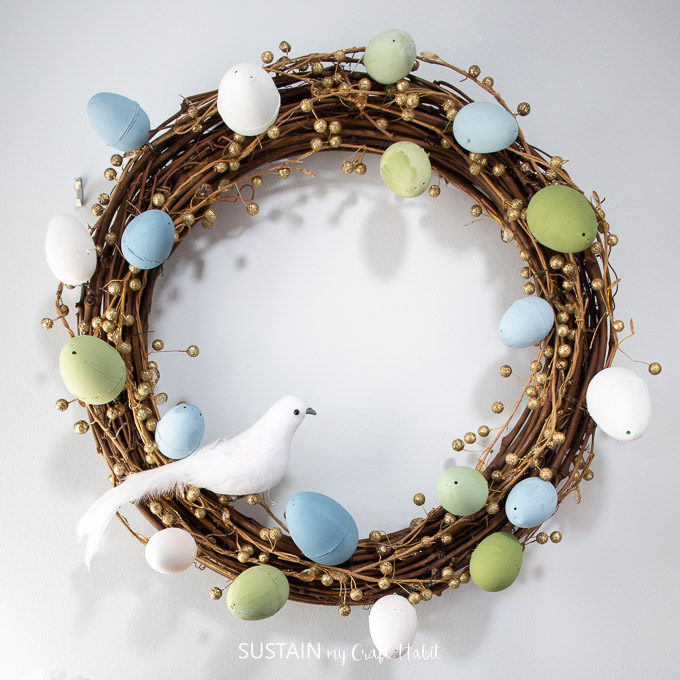
Color and style variations
Plastic eggs take paint really well. Acrylic craft paint works best, but chalk paint gives a softer farmhouse feel. Pastels are a classic choice for Easter, although white, cream or muted greens look great for subtle spring decor.
How to Display Your Easter Egg Tray Wreath
- Welcome guests by hanging your Easter egg wreath on the front door using ribbon or a removable hook for an easy seasonal update.
- It also looks cute over a mantelpiece or mantel paired with simple spring foliage.
- For a home table decor idea, lean it against the wall as part of an Easter vignette with candles or decorative eggs.
- It also works beautifully as a gift decoration idea when tied with twine and a small tag.
Charming and festive
It’s a relaxed project that you can complete in one sitting, with plenty of room to make it your own. If you try, be sure to take a photo and save it for next year. Feel free to share or pin this project so it’s easy to find when spring rolls around again.
More easy Easter crafts and DIY wreaths


Thank you so much for visiting us here on the blog. You can get updates on the latest posts and more from Sustain My Craft Habit straight to your inbox via subscribing to our weekly newsletter. We promise to send you only good things!
Do you like it? Pin for later!


Easter Egg Stand Making a Wreath
this Wreath tray for Easter eggs is a creative way to turn an ordinary egg container into cheerful Easter decor.
- Plastic egg tray we got ours from Dollar Tree
- Plastic eggs
- Paint in blue, green, orange, brown
- Paint brushes
- Wood cuttings
- Ribbon
- moss
- Hot glue
Making plastic eggs
-
Paint the plastic eggs with blue chalk paint. Allow the paint to dry.
-
Add some brown paint to a paintbrush and tap the handle lightly so the paint slides onto the eggs.
Preparation of the crown
-
Then paint the wooden cutouts and let dry.
-
Glue the painted eggs onto the tray.
-
Glue moss to the tray, covering as much as you like of the eggs and the tray.
-
Add the wooden cutouts in the middle of the pan.
-
Finally, attach a bow and bunny to the top of the wreath.
-
Show and enjoy!


