
Turn an ordinary composition notebook into a special scrapbook or junk journal by sewing a canvas cover. Learn how to sew a simple quilted book binding with this step-by-step sewing tutorial.

Junk journaling is all the rage and today I thought I’d share a fun way to turn an ordinary notebook into something truly special and worthy of capturing all your precious memories. Let’s make a fabric notebook cover!
This post is sponsored by Hobby Lobby.
Did you have to cover your school books in brown paper bags as a kid? Yes, me too. Well, it’s the same concept, but the beautiful version. We’re going to sew covers that slide onto a composition notebook the same way we used to make those brown paper bag covers.
This is a simple sewing project for beginners. I’ll walk you through every step!
It begins like all good creative projects with a trip to Hobby Lobby. Let’s head to the fabric section! Wow!

Required materials
If you’ve never bought fabric before, browse the fabric section at Hobby Lobby and pick out two fabrics that you like. Bring the whole bolt (the big folded roll they are shown on) to the big cutting table over there in the fabric section. Have the worker cut 1/3 yard off each bolt. The worker will cut pieces to the right size for you, fold them, attach a piece of paper to the fabric and you’re done! The cashier will look at the paper and know how to call you.
Note: Regular sheets of craft felt are too small for this project, but if you have this, you can sew two pieces together to make the size you need.
Instructions
The instructions and measurements below are for standard size composition notebooks, but I share how to make a canvas cover for any size book or notebook at the end of this post.
Step 1: Cut two pieces of coordinating cotton fabric to 11 inches x 23 inches. Cut one piece of felt 10 inches x 15 inches.

Step 2: Place the two pieces of fabric right sides together and sew around the edges using a 1/2 inch seam allowance. Leave a hole on one side for turning as follows:

Step 3: Turn the fabric right side out and push the corners. Press all the seams with an iron until everything looks smooth and lays flat.

Step 4: Place the piece of felt. Center it inside the fabric. It should touch the top and bottom seams and be smaller than the fabric with equal “empty” spots on both sides.

Step 5: Pin the felt in place, then find the center of the fabric and sew through all the layers. This seam line matches the spine of the notebook. Then topstitch all the way around the edges of the fabric, making sure to close the hole you used to insert the felt. If you find it difficult to sew through the thick layer of felt, use a walking foot if you have one.

Step 6: Fold the flaps on both sides until they fold where the felt stops inside. Align all edges and press, then pin in place. Use an invisible stitch (also called a pillar stitch or blind stitch) to attach these flaps so they make little pockets. Check out this quick invisible stitch video tutorial here. You can also see me do this step in the video tutorial at the bottom of this post. This step must be done this way or the notebook will not fit inside.

Now your cute project is complete and you can put the chipboard covers of your laptop into the flap side pockets.

How to make a notebook cover for any notebook size
If you want to make this project for a different size laptop, there is a simple formula. Measure the height of the notebook and add one inch. Then measure the entire width of the notebook (front and back cover + spine). Add 9 inches to that number and that is the size of the fabric you would cut.

And look, I know it’s extra, but we LOVE extra here. We LOVE extra. So I did a quilted notebook cover!

I gathered up a bunch of expensive fabrics from Hobby Lobby, cut out so many little 2.5 inch squares, then sewed them together, following all the rules I learned about quilting in my high school sewing class. (Thanks, Mrs. Grow!) Then I followed all the same steps as above and here is my giant quilted notebook cover:

It’s so special! I love how cozy and hearty it is to have the quilted cover. I did it because I had the idea and I was simple dying to try it, but I haven’t decided what I’m going to put in this big, beautiful one sketchbook more. Do you have any ideas for me? I think it would make a killer scrapbook, but I have to do it well donewhatever, so hit me up with your ideas!
DIY Fabric Notebook Cover Video Tutorial
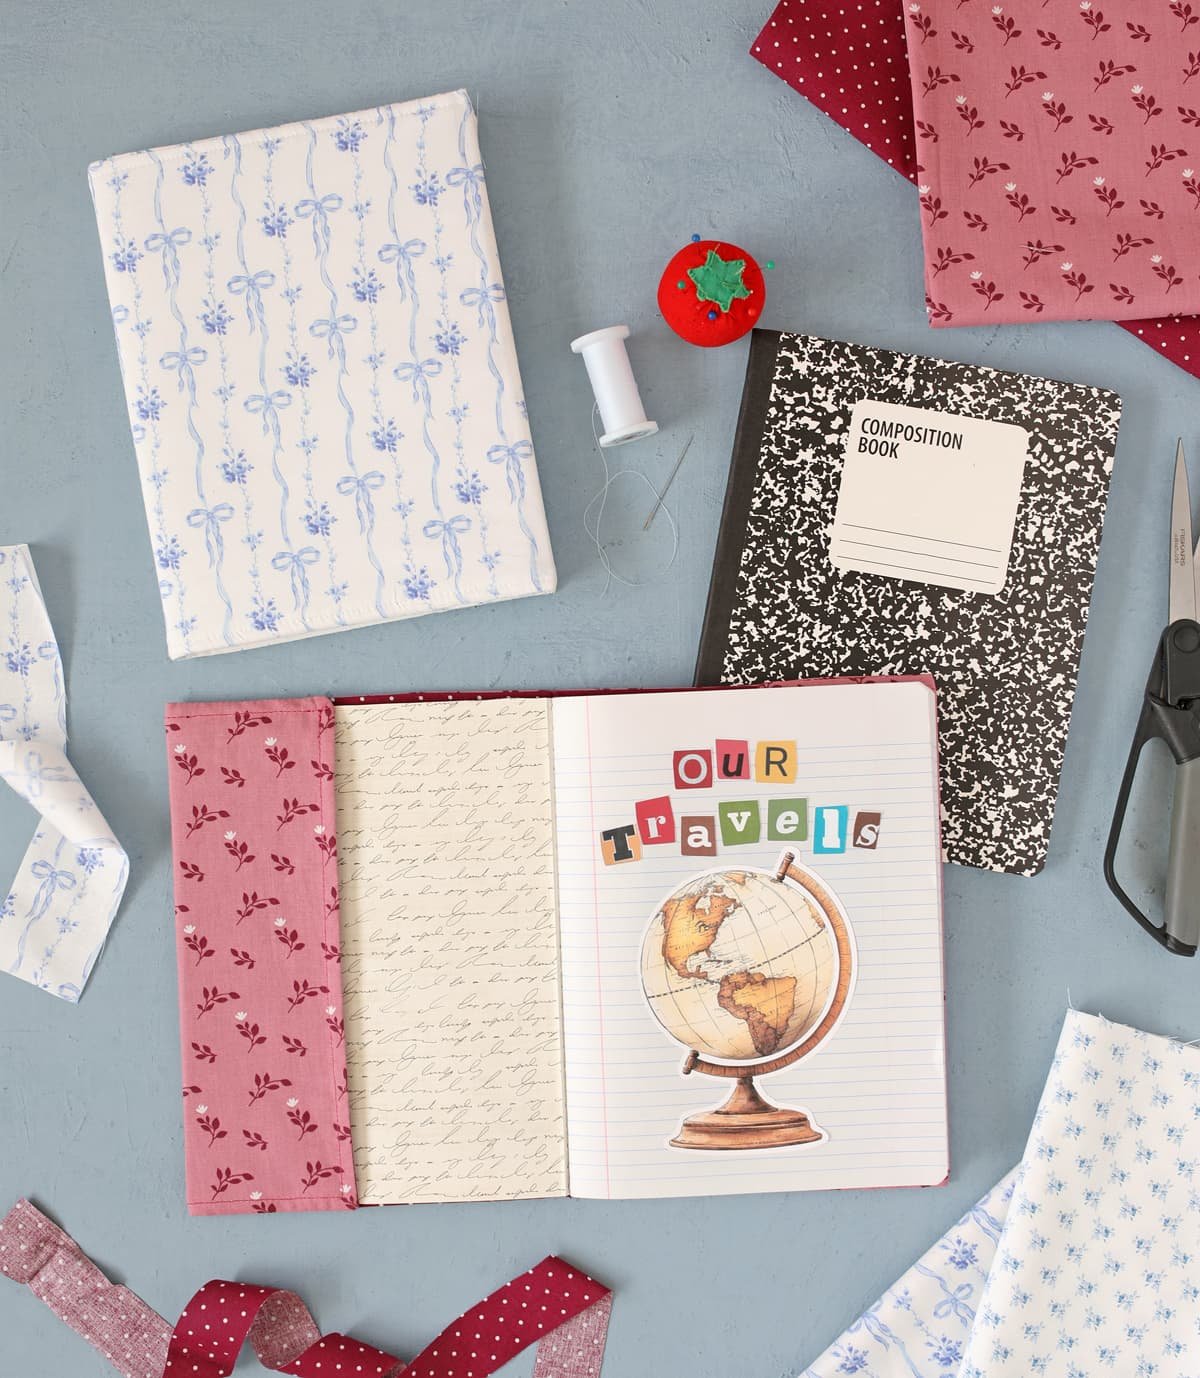
This project would make such a nice gift for a scrapbooker. Both of my young daughters, adult and teenage, asked if they could have the blue and white bow notebook cover…so that must mean it’s pretty cute. lol And if you’re looking for a thoughtful gift for an artist, make a cover to match a beautiful sketchbook and they’ll LOVE it!
Anyway, I hope you have fun with it. Happy crafting!


