
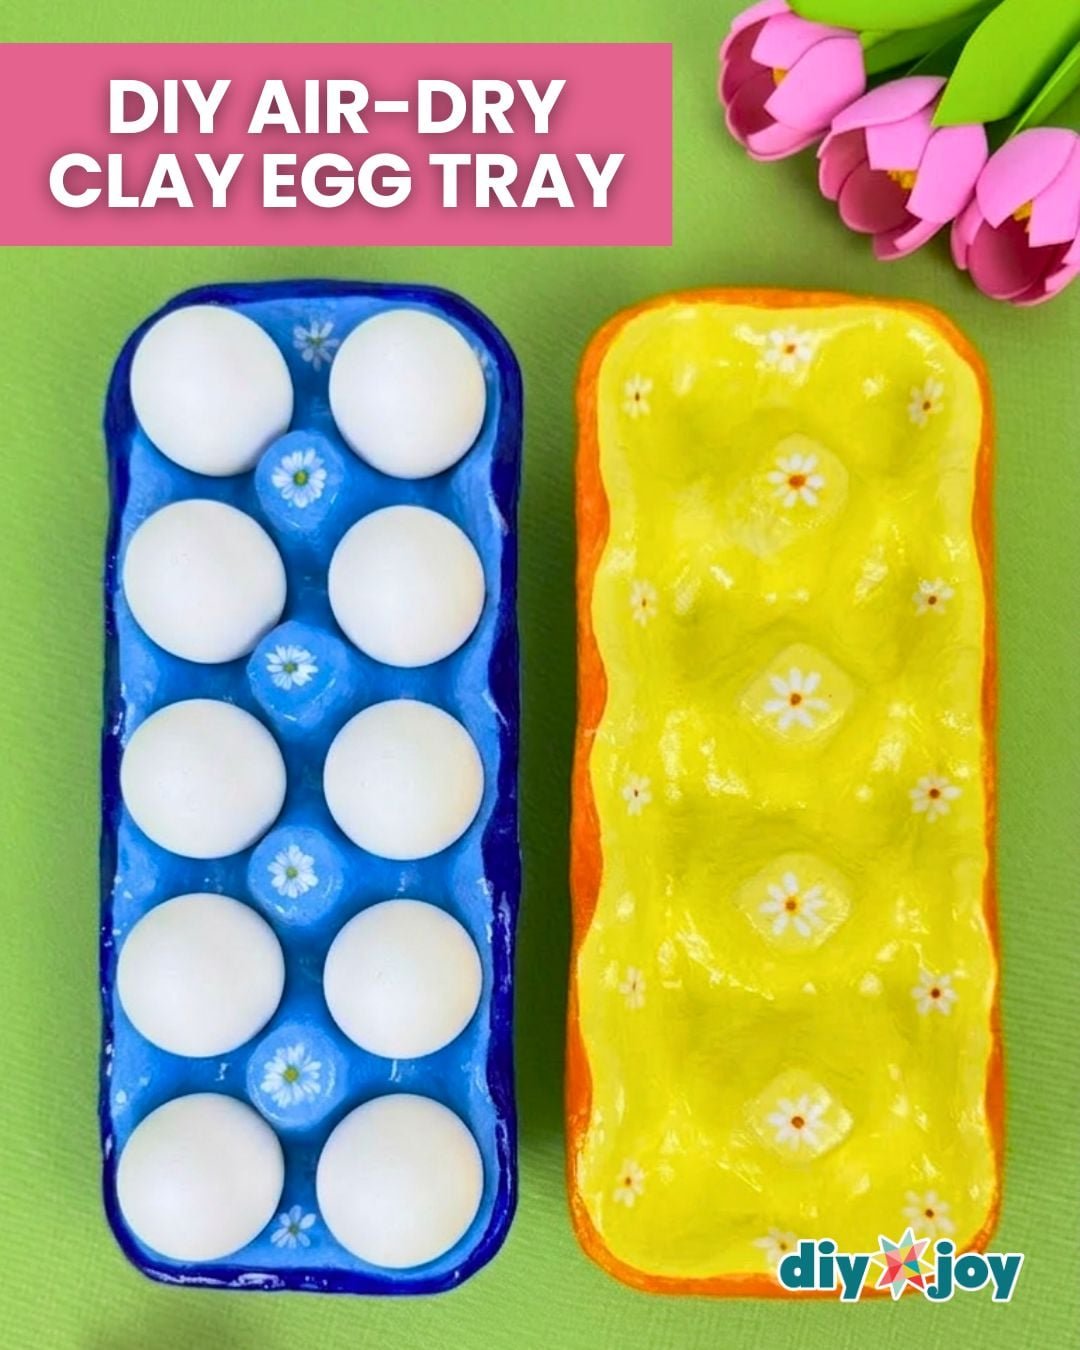
Eggs are a must on my grocery list and I have had or bought many egg trays and stands over the years. Some are flimsy, some are disposable, and most just don’t last as long as I’d like them to. Then I discovered a way to make egg trays that not only last longer, but also add a personal touch to my kitchen. Using air-dry clay, you can easily make a handmade, functional tray that doesn’t require an oven or baking, making it perfect for beginners and anyone who wants a simple, hassle-free project.
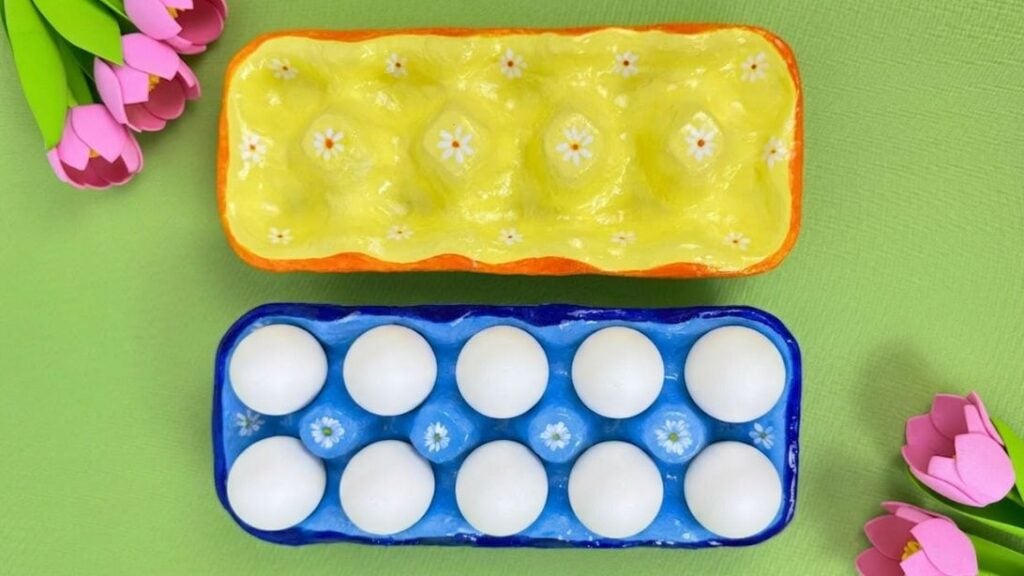
What I love most about this project is how practical it is. You can shape the tray to hold a dozen eggs or even create smaller sections for quail eggs, making it a versatile, functional kitchen tool. This is a fun project to do on your own, with the kids, or even during a cozy craft session with friends. Plus, the hands-on process of working with clay is surprisingly relaxing; you can crumple, shape and customize each tray just the way you want.
Other Air Dried Clay Crafts You May Like:
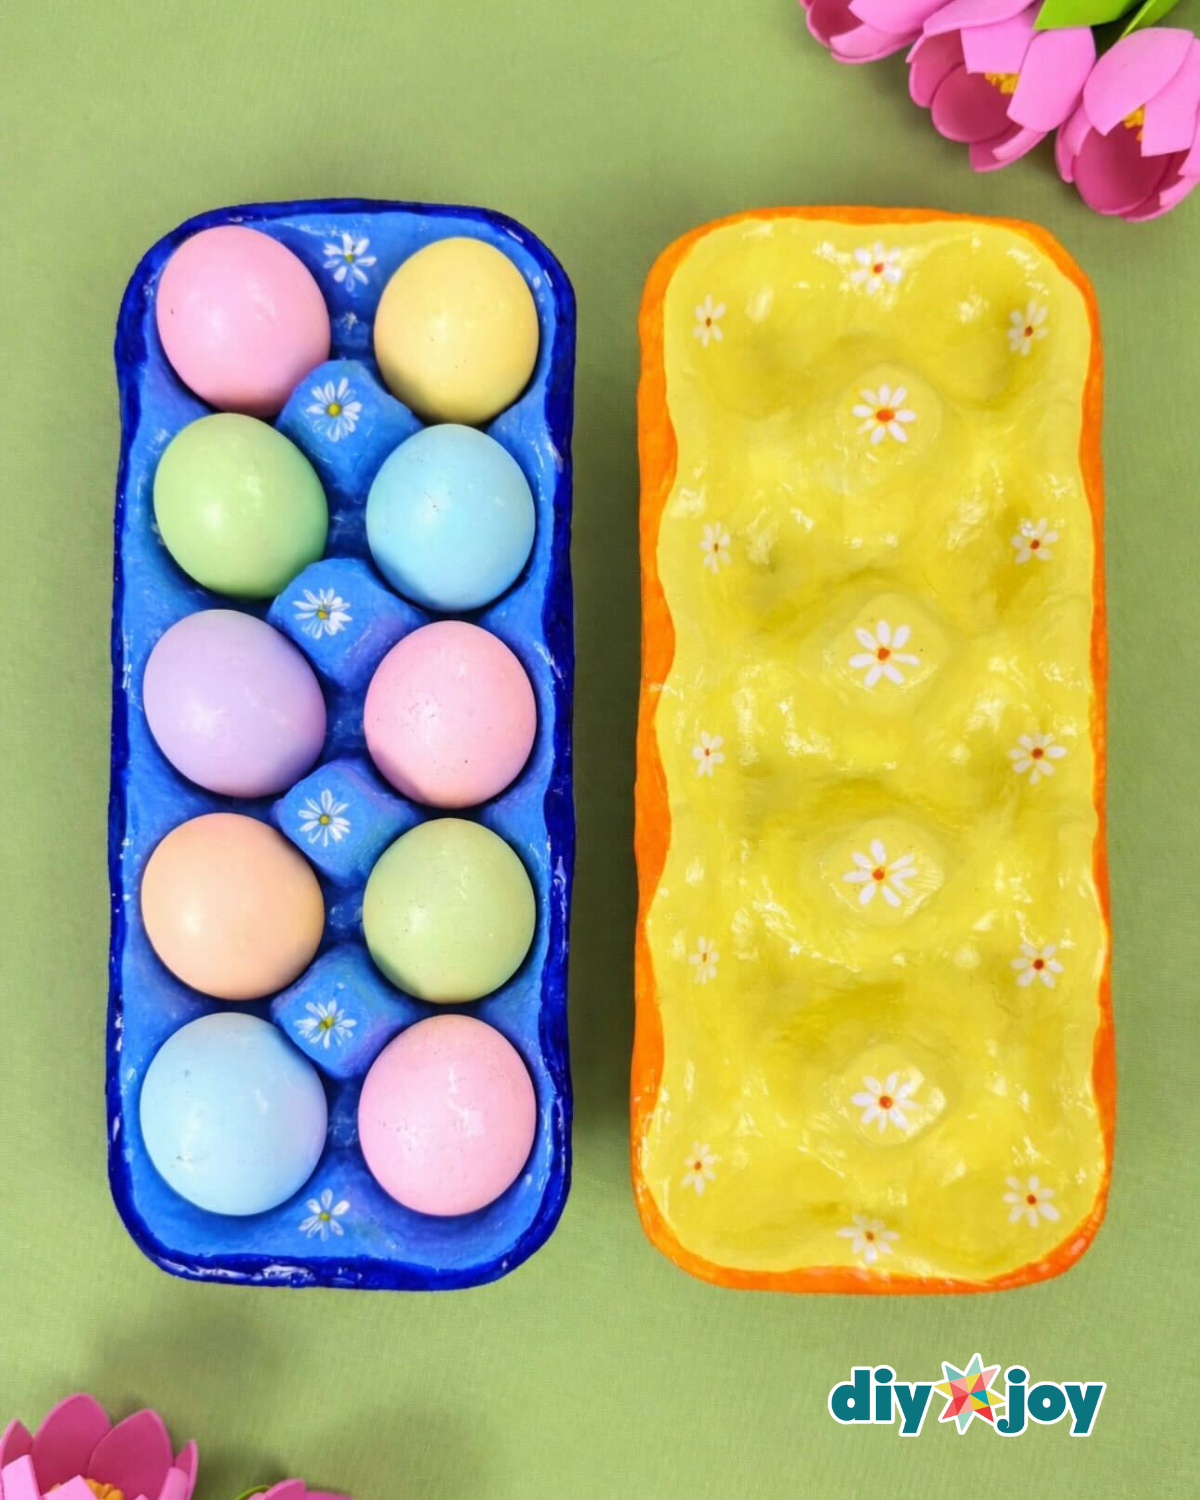
This DIY headboard is not only useful, but also a fun way to welcome spring or celebrate Easter. Imagine your table decorated with your very own clay egg tray filled with patterned eggs or small treats. You can even give it as a thoughtful, handmade gift to friends or family, which adds that extra personal touch that store-bought trays just can’t match.
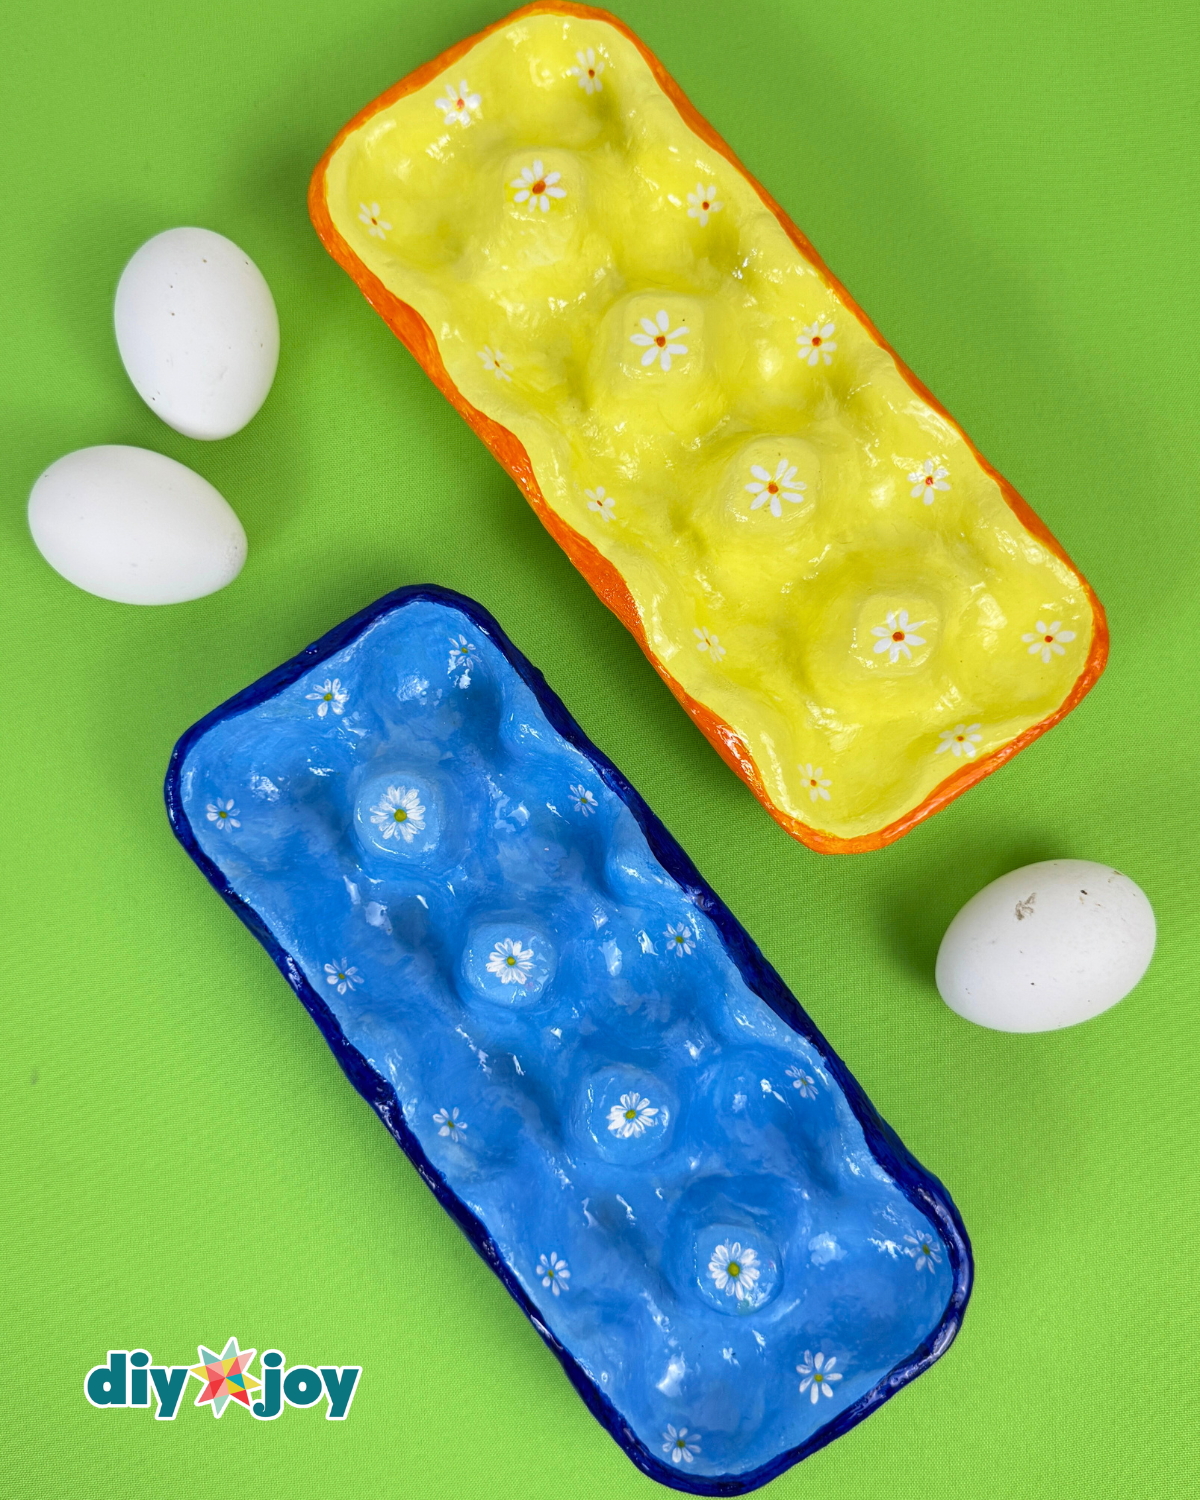
And the best part? This project is beginner-friendly, requires minimal materials, and can even incorporate recycled elements for a more sustainable approach. In the end, you’ll have a unique air-dry clay egg tray that’s practical, beautiful, and all your own. This is a project that combines creativity, functionality and a little spring fun.
How to make an air-dry clay egg tray
-
Step 1: Trim the base of the egg tray
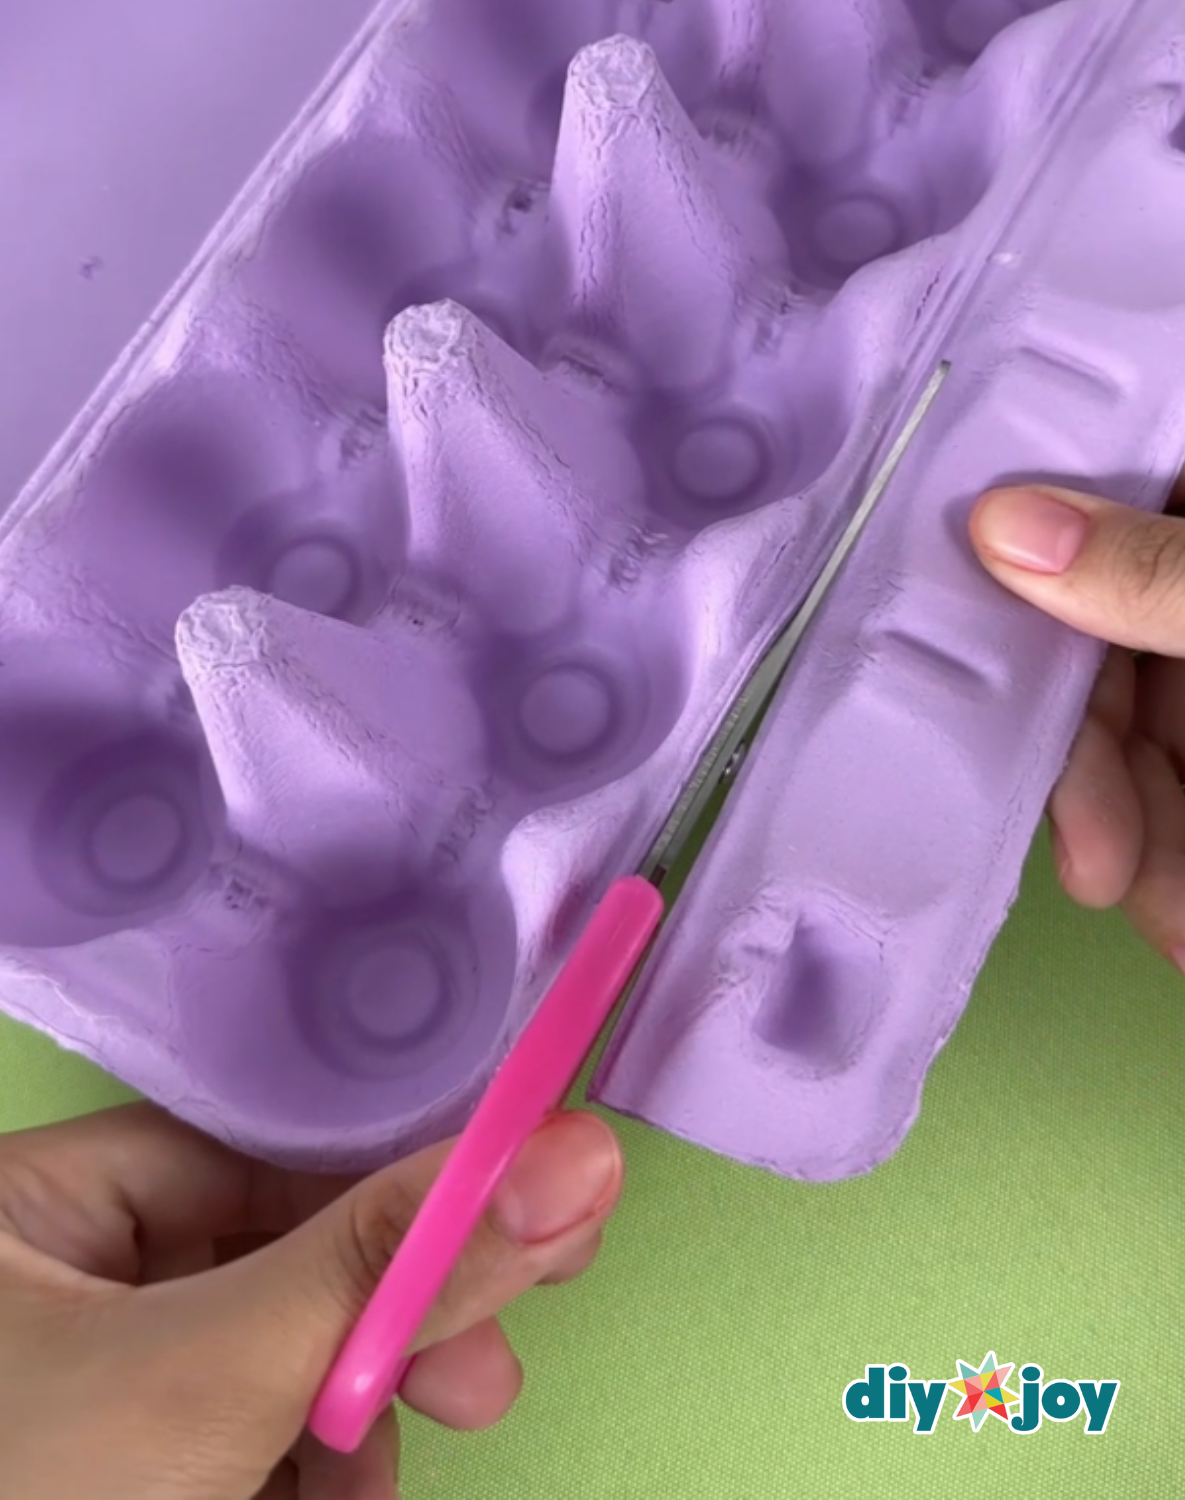
Take an empty egg tray or cardboard box. Using sharp scissors or a knife, carefully cut off the excess parts, including the cover and side covers. Trim around the edges until only the base of the egg tray remains. -
Step 2: Shape the clay to fit the tray
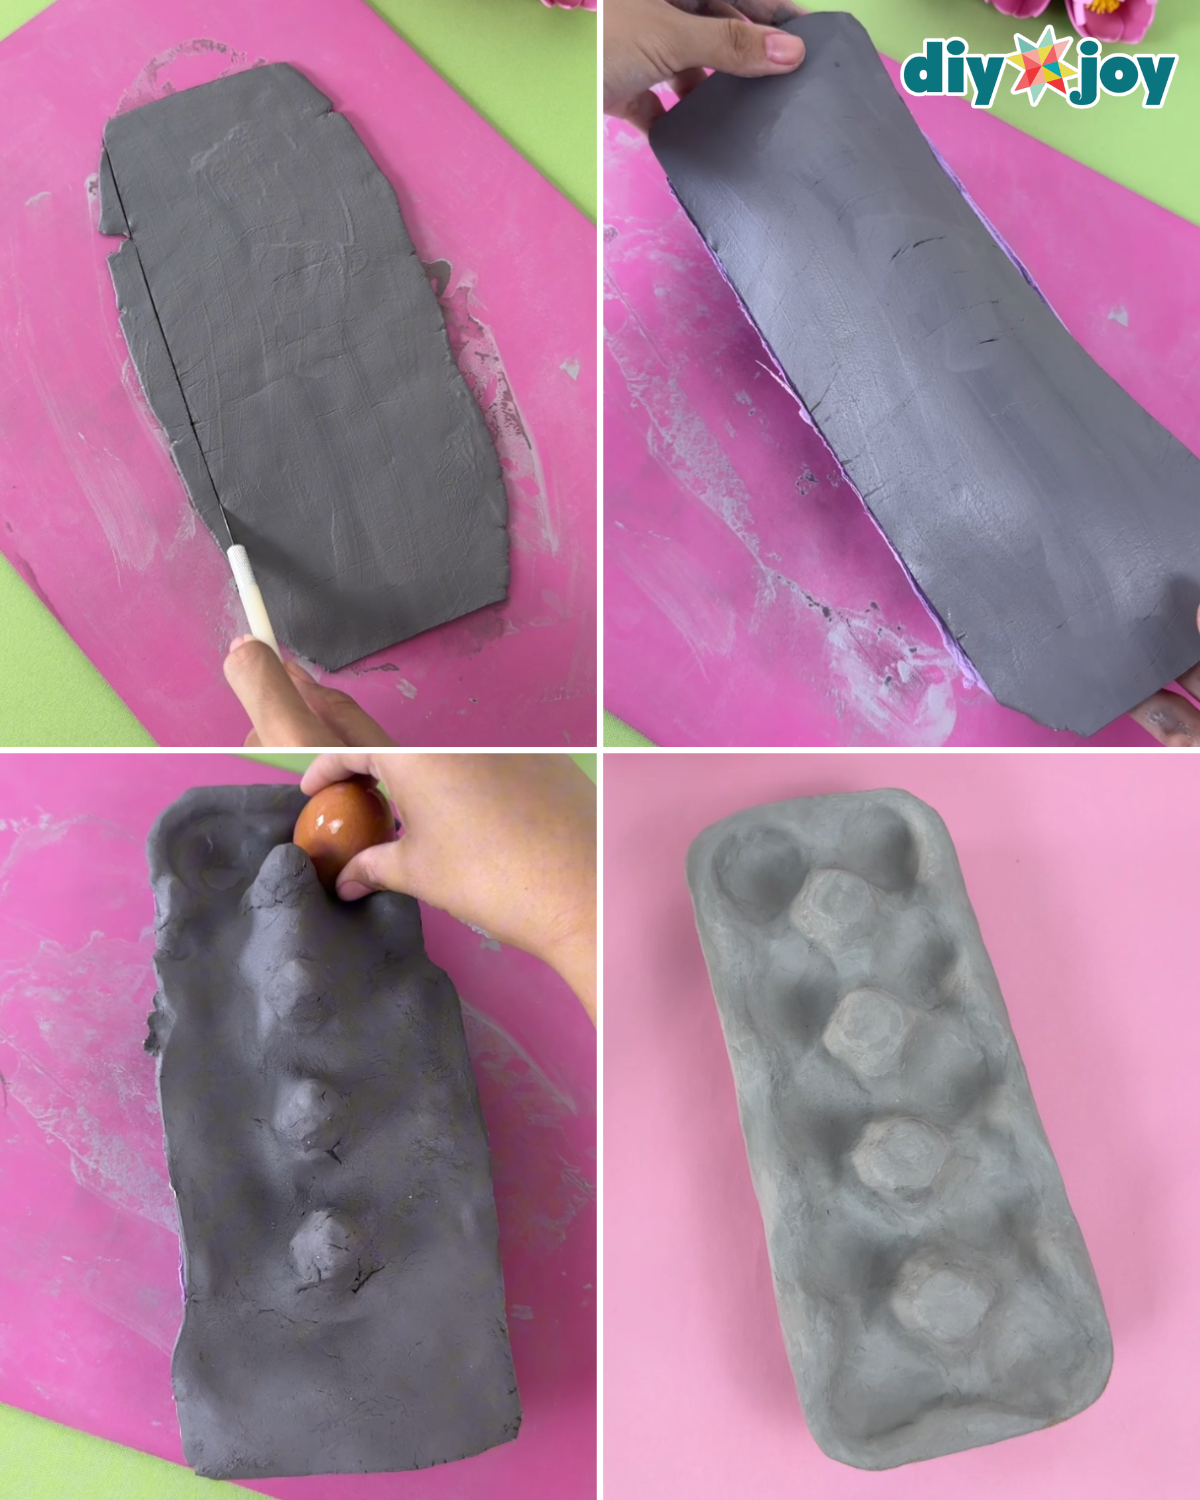
Take a handful of air dry clay and squish it until it is soft and slightly pliable, which will make it easier to shape. Roll out the clay with a rolling pin to your desired thickness and cut the edges into a rectangle large enough to cover the entire base of the egg tray.Then use an egg to press down on each cup, forming the individual wells of the egg tray. Smooth any cracks and fill any holes or gaps with additional clay. Lightly dampen the clay with water as needed to make shaping and smoothing easier. Set the egg tray aside and let it dry completely.
-
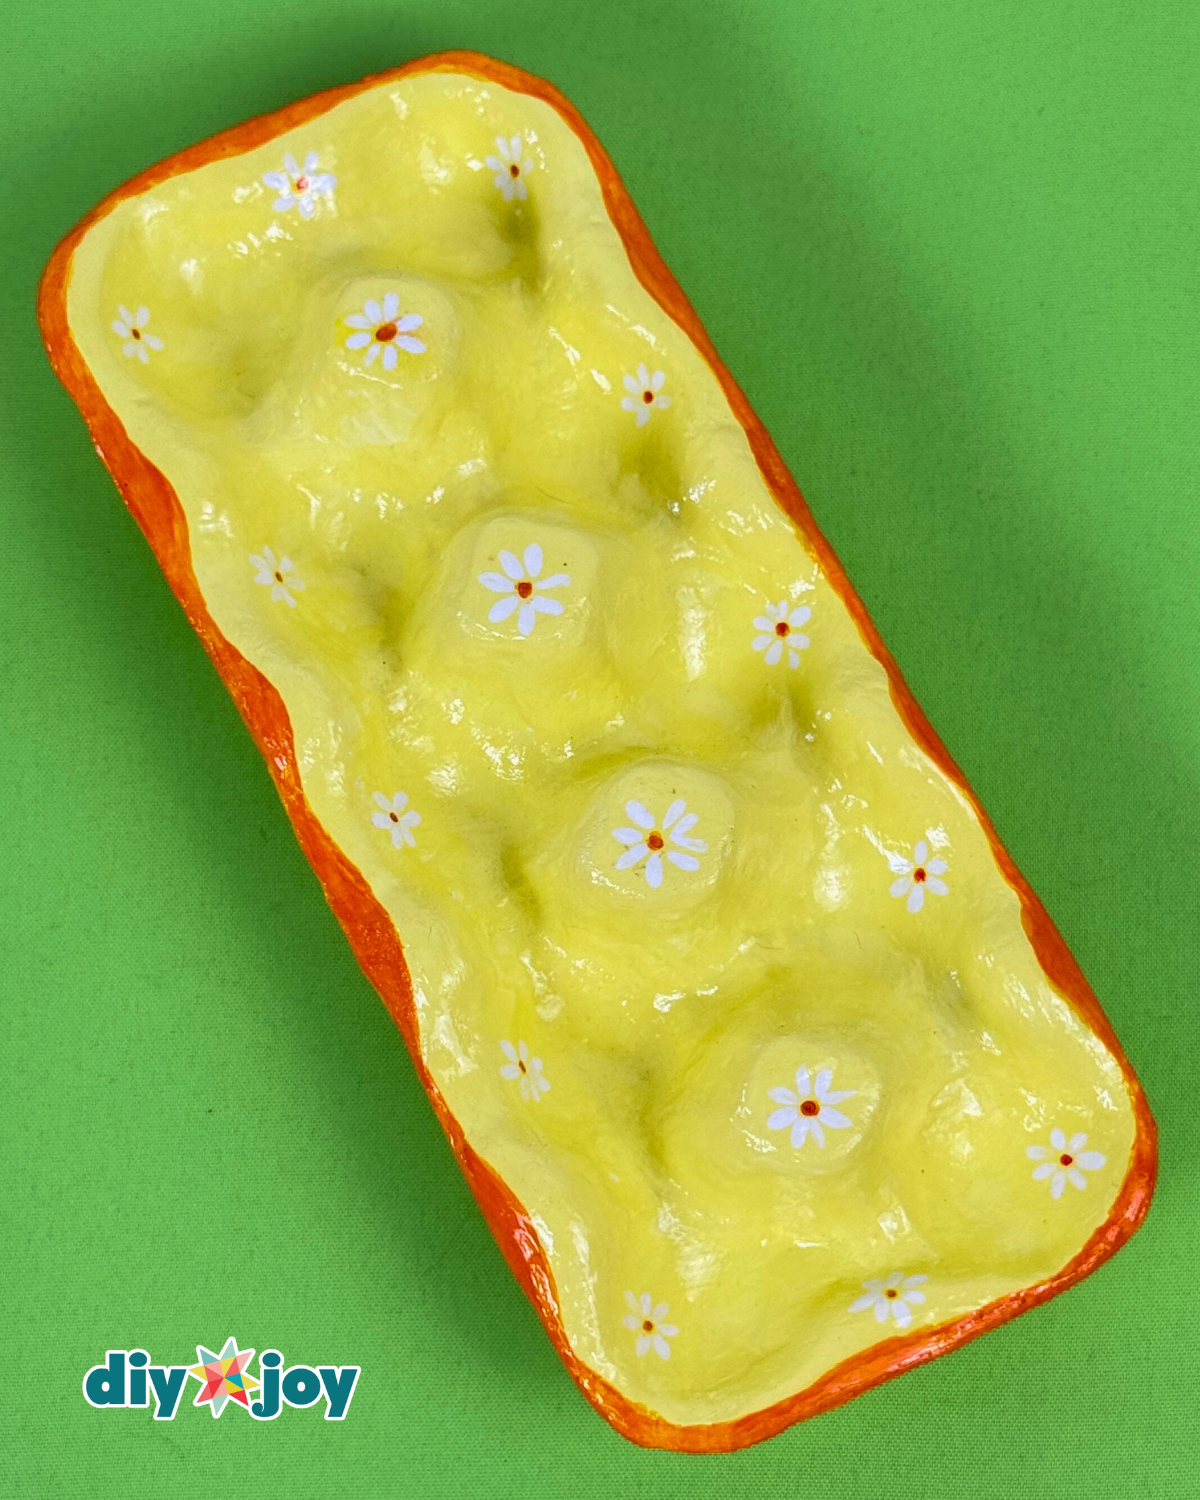
Step 3: Prime and paint your tray
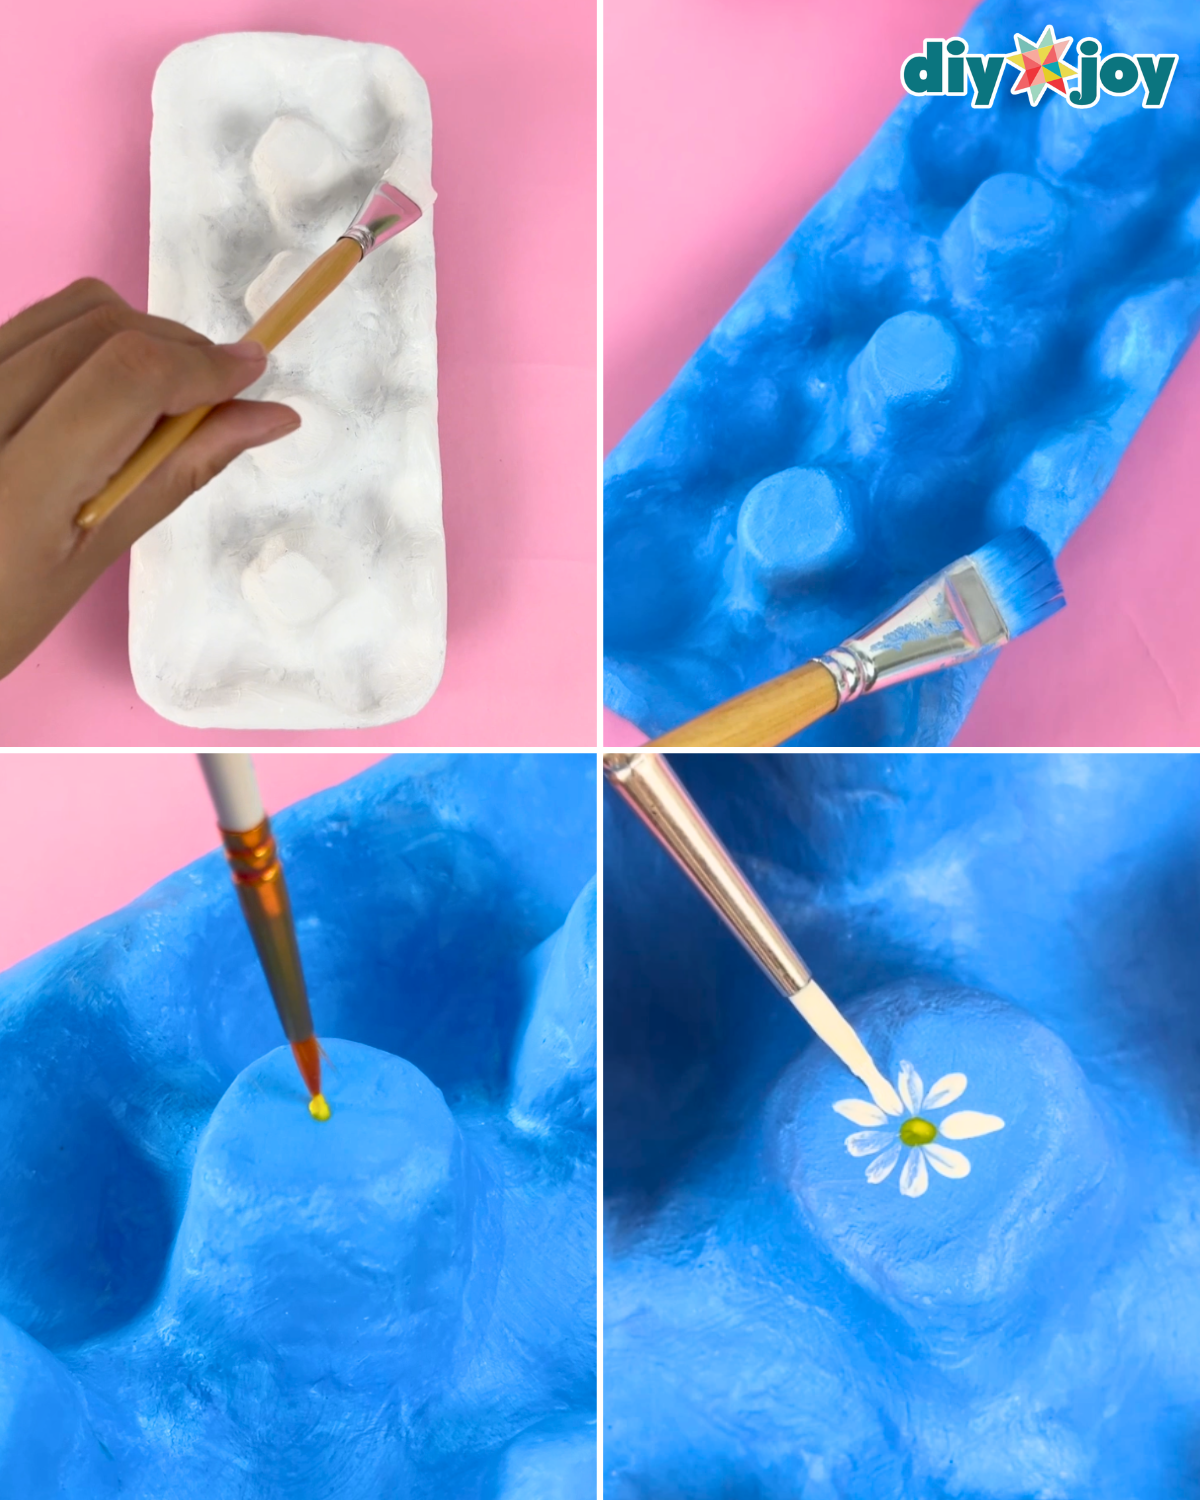
After the clay egg tray is completely dry, apply a coat of primer to the entire surface and allow it to dry completely. Optionally, add a coat of white paint to help your chosen colors pop more. Once dry, paint the tray any color you like. Then decorate it with flowers, shapes or designs of your choice and add a darker outline around the headboard for a finished look. -
Step 4: Seal and secure your tray
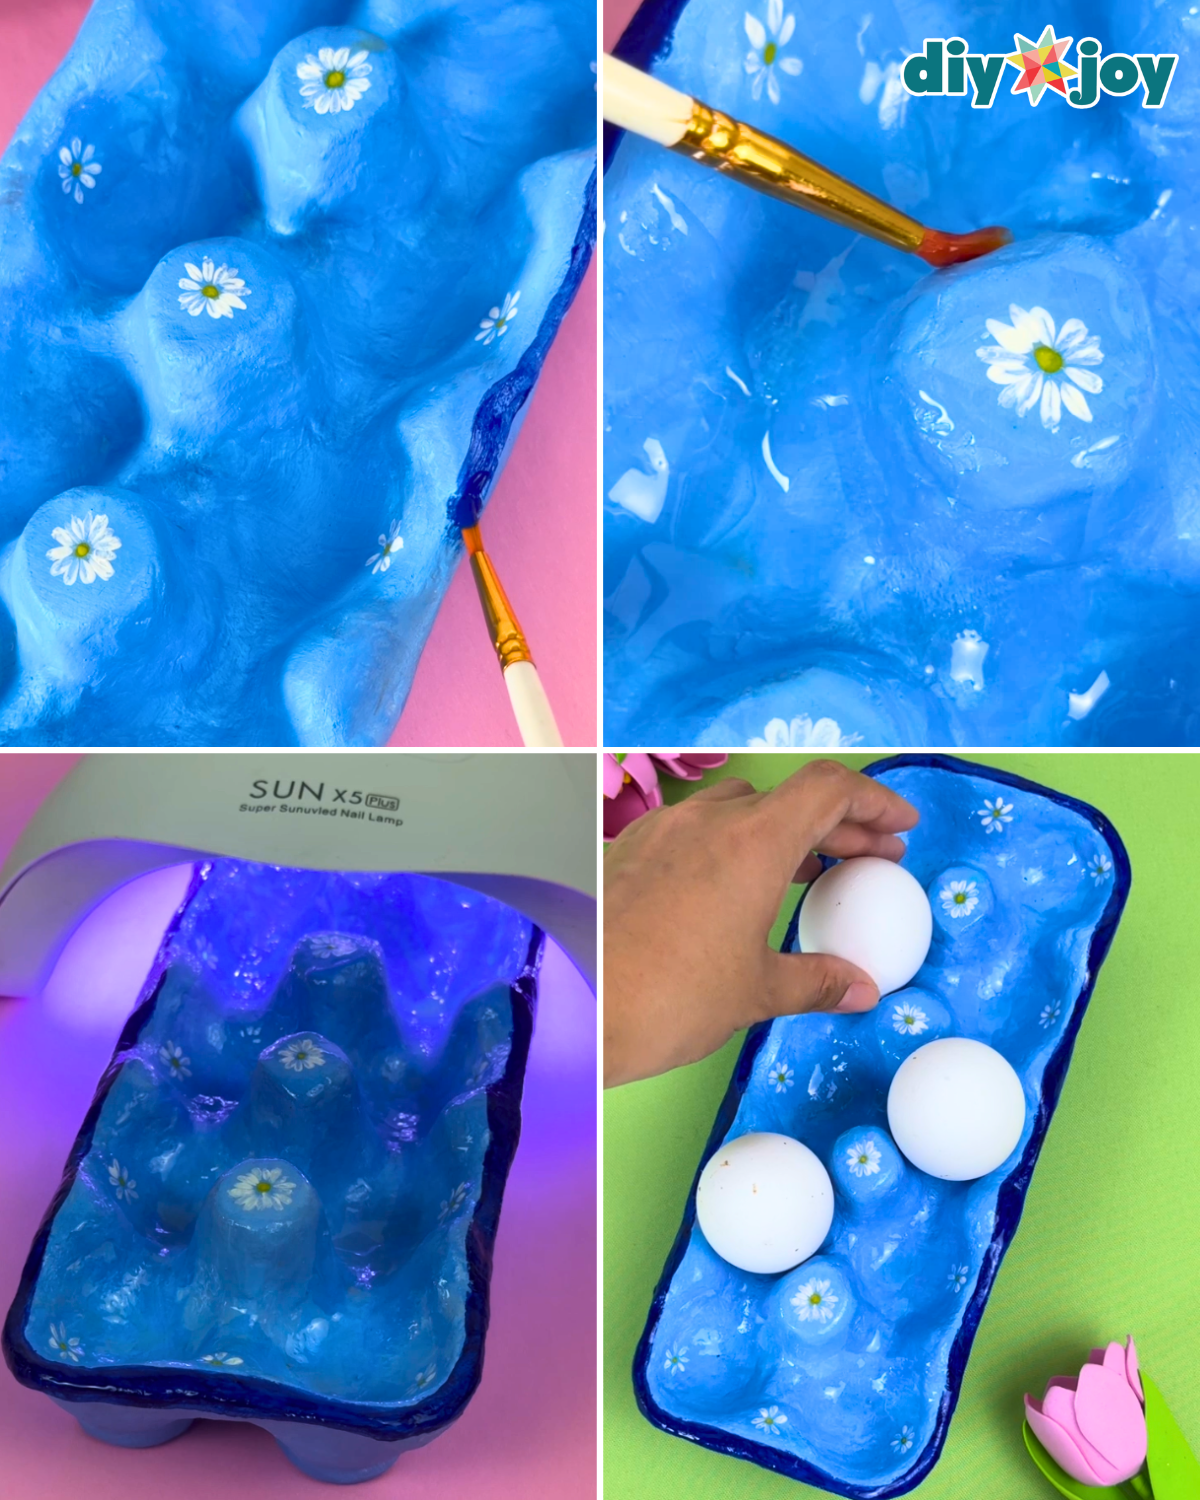
Once your painted and decorated tray is dry, seal it with clear varnish or a layer of UV resin. Let it dry in sunlight until it stops sticking, or use a UV lamp to speed up the process. This will protect your design and give the tray a smooth and durable finish.
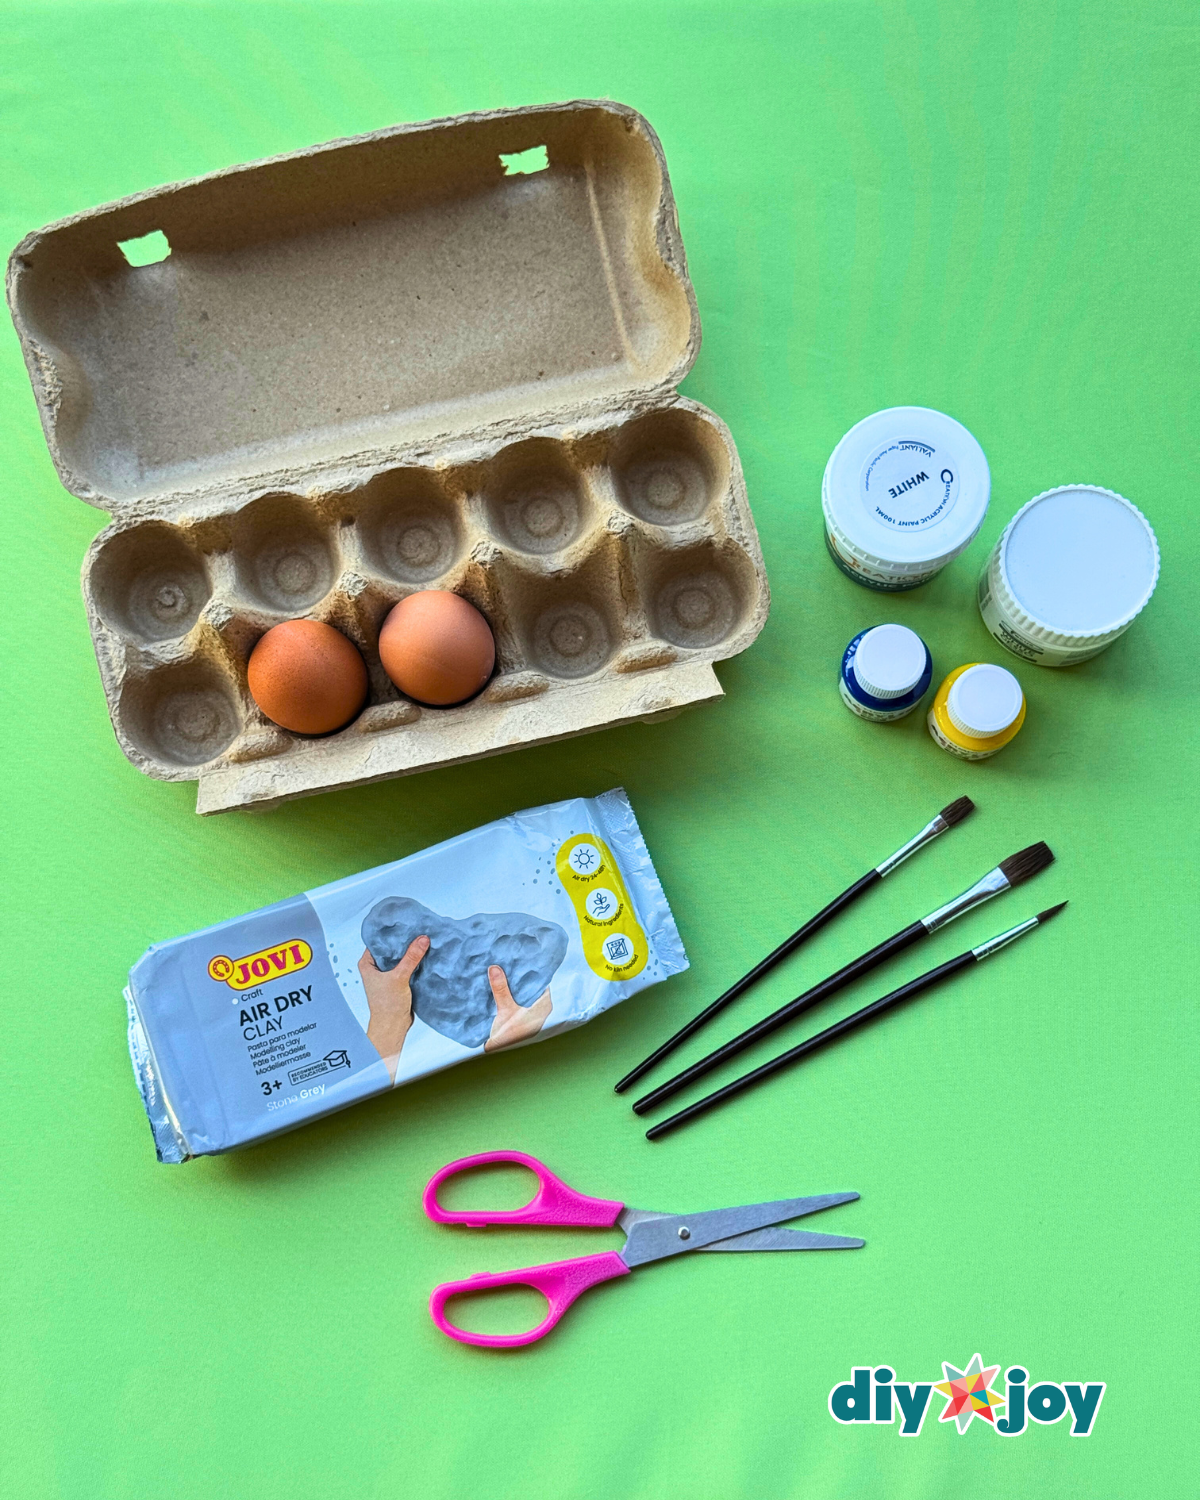
Materials
- Egg tray or carton
- Acrylic paint
- Primer Paint
- Paint brushes
- Air dry clay
- Rolling pin
- Scissors or knife
- UV lamp
- UV resin or clay varnish
![]()
![]()
Professional advice
- Work on a clean, smooth surface – Use a silicone mat or wax paper to prevent the clay from sticking and make cleaning easier.
- Keep the clay moist – If the clay starts to dry out while working, lightly moisten your hands or the clay with water to keep it pliable and smooth.
- Use steady pressure when pressing cups – Press the egg gently but firmly to make even wells; uneven pressure can lead to cracks.
- Carefully iron the seams – Use a damp sponge or fingers to smooth out joints and cracks for a professional finish.
- Thin coats of paint work best – Apply several thin coats of paint instead of one thick coat to avoid streaking or cracking.
- Allow plenty of time to dry – Rushing the drying process can cause cracks; make sure the pan is completely dry before painting or sealing.
- Seal properly – For a long-lasting finish, apply at least two coats of varnish or UV resin, allowing each coat to cure completely.
- Keep tools close at hand – Have a small glass of water, sculpting tools and extra clay nearby to fix mistakes right away.

Crafts to try next:
*If you love this craft, visit our official website, follow our Facebook pageand subscribe to our YouTube channel for more!


