
You might think that owning four electric sanders is plain greedy. Surely one is enough? Or maybe two if you’re feeling extravagant. But it doesn’t matter how many Sanders you have. What matters is that you have the right sander for whatever Sanding The project you are working on.
Use the wrong sander, and you’ll make the job more difficult and possibly not get the finish you want. I’ve built up my collection of sanders as DIY projects have come and gone, and my advice to you is to do the same.
the following Types of sanders That’s what I have in my collection, and I think each one is perfect for a different type of DIY task.
Article continues below
Orbital Sander – My go-to option
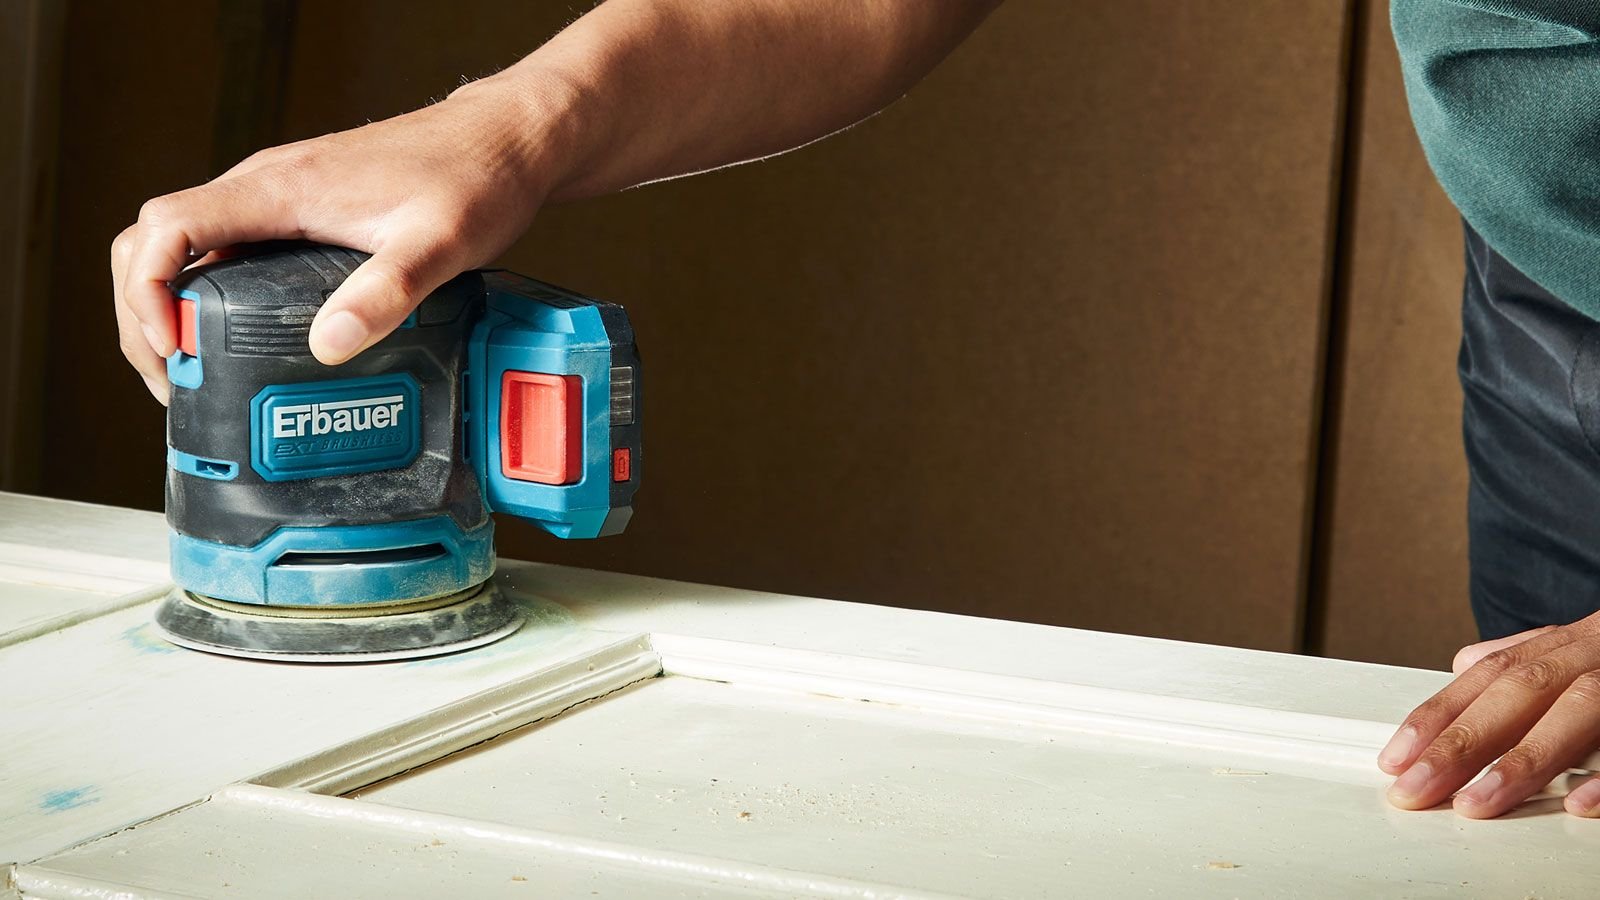
If you only have one sander in your DIY toolkit, I’d make it Orbital sander.
This The best orbital sanders A great choice for most sanding jobs, especially flat areas such as doors, window sills, tabletops and wooden kitchen worktops. It is also a good choice Sanding skirting board.
For decorative items such as architraves or OG skirting boards, I use an orbital sander to smooth out flat areas before switching to the alternative option.
A key feature of random orbital sanders is that the sanding pad rotates and oscillates simultaneously, which helps create a smooth finish with fewer sanding marks. However, if you use coarser grits you will see marks.
The best way to get rid of this is to use progressively finer grades if you need a smooth, mark-free finish for surfaces that will be varnished or polished rather than painted. I suggest you use 80- or 120-grit for the first run, then use 240-grit to finish.
Great for: Doors, tabletops, wooden kitchen worktops, sanding down wall filler.
Detail Sender – When details come calling
An orbital sander may be a great all-rounder, but when it comes to 90-degree corners, its round sanding pad just doesn’t fit. This is when you need to adapt the triangular sanding pad of a detail sander.
A detail sander is perfect for a whole host of DIY jobs. The most common jobs I use it on are stairs and doors. My latest detail is Sander A Black+Decker Mouse (available from B&Q), which has a compact design and fits nicely in the hand, making it easy to get into corners and edges on stairs and ideal for panels on doors.
But these are not the only areas I use. I have used it for flat stair spindles, banisters, furniture, corners and edges on walls and ceilings. MDF sanding edges and small filled wall holes, among others.
Some detail sanders, including mine, have extensions (known as ‘fingers’ or similar). These fit over the top of the pad, making it easier to get into tight corners and areas like door slats. If you don’t have one, check if your sander has the capability, and check online for similar ones OTOTEC 2PCS Sander Finger Platen at Amazon.
Great for: Door panels, board edges, stairs, small filled holes.
Sheet sander – ready to finish
The beauty of sheet sanders is that they usually have larger sanding pads than other sanders (Like this Makita BO3710 Sheet Sander from Amazon). This covers more area with each pass, effectively removing more material faster. However, some sheet sanders have small square pads, making them great for straight edges and corners.
My sheet sander, which has a large rectangular pad, gets much less use than my orbital or detail sanders. I usually use it Sanding plywood And to smooth the edges to match and get a nice finish on the face of the MDF board.
Another bonus is that I don’t need a specific sanding disc to fit the sander, such as an orbital sander, detail sander, or belt sander. I just buy sheets of sandpaper in the cloth I want and cut it to fit the pad. This works cheaply.
Great for: Large flat areas such as doors, walls, boards (plywood, MDF, OSB), corners and edges.

Belt Sander – When you need more power and speed
Belt sanders are not for fine finishing, and while useful sanders, in my opinion, they are not a necessary purchase unless you have a DIY project that would benefit from what they offer. And that’s why I have a belt sander.
The reason I bought a belt sander (like this one Lumberjack 4″ Belt Sander from B&Q) was to refinish my old wood floors. I didn’t want the expense of replacing the floor or destroying the original floor. is an art Using a belt sander to sand floorsSo I suggest you do some practice before starting the flooring that will be on display. It is easy to get unwanted peaks.
Since then, I’ve used my belt sander to smooth the floorboards, remove paint from the old doors (again, wanted to keep costs down and keep the original doors) and finish the old boarded floors (remove leftover glue debris and rough areas, ready for new flooring). They are usually more expensive than other sanders, but I would say they are definitely worth the investment.
Great for: Leveling floorboards, smoothing rough wood, removing material over large areas. It can also be used Sand engineered wood flooring.
Buy these sanders and add them to your toolbox

Metabo Cordless Orbital Sander
This flat cordless random orbital sander has an ergonomic design with a soft-grip handle. It is lightweight, making it ideal for sanding walls, and it provides low vibration for long-term use.

Worx WX822 Cordless Detail Sander
A long cordless detail sander with a large, easy-grip handle that gives more control over movement. Includes 2.0Ah battery, battery charger, carry case and six sanding sheets.

This belt sander is ideal for quick material removal. This design protects the motor and bearings from dust and debris, extends their life, and comes with a flat side for flush-to-the-wall sanding.
Multi-tool sander attachment – bonus addition for more flexibility
I know I’ve already covered most of the bases when it comes to sanding, but with my four sanders, I have a multitool with a sanding attachment. Sanding pad on me Black + Decker MultiEvo Multitool It is a very standard triangle shape, making it ideal for small detail jobs.
Do you need one? Not if you already own a detailed sander. However, if you already own a multitool, it will most likely have a sanding attachment, so you don’t need to invest in a detail sander. I’m lucky with both, so I use whatever is closest to hand and has the right grit sandpaper for whatever job I’m doing.
Great for: Paneled doors, wall repairs, shelf edges, window seals, door frames, skirting boards

Do you really need four different sanders?
There is no simple yes or no answer to this question. All you need to do is find a sander that fits the job you are doing. If looking to remove material from a surface quickly, a belt sander is a more obvious choice than a detail sander.
However, as a general guideline, for most general DIY projects, I would recommend a random orbital sander and a detail sander as the best combo. This relates to most flat surfaces, corners and edges. However, if you venture into larger, more heavy-duty DIY tasks, sheet sanders and belt sanders will be needed.
I would start with an orbital and detail sander and add as needed. Also, if you do a lot of sanding, I would suggest stepping up to a quality ladder and making a big investment in your equipment. Brands like DeWalt and Makita have quality DIY products. If you really want to spend big, Festool and Mirka are good brands to consider.
Sanding is all part of the preparation process, usually used to prepare wood for painting. Sanding walls A smart move can also be to make sure the surface is smooth and ready to apply paint.
Sanding can be a seemingly messy job, but there are ways Make the sand less dustySuch as using a sander that captures dust at source.


