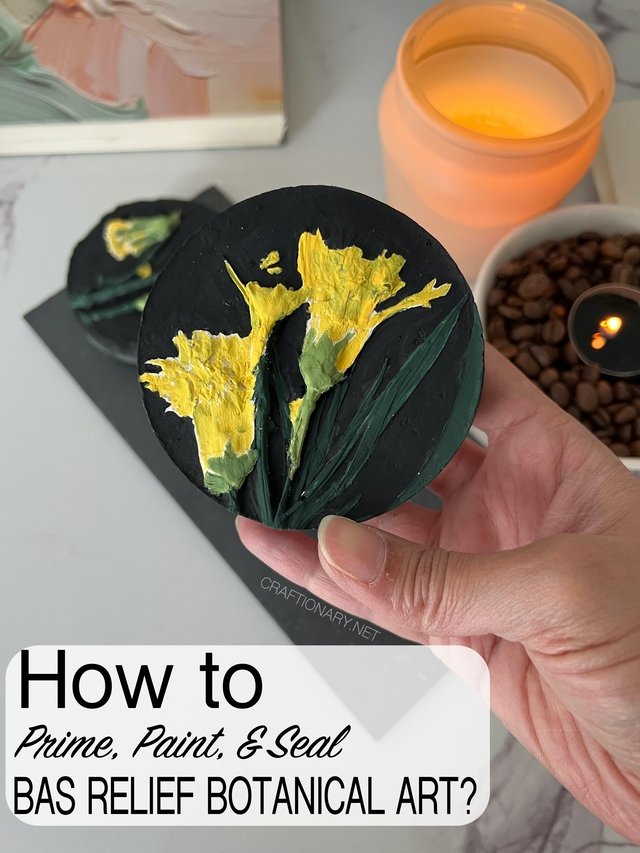
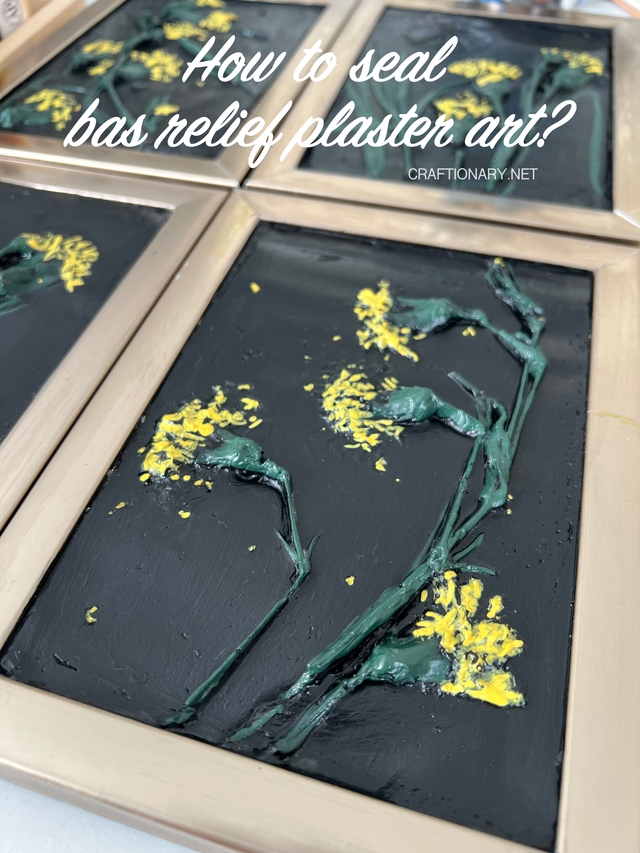
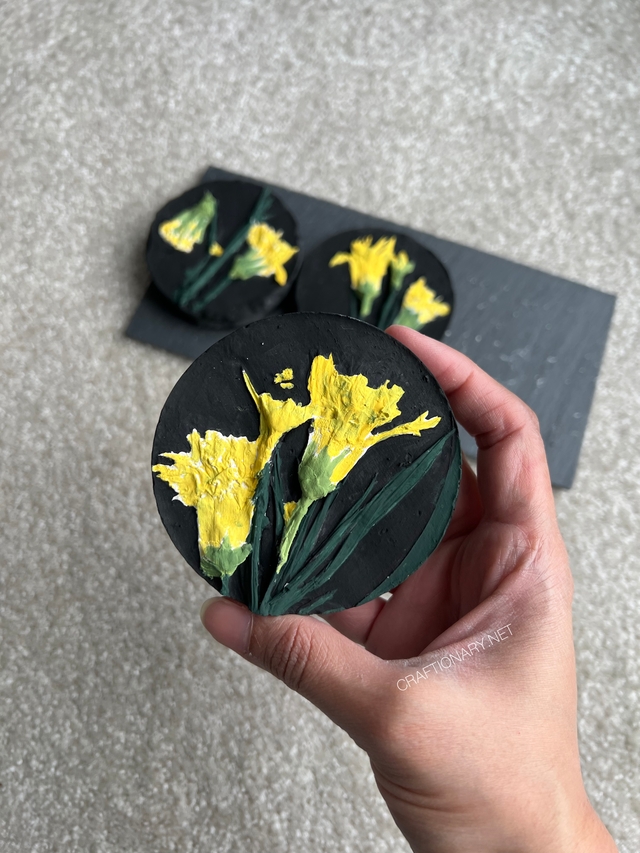
Plaster bas relief art is beautiful, timeless and increasingly popular in modern textured wall decor. However, plaster is naturally soft, porous and brittle – meaning that painting it incorrectly can cause it to crack, peel, flake or damage the surface.
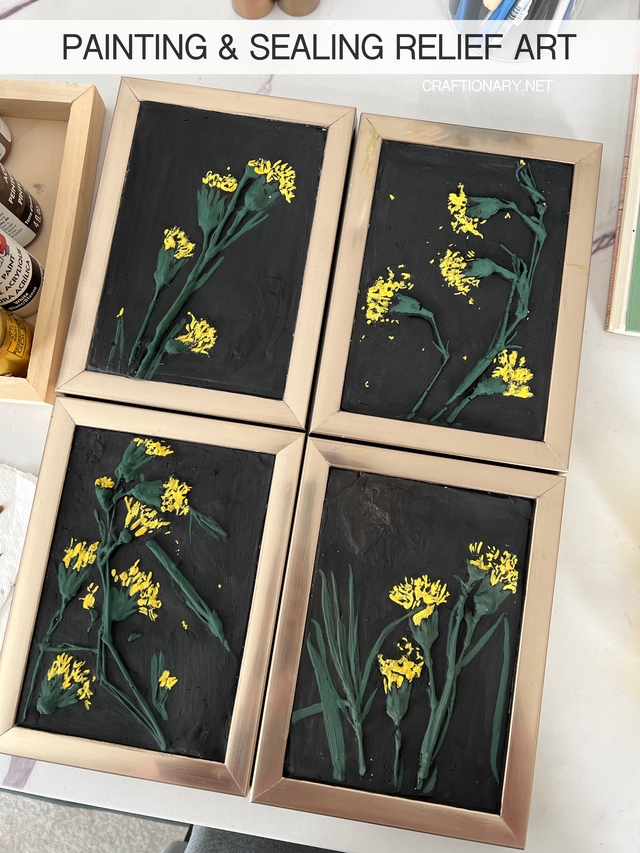
You’ll learn to prime, paint, and seal relief art step-by-step using safe, durable methods used by the pros.
What is a plaster bas-relief?
Bas-relief (also called low relief sculpture) is a raised design sculpted in plaster that remains attached to a flat background. It is widely used in the creation of textured walls, architectural moldings and hand-crafted sculptural art. It must be properly sealed and painted to prevent damage as plaster is soft and porous.
Why plaster cracks or cracks after painting
Understanding this helps prevent mistakes. Plaster can break or peel because:
- Absorbs moisture too quickly.
- The paint is applied before it completely hardens.
- No primer or sealant was used.
- Strong brush pressure damages the surface.
- The plaster is not well reinforced.
- Environmental humidity causes expansion and contraction.
The solution is proper curing, sealing and flexible paint layering.
Strengthening the base: before painting
The secret to unbreakable embossing starts with the mix. If you haven’t cast your piece yet, you can greatly increase its durability with these pro hacks:
- The 10% Acrylic Rule: Add a high-quality acrylic modifier or even regular wood glue to your water before mixing the powdered plaster. This creates an internal polymer matrix that makes the plaster up to 50% stronger and more resistant to splitting.
- Upgrade your material: While plaster of Paris is common, professionals often use Hydrocal or Hydrostone. These are gypsum cements that dry significantly harder and are much less likely to crumble.

Learn How to make a bas-relief botanical cast Art before proceeding with painting and sealing.
1. Allow the plaster to harden completely
This is the most overlooked step. Fresh plaster should cure for at least 7-14 days before sealing or painting.
If moisture remains trapped:
- Paint may bubble
- The seal may fail
- The surface may weaken
test: Press your nail lightly into a hidden area. If it dents easily, it’s not ready.

Allow the bas-relief to dry completely
2. Strengthening the thirsty surface by sealing
Plaster is incredibly porous. If you apply paint directly to raw plaster, the material will absorb moisture from the paint too quickly, resulting in an uneven finish and potential peeling. Because plaster is soft, reinforcement is key.
Pro tip: Never paint on cold plaster. If the relief is cold to the touch, it still contains moisture. Moisture trapped under the caulk is the #1 cause of mold and peeling paint.
Apply Penetrating Gypsum Sealant (optional)
Use:
- Acrylic penetrating sealant
- PVA glue diluted with water 1:3
- Clear matte acrylic carrier
Apply with a soft brush and allow to absorb. Will:
- Hardens the surface
- Reduces dust formation
- Prevents excessive paint absorption
- Reduces the risk of cracking
Allow to dry completely (24 hours).
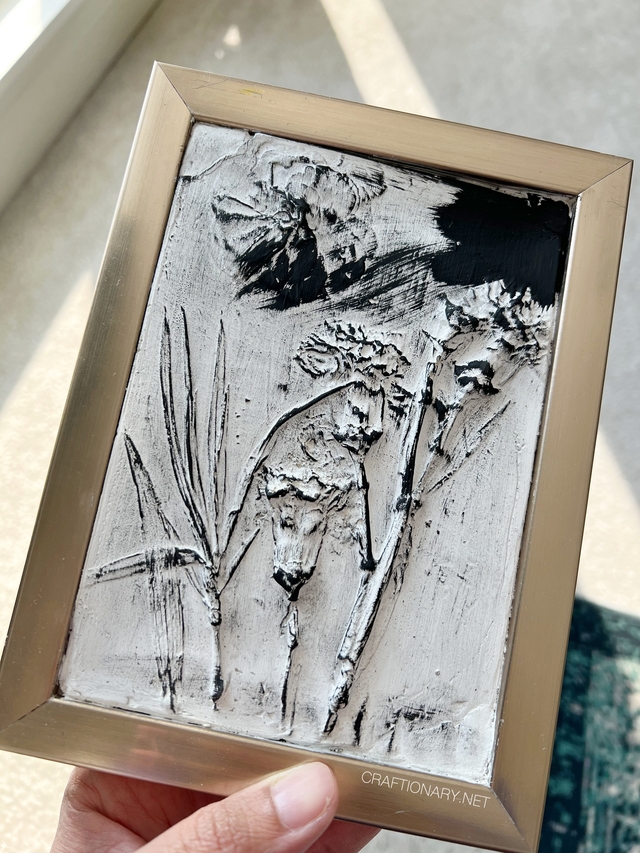
3. Prime the Relief plaster
Yes — you must prime the plaster before painting. I recommend using acrylic gesso.
Best Primer:
- Shellac: Heavy protection for large pieces. Creates a hard shell that penetrates deeply and strengthens the surface.
- Acrylic gesso: paint standard. Seals the press without changing the texture, allowing you to paint.
- Water-based bonding primer: Budget-friendly and effective in reducing absorption.
- Spay fixative: Ideal for delicate details where the brush can tear off small tips.
Apply thin layers with a soft brush or sponge.
Why priming matters:
- Prevents uneven absorption of paint
- Reduces peeling
- Strengthens the surface
- It helps the paint to stick properly
Allow 4-6 hours to dry.

Apply acrylic gesso or primer of your choice
4. The best plaster paint
I recommend using acrylic paints for this project. The safest plaster paints are:
Acrylic paint (best overall)
- Flexible
- Water based
- Does not retain moisture
- Excellent adhesion
Latex paint (for wall installations)
- Durable
- It can be washed
- Flexible
Avoid:
- Oil-based paints (can trap moisture)
- Heavy enamel layers
- Thick coats
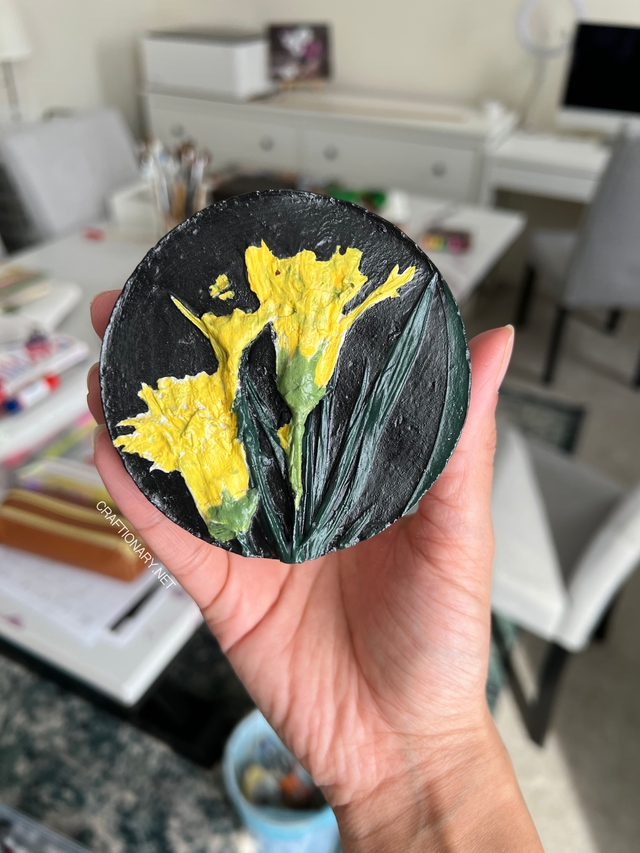
5. How to draw a bas-relief
To add depth to plaster art, highlight a raised texture or simply dry brush. Here are two commonly used professional techniques:
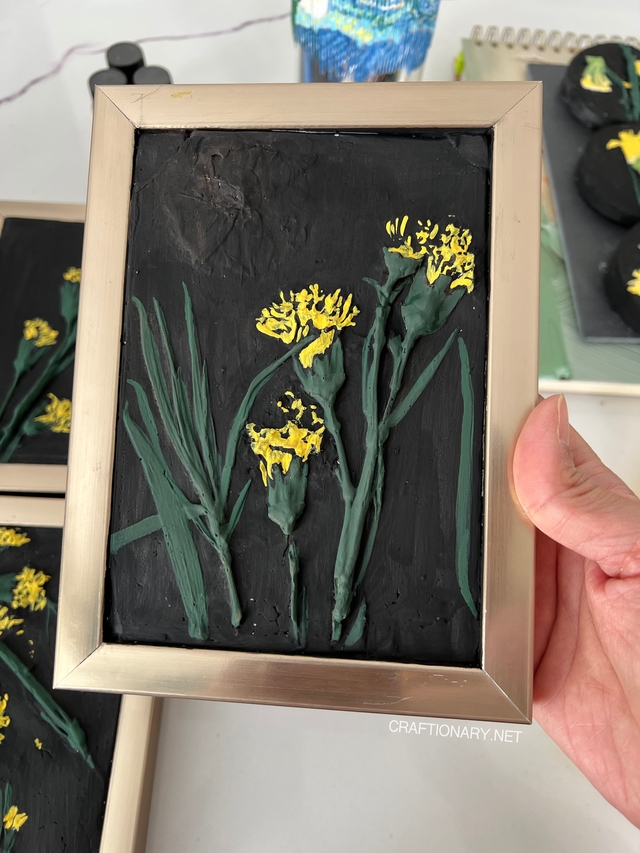
Technique 1: Base coat
- Apply a thin, even base coat.
- Use a soft synthetic brush.
- Avoid overloading the surface.
- Allow to dry completely.
Technique 2: Dry brushing to emphasize texture
To make the texture stand out, use the dry brush technique.
- Dip a stiff brush into undiluted paint (usually a lighter shade).
- Wipe off 90% of the paint on a paper towel.
- Gently drag the brush over the raised edges. This captures only the highest points of the relief, creating a dramatic 3D effect.
- This emphasizes detail without filling cracks.
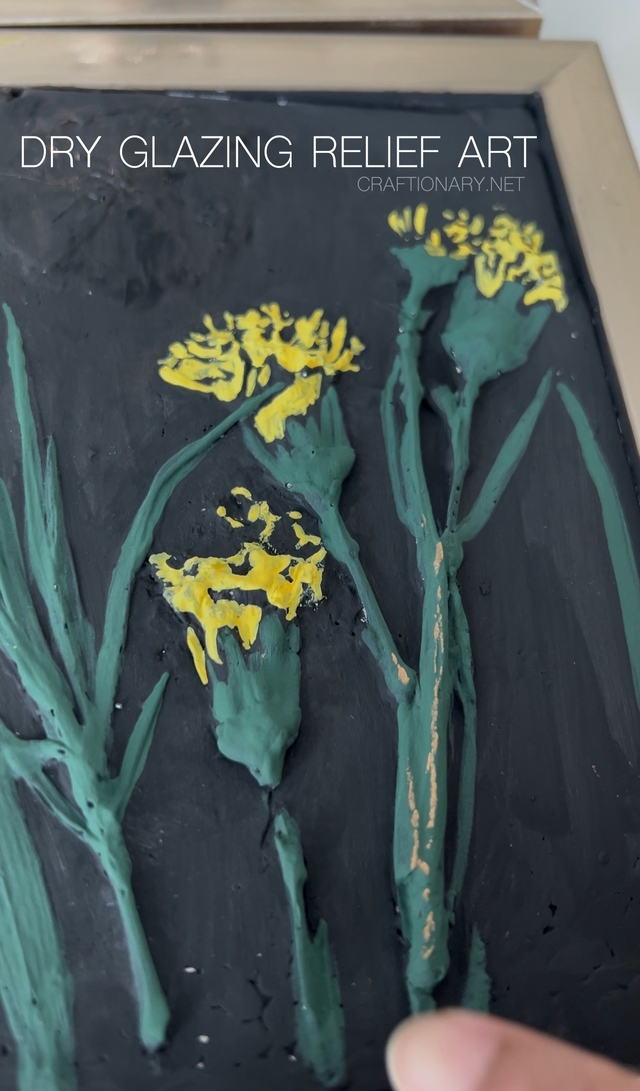
Technique 3: Glazing for Shadow Depth (Antique Base Wash)
- Mix: 1 part acrylic paint + 3 parts water (or average glazing)
- Instead of thick, opaque paint that can clog up your details, start with a wash. Brush the entire piece, letting it get into the deep crevices.
- Wipe off the excess from the tips with a damp rag to create instant shadows.
- This adds dimension and prevents a flat look.
Tip: You can also use small amounts mica powder on your fingertip and gently rub the relief to glaze it with metallic accents.

6. How to seal plaster after painting
Since plaster is soft, the final top layer is your armor. This step prevents breakage and moisture damage. I recommend using a matte acrylic varnish.
Related: Best Sealer: How to Apply Waterproof Acrylic Paint to Stone, Wood, Glass Crafts
For indoor art:
- Matt acrylic varnish: Protects the paint without giving a plastic shine.
- For stone/marble look: Apply paste wax with a soft cloth. Let it sit for 24 hours, then buff it. This creates a luxurious, touchable finish that is fingerprint resistant.
- Polycryl water-based sealant: Long-lasting protection at a low price.
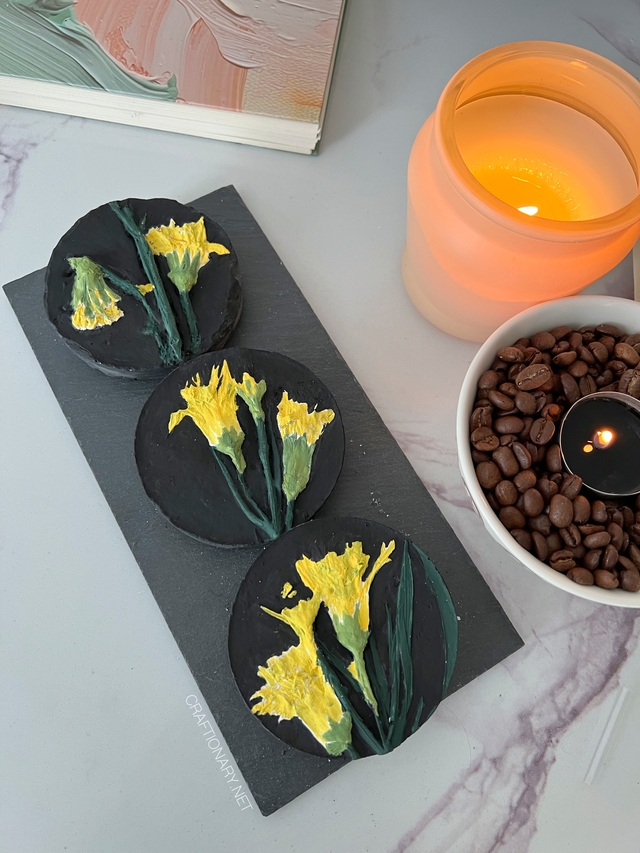
Sealed with gloss acrylic varnish
For high humidity areas:
- Transparent polyurethane (water-based): Great for long-term protection in any environment. Apply 2-3 thin coats and wait 24 hours between each coat. Never apply thick heavy layers.

One coat of gloss acrylic varnish
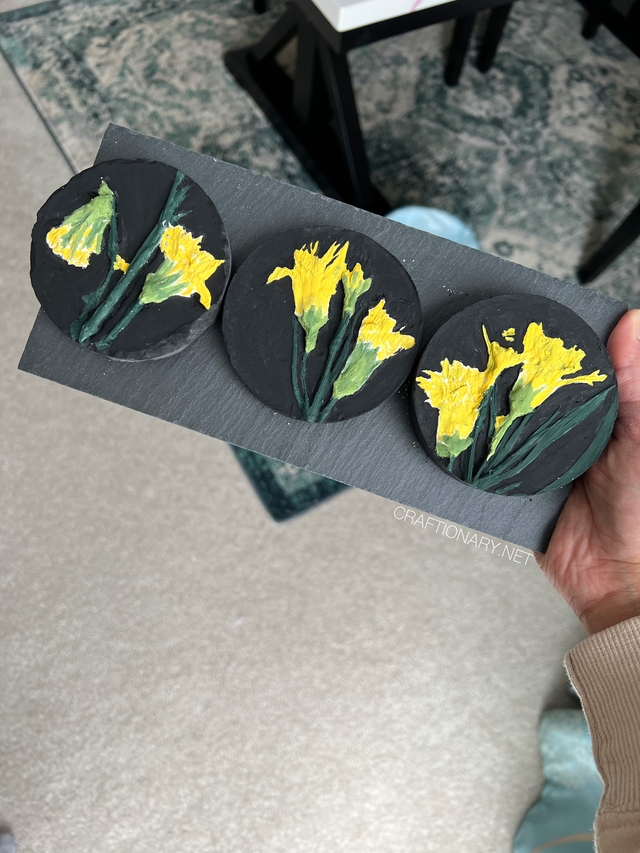
Try arranging them vertically or horizontally on a framing plate.
Summary of plaster relief art painting:
Apply a thin layer of gesso to prevent the paint from absorbing. Enjoy painting your artwork with acrylic paints. Finally, seal it with a matte acrylic varnish for best results.
How to protect plaster from breaking or cracking
Here are some pro tips:
- Always reinforce plaster with mesh or fiber when sculpting.
- Avoid hanging heavy unsupported panels.
- Seal the front and back surfaces.
- Keep away from high humidity.
- Use only flexible acrylic products.
- Avoid falling temperature extremes.
Frequently asked questions
Can you use spray paint on plaster?
Yes, but only after sealing with shellac or primer. Raw plaster will absorb the spray paint unevenly, resulting in stains.
Why does plaster crack?
Cracking usually occurs if the plaster dries too quickly (under direct sun or heat) or if the layer on the canvas is thicker than 4 mm without a flexible binder such as gesso.
How do you fix a broken piece of embossing?
If a tip or leaf breaks off, use clear drying cyanoacrylate (super glue) or thick acrylic gel to reattach it. Once dry, repair the seam with some paint and sealant.
Do you need to seal stucco before painting?
yes Plaster is porous and will absorb paint unevenly without sealing.
Can you paint directly on plaster?
Technically yes – but it weakens stamina and causes uneven absorption.
Why does your plaster absorb paint?
Because it wasn’t sealed or primed.
What is the best coating for a bas-relief?
Matte or satin acrylic varnish works best for modern decor.
How to make plaster art look antique?
Use a dark glaze in the recesses and dry brush the metallic highlights.
How do you protect textured walls?
Seal with several thin coats of acrylic varnish and avoid impact areas.
The best tools for painting plaster
- Soft synthetic brushes
- Sponge applicators
- Brushes for details
- Fine sandpaper (320 grit for smoothing before sealing)
- Spray varnish for an even finish
Safety and longevity tips
- Wear a mask when sanding plaster dust.
- Never rush the curing stage.
- Store in a dry place.
- Avoid soaking plaster in water.
- Use wall anchors if installing heavy parts.
If you only remember one thing: The durability of plaster art depends more on sealing and priming than painting.
Do not rush to strengthen the surface first, and your bas-relief will last decades without cracking.
Written by: Hani Shabir
You’ll also like:
100 Things You Can Paint On – Creative Surfaces for Art Lovers
Paper Woven Art: How to Create a Ribbon Weave from Two Artworks
Leaf Painting: Beautifully painted art on dried leaves