
Safety matters
When a project involves electricity and ladders, safety must be considered. To limit hazards and prevent injury when replacing a light fixture with a ceiling fan, be sure to follow these ceiling fan wiring safety precautions.
- Always turn off the power source at the breaker box before starting any project involving home wiring. Then, make sure all wall light switches are in the “off” position. Do not rely solely on the wall switch to turn off the power as it presents some degree of risk.
- Always double check that the wire is not live. When the electrical power to a switch or outlet can be turned off at the breaker box, it is important to use a voltage tester to make sure the breaker box is properly labeled.
- When working on a ladder, make sure it is kept away from door openings and placed on a safe and level surface.
- Center your hips inside the stair frame when climbing a ladder and reach down to move the ladder if something is out of your reach.
The best voltage tester
Fluke 1AC II Volt Alert Non-Contact Voltage Tester
We love this tester’s audible beep when it detects power, the self-test indicator, and the energy-saving auto shutoff. Read the review.
Look at that
Photo: Amazon
How to replace a ceiling light with a ceiling fan
Step 1: Choose a ceiling fan that suits the size of the room.
When choosing a fan, pay attention to the size of your room. Blades must be at least 18 to 24 inches from all walls, at least 7 feet from the floor, and 10 inches from the ceiling. Use the following figures as a guide to choose the right size ceiling fan for your space:
- A 36-inch fan if the room is 144 square feet or smaller
- A 42-inch fan if the room is between 144 and 225 square feet
- A 52-inch fan if the room is 225 square feet or larger
After selecting that A quality ceiling fanChoose an approved ceiling box for fans. Boxes for overhead lights are not strong enough to support the weight of the fan; Your best bet is to choose a metal box that can support the weight of the fan. If you have overhead access from the attic or you have exposed ceiling framing, you can add framing between the joists to attach the box. If not, use a brace bar. Brace bars can be screwed into the joists, and the newly added supports will hang the ceiling box and fan.
Step 2: Remove the old unit and cut a new hole.
Make sure the power at the breaker box is off, and then use a Voltage meter To check that the wire is not live. Before starting to remove the old light fixture, decide where the old fixture will be placed. If it’s a large or heavy fixture, you may need the help of a friend to hold it while you separate it from the ceiling.
Carefully remove the light fixture and then disconnect the wires connecting the old fixture to the wires in the ceiling. Next, remove the old light fixture’s ceiling box with a screwdriver. Make sure the wiring is in good condition and consult an electrician to evaluate it or replace it if necessary.
Check the ceiling hole and trace the outline of the ceiling box onto the ceiling to determine if it is the correct size for the new ceiling box and fan. Next, cut out the required shape using a keyhole saw. The hole cut is usually about 5 inches in diameter.
Step 3: Mount the ceiling fan brace bar.
Insert the ceiling fan brace bar into the ceiling hole. Position the ceiling brace box so that it is centered over the hole and perpendicular to the ceiling joists. Next, twist the outer strap until it locks into the leg. Continue twisting until the legs are joined. Next, turn the inner strap to secure the other leg.
If you are renovating a room and have open framing, you have the option of using lumber and ceiling fan boxes instead of brace bars with attach boxes. Measure the distance between the ceiling joists and then cut a 2-inch-by-8-inch piece of framing lumber to span the distance. Secure the wooden block with Three 3-inch deck screws on each joist, and secure the ceiling fan box to the block using the recommended fasteners from the ceiling box manufacturer.
Step 4: Connect the ceiling fan wires.
Carefully pull the wire through the knockout hole in the receptacle box. A handy pair Needle-nose pliers can help. Then, attach the fan’s mounting bracket to the included hardware. Attach and secure the down rod of the fan with the ball end toward the ceiling (usually with cotter pins).
Next, connect the fan wires to the circuit wires: white to white, black to black, and the grounding wire to the fan’s green lead wire or grounding screw. Secure all connections with wire connectors and tack them into the ceiling box.
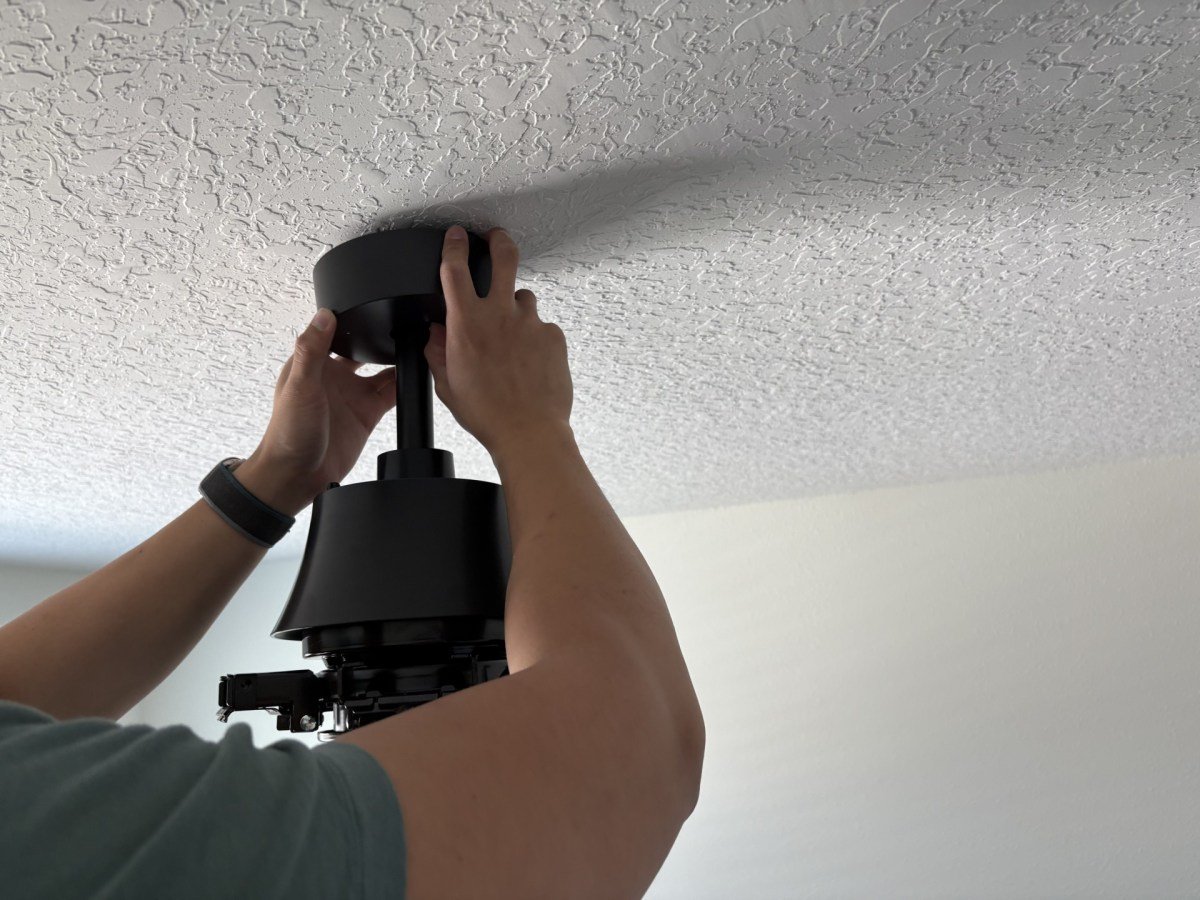
Step 5: Hang the ceiling fan.
The next step involves hanging the new ceiling fan. Depending on the size and weight of the fan, it may be easier to ask someone to help with this step.
Attach the canopy or medallion using the included screws. Install the blade using the supplied hardware. Make sure all screws are securely tightened with a blade iron Prevent the ceiling fan from swaying. Rotate the blade manually to check if it is secure.
Step 6: Follow the instructions for the light kit.
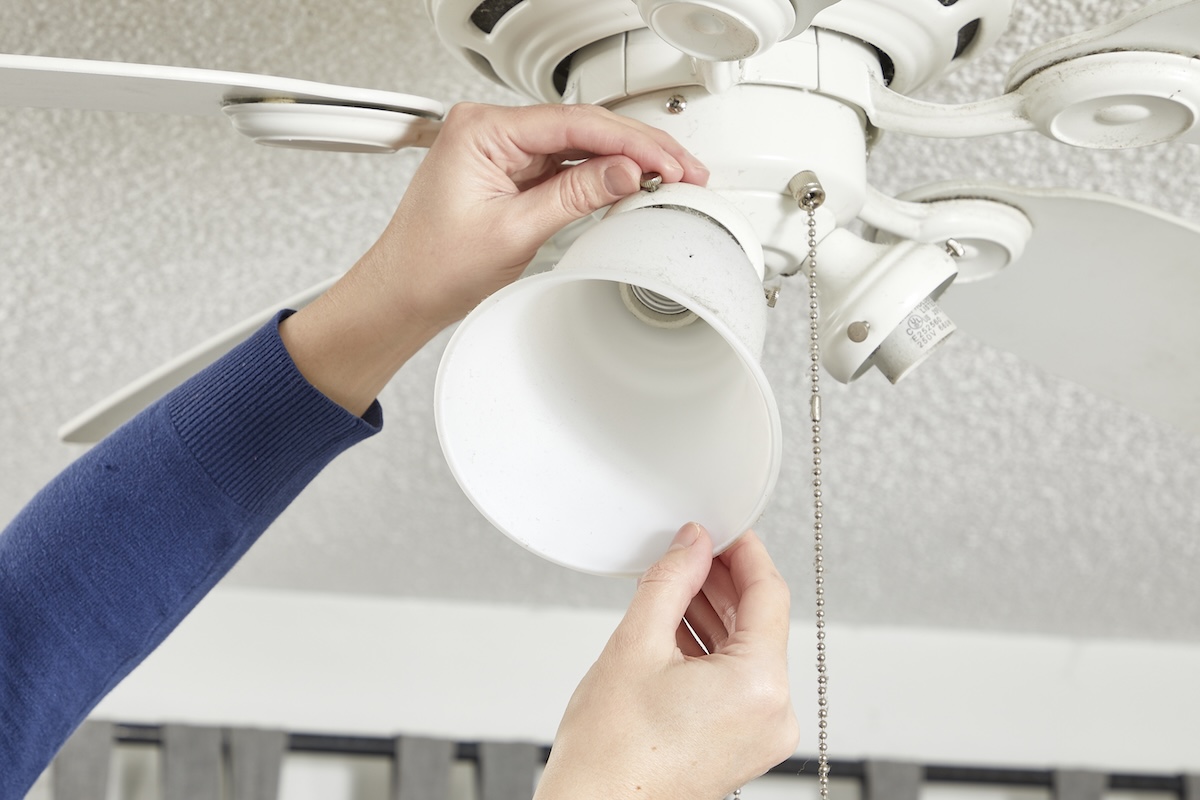
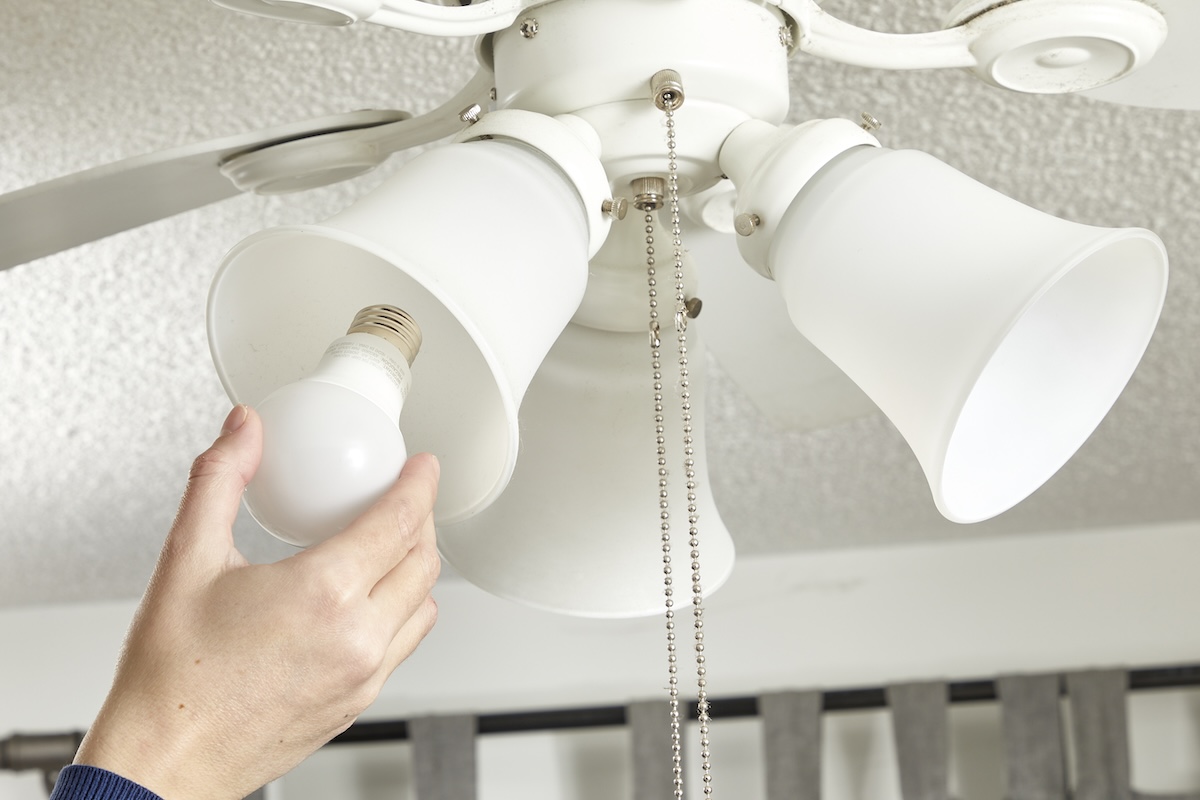
If your fan has a lighting kit, there will be a blue wire for the lights. Follow the manufacturer’s instructions for wiring the lighting kit: white to white and blue to black. Secure the wires with connectors or electrical tape and tuck the wires into the switch housing. Attach the lighting kit to the fan using the screws provided. Install any shades and bulbs.
Step 7: Make sure everything is secure, then test the fan.
Do a final check to make sure everything is secure before turning power back on at the breaker. Turn on the wall switch and then test the fan at its lowest speed to make sure it runs properly.
Final thoughts
Replacing a ceiling light with a new ceiling fan is a fairly simple DIY project. After choosing a new ceiling fan based on room size and design preferences, and then gathering all the necessary supplies and tools, it’s an interior design update that can usually be completed in an afternoon.
FAQ
If the home has working wiring and a ceiling fan is an addition to an existing modern electrical scheme, a professional electrician can usually install a new ceiling fan and wiring in a few hours.
An easy way to tell if a ceiling box can’t hold a ceiling fan is to check its contents. If it’s thin plastic, it might not be strong enough for the fan. If there is no label indicating that it is rated for a ceiling fan, it is best to replace the box with a new box rated for a ceiling fan.
Yes, a ceiling fan can replace an existing ceiling light fixture.

Meet the tools of the year 2025


