Physical Address
304 North Cardinal St.
Dorchester Center, MA 02124
Physical Address
304 North Cardinal St.
Dorchester Center, MA 02124


Have you ever walked into a store and seen something so cute that you want to buy it, but you tell yourself that you can make it yourself? you tell yourself “Me, don’t spend the money on this when you can do it for 1/5 the price.”
And then you never do.
You think you will.
You think you can.
You think you should.
But you don’t.
i know i get it This is me 99% of the time. I usually come home with big craft plans and an open heart and tons of ideas and then usually never follow through.
But this time?
That time just happened to be 1% of the time I actually did the project.
I am SO HAPPY I did and you can too.
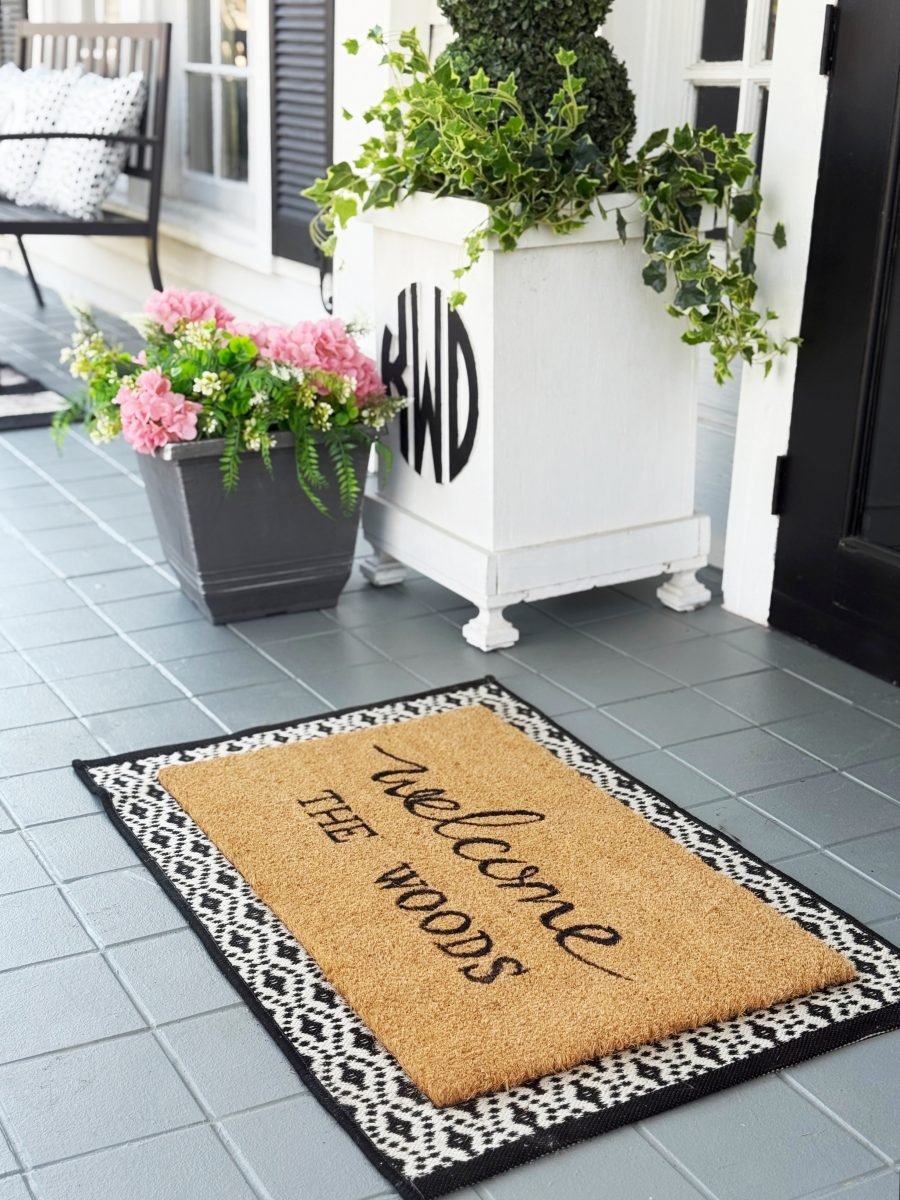
Here’s how to make your own custom DIY doormat.


Usually when you think about a project like this?
There are two stumbling blocks.
The first is figuring out what to put on it.
The second is not to mess up the template.
I have solutions for both (and the BEST tip that makes the template almost flawless).


// this doormat template //
Here is the solution to the first problem – what to put on the doormat.
I found this amazing template that has so many different options in one package.
Here are the message options:
You can also mix and match the different parts of the patterns.
Templates fit any standard doormat.
You you can see the template here.
And the solution to the second problem? i will show you
Let me take you step by step with this template that I used to create this DIY Custom Doormat.

Consumables:
acrylic paint
a pencil
scissors
I used a chisel tip Sharpie to trace the letters of the pattern.
But you want to keep the letters in place so the pattern doesn’t become unstable.
Tape it in place with painter’s tape.

One of the challenges with using a stencil is that the paint bleeds and then once the paint bleeds the letters can’t really be corrected.
So instead?
I outline the template with a Sharpie.
This gives a basic outline of the word so you can draw it.
does that make sense

Now go back over the Sharpie outline and draw the words.
If I have questions, I just go back to the template.
Make sure you use a lot of paint when painting the words and you will need to apply two coats.

Now that you’ve used the template, you can just stop there.
Or you can add your own name to the mat. It’s that easy. Print letters on the computer.
I just sized them up and printed them on my laser printer.
You can adjust the size to fit.

I cut out the letters leaving an outline.
then? I followed the same process I used for the template.
I outlined it with a Sharpie and then painted it.
Allow the mat to set before extinguishing.
that’s it!

It really is THAT EASY.
You can add whatever you want to the mat and customize it to match your decor with different colors and fonts.
If you are good at patterns? Instead, you can just draw a matte.
let’s go
I am so happy that I continued this project this time.
Maybe this will be the year of the project…
…especially if they’re all as cute as this one.:)

Disclosure: This post uses affiliate links.


