
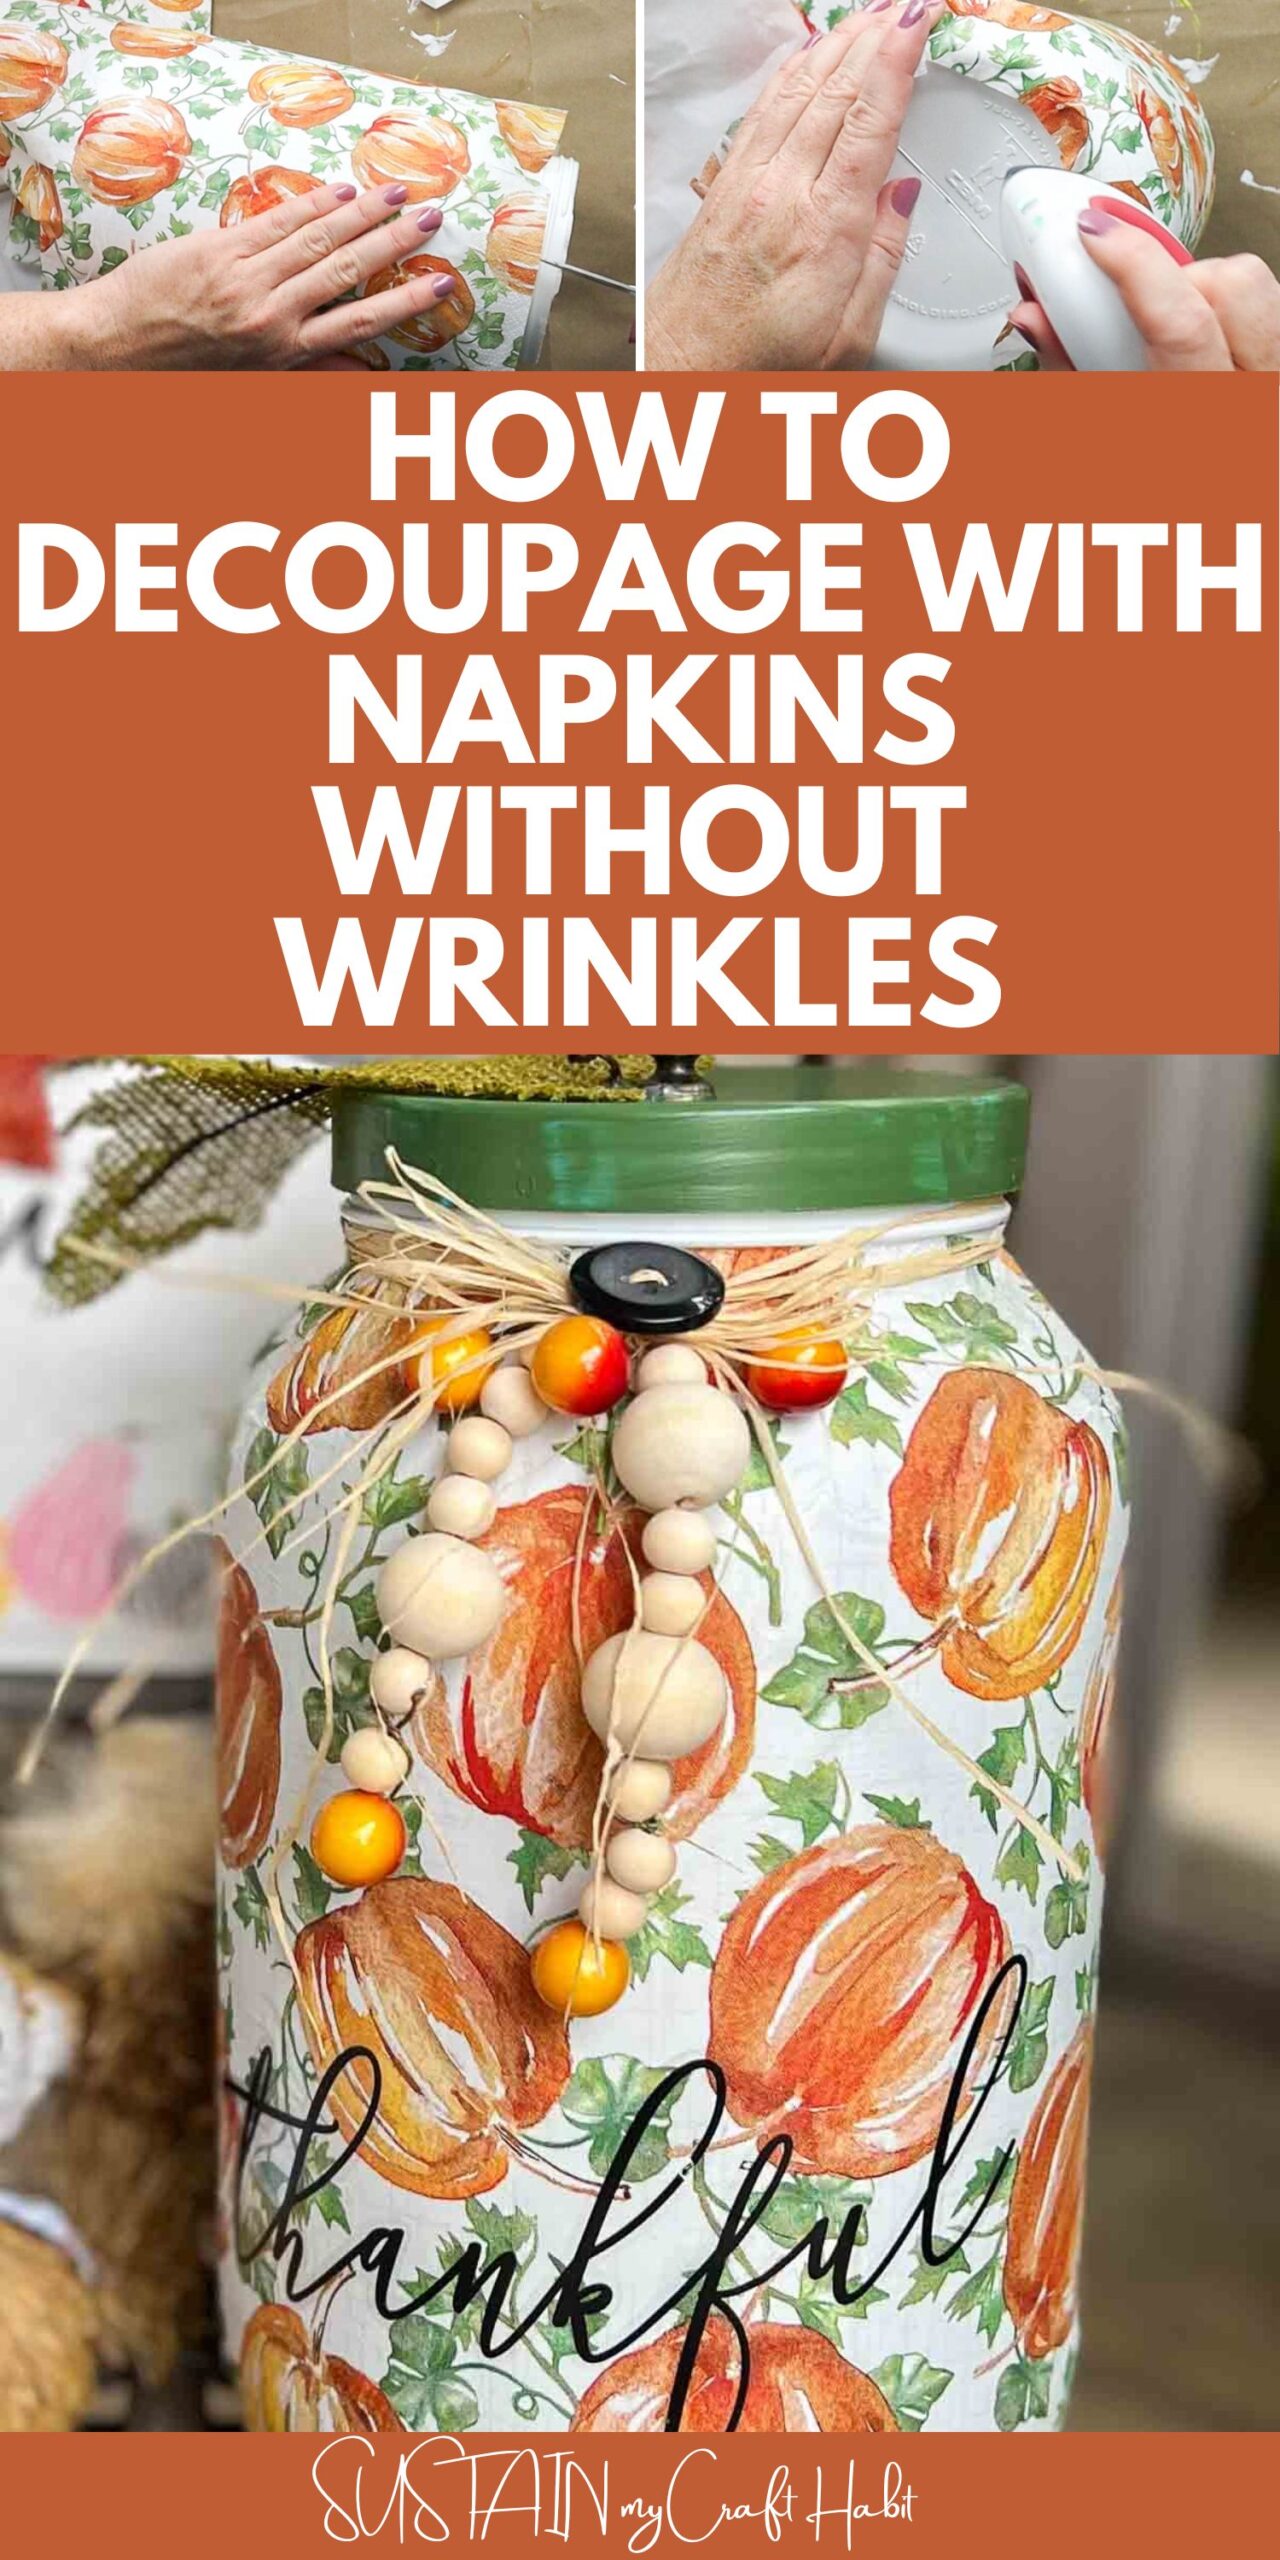
We’re sharing our best tips and techniques on how to do it Decoupage with napkins without wrinkles. Get the tutorial for perfect results every time using this iron-on decoupage method! Here’s our foolproof way to transform old and thrifted items into boutique-worthy home decor.

Our simple trick for designer DIY decorations
We don’t often shop at high-end boutiques but the best part is that you can find unique, high-quality pieces that aren’t mass-produced.
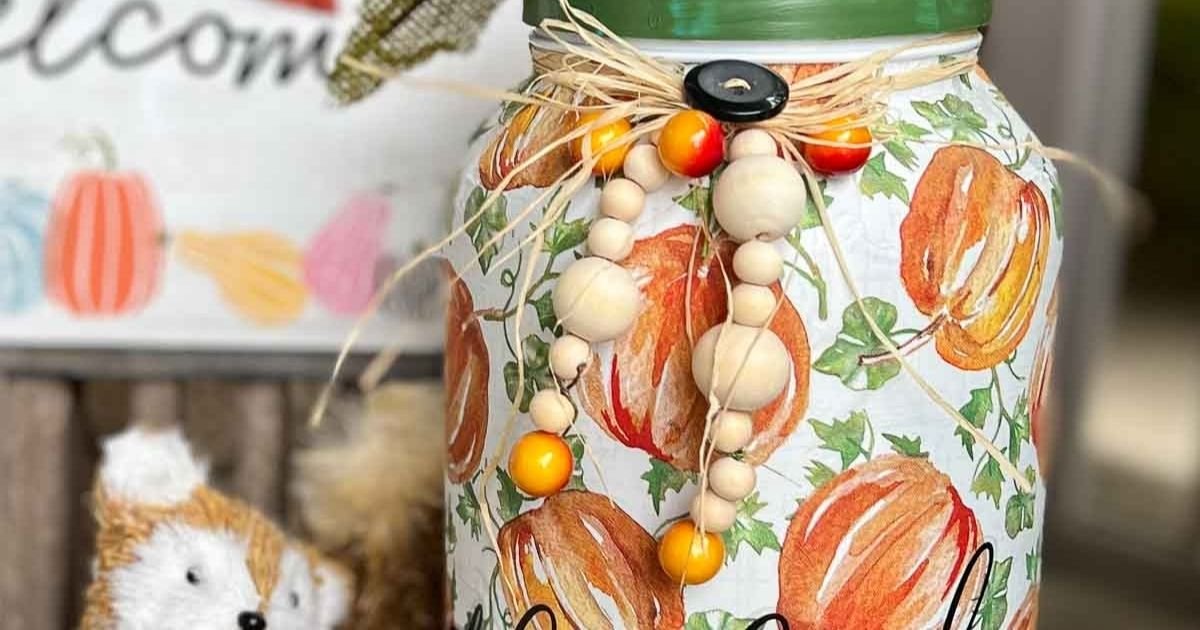
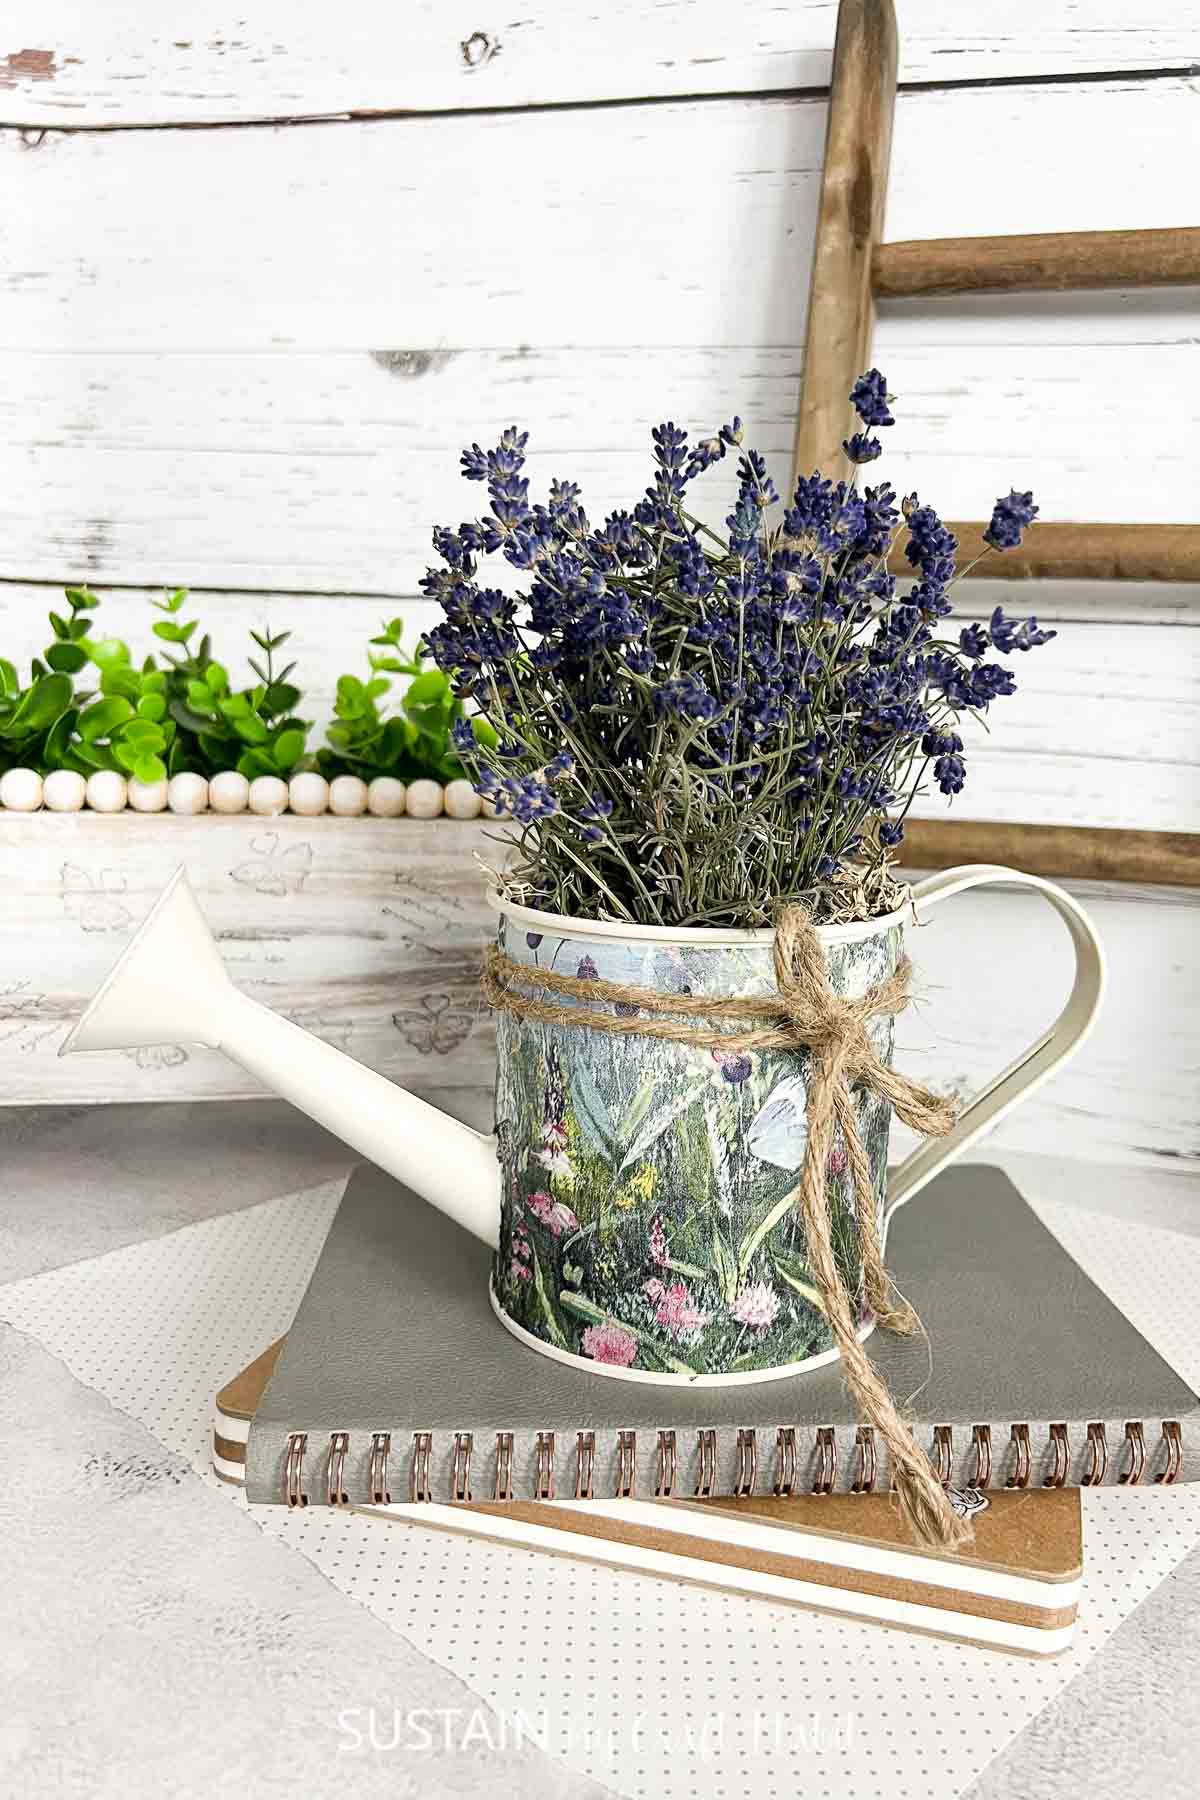
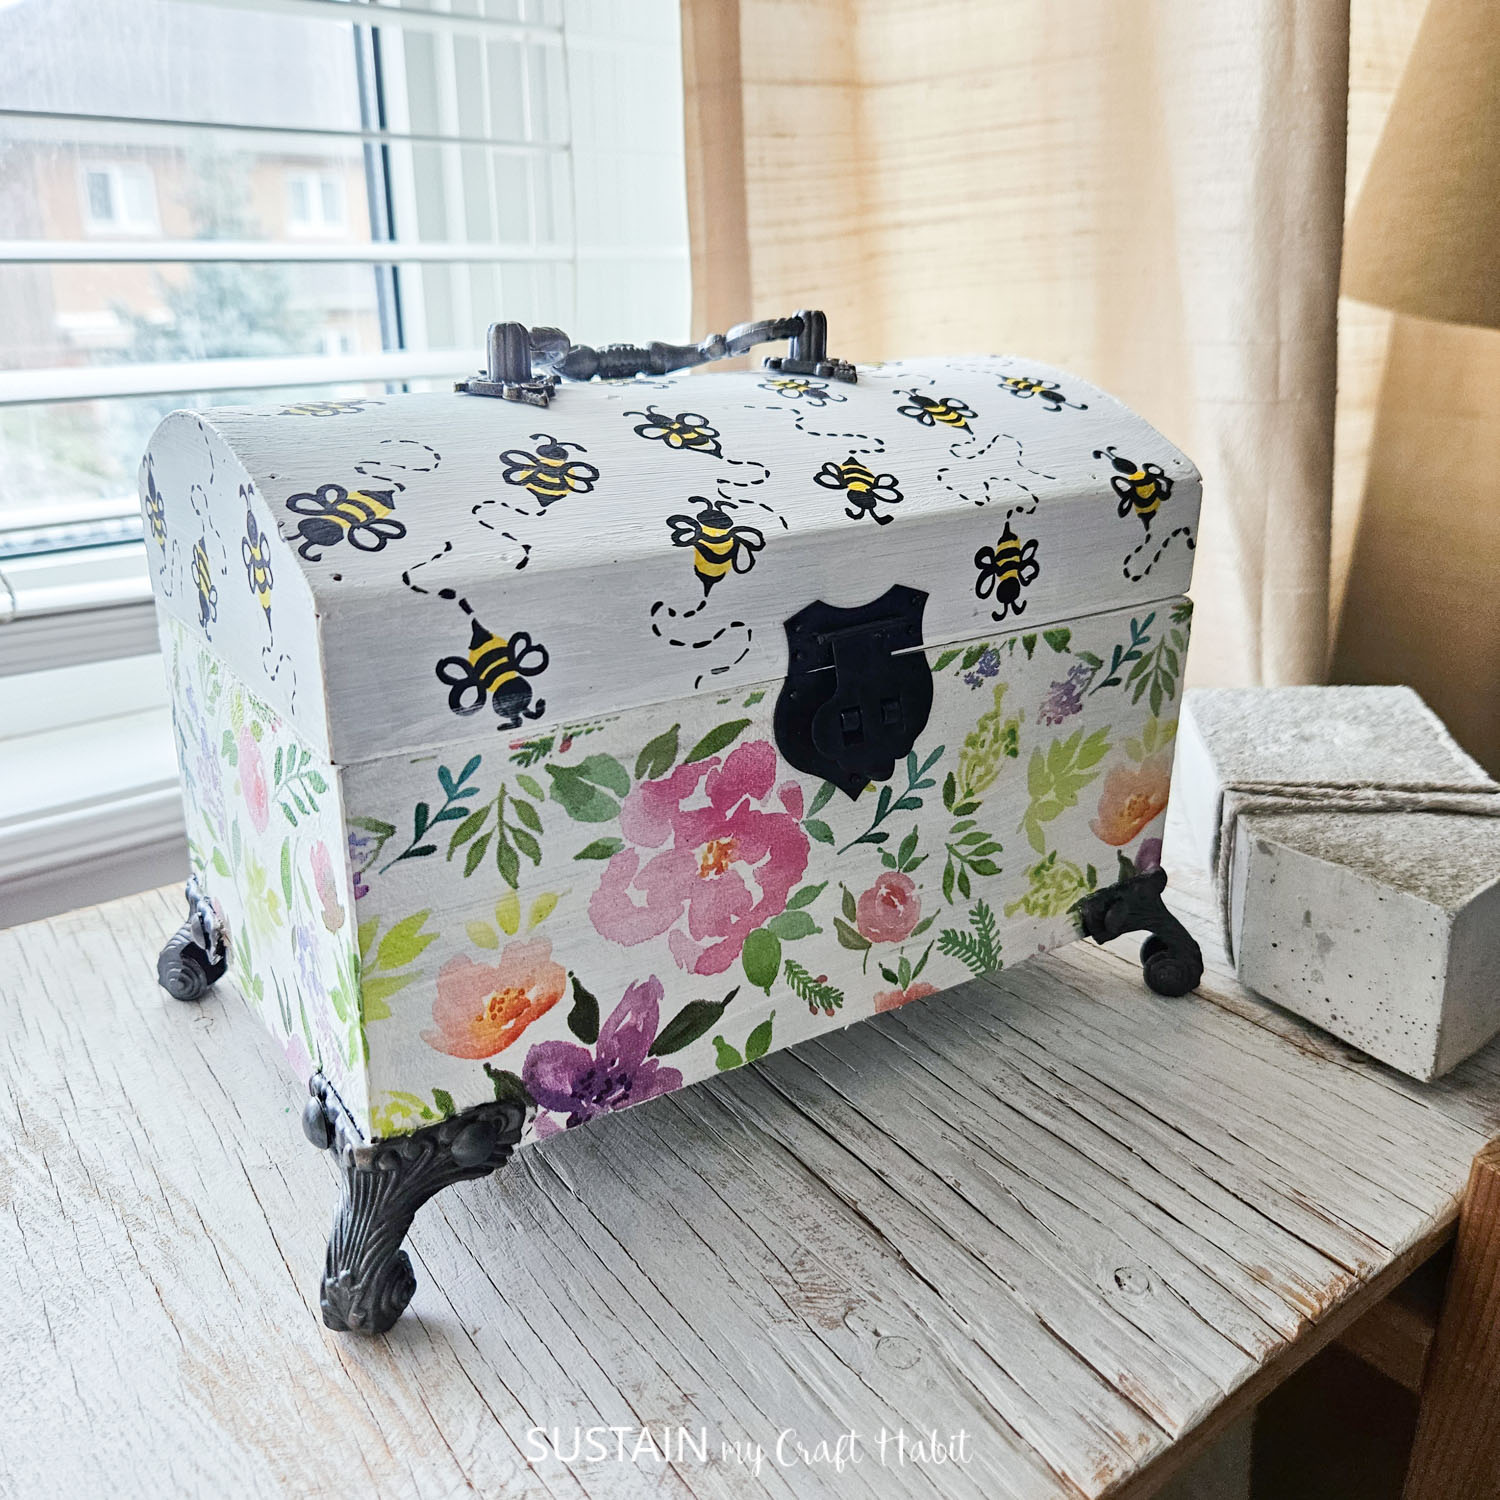
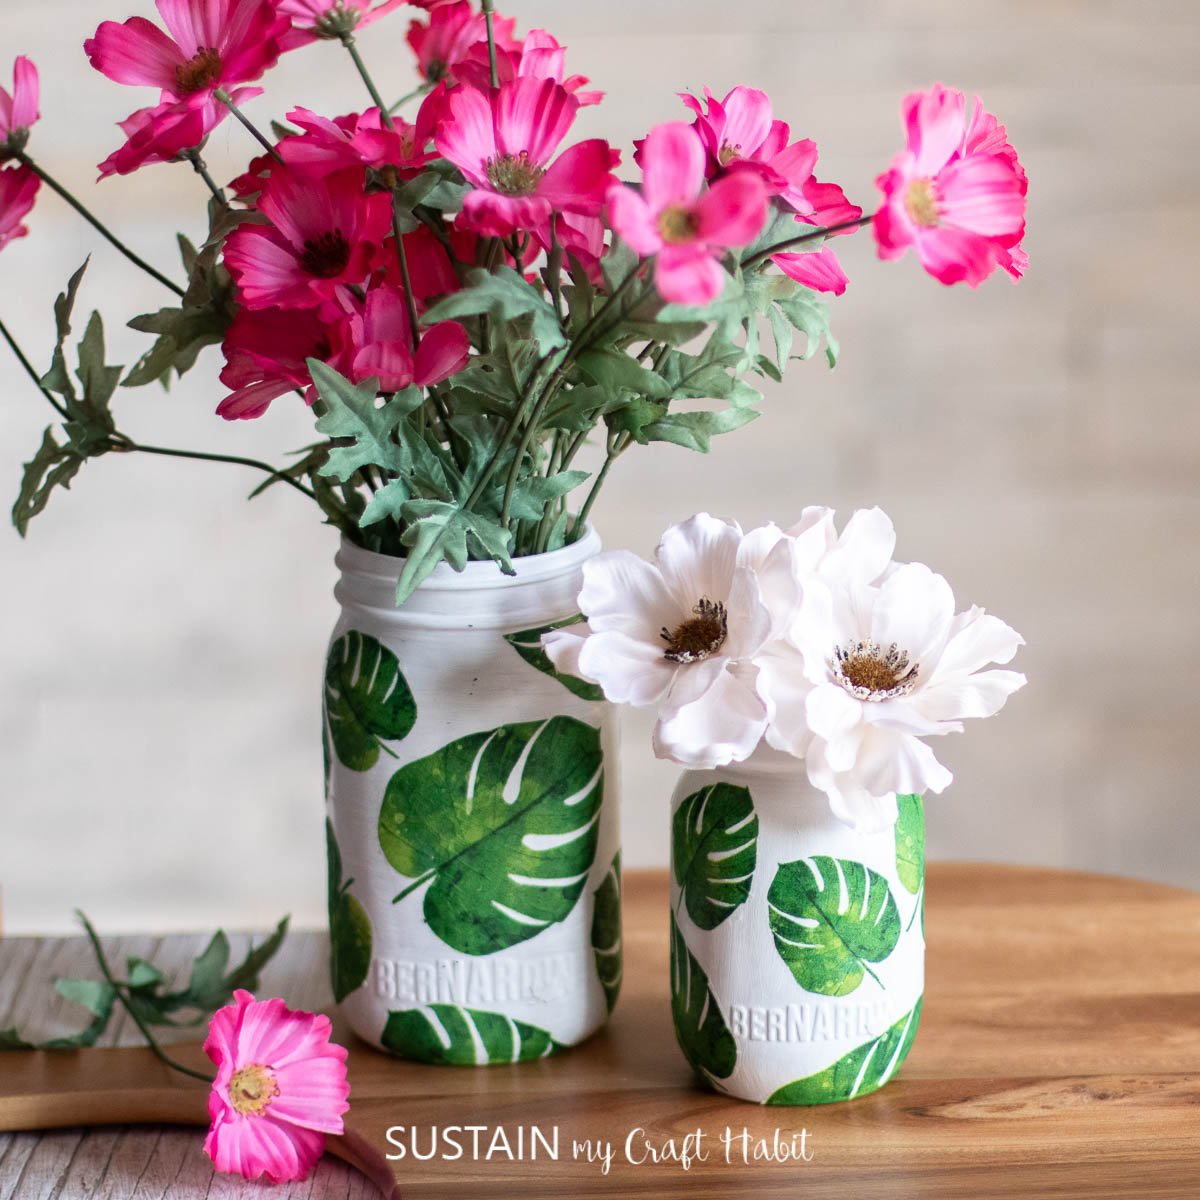
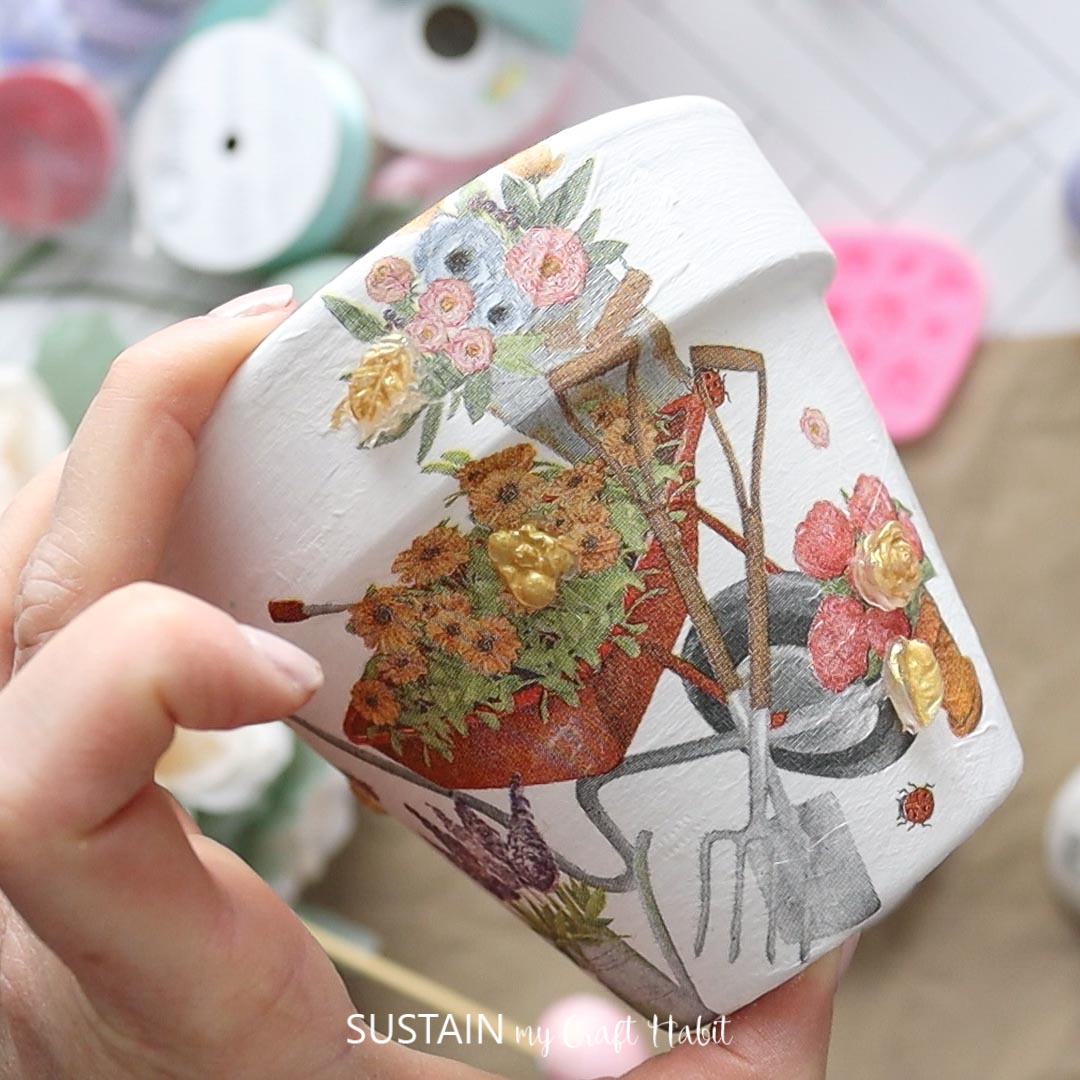
That’s one of the favorite parts of upcycling with napkin decoupage: you can transform otherwise inexpensive items into wow-worthy custom decor and gifts. Here are some of our favorite recent projects:


While we all love a cute napkin decoupage project, there’s nothing worse than getting to the final step and seeing that the napkin has wrinkles!
Because napkins are so delicate, it is difficult to go back and get the wrinkles out without tearing the napkin.
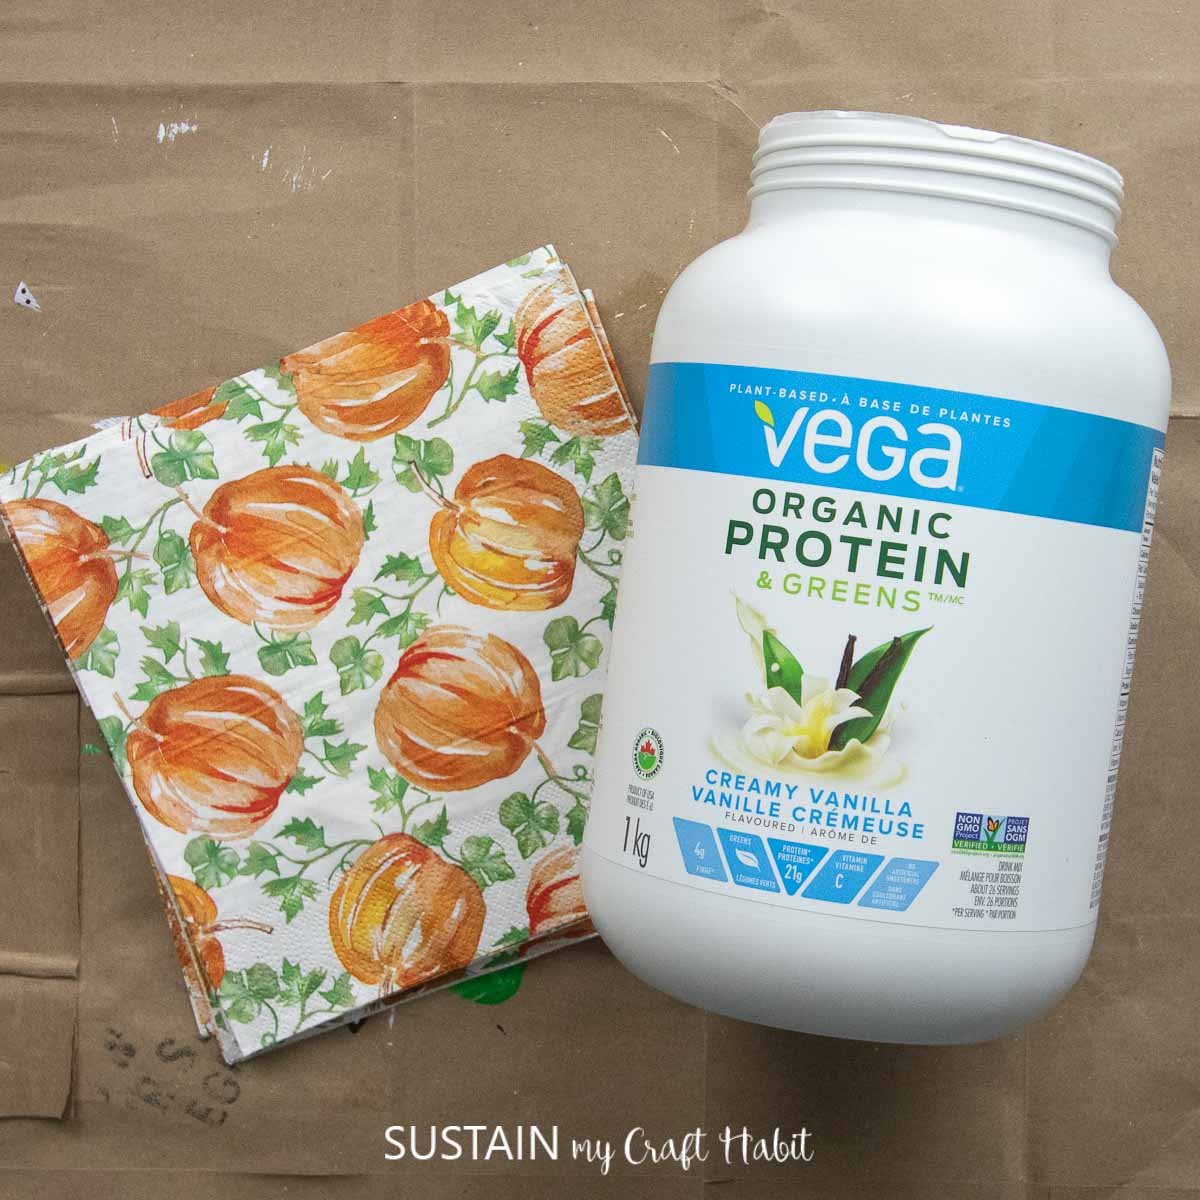
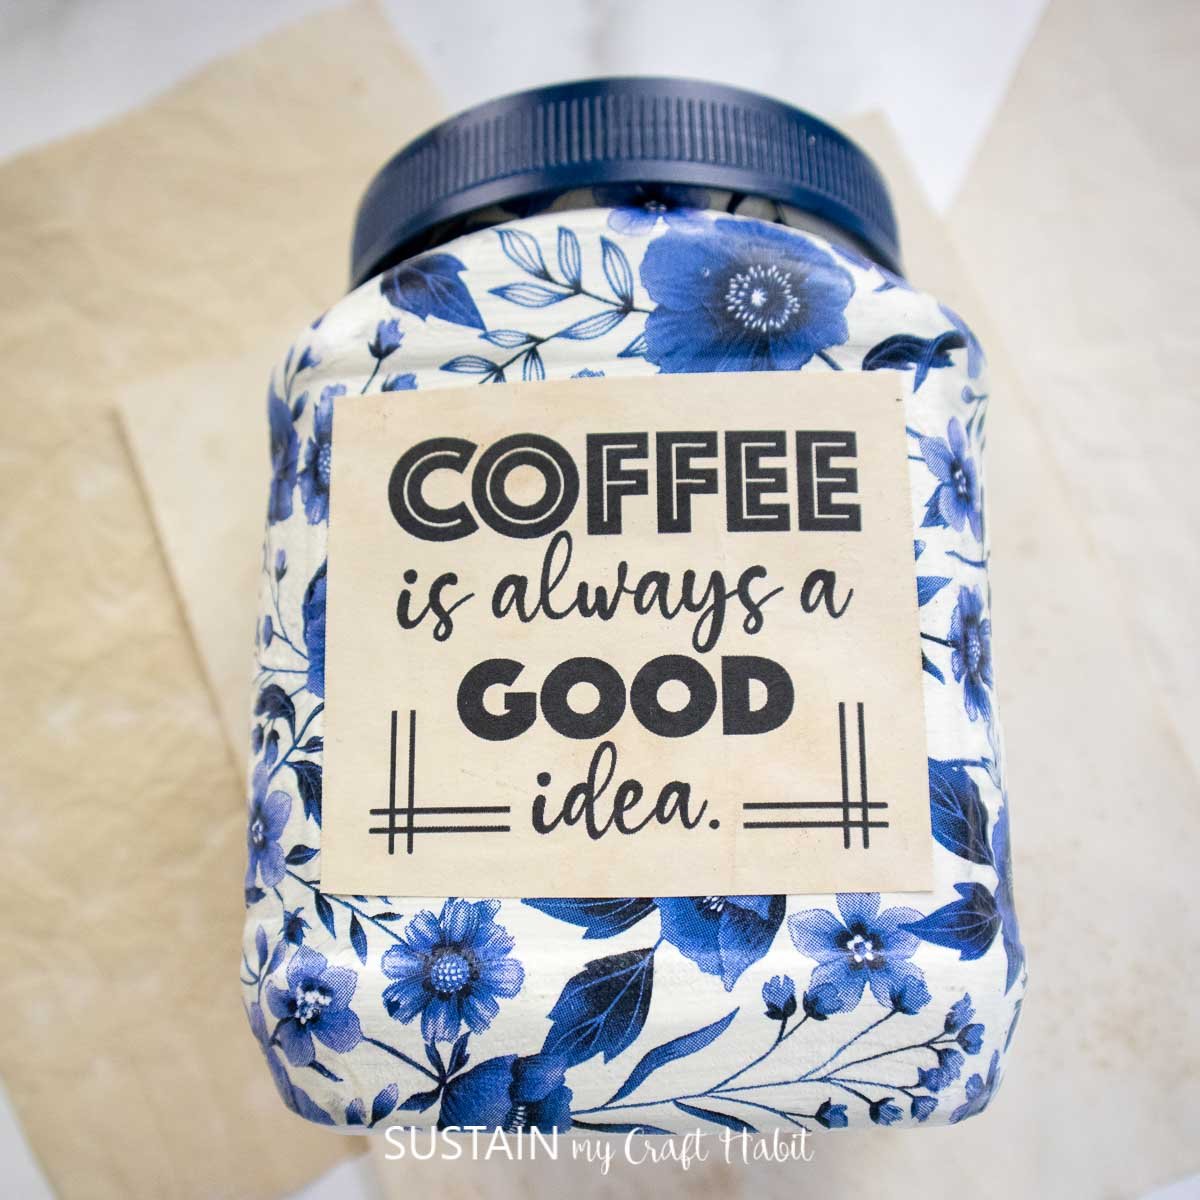
The good news is, there’s a way to craft with napkins and achieve a perfectly wrinkle-free design: Iron-on decoupage! We’re showing you the easy steps with an elegant paper combed napkin on an upcycled plastic container.

But, you can follow the same craft technique to make Decoupage projects of all kinds. Let’s get to it so you can start crafting!
Join our crafting community To find more nature-inspired DIY and upcycled craft ideas. It feels good to reuse, upcycle and create with nature!
Materials needed
Disclaimer: This post contains affiliate links for your shopping convenience. If you choose to purchase through them, we will give you a small commission at no extra cost. you can read Our full advertising policy is here.
How to decoupage with napkins without wrinkles
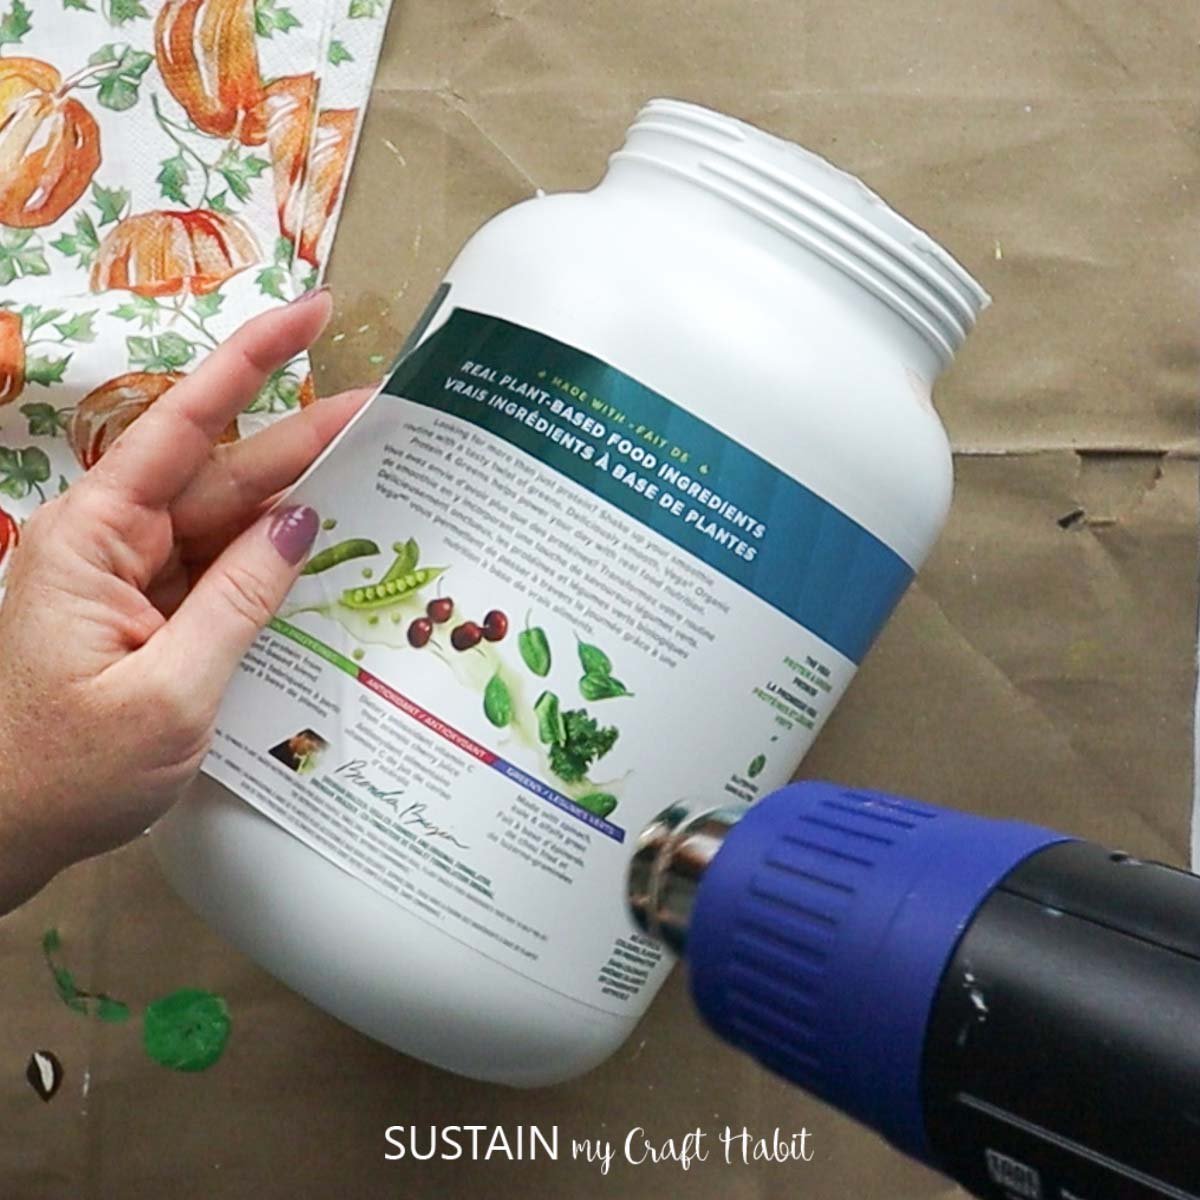
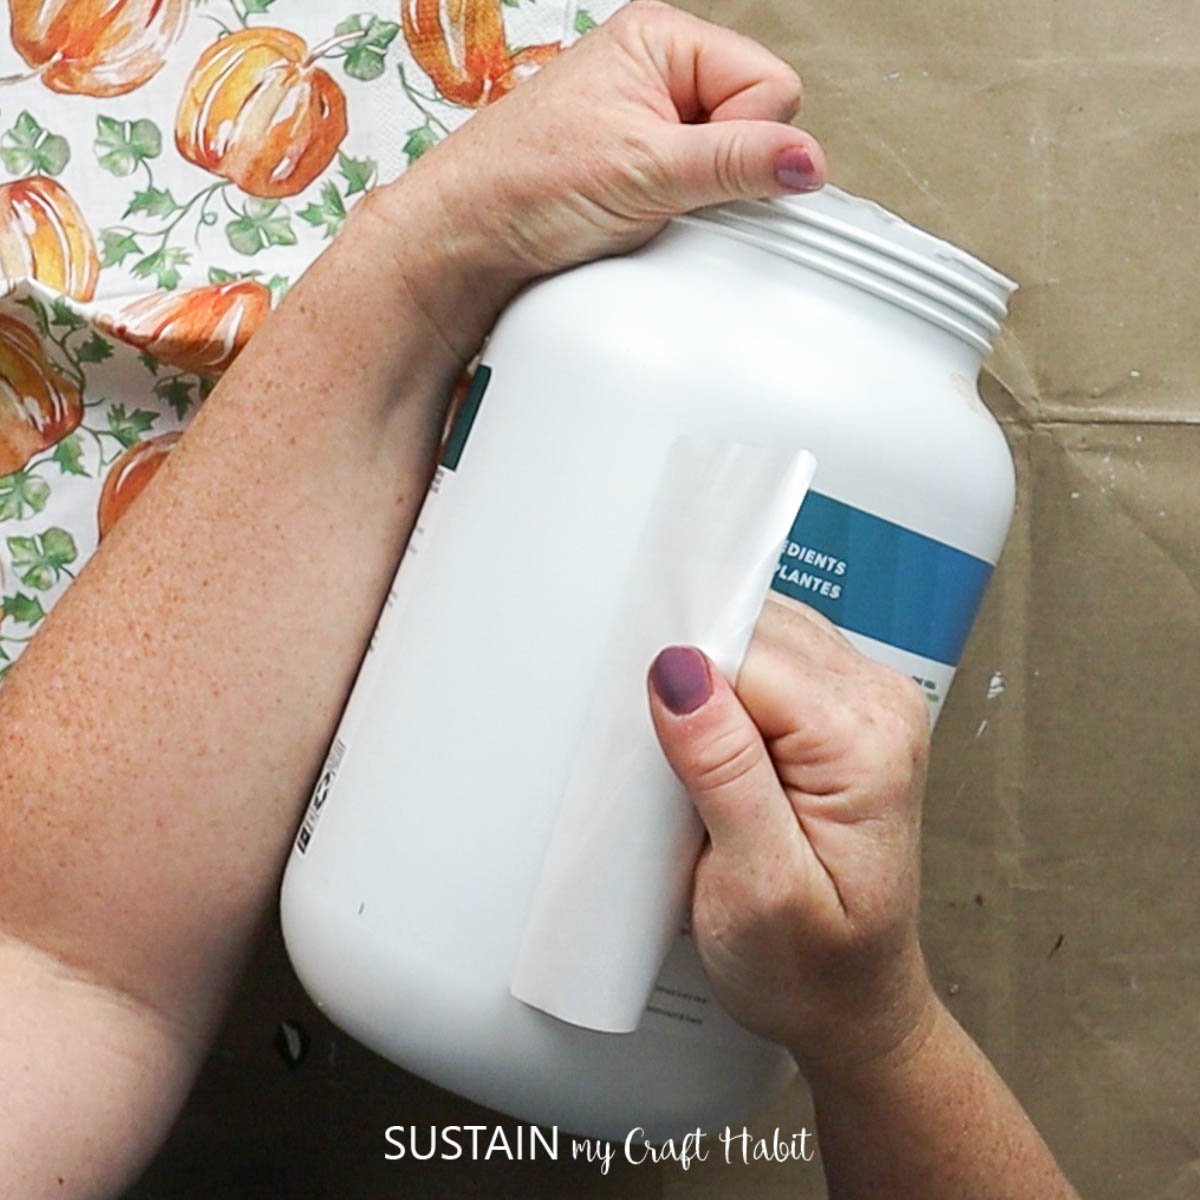
Remove any labels from your containers. If you are having trouble removing it, you can always heat it with a heating tool or a hair dryer to help remove the label easily.
Prepare a printed paper napkin by removing the extra ply layers leaving only one printed layer.
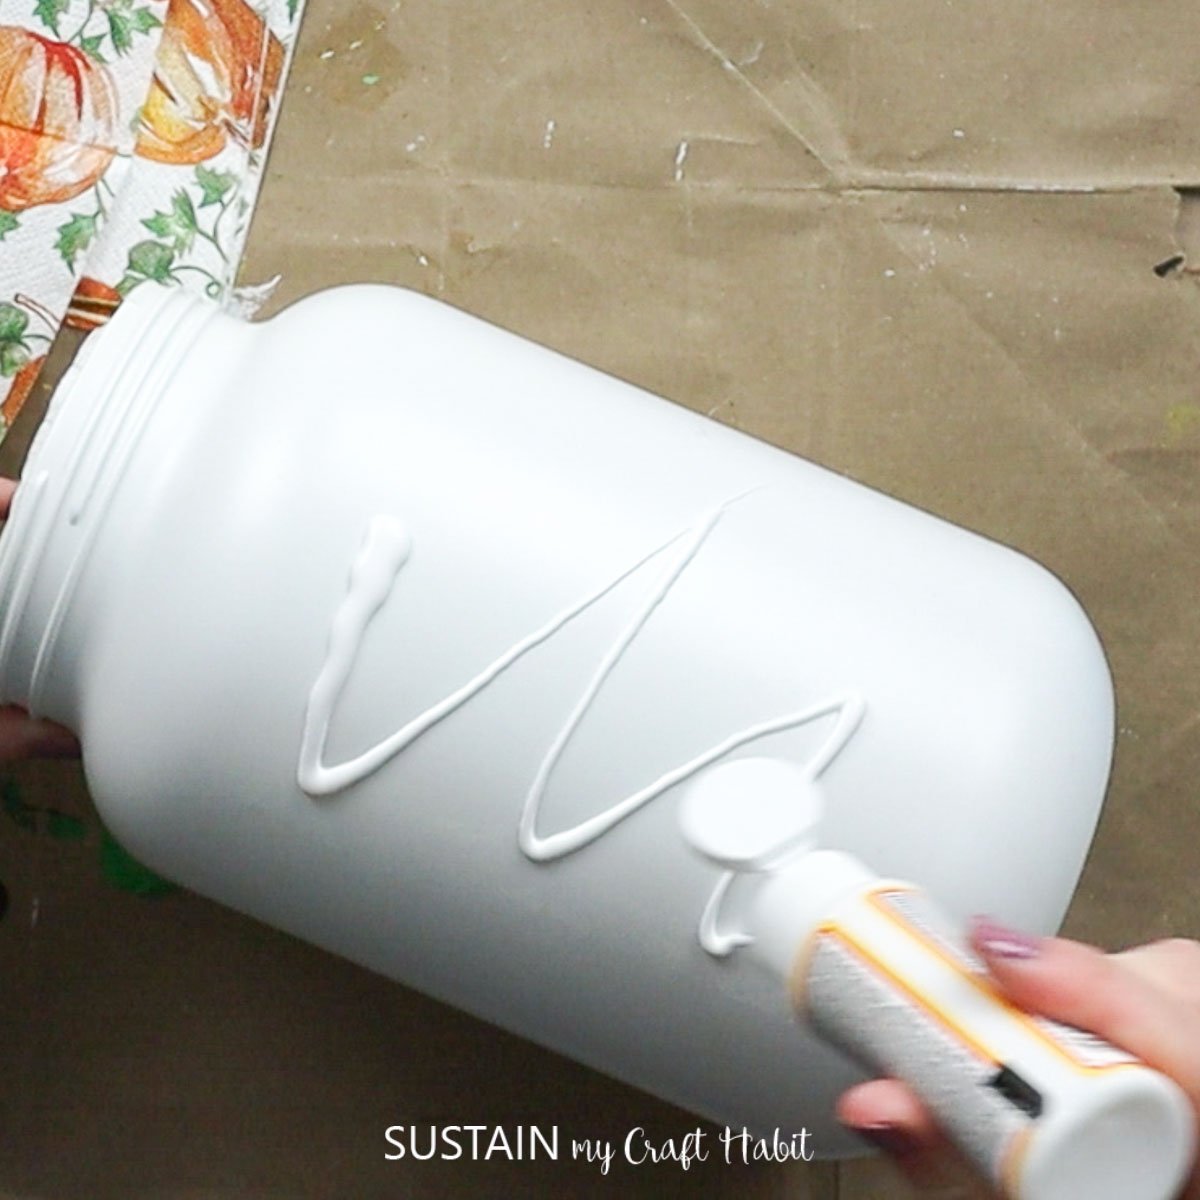
Apply a coat of decoupage to the entire container. If you’re using a wooden surface or a painted surface, make sure it’s smooth and lightly painted before decoupaging.
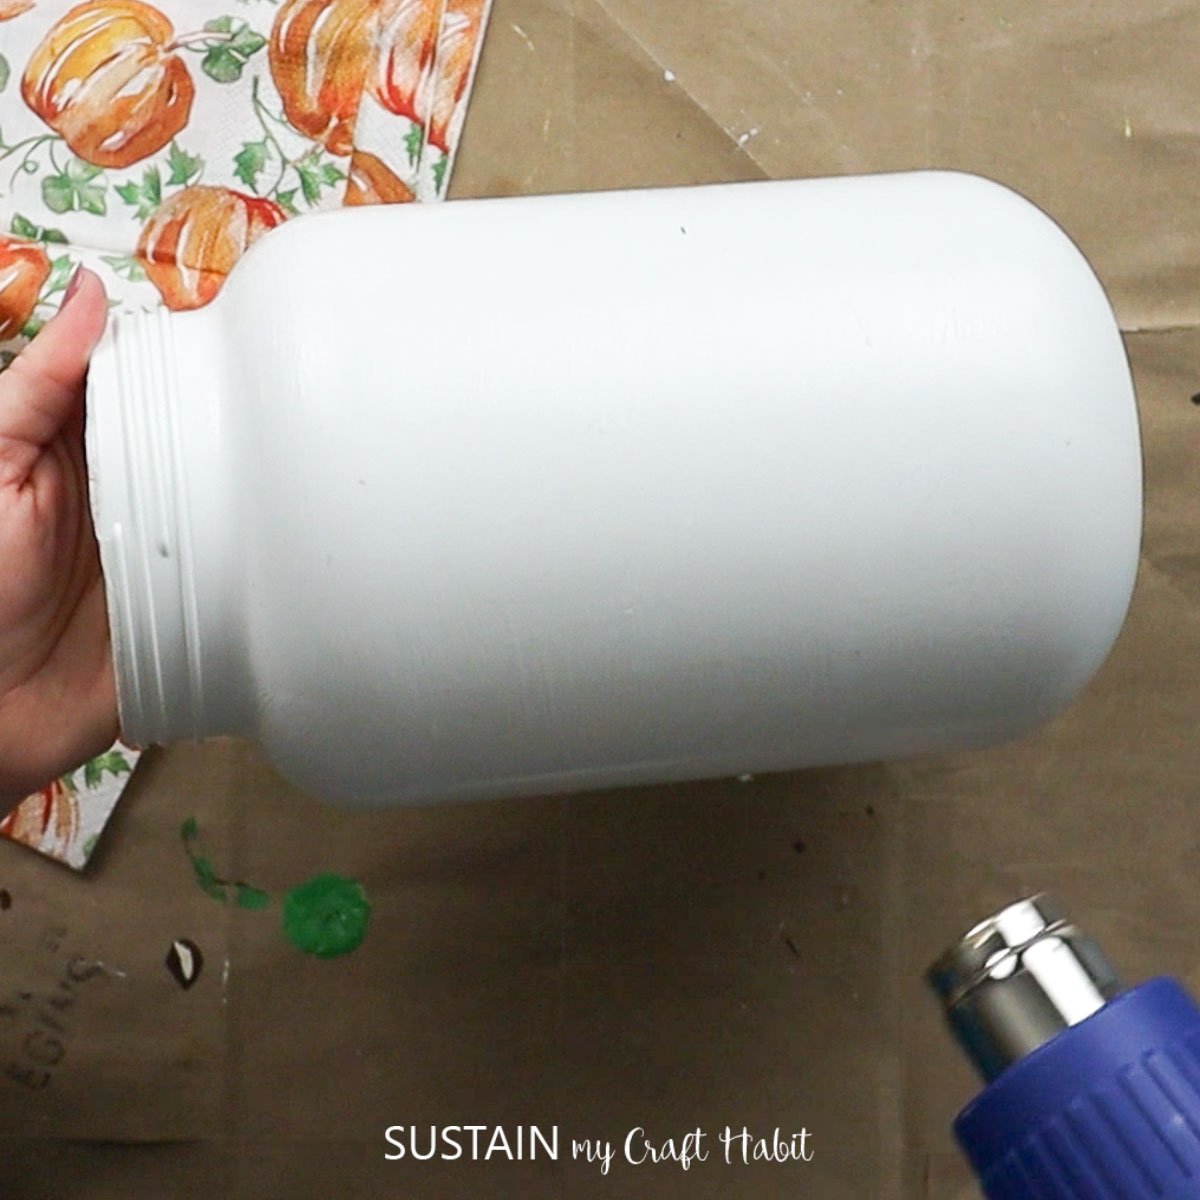
Allow the decoupage glue to dry completely.
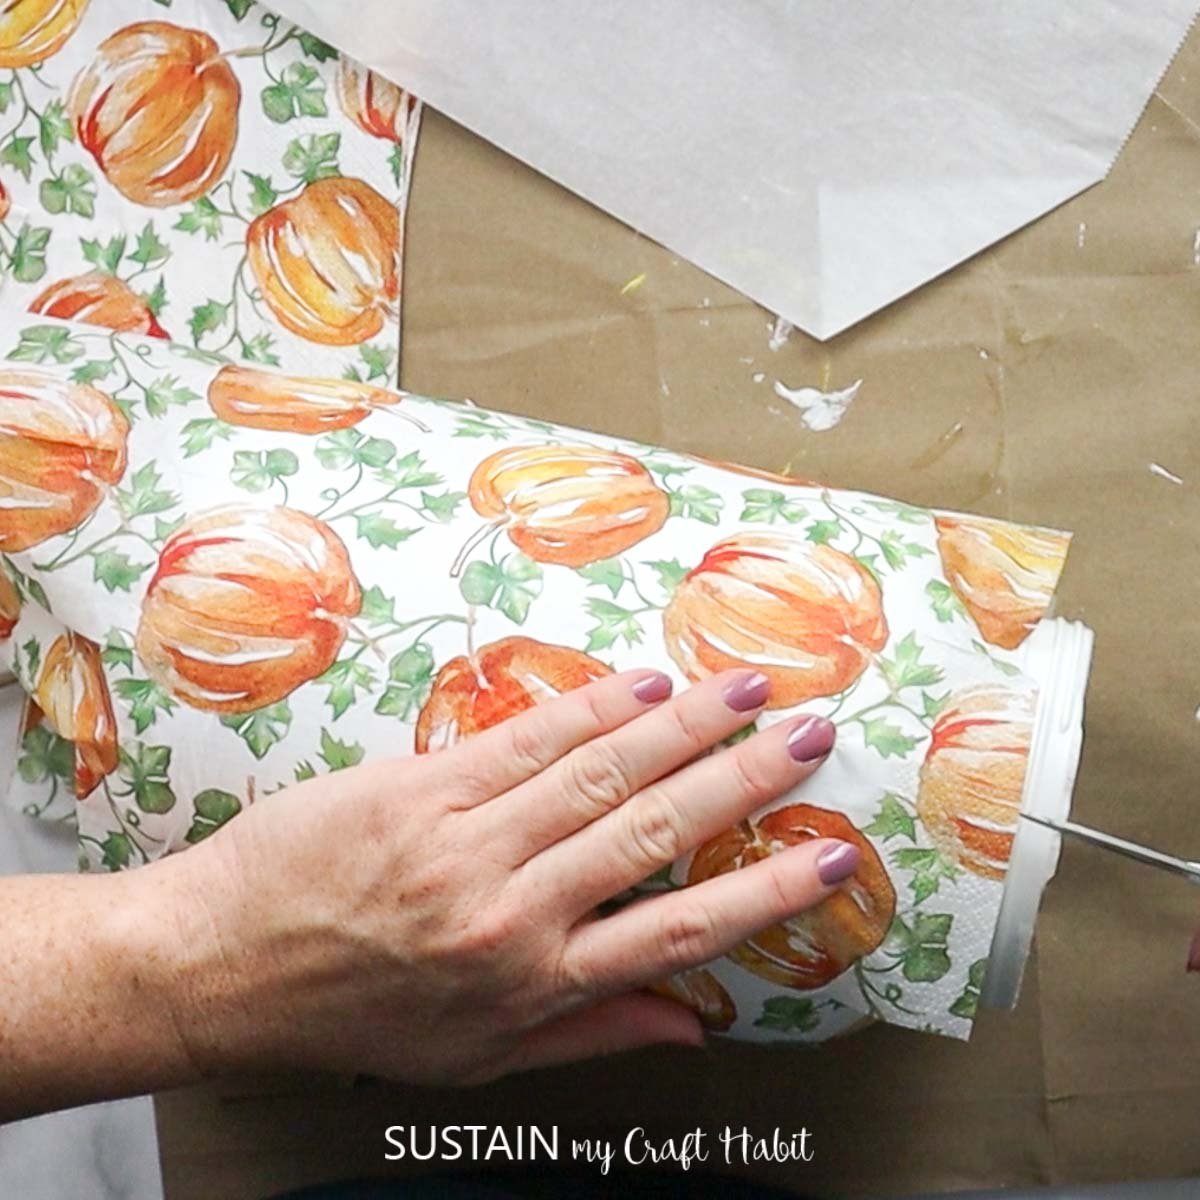
Place a napkin on top of the container and gently press down with your fingers. Trim off any excess.
Place a piece of parchment paper on top of the napkin and take your heated iron and gently rub it back and forth.
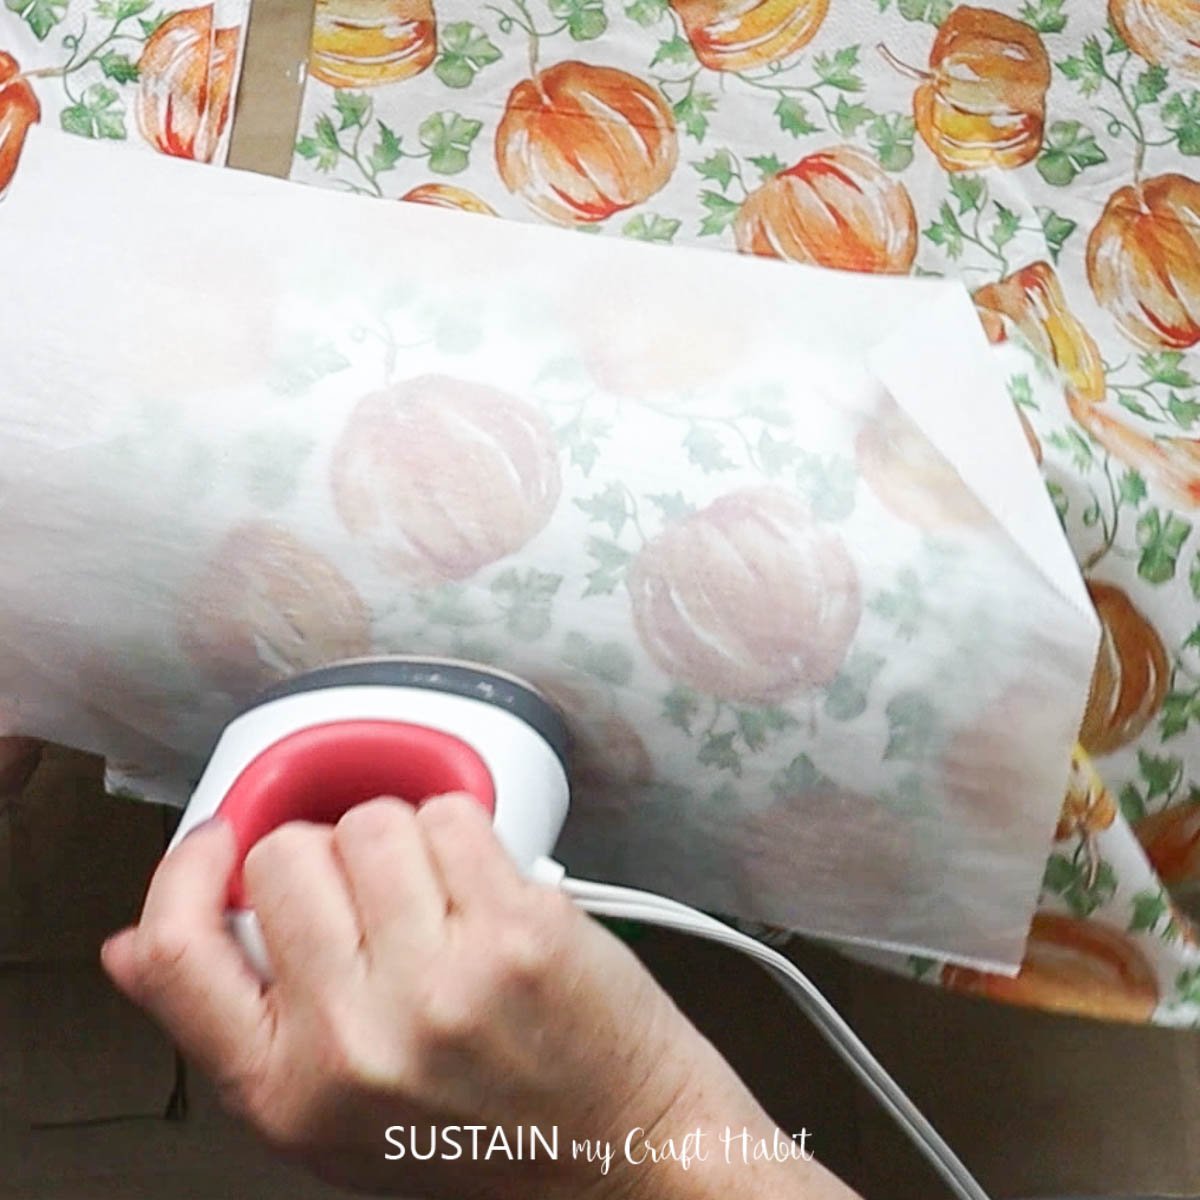
This iron-on decoupage method has the easiest and nicest finish for decoupage! You can also add another coat of glue to the top of the napkin to seal it all together.

Look at that beautiful smooth finish! If you haven’t tried the iron-on method for decoupage yet, it’s a really great technique. We used the same technique Metal tray, Shoe box, Pottery, Dollar Tree wood surfaces And more!


Think of all the creations you can make for your own home or as a gift. Using recycled containers also makes this a very affordable craft.
If you use this technique on your next decoupage craft, be sure to show it to us! It really made our day. Tag us Facebook Or Instagram– We can’t wait to see it!
More Decoupage crafts
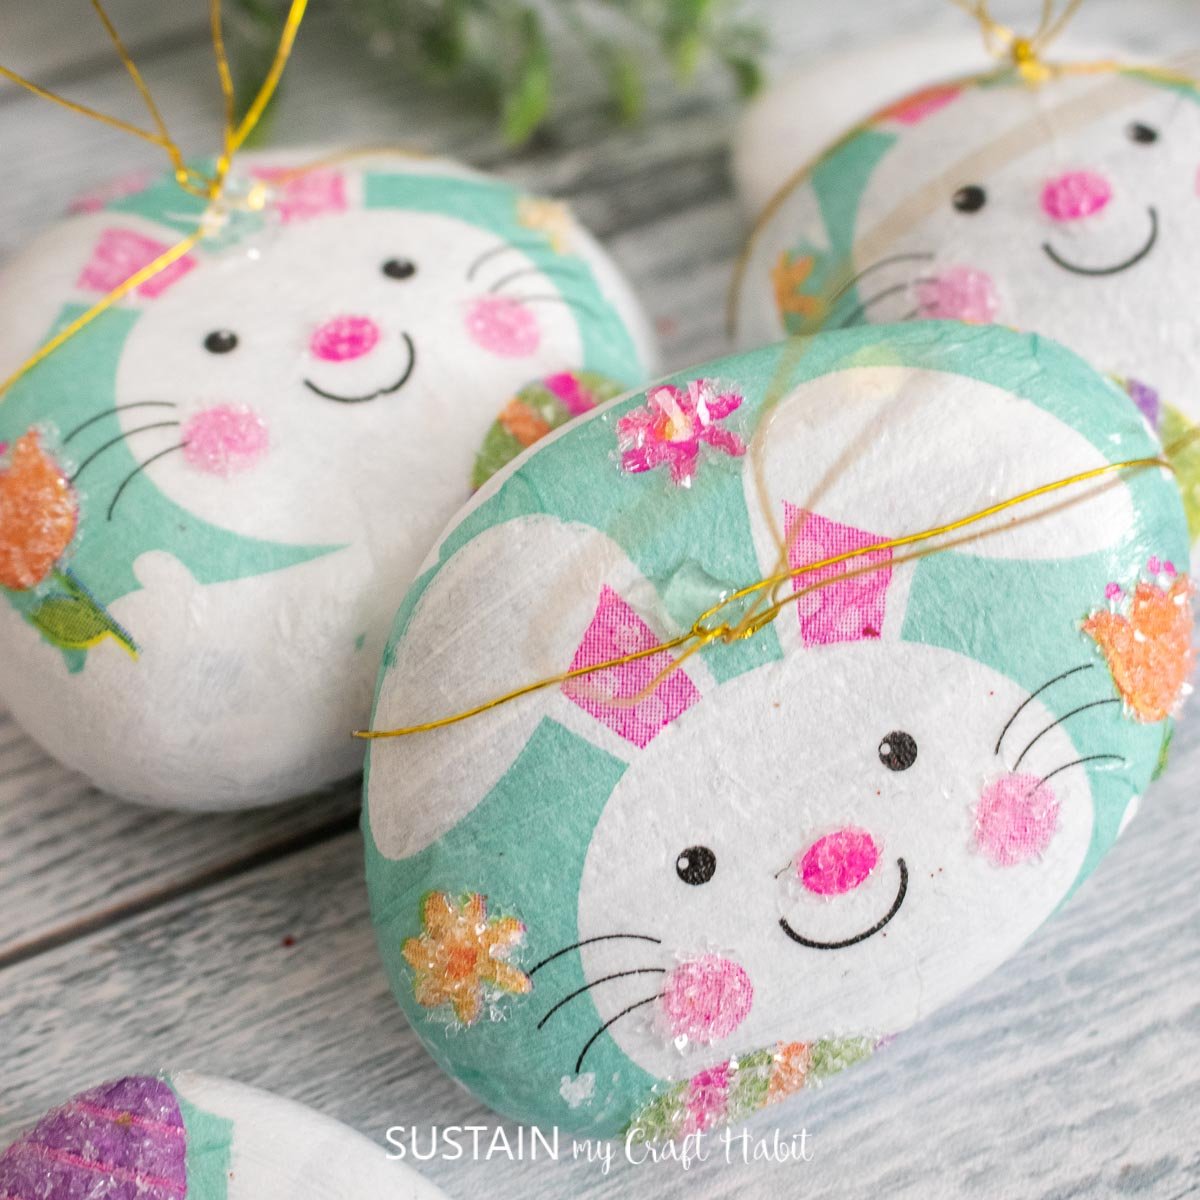
See all the creative ways the same crafting technique can be applied. You can decoupage on plastic, glass, wood and even rocks!
Thanks so much for stopping by to visit.
Want to get lots of inspiration and money saving ideas for decorating, gifting and crafts? join up here!
like? Pin it for later!
Create designer-worthy home decor with napkin decoupage!
Learn the secret to a professional, wrinkle-free decoupage finish that transforms a thrift store find into a high-end statement piece for your home.
- Plastic container
- Decorative napkins
- Decoupage Or Mod Podge
- Mini heat press
- Parchment paper
-
Remove any labels from your containers.
-
Prepare a printed paper napkin by removing the extra ply layers leaving only one printed layer.
-
Apply a coat of decoupage to the entire container.
-
Allow the decoupage glue to dry completely.
-
Place a napkin on top of the container and gently press down with your fingers.
-
Place a piece of parchment paper on top of the napkin and take your heated iron and gently rub it back and forth.


