

Ah, the magic of snow globes. Is there anything more glamorous or more festive? These little jars of wonder are the perfect way to create your own winter wonderland, no matter where you are in the world. And the best part? You can make your own DIY snow globes at home! It’s a fun activity to entertain the kids, guests, or hey, yourself during the holidays. And who knows- maybe it will become a new holiday tradition!
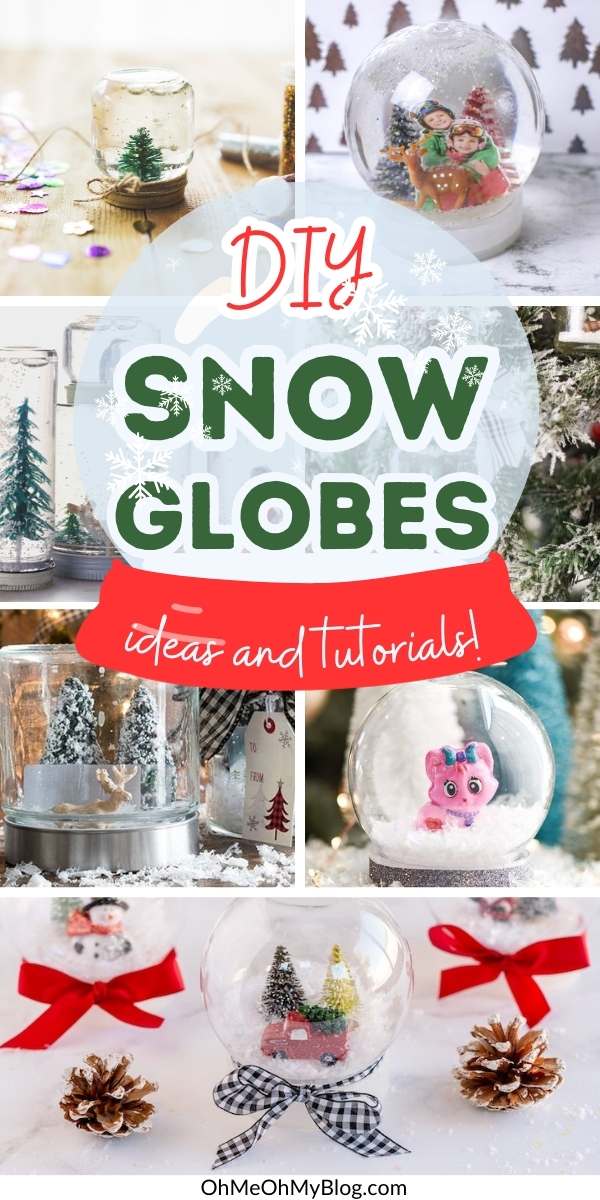
Why Make DIY Snow Globes?
So why should you try DIY snow globes this holiday season? Let’s count the ways!
They make great gifts
First of all, there is The gift factor. Who wouldn’t want to receive a personalized snow globe that you made with your own two hands? It’s a thoughtful and unique gift that’s sure to put a smile on someone’s face (without costing you a ton of money).

Make them a fun holiday activity
But DIY snow globes aren’t just for gifting. It’s also a fun and easy craft activity that kids and adults alike can enjoy. This is the perfect way to spend a snowy afternoon indoors or even an evening with friends and family. Who needs paint and sip when you can grab a snow globe and sip?

Turn them into a personal ornament
Plus, there’s something special and whimsical about creating a winter wonderland in a jar. It’s a memory you can look back on years from now and smile. And if you’re feeling extra crafty, you can even turn your DIY snow globe Christmas ornaments Or seasonal decor for later seasons.
So what are you waiting for? Grab a jar, some glitter, and some creativity and start making your own DIY snow globes. Who knows, you might create a winter wonderland that’s even more magical than the real thing.
How to Make a DIY Snow Globe: The Basics
Winter is finally here, and we all love what it brings – falling snowflakes, hot cocoa and cozy nights by the fire. Apart from all the other fun things you can do during the winter season, making your own snow globe is a great way to DIY and decorate your home. Below, we’ll walk you through the steps to make your own DIY snow globe – and give you some creative ideas for putting your own spin on it.
Materials and tools you need
First things first – let’s talk about the materials and tools you’ll need for your DIY snow globe project. The good news is that you already have many of these items lying around your house! Here is a basic list:
- Glass jars or clear plastic ornaments: You’ll need something to hold your snow globe scene and keep it watertight. You can use any clear container with a lid, but glass jars are an excellent choice. Mason jars are a popular option, but you can also use baby food jars, jam jars, or spice jars.
- Distilled water, glycerin or corn syrup: These are your snow globe liquid options. Distilled water is the safest option because it does not become cloudy or discolored over time. Glycerin and corn syrup can be used in place of water to add thickness and density to the liquid. Glycerin is a better choice if you want your snowflakes to fall slowly, while corn syrup will make them fall faster. There’s no right or wrong choice – it all depends on the look you’re going for.
- Glitter or fake snow: This is what makes your snow globe sparkle and shine! You can use any type of glitter you like, but make sure it’s fine enough to float in liquid. Faux snow is another option – you can buy it at craft stores or make your own.
- Statues, trees or other decorative elements: This is the fun part! Choose objects to create your snow globe scene. You can use miniature figures of people, animals or landmarks, or create your own custom elements using clay or cardboard. You can find these items at craft stores, online, or you may already have some to use in your home!
- Waterproof glue or epoxy: You will need something sturdy to attach your figurines to the lid or bottom of your jar. Hot glue or superglue are both good options, or you can use clear epoxy for a more permanent hold.

Basic steps
- Pick your container: The first step is to choose a clear container that you want to use for your snow globe. Make sure it is clean and dry before you begin.
- Choose a theme and figurines for your snow globe: Think about the scene you want to create – do you want a classic winter wonderland, or something more personal? Once you have a theme in mind, you can choose the figurines and decorative elements you want to include. These can be purchased on Amazon, but to keep this project more eco-friendly (and more personal) try repurposing broken ornaments or Christmas decor into your snow globe!
- preparation material: If you are using glycerin or corn syrup, mix it with distilled water in a 1:1 ratio. If you are using glitter or faux snow, add it to the liquid now.
- assembled: Use your waterproof glue or epoxy to attach your figurines to the lid or bottom of the container. Make sure they are securely in place before adding fluids. Once it dries, fill the container with your emulsion, leaving some space at the top. Screw the lid onto the container, making sure it is tight and secure.

And voila! You now have your very own DIY snow globe. Below, we’ll give you a few more ideas for how you can do it Customize your scene Still further.
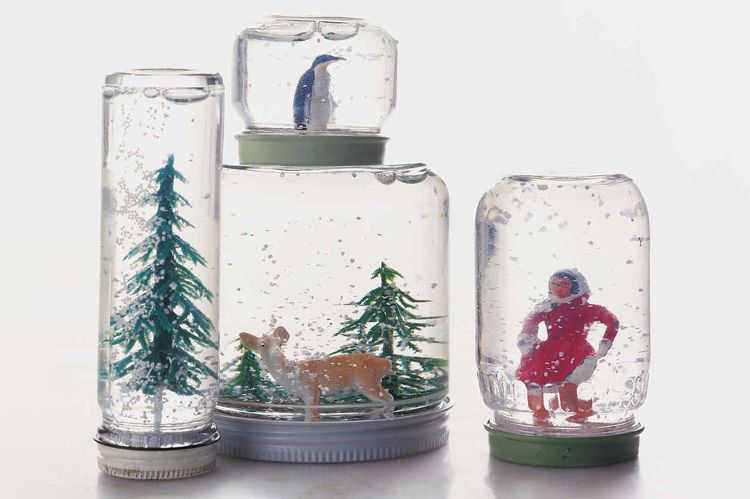
Snow globe without water winter scene
If you want to make a classic winter scene snow globe, here’s some inspiration “Made to be a Momma” This is a great idea to avoid a mess, as this skips adding water.
To create a classic looking snow globe, think of classic elements of winter – snow, trees, animals, etc. and choose some figurines to use. Then, arrange your scene and try different placements until you like the winter scene you’ve created. Once you’re set on it, make sure you attach it securely to the lid or bottom of your snow globe container. While this waterless version doesn’t have the same slow-down effect in its snow, it’s still cute and fun Winter crafts!

Photo snow globe
If you want to personalize your snow globe and create a lasting memory, we recommend making one Photo snow globe. This is a great idea for those who want to incorporate a personal touch into their project or even give it as a sentimental gift. This is a great one Holiday photo project Use holiday cards or family photos to create memories.

First, you’ll need to trim your desired photo to fit inside the glass jar, and laminate or seal your photo for water resistance. Next, use some waterproof glue to attach your photo to the inside of the jar lid.
After a few minutes, add glitter and then fill it with distilled water to create your snow effect. Finally, seal the lid with waterproof glue and shake it to create the blizzard you’ve been looking for!
DIY Snow Globes Using Recycled Jars
If you are looking for a way Recycle old jarsThis is a brilliant idea to give them a new look. You can make unique snow globes using vintage jars or bottles lying around in the attic.
Start by choosing any jar or bottle you want to use for your snow globe. Clean it, remove any labels and start decorating it with your favorite theme. You can use small toys or ornaments of different shapes and sizes to fill the space inside the jar. Add the glaze and fill the jar with water, leaving some space at the top. Finally, seal the lid tightly and voila – you have your eco-friendly snow globe.
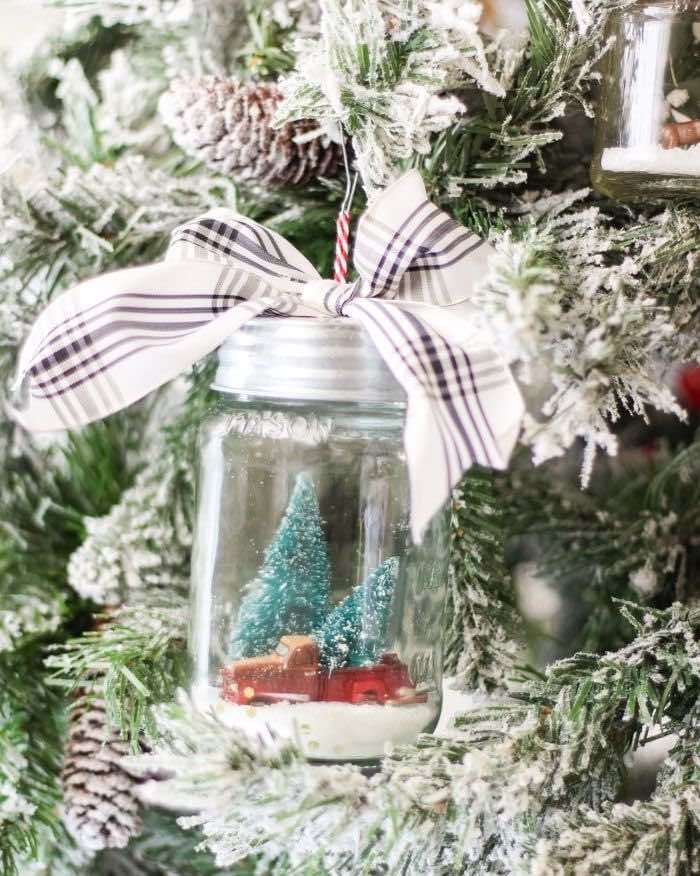
DIY snow globe ornaments
If the idea of making handmade ornaments using your DIY skills piques your interest, you’ll love this idea “Turquoise House“
Make a snow globe gift card holder
If you love the idea of a handmade gift, but want to give something practical, this is for you. A DIY snow globe can serve as the perfect package to add a little personal touch to gift card delivery. By this post “Homemade lovely“He’ll show you how!

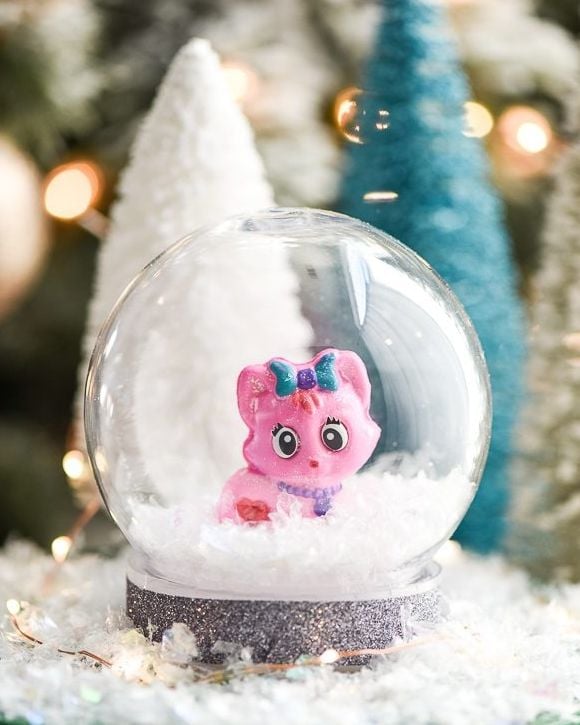
DIY Children’s Toy Snow Globe
Any young child would love to see their favorite miniature toy displayed in a beautiful winter scene inside a snow globe. Just make sure you use a duplicate, new toy instead of taking away their favorite—which won’t go over so well. They will love seeing their toy surrounded by snow, and will definitely cherish this gift when they grow up. Find the full tutorial for this project here.
Make a DIY snow globe your next holiday craft
A DIY snow globe is the perfect way to capture the magic of winter in a jar. It’s a fun and easy project that both kids and adults alike can enjoy. Not only do they make great holiday decorations, but they also make wonderful gifts For loved ones. With a little creativity and imagination, the possibilities are endless when it comes to designing your own winter wonderland. So why not grab a jar, some fake snow, and start making your own snow globe today?
Continue to dive into the wonderful world of DIY holiday crafts and decor by checking us out DIY mantel decor ideas, Cool glass ornament projectsOr DIY Christmas Stocking Holders For all of them Wonderful stocking stuffers You’ve found it!


