

When I cook a whole roasted chicken at home, I usually use my rotisserie-style chicken method and remove the skin. I’ve never really explored the possibility of making great crispy chicken at home, but after I came across this weird but effective hack I decided to give it a try!
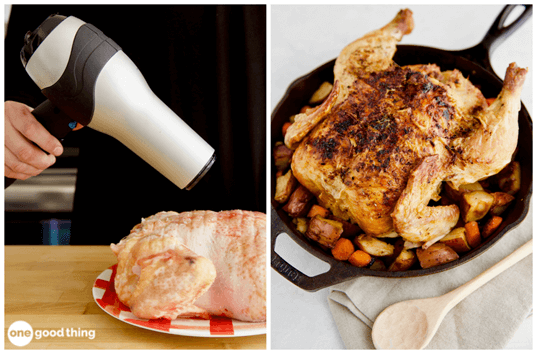
Yes, you might go a little crazy bringing your hair dryer into the kitchen to help prepare roast chicken, but the results are well worth the momentary discomfort. A hair dryer makes the chicken skin dry quickly and easily, ensuring that it turns deliciously brown and crispy in the oven.
If you’re feeling skeptical about this method, it might help to know that I had similar reservations before trying it for myself! But this crisp, juicy, flavorful roast chicken is truly worth the leap of faith, and I know you’ll love it too — even if you have to endure a few weird looks for using your hair dryer in the kitchen!
Related: How to make flawless and juicy chicken breasts every time
How to make the perfect roast chicken with a hair dryer
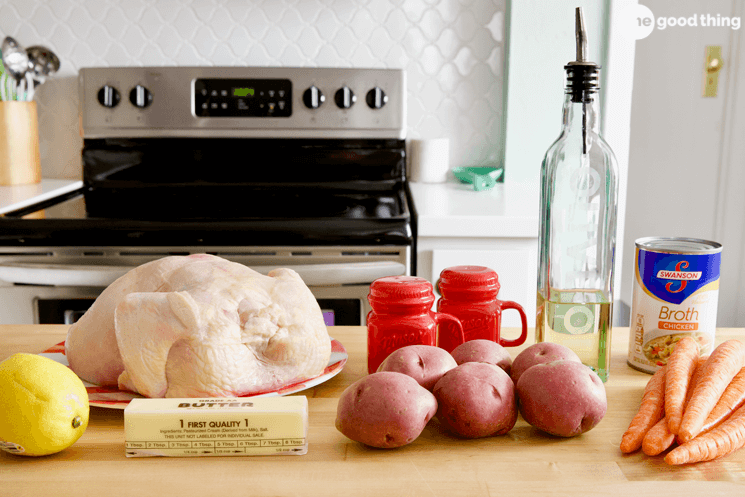
Ingredients:
- 1 whole chicken (3-5 lbs.)
- Kosher salt
- 3-4 cups roughly chopped vegetables
- 2 tablespoons of vegetable oil
- Salt-free spice mix
Sauce Ingredients (optional, see step 6 below):
- 1/2 cup chicken stock
- Juice of 1/2 lemon
- 2 tablespoons of butter
- 2 tablespoons of flour
Directions:
Step 1 – Preparation
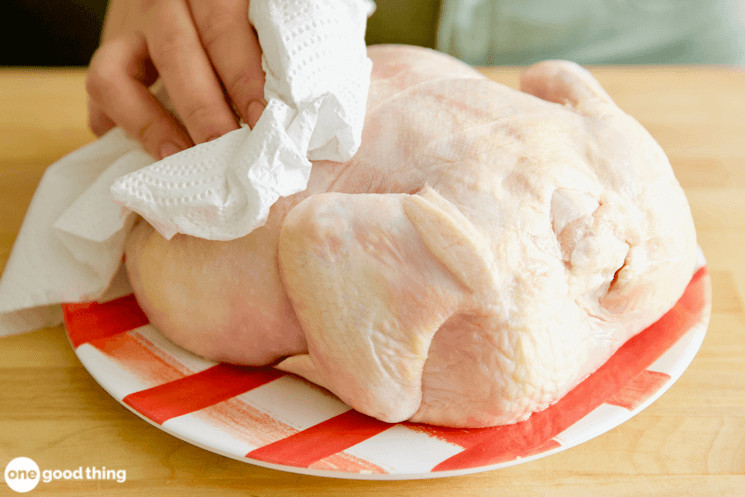
The first step is to prepare the chicken a day or two before you plan to cook it. Use a few paper towels to dry the bird inside and out, and if your chicken comes with giblets, discard them or freeze them for later use.

Once the bird is dry, season it inside and out generously with kosher salt (about 1/2 to 1 teaspoon per pound). Set the salted chicken on a large plate or platter on a wire rack, then place the whole thing in your fridge.
Leave the chicken covered for at least 24 hours or up to 48 hours. The skin should be translucent and firm to the touch.
Step 2 – Dry
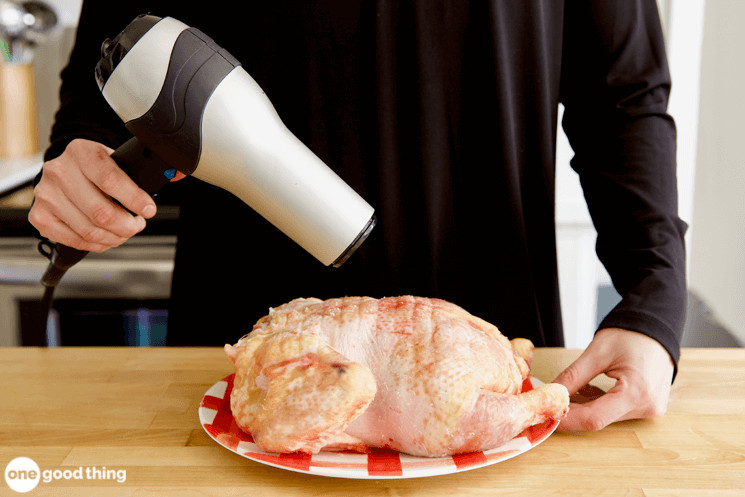
A few hours before you plan to eat it, take the chicken out of your fridge and hit your hair dryer. Using a cool or low heat setting, use a dryer to dry off any remaining moisture on the skin, paying attention to the top, bottom and inside of the bird.
Related: 23 Unexpected Things You Can Do With Your Hair Dryer

Step 3 – Assemble
Place your chopped vegetables in a large mixing bowl, add a little vegetable oil, then use your hands to toss the vegetables until they are evenly coated.
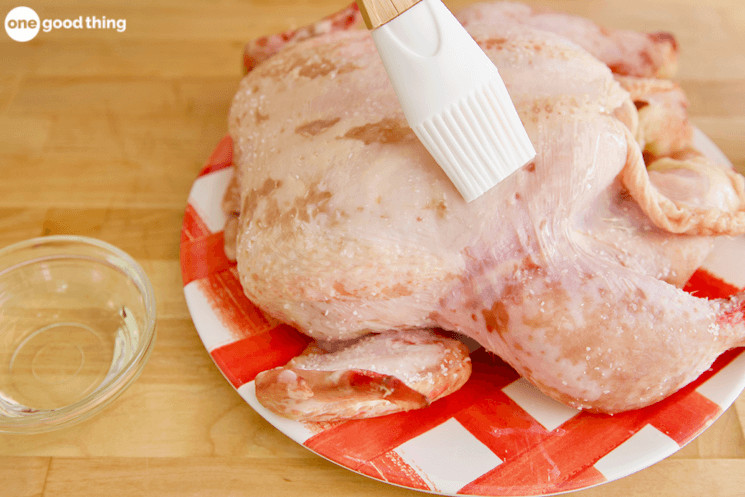
Next, use your oiled hands or a pastry brush to coat the chicken skin with the remaining oil. Add a little more, if necessary, to coat it completely.
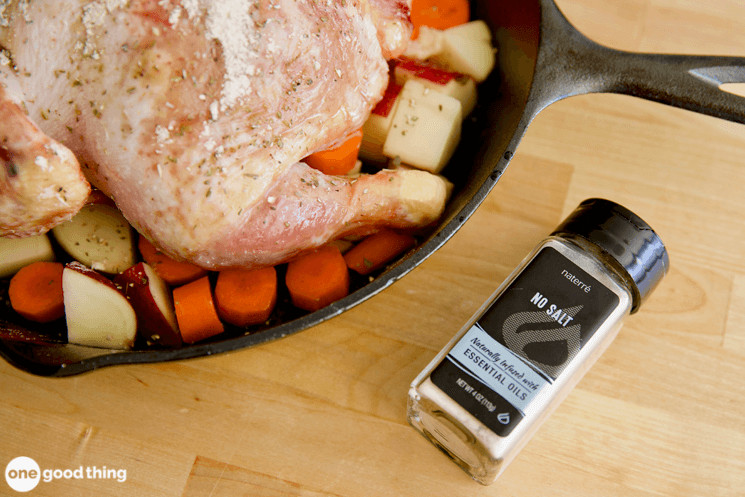
Finally, season the chicken all over with your favorite salt-free seasoning. (Why unsalted? The chicken is already salted, so adding more salt can easily make it salty. I like Lowry’s Salt-Free Spice Blend If you need a recommendation!)
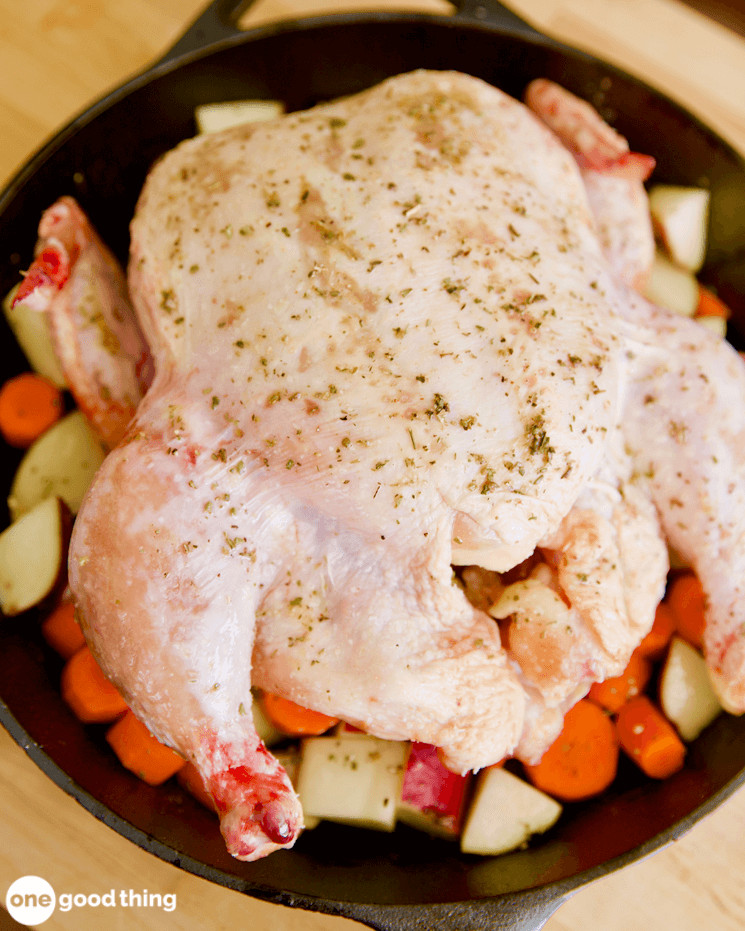
Finally, arrange the oiled vegetables in a 12-inch cast-iron skillet or 3-quart baking dish. Place the seasoned chicken, breast-side up, on top of the vegetables.
Step 4 – Bake
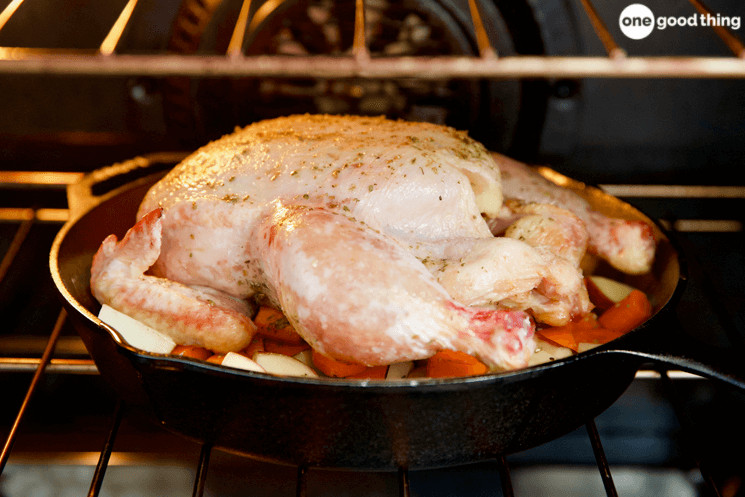
Place a skillet or dish in the center of your cold oven, then set the oven to preheat to 350°F. When the oven indicates that it has reached 350°F, set the timer for 10 minutes, then increase the temperature to 375°F and cook for another 10 minutes.
Continue increasing the temperature in 25-degree increments every 10 minutes until you reach 450°F (about 50 minutes).

Once the oven reaches 450°F, continue to cook the chicken until an instant-read thermometer inserted into the breast reads 155°F. It should take about 20-25 minutes more – about 70-80 minutes of total cooking time.
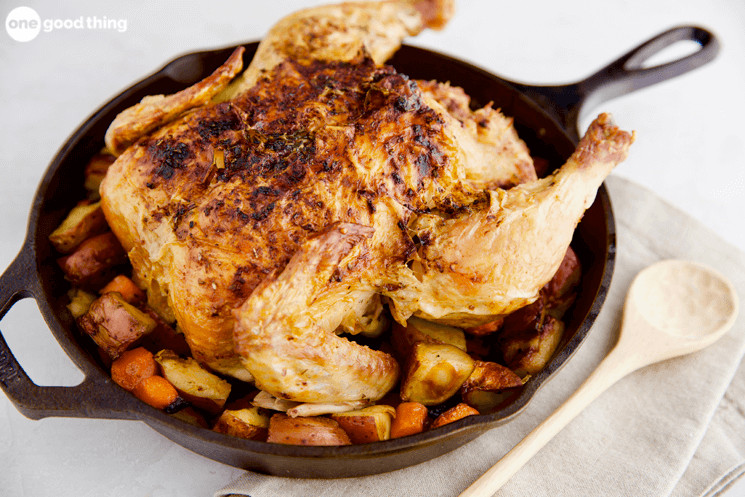
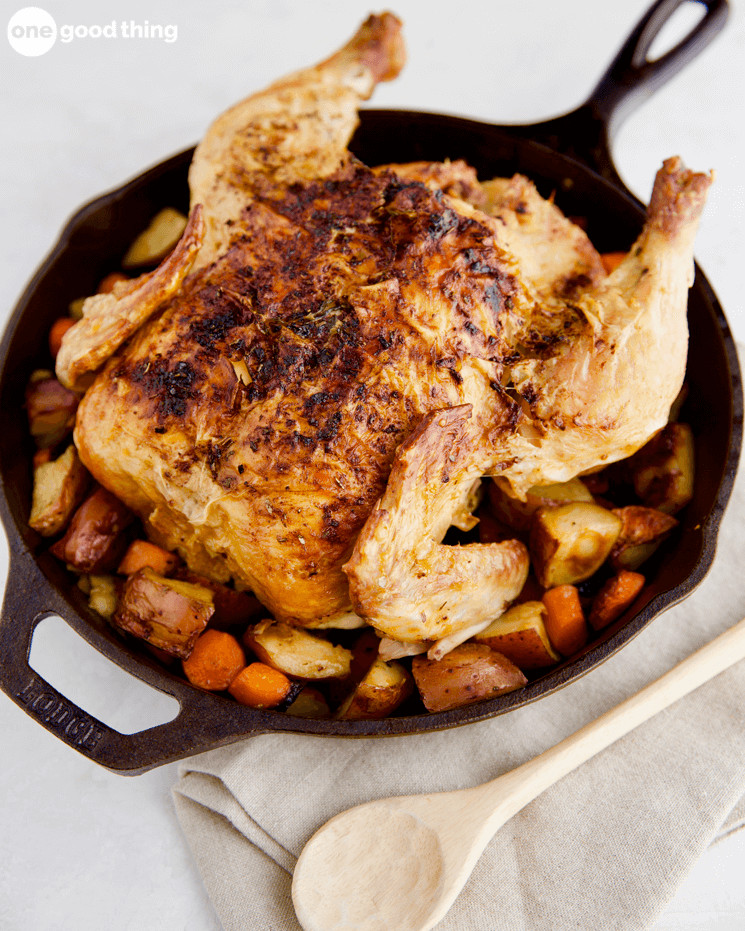
When the chicken is done, it should be brown and crispy and the vegetables should be slightly charred.
Step 5 – Rest and serve
After cooking, transfer the chicken to a cutting board and let it rest for at least 20 minutes before slicing or slicing. (The rest is crucial – it will prevent moisture from escaping and leave you with an unfortunately dry chicken!)
After allowing it to rest, simply carve the chicken and serve. Yum!
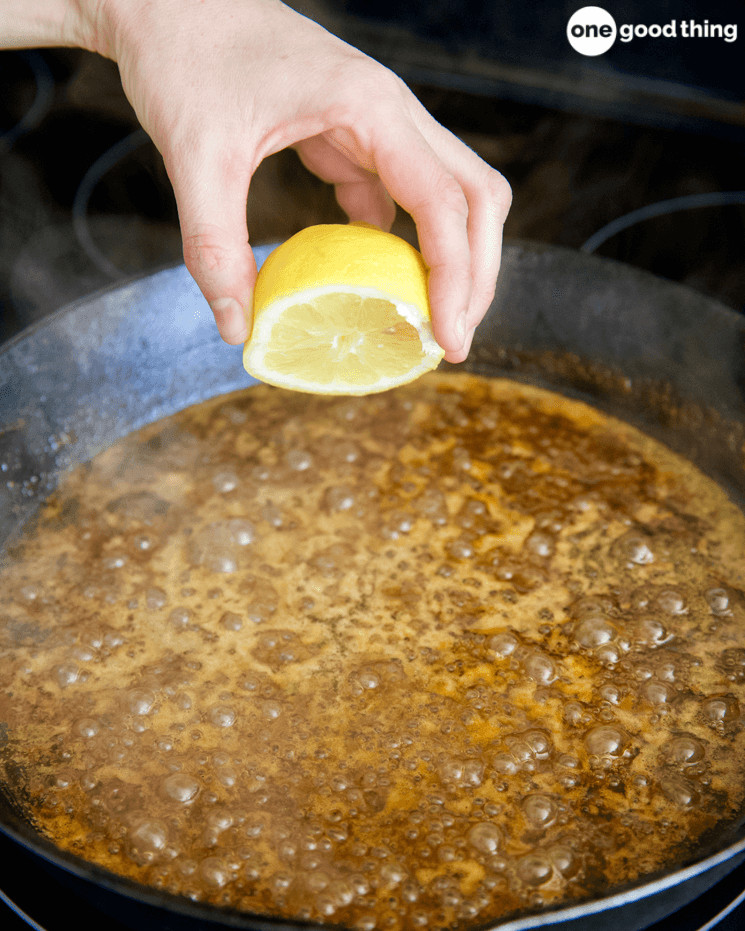
Step 6 (Optional) – Make the sauce
The chicken is delicious, but you can make a simple sauce to add more flavor! While the bird is resting, place a dripping pan on your stovetop over medium heat. Add the chicken stock and the juice of half a lemon, and continue cooking until the sauce begins to bubble.
Meanwhile, in a separate pan, melt the butter and stir in the flour to make the roux. When the sauce begins to bubble, add the roux and whisk well until the sauce is smooth and thick. Season to taste, and serve the sauce with the chicken and roasted vegetables.
I think this photo almost speaks for itself, but you have to try it Chicken dish To know for yourself how delicious it is!
What is your favorite way to cook chicken?


