


Have summer fun making your own tie dye beach towels in two different colorful methods!
Why we love this project
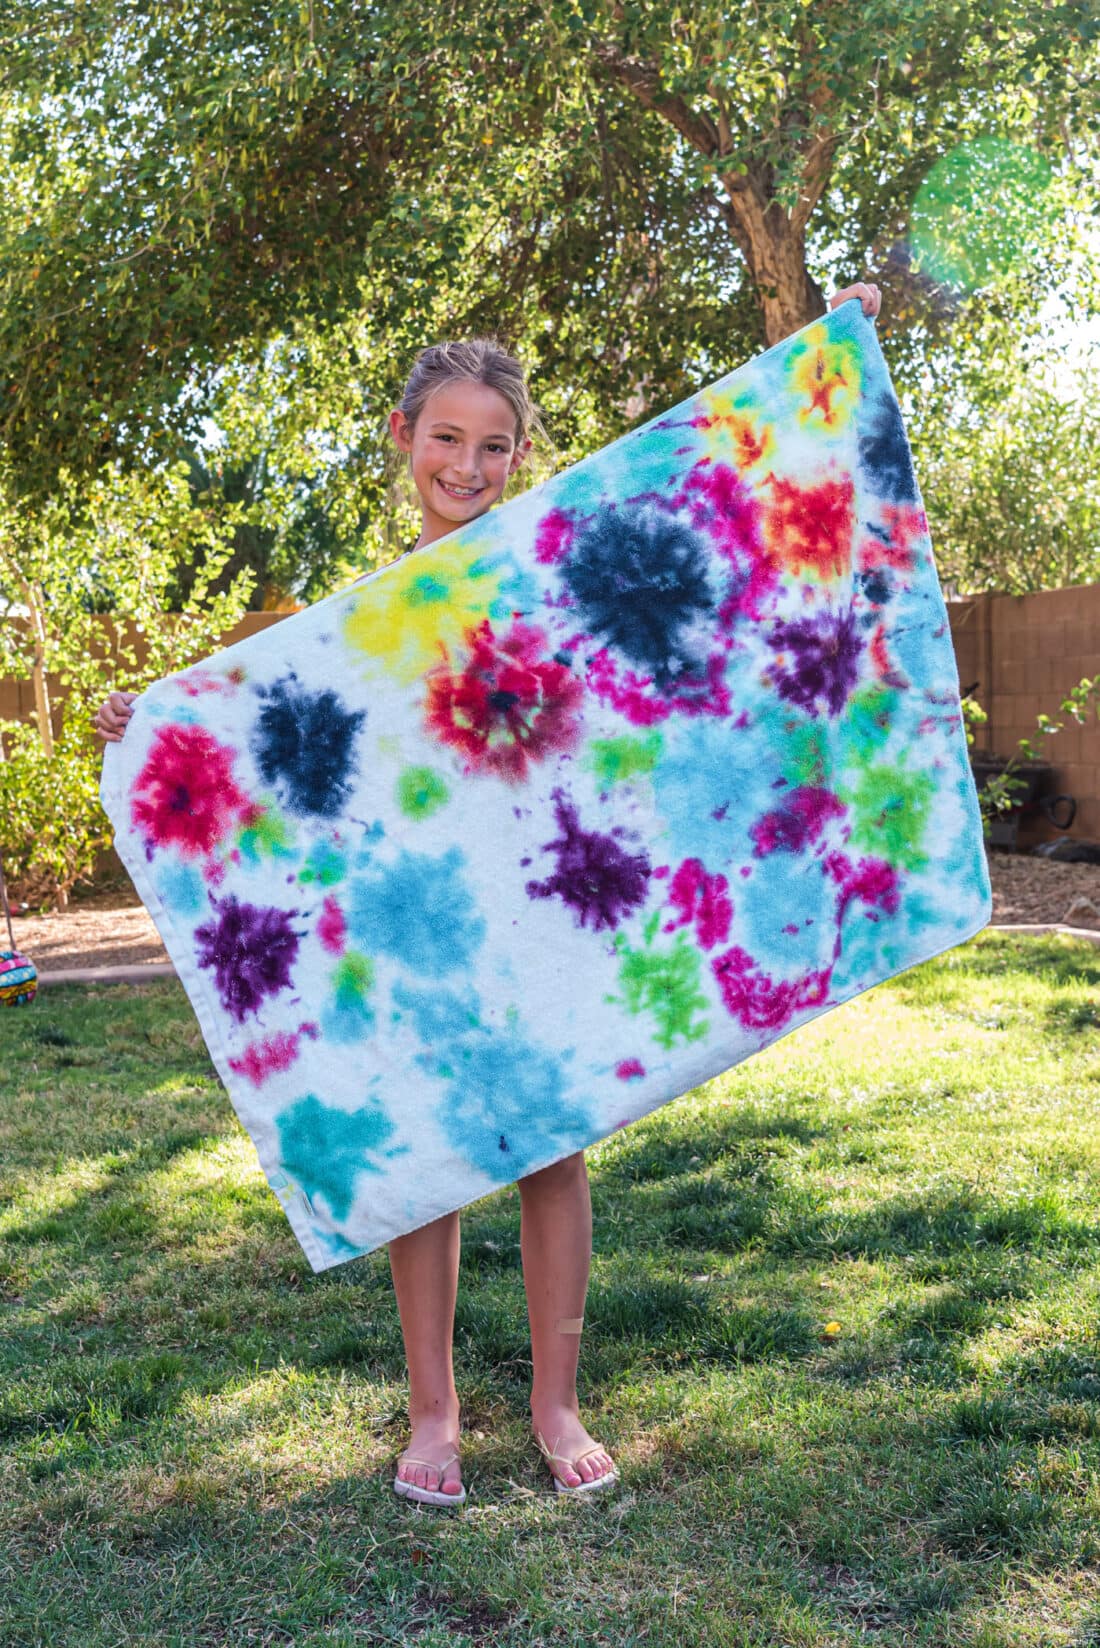
Tie dye beach towels are a great summer project that kids will love getting into. It is a colorful way to highlight their creativity where they are able to show off their creations to friends at the pool or beach.
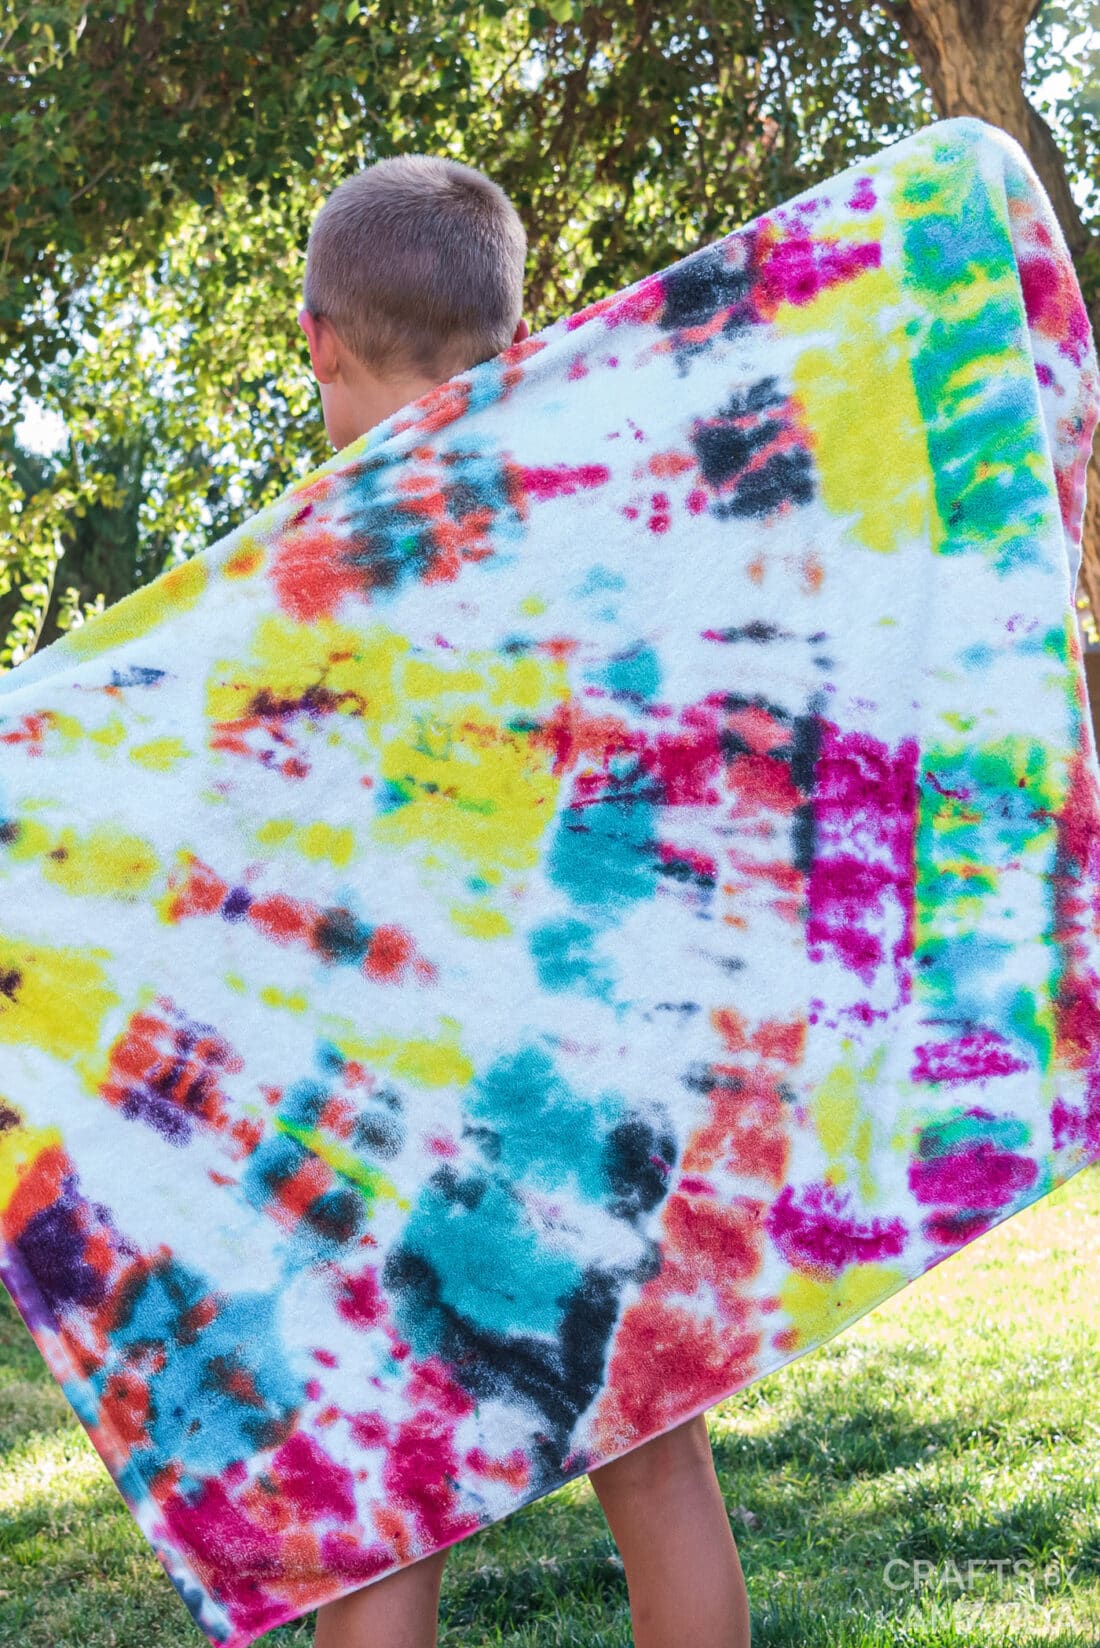
We have two methods to show you here: the crumple method, and the rainbow method, which we used earlier. Rainbow tie dye shirt. These two methods are easy and fun for both adults and children.
Useful project information:
- Age Level: Children 6 and up under supervision
- Mess Factor: High (Squeeze Bottle Die)
- Difficulty Level: Easy
- Completion Time: Less than 30 minutes, less drying time
- Price Estimate: Less than $15.00
Craft supplies you will need
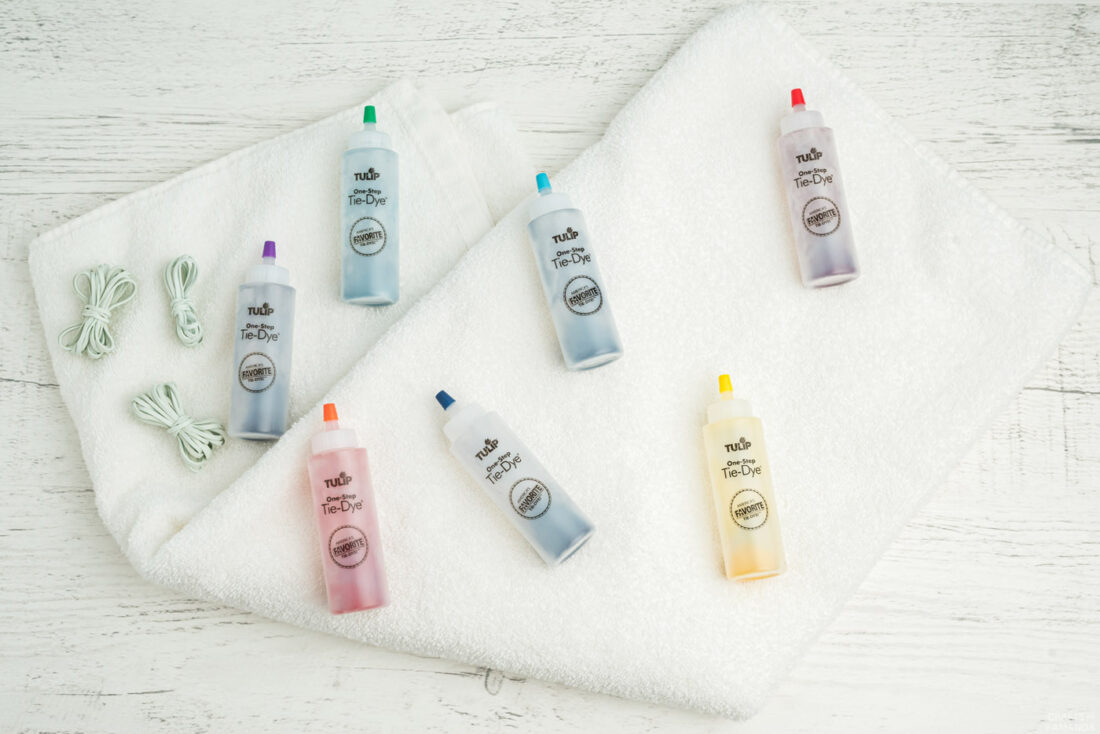
Find the complete list of supplies and directions in the printable version at the end of this post.
How to make a tie dye beach towel
Here are step by step photos and instructions to help you visualize how to build this project. Please scroll down to print the instructions!
The rainbow method
You have two options for wetting your towels, you can either wet them before you start and add the rubber bands, or you can place the rubber bands in their sections and then wet the towels with a hose. Either way will work, as long as the towel is wet before adding the dye.
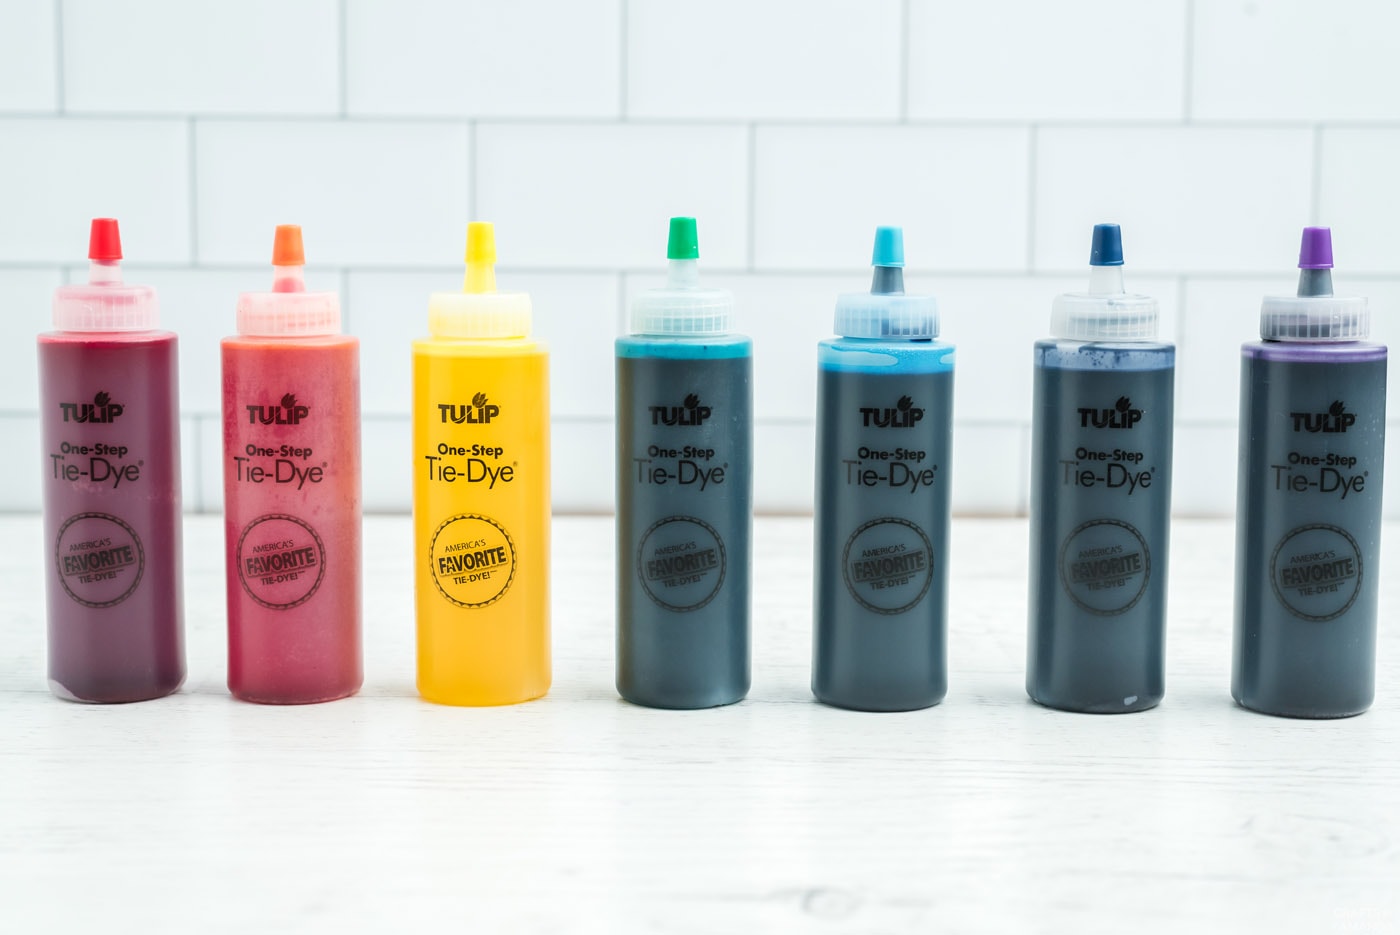
- As we are using, color your squeeze bottle according to the package instructions Tulip’s One-Step Tie Dye Kit.
- Cover the surface you will be working on. Spread the towel over the covered surface while it is still damp. Scrunch/pleat the towel together starting at the bottom right corner until it is completely pleated.
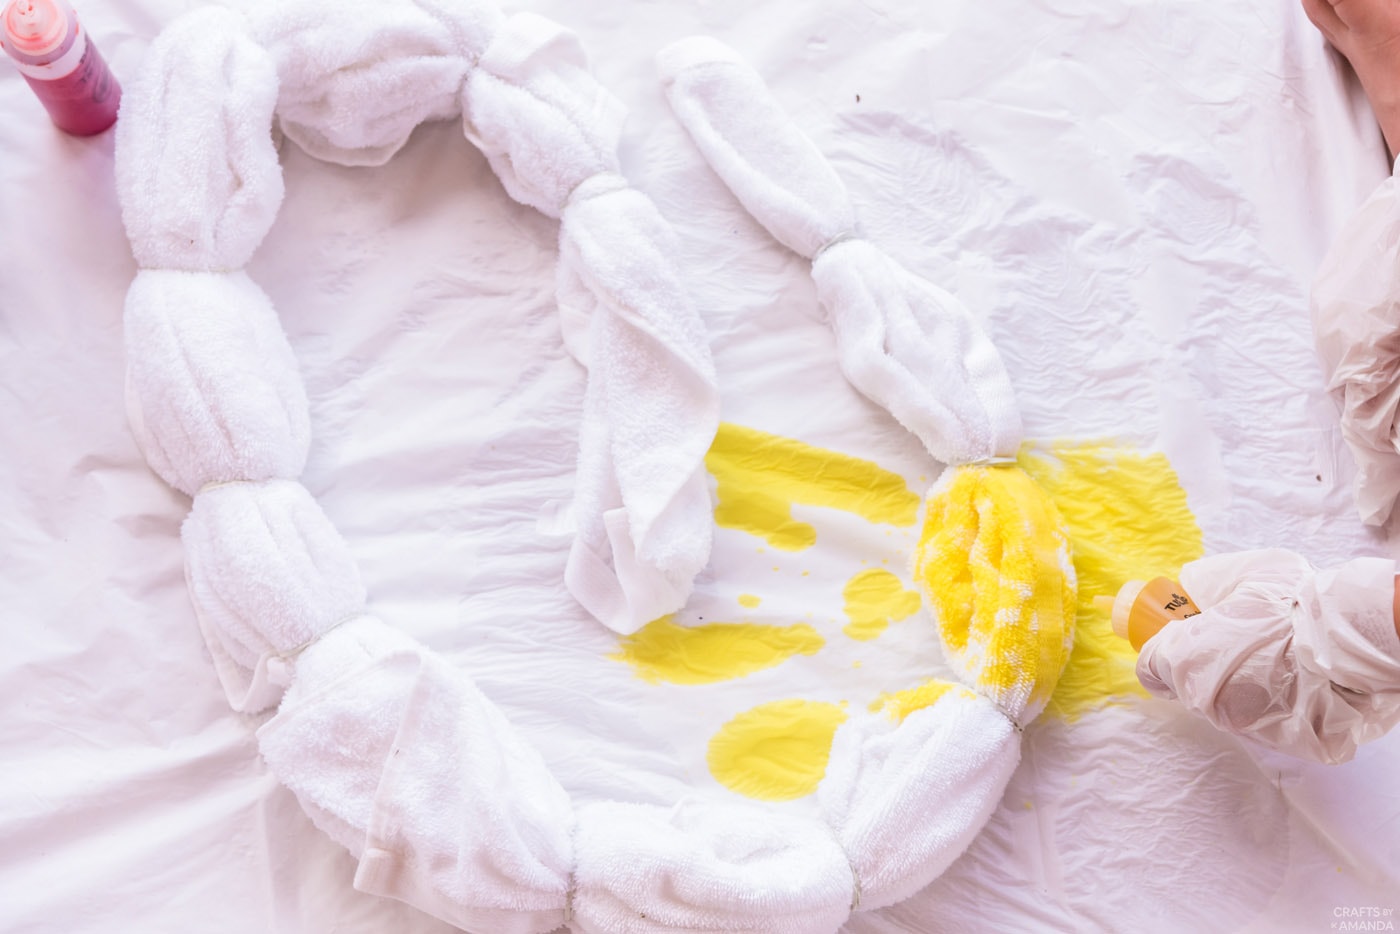
- Press the towel tightly together and secure it in about 11 sections using a rubber band.
- Apply colors liberally to each individual section in desired color order.
- Wrap the dyed towel in plastic wrap or a ziplock bag and let sit for 6-8 hours.
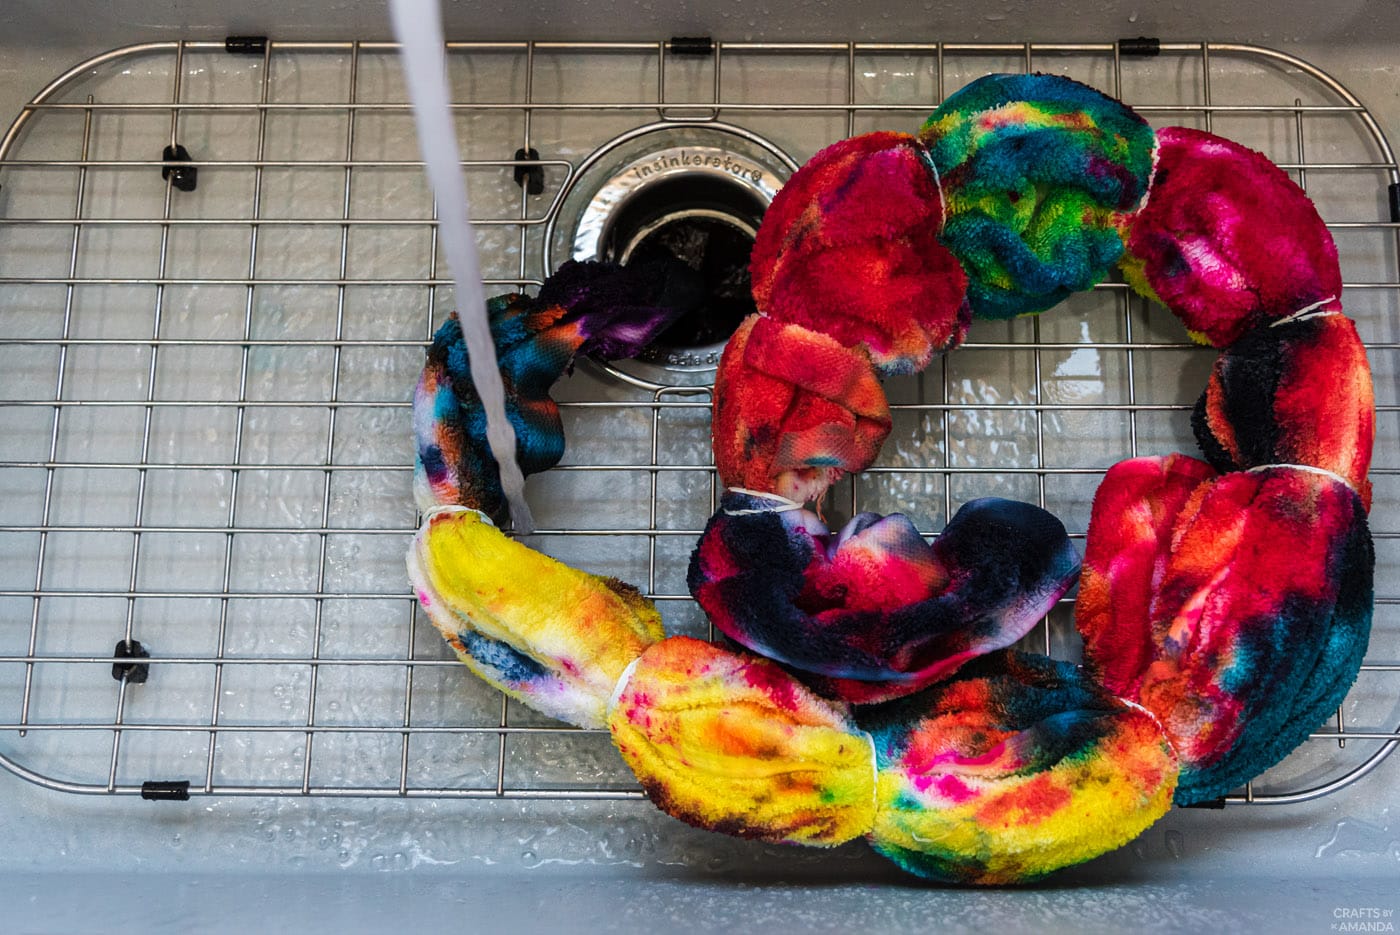
- Remove the rubber band then rinse using warm water. Switch to cold water, then back to warm, finishing with cold water. Follow with a run through the washing machine.
Crumple method
- prepare Tie the die squeeze bottle With color according to package directions.
- Cover the surface you will be working on. Spread the towel over the covered surface while it is still damp.
- Scrunch up one part of the towel with one hand and put a rubber band around it. Repeat this throughout the towel in as many sections as you like.
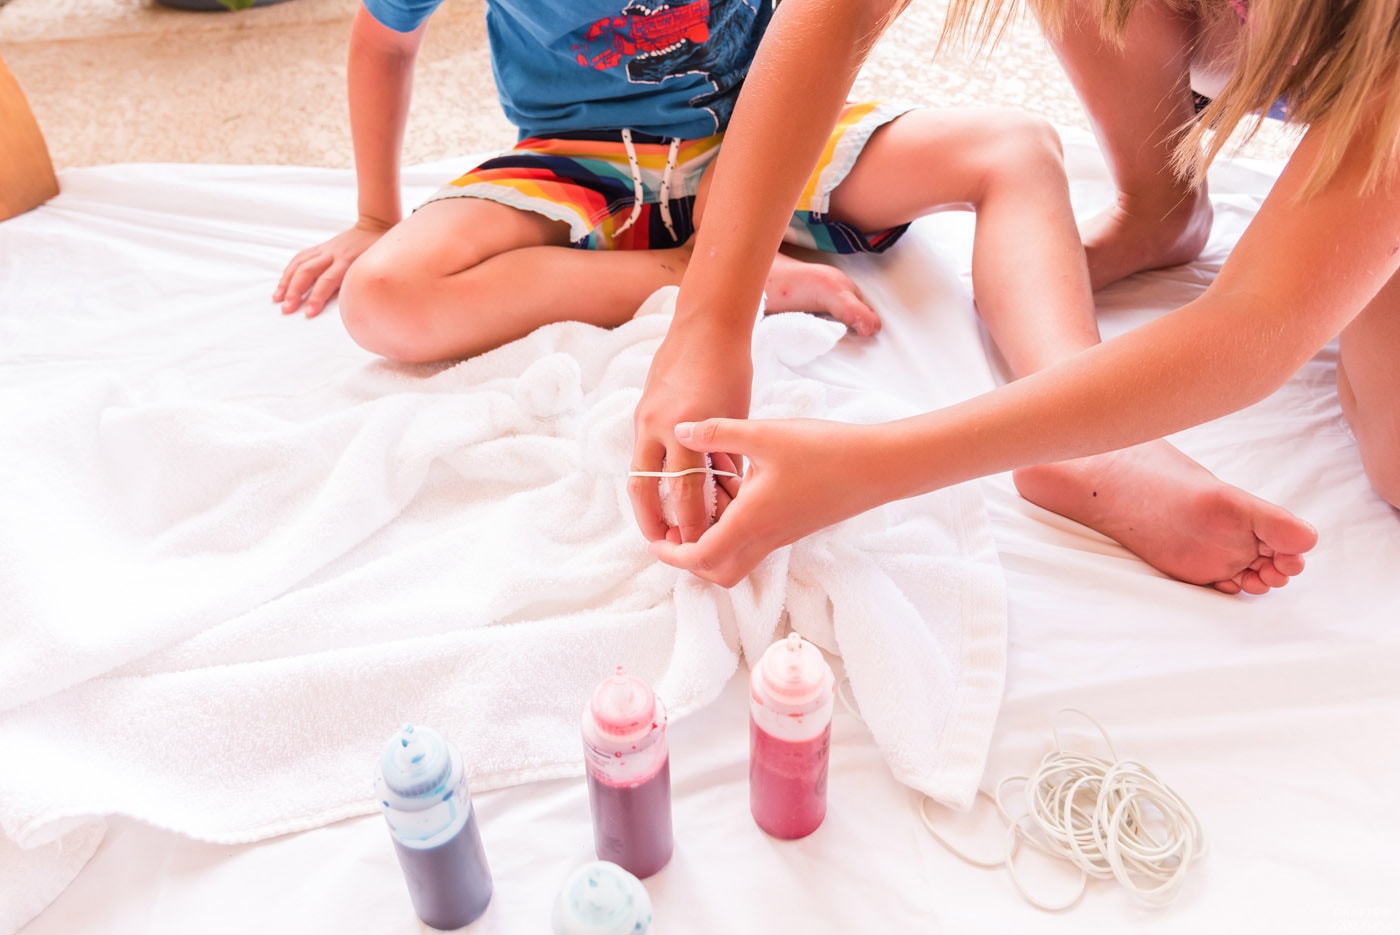
- If desired, apply squeeze dye liberally to the top of the crumpled areas as well as to the entire towel. Use any color combination you like!
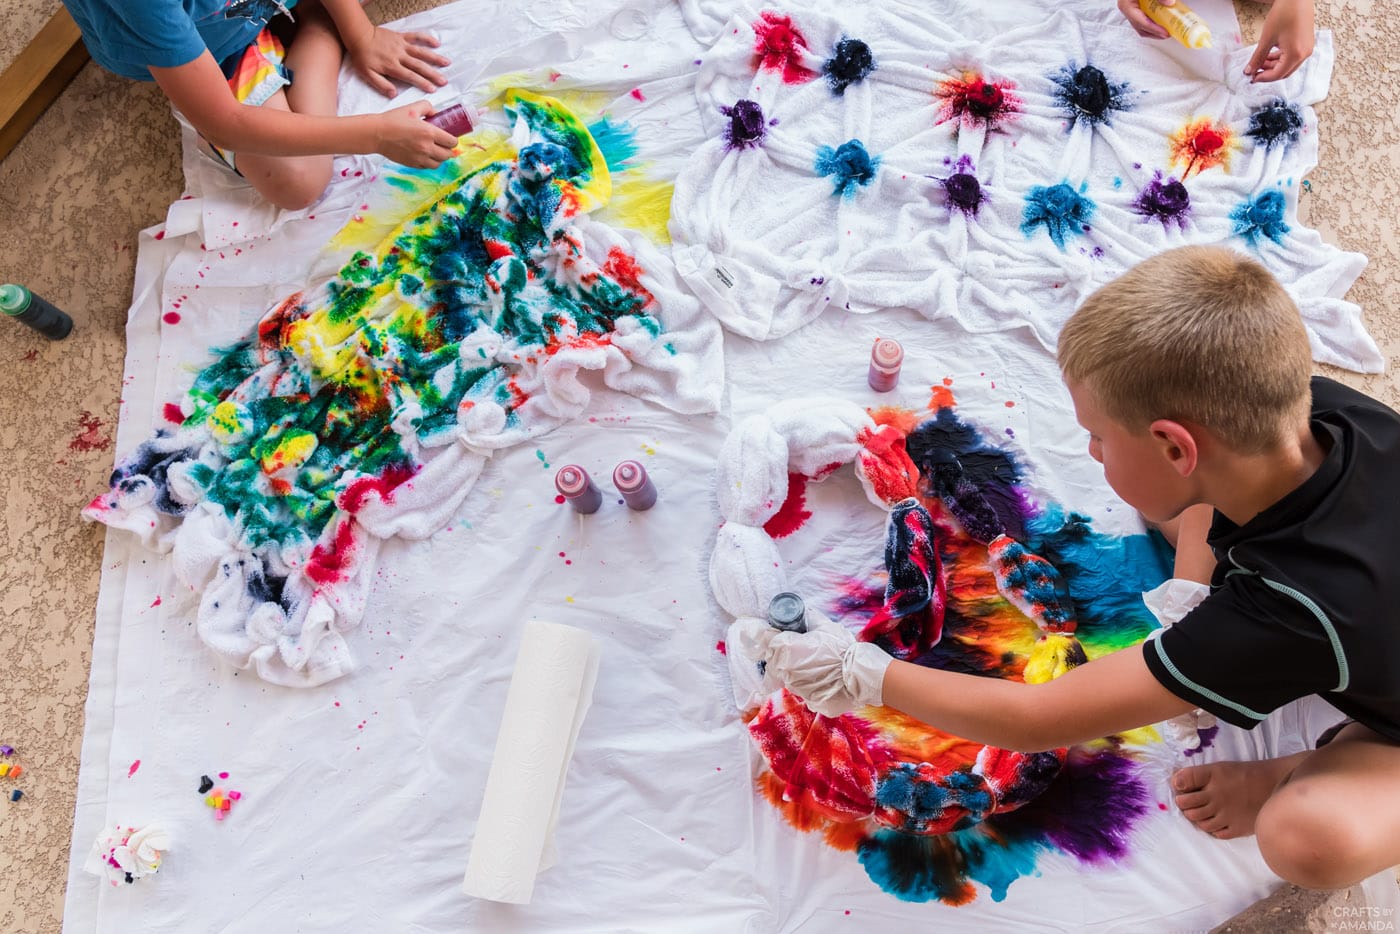
- You can alternatively scrunch up the whole towel, add a rubber band and apply your colors that way.
- If working with a thick cotton towel, turn it over and apply the color to the reverse side.
- Place the towel in a large plastic bag or cover with plastic wrap and let the colors set for 6-8 hours.
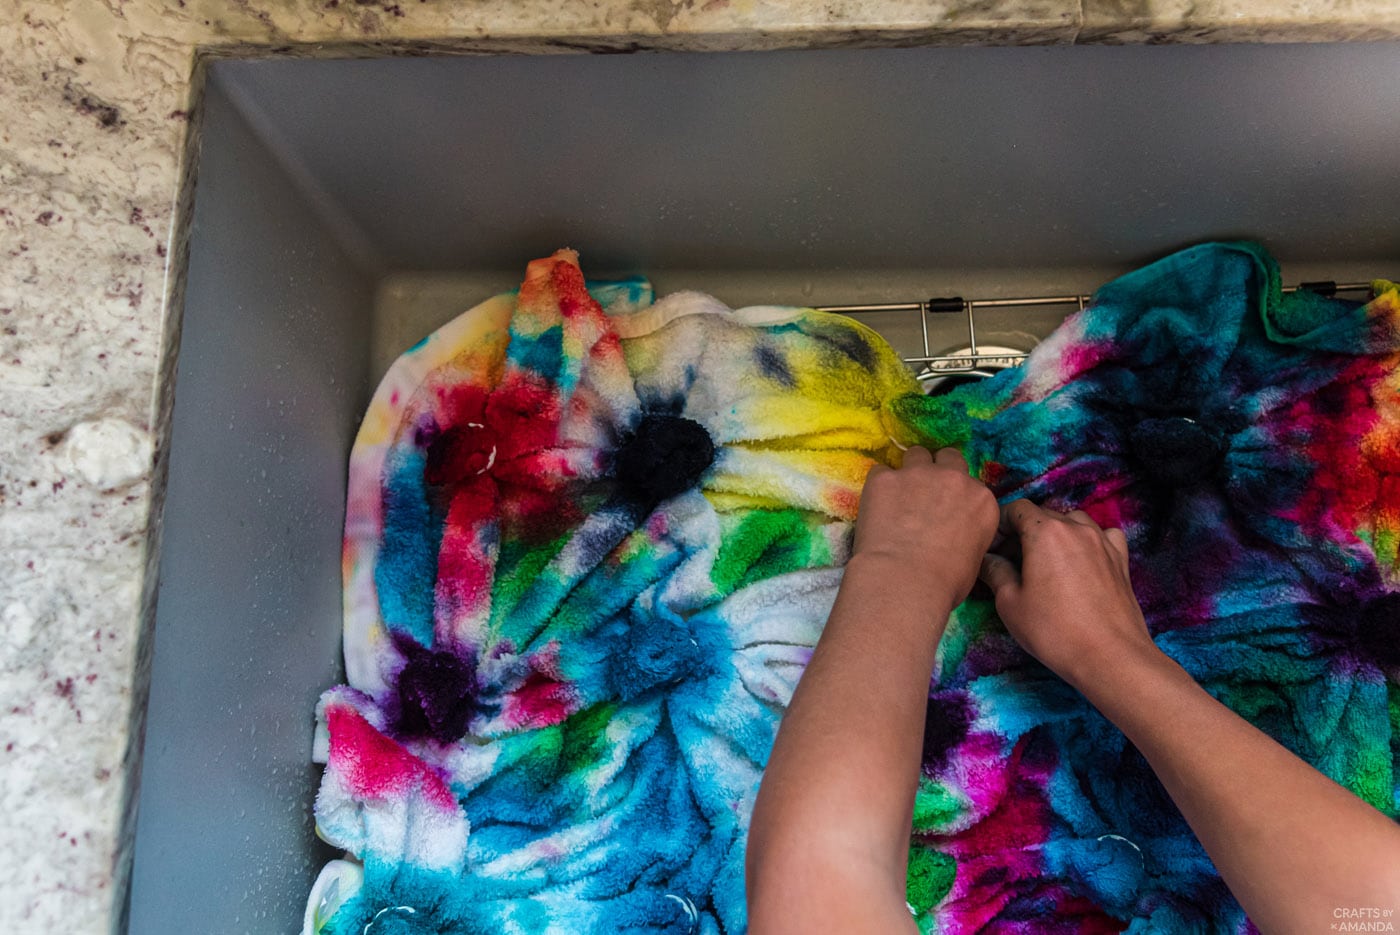
- Remove the rubber band and rinse using warm water. Switch to cold water, then back to warm, finishing with cold water. Follow up with running the towel through the washing machine.
Expert crafting tips
- If your towel is particularly thick, be sure to flip it over and apply color to the back. Sometimes dyes struggle to penetrate thick cotton.
- For your first wash, you may choose to run it separately from other towels or clothes to avoid dye leaching.
- Be sure to wear disposable gloves! Smocks are also a smart choice for youngsters joining in the fun.
- If you want to make your own dyes, you don’t need to mix the dyes together in the bottle, just squeeze the dyes onto the towel.
- We prefer to use a tablecloth that has a plastic backing on it but a regular plastic tablecloth will also do the trick.
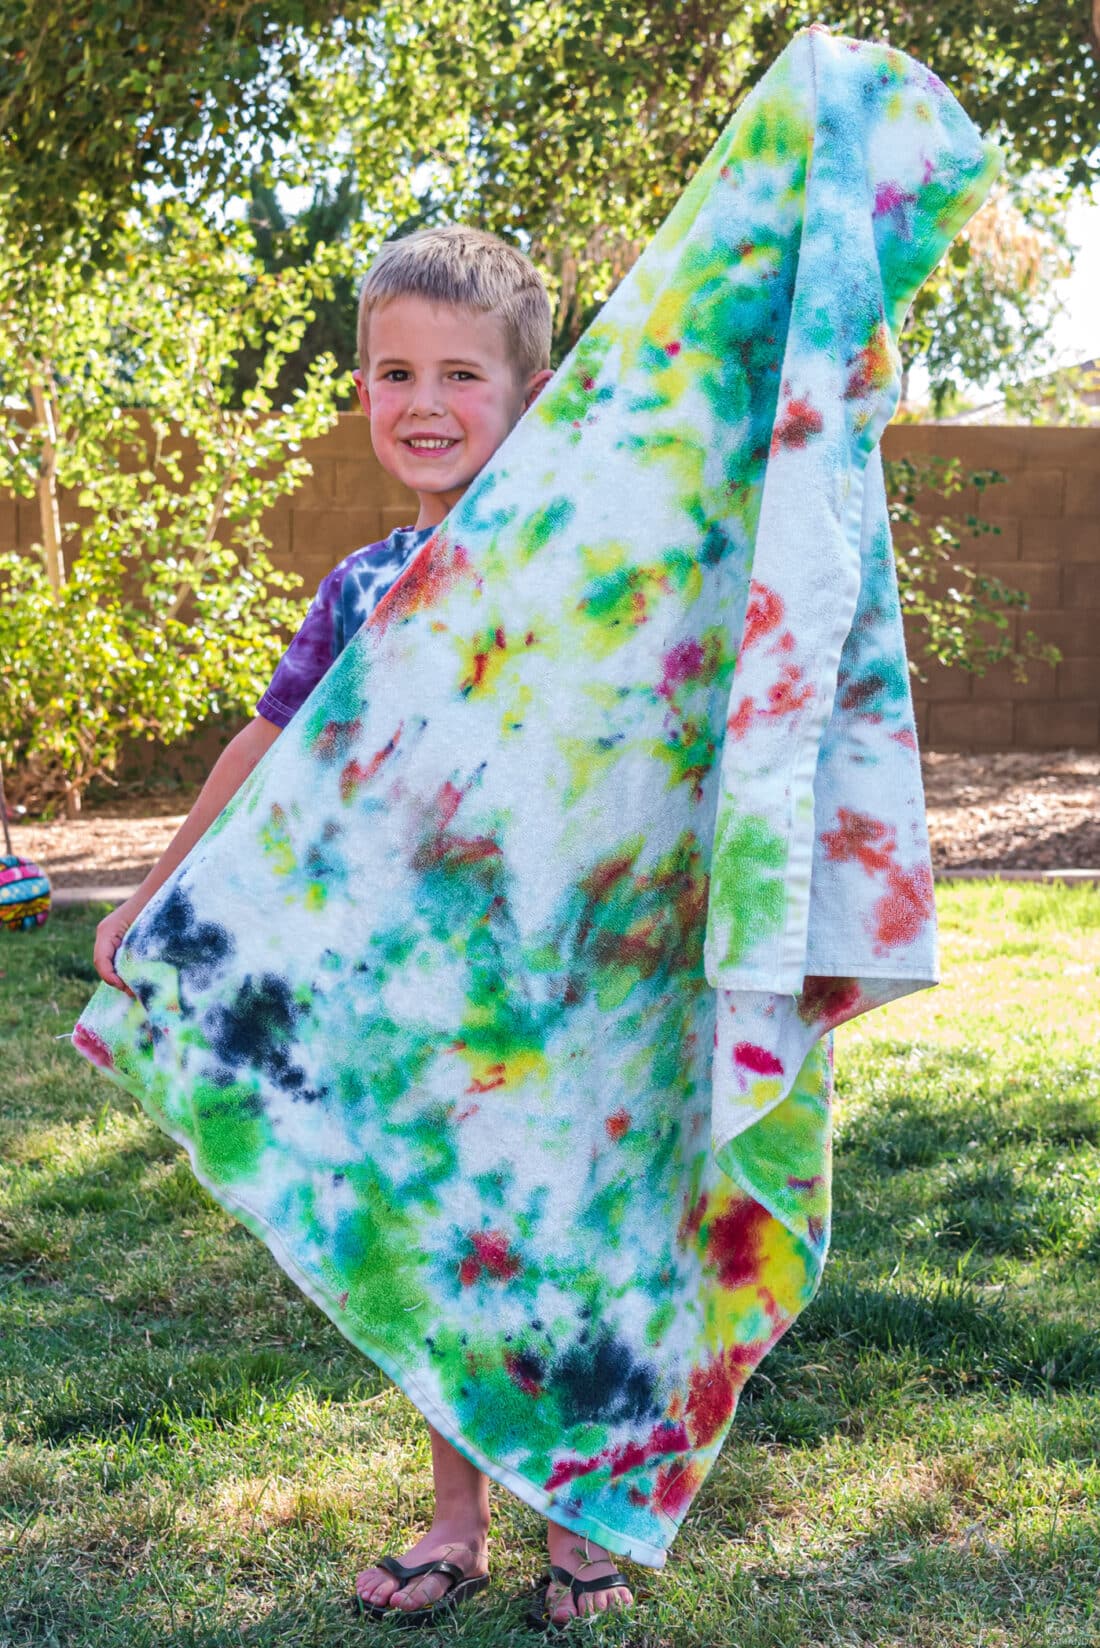
Easily use this two color scheme on totes, hats, shirts, sweatshirts, socks and more! This tie dye beach towel is a fun project perfect for a sunny spring or summer day.
More tie dye projects
I love creating and sharing my projects with you! I know it’s hard to remember to come back and search, so I’ve made it easy for you with my weekly newsletter! you can Subscribe for free And I’ll send you fun crafts and delicious recipes to your email every week.
Tie dye beach towels
This tie dye beach towel is a fun project perfect for a sunny spring or summer day.
supplies
- tie die in different colors. We are using Tulip’s One Step Tie Dye Kit
Craft tools
Plastic tablecloth
Disposable gloves
– Rubber band
Instructions
The rainbow method
Paint your squeeze bottle according to package instructions.
Cover the surface you will be working on. Spread the towel over the covered surface while it is still damp. Scrunch/pleat the towel together starting at the bottom right corner until it is completely pleated.
Press the towel tightly together and secure it in about 11 sections using a rubber band.
Apply colors liberally to each individual section following the color combination you like.
Wrap the dyed towel in plastic wrap or a ziplock bag and let sit for 6-8 hours.
Remove the rubber band then rinse using warm water. Switch to cold water, then back to warm, finishing with cold water. Follow with a run through the washing machine.
Crumple method
Prepare squeeze bottle with die according to package directions.
Cover the surface you will be working on. Spread the towel over the covered surface while it is still damp.
Scrunch up one part of the towel with one hand and put a rubber band around it. Repeat this throughout the towel in as many sections as you like.
If desired, apply squeeze dye liberally to the top of the crumpled areas as well as to the entire towel. Use any color combination you like!
You can alternatively scrunch up the whole towel and rubber band it and apply your colors that way.
If working with a thick cotton towel, turn it over and apply the color to the reverse side.
Place the towel in a large plastic bag or cover with plastic wrap and let the colors set for 6-8 hours.
Remove the rubber band and rinse using warm water. Switch to cold water, then back to warm, finishing with cold water. Follow up with running the towel through the washing machine.
Expert tips and FAQs
- You have two options for wetting your towels, you can either wet them before you start and add the rubber bands, or you can place the rubber bands in their sections and then wet the towels with a hose. Either way will work, as long as the towel is wet before adding the dye.
- Be sure to wear disposable gloves! Smocks are also a smart choice for youngsters joining in the fun.
- If you want to make your own dyes, you don’t need to mix the dyes together in a bottle, just squeeze the dyes onto the fabric.
- If your towel is particularly thick, be sure to flip it over and apply color to the back. Sometimes dyes struggle to penetrate thick cotton.
- We prefer to use a tablecloth that has a plastic backing on it but a regular plastic tablecloth will also do the trick.
- For your first wash, you may choose to run it separately from other towels or clothes to avoid dye leaching.
Source link



