Welcome back to another sewing tutorial created by you. I’ve been really busy with work lately, but I’ve missed sewing and sharing tutorials with you. As with any skill, while understanding remains, proficiency has to be maintained, and to be quite honest, I was feeling a little rusty.
I spent some time sewing and exploring my creativity until I designed some pretty awesome tutorials that I want to share with you.
I know that sewing doesn’t always have to result in a designed garment with some sort of functional use, but those types of tutorials inspire me!
I like to pride myself on making something useful from scratch, and in today’s 10-minute sewing tutorial, I’m sharing a simple step-by-step guide to sewing a scissor pouch.
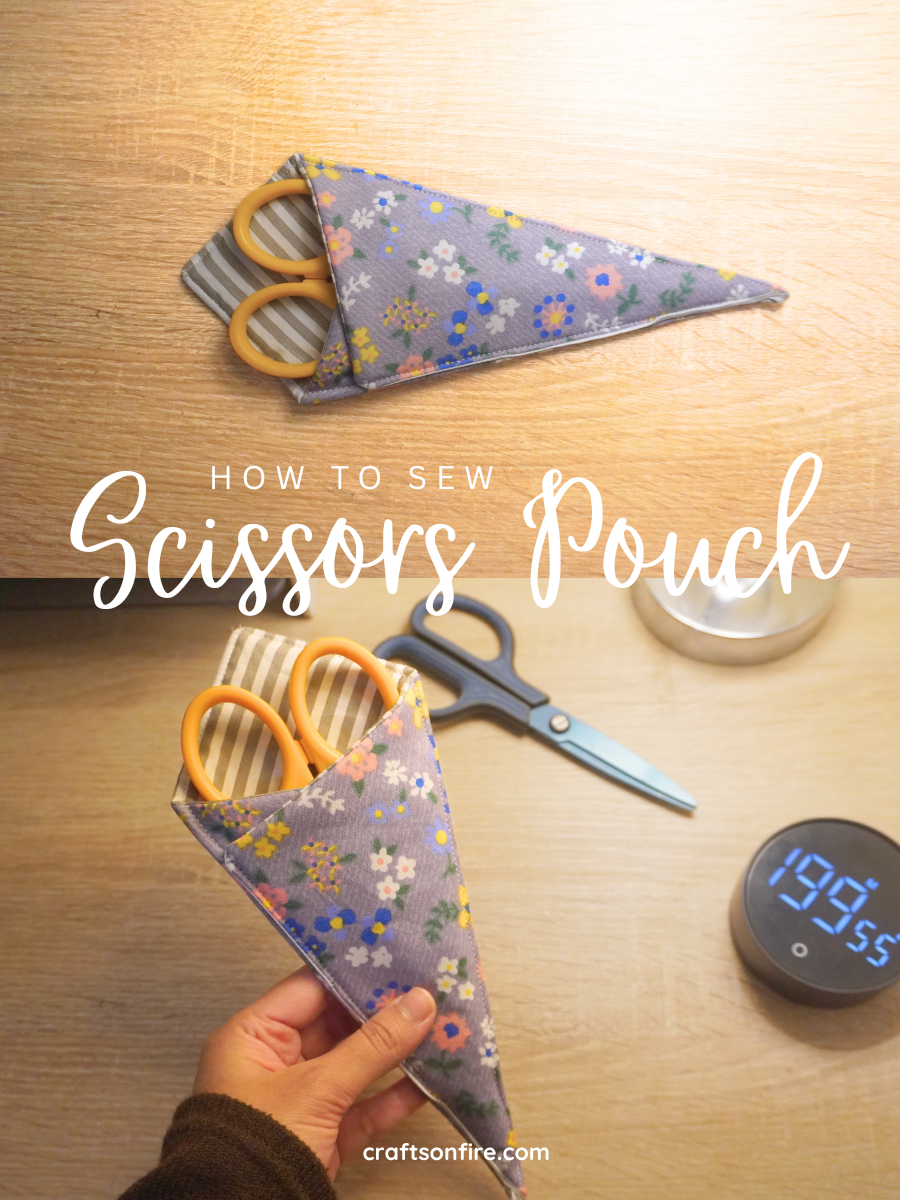
What’s good about this tutorial: It takes about 10 minutes to sew and has dual scissor pockets. You don’t need much material or batting. The cutting is inconsistent, given that we will be using a basic square cut-out. It can be served as a gift to guests, or it can be sold as a product for some side income.
Necessary Items:
- Sewing machine
- Pin
- Two pieces of fabric: 20 cm by 20 cm in each dimension.
- A piece of fabric batting: 20cm by 20cm in dimensions.
- Cotton
If you want high quality, Ad-free version This sewing guide with step-by-step instructions under each picture, Get the printable PDF guide here!
Finished Pouch Size: 24.5 cm (length) x 10 cm (pocket width) (9.64 x 3.93 inches)
Video tutorial
Instructions
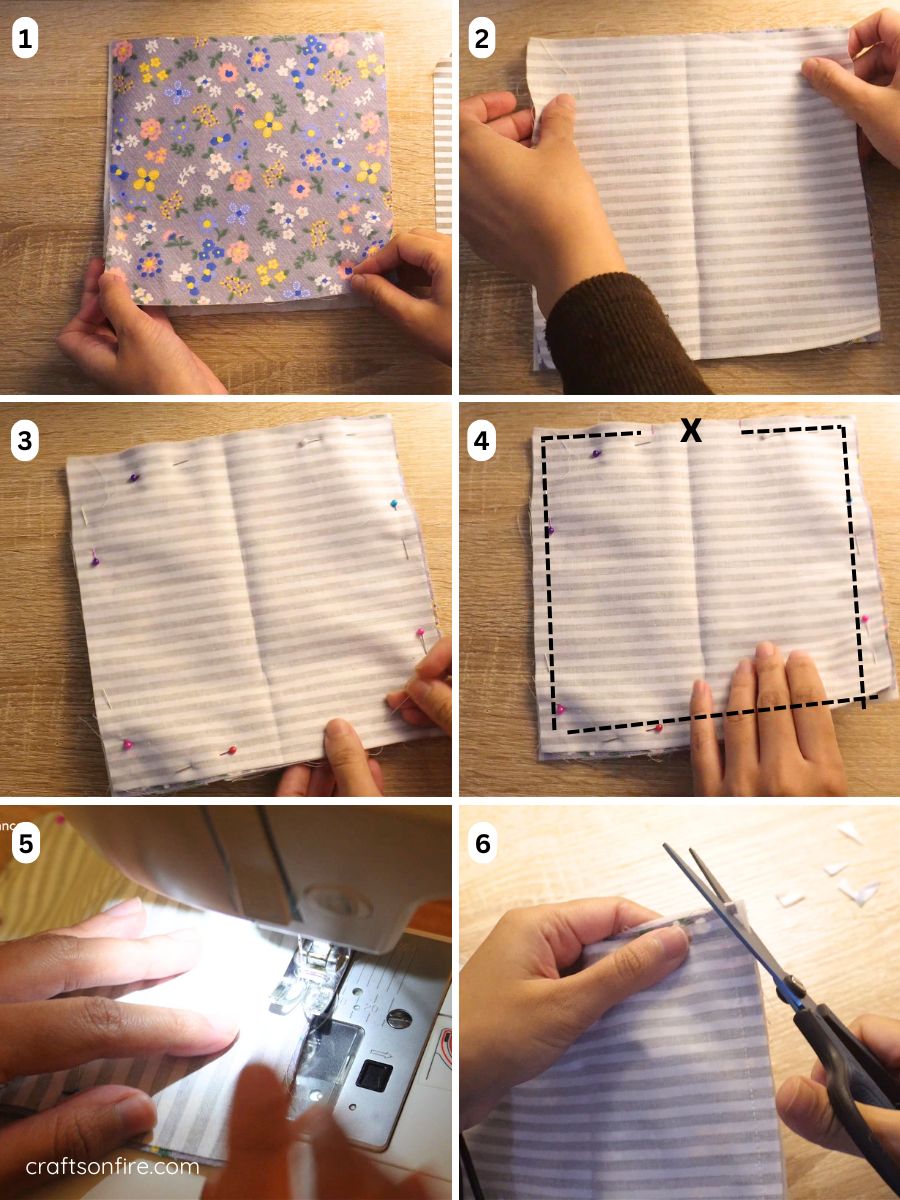
- Place the front fabric on the batting/interfacing. Next, place the lining fabric over the front fabric, making sure right sides are facing each other.
- Pin along all four sides.
- Leave a small opening (about 6 – 8cm / 2.36″ – 3.15″) on one side of the fabric and sew as indicated.
- Begin stitching the piece using a 1 cm (0.39″) seam allowance. Then cut off the corners.
- Use the unstitched opening to pull the right side of the fabric.
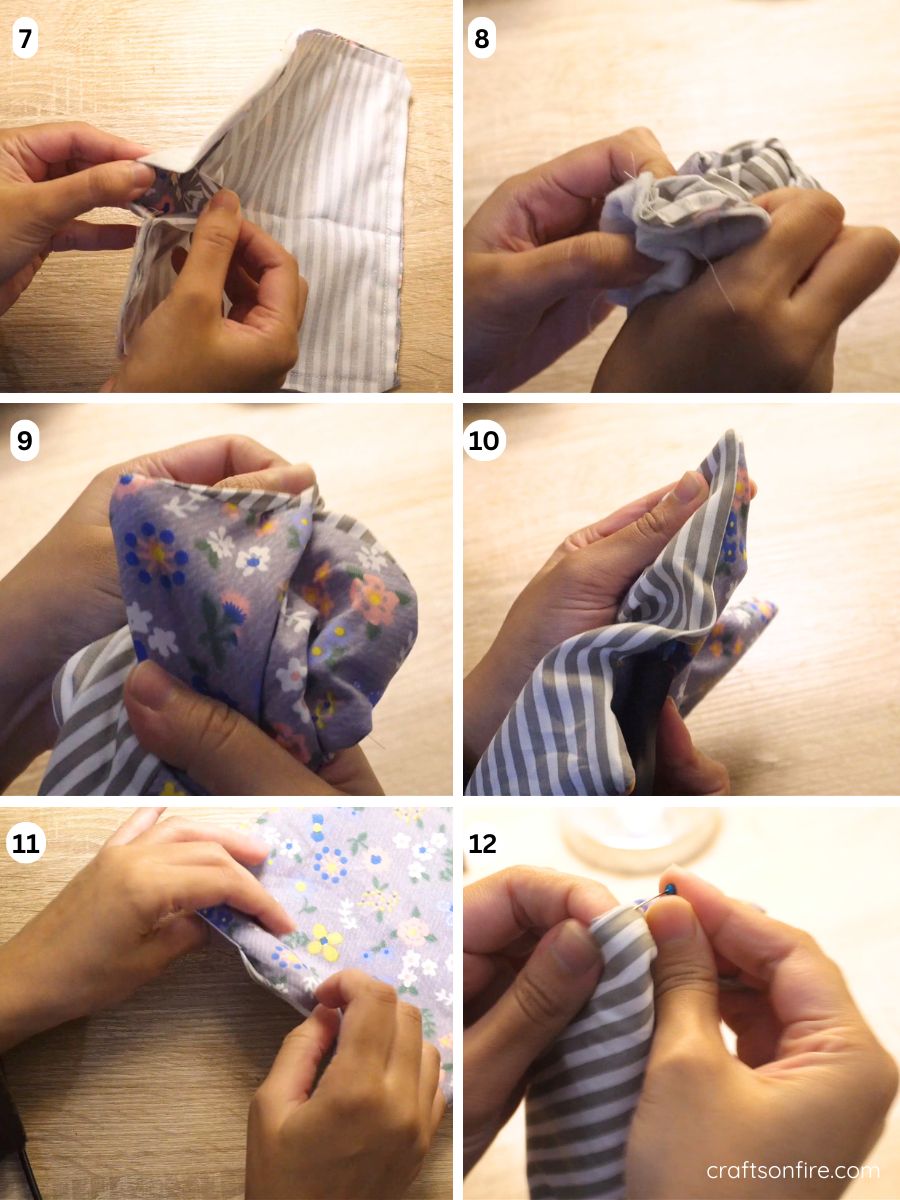
- Sometimes it’s easier to put your fingers in and then fold one side of the fabric through the opening.
- Go ahead and open every corner. You can use a pen or any pointed tool to open each corner for a sharp edge.
- Next, fold the raw edges of the opening.
- Use the pen to close the opening for now.
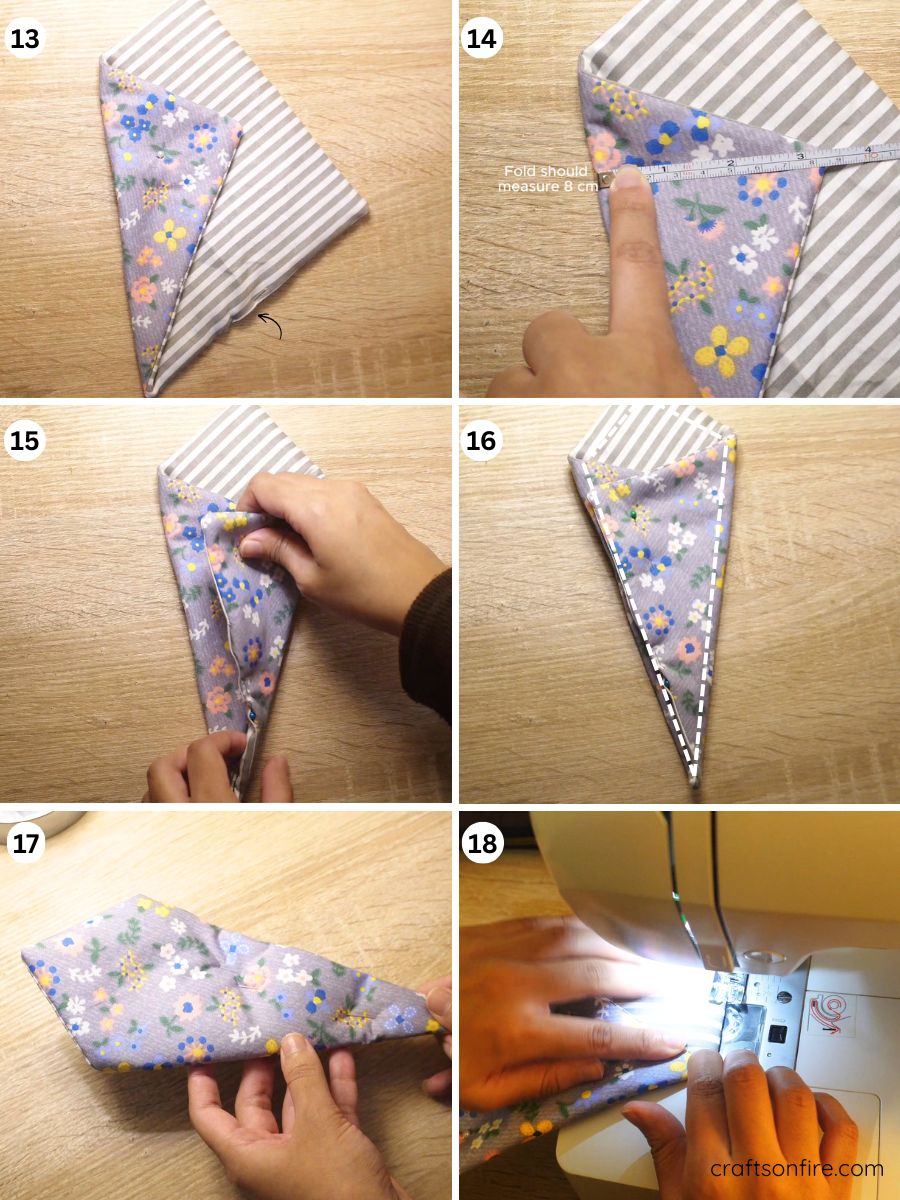
- The location of the fabric is critical. Make sure your lining fabric is facing up, with the pinned section facing you on the bottom right.
- Next, fold the left side inwards. The top of the fold should measure about 8 cm (3.15″), creating a pointed edge at the bottom of the piece.
- Next, fold the right side so that it lines up perfectly with the edge of the previous fold.
- Pin the folds to hold them in place while you sew. This is what your scissors pocket should look like so far.
- Here is the back of the scissor pouch.
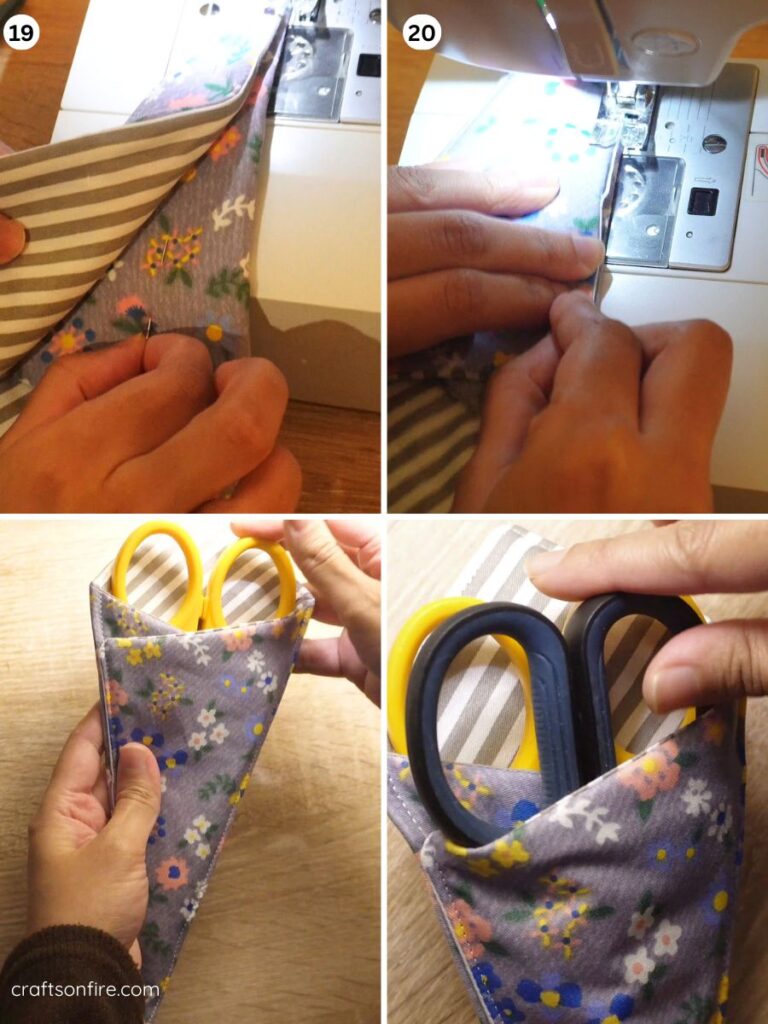
- Add a topstitch to the piece. Start at the top of the piece and work your way to the right side of the pocket.
- When you reach the bottom edge, lift the sewing foot and turn the piece over to begin sewing the other half. Once you get halfway through, unpin the fabric and remove the inner pins.
- Continue sewing until the flap or fold is securely stitched together. This will result in two pockets where you can now store your scissors.
Completed project
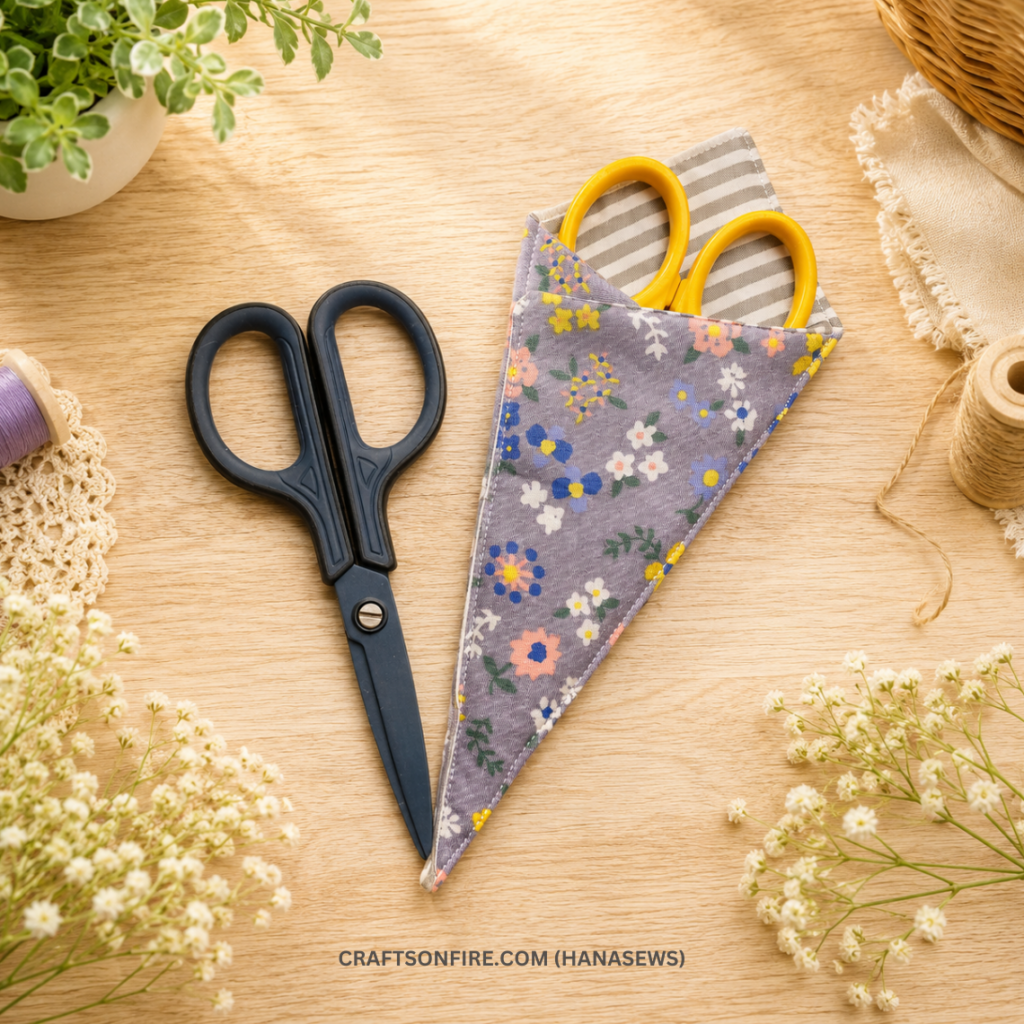
Congratulations! You’ve completed your double scissor pouch, and you should be very proud of yourself for taking the time to be creative and skillful! I’m so glad you took the time to complete this project, and I hope you learned something or, at the very least, had some fun with this sewing project.
Please be sure to subscribe to my blog, Pinterest, or YouTube channel so you can be notified of my new tutorials when they drop.
I absolutely love sharing my sewing tutorials with you, and I appreciate you taking the time to join me on this creative journey with a sewing machine.
Other fun and easy sewing patterns to try next:
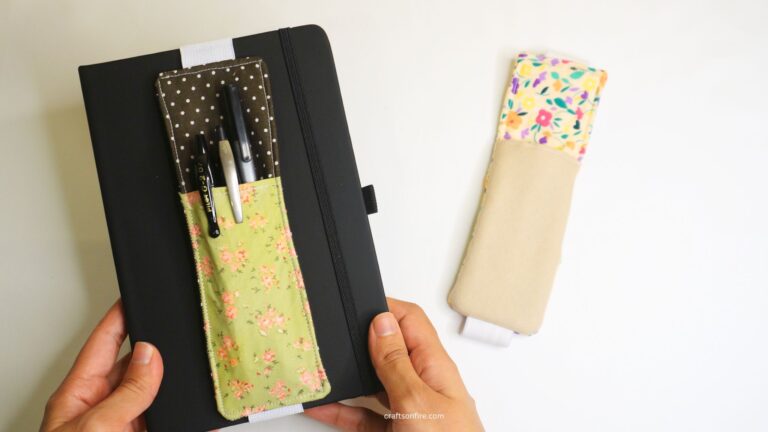
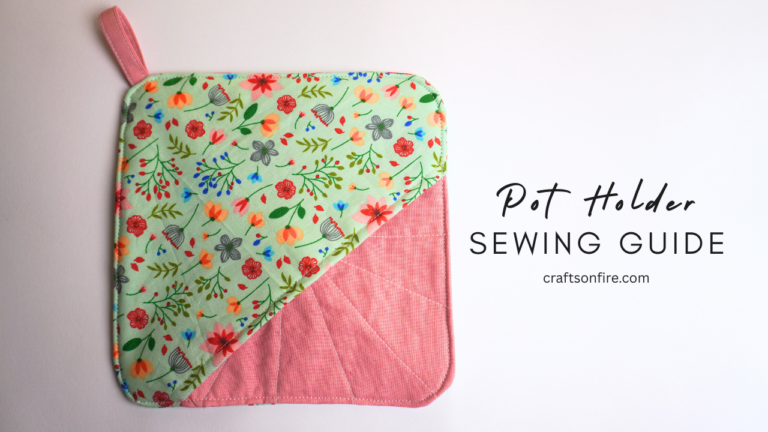
How to sew a pot holder with a top pocket
How to sew a pen holder bookmark for any journal