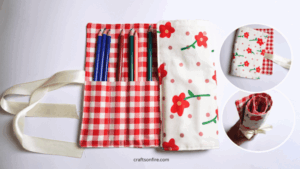
This pocket-sized pinbook will always keep your pins wherever you go. This needlepoint book is an adorable little sewing project that you can make quickly and easily.
It’s so small and cute – you can easily fit it in your pocket or bag.
It’s also one of the best things you can sew if you’re a complete beginner. You’ll learn so many different skills – how to turn fabric inside out, how to sew multiple layers together, topstitch, add elastic and so much more.
My step-by-step sewing tutorial will show you the exact process I used to create this needle holder from scratch.
*This post may contain affiliate links. We will earn a commission at no additional cost to you if you use one of our links. Please read our disclosure for more details.
From cutting, measuring and assembling the notebook, you will find every step of the process enjoyable and satisfying.
You can easily whip out several of these pin notebooks at once, especially if you want to give them to family and friends.
If you have leftover fabric or a small piece of fabric, some batting and elastic, this project is perfect for you.
Finished Size:
Open – 18 cm x 6 cm (7.09 in x 2.36 in)
Folded – 9 cm x 6 cm (3.54 in x 2.36 in)
If you’re ready to get started, grab your supplies and let’s get started!
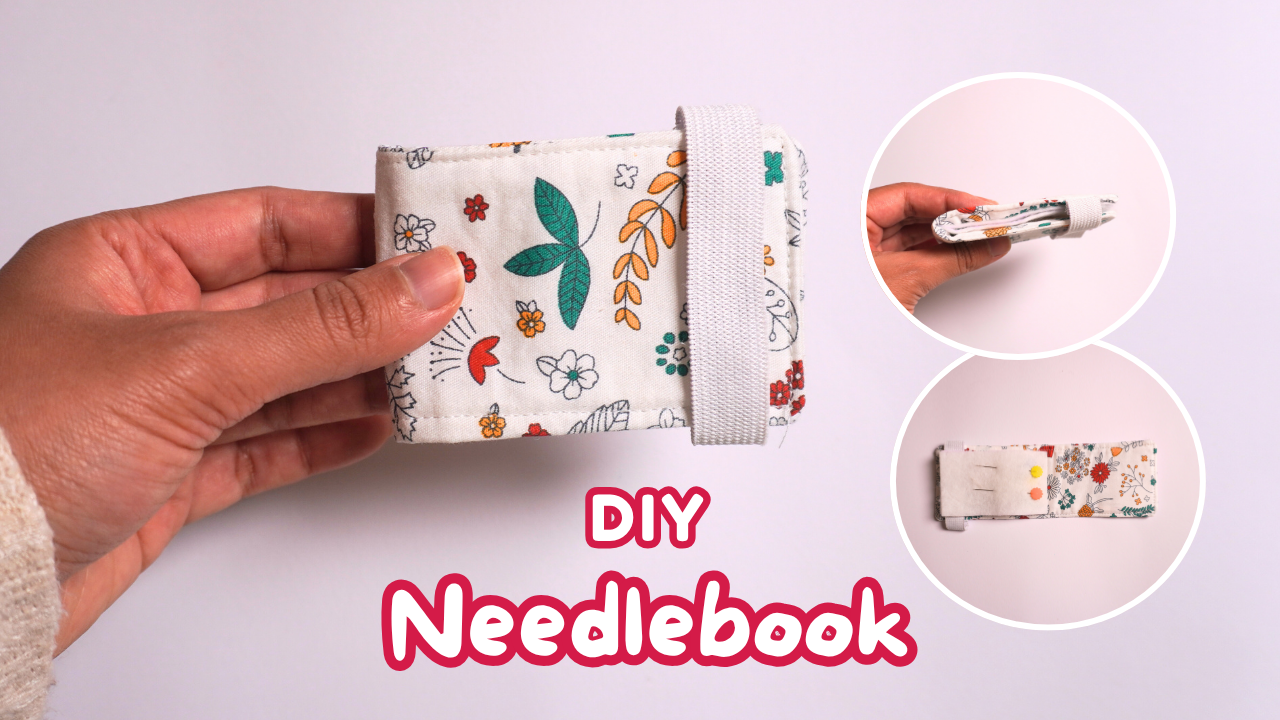
DIY Needlebook Tutorial
Consumables
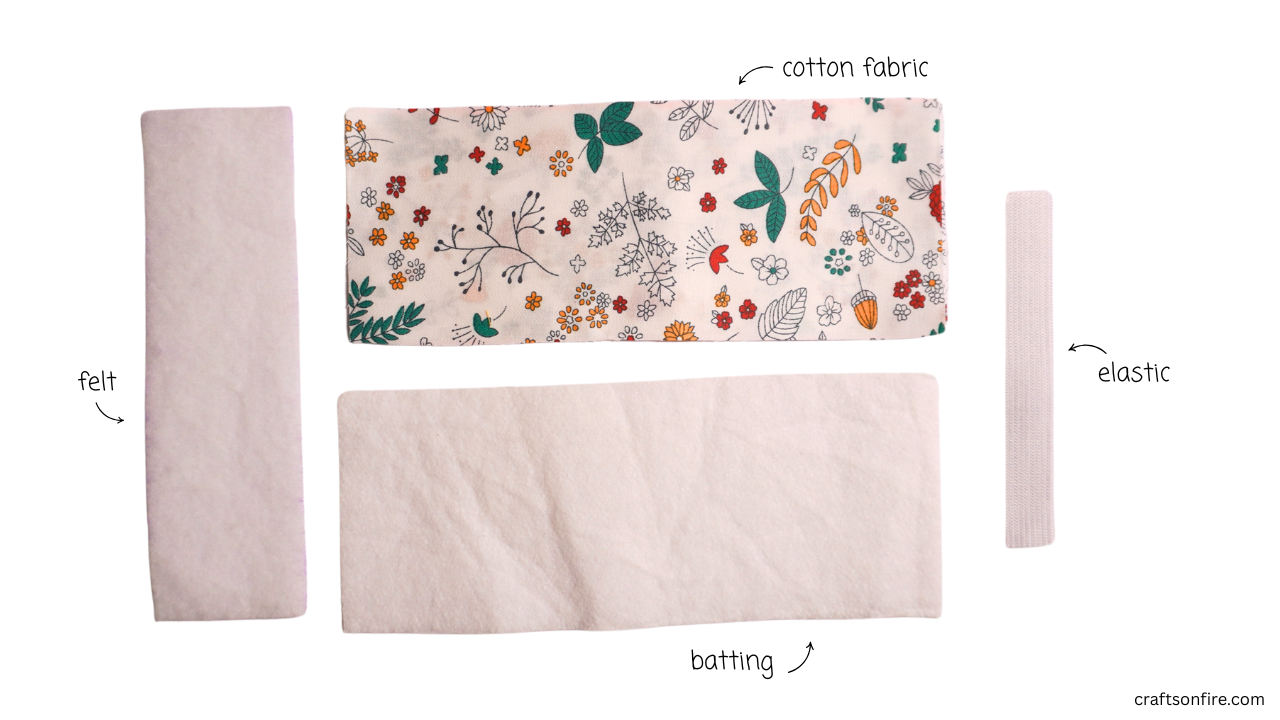
- Patterned Fabric – 20cm x 8cm / 7.87″ x 3.15″ (2 pieces)
- Interface – 20 cm x 8 cm / 7.87″ x 3.15″ (1 piece)
- Felt/Watt – 17cm x 5cm / 6.69″ x 1.97″ (1 – 3 pieces)
- Elastic – 9 cm / 3.54″
- Ruler/Rentka
- Sewing machine
- Pins
Video guide
Instructions
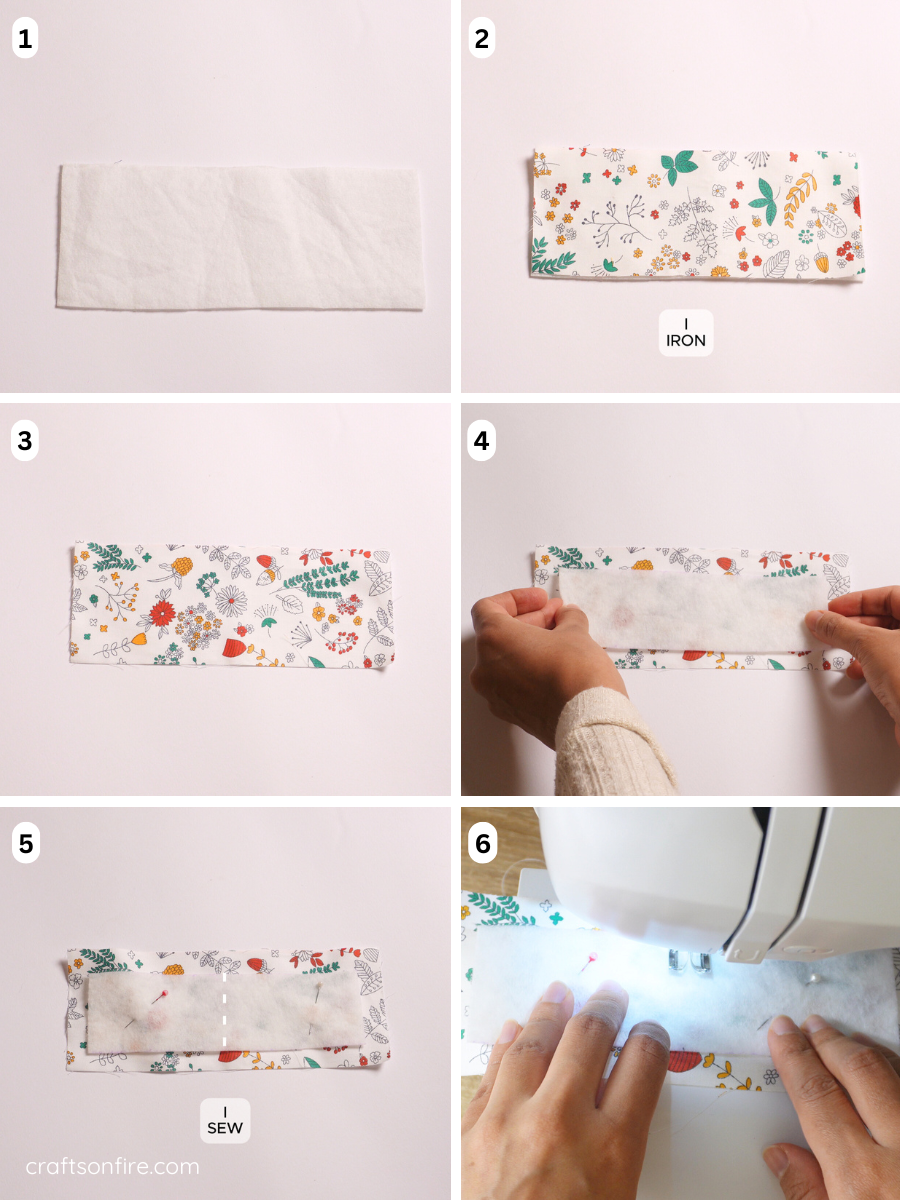
Step 01 – 03. Start by pressing the first patterned piece of fabric onto the interfacing and set it aside for now.
Step 04. Place the piece of felt/wadding on the right side of the second piece of fabric and pin it. You can add 2-3 layers of felt if needed.
Step 05 – 06. Sew the felt or wadding piece along the center as directed. Remember to backstitch at the beginning and end of the seam.
Step 07. This is how it should look so far.
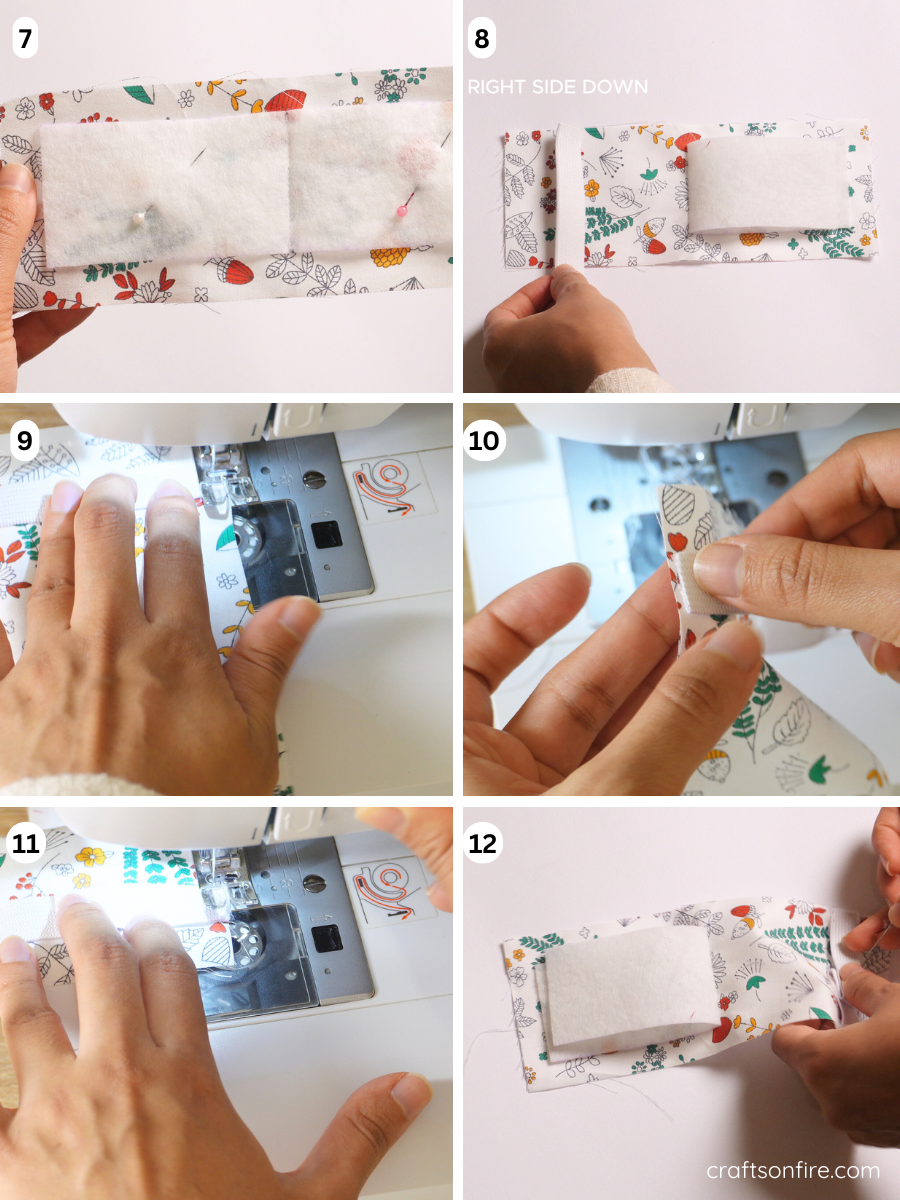
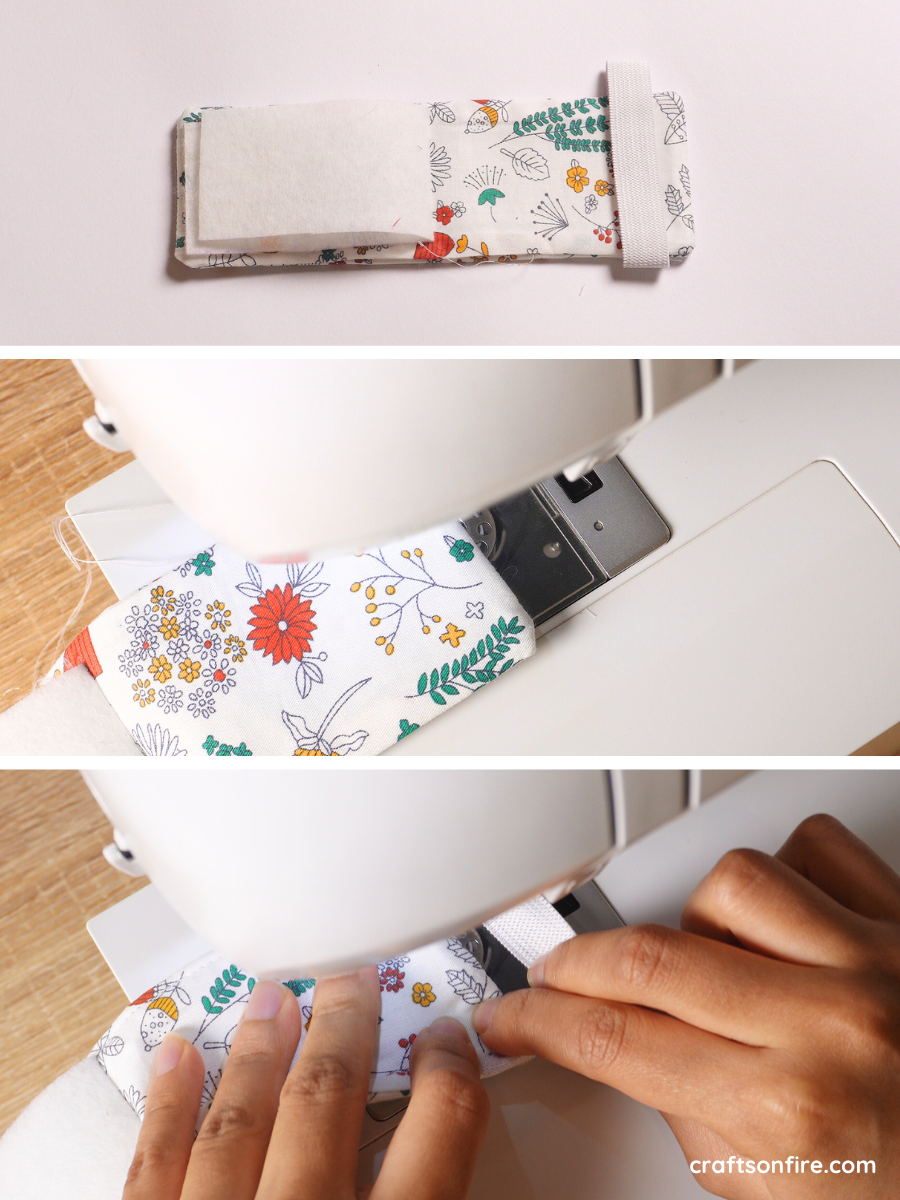
Step 08. Fold over one side of the felt/wadding, then place the elastic on the left side of the fabric, right side in.
Step 09. Sew the elastic onto the fabric. Then attach the other end of the elastic to the fabric.
Step 10 – 11. Sew the other elastic side.
Step 12. Attach the elastic to the fabric if necessary.
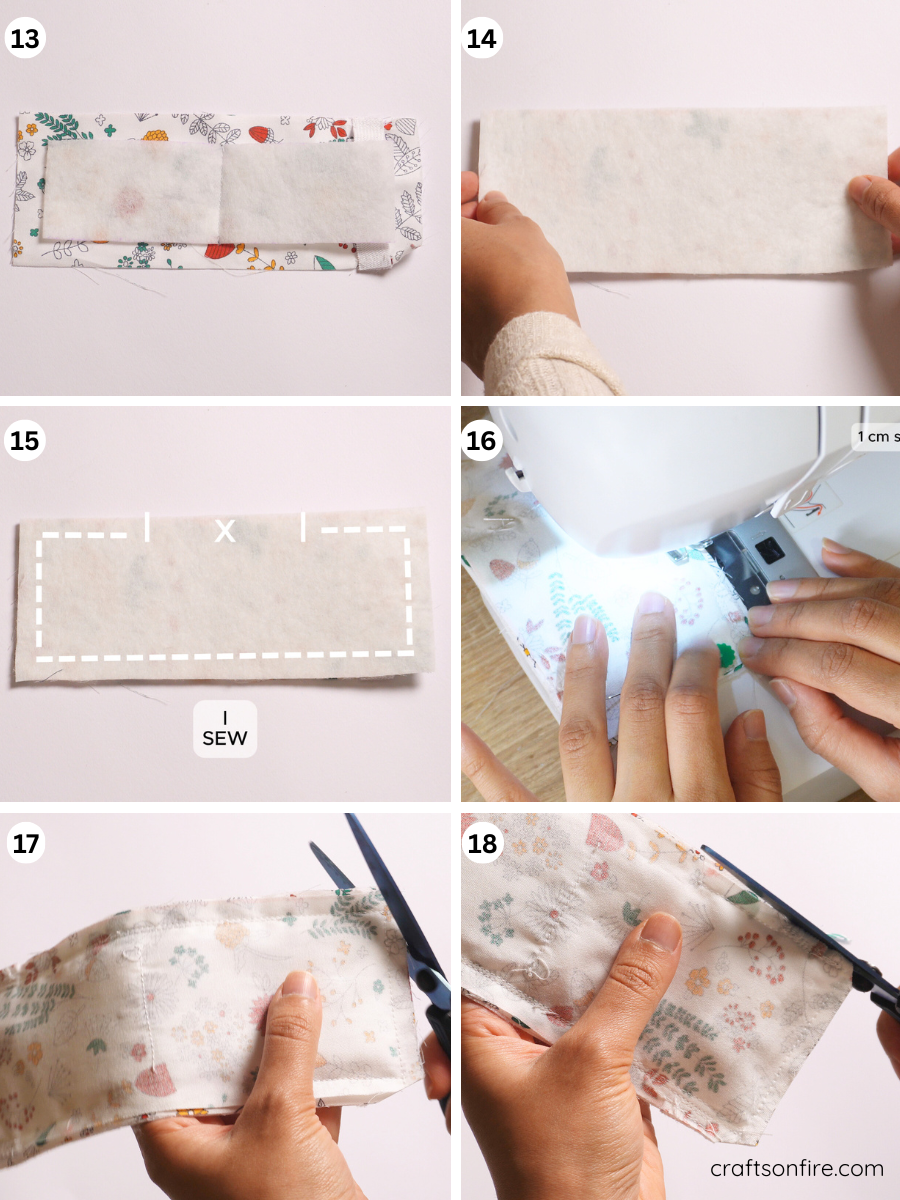
Step 13. Open the folded piece of felt or cotton wool.
Step 14. Place the first patterned piece (with the interfacing attached) face down on top of the previous piece. Make sure right sides are facing in!
Step 15 – 16. Sew around the piece, leaving a small section (7 cm / 2.76 inches) at the top unsewn for turning. Use a 1cm seam allowance.
Step 17. After sewing, cut the corners.
Step 18. Remove excess fabric from the edges to clean up the seams.

Step 19. Find the opening and peel back the layers.
Step 20 – 21. Pull the right side of the fabric through the opening.
Step 22. Carefully open each corner. Then smooth the wrinkled fabric with your hands, fold the raw edges of the opening inward, and secure with a pin or sewing clip.
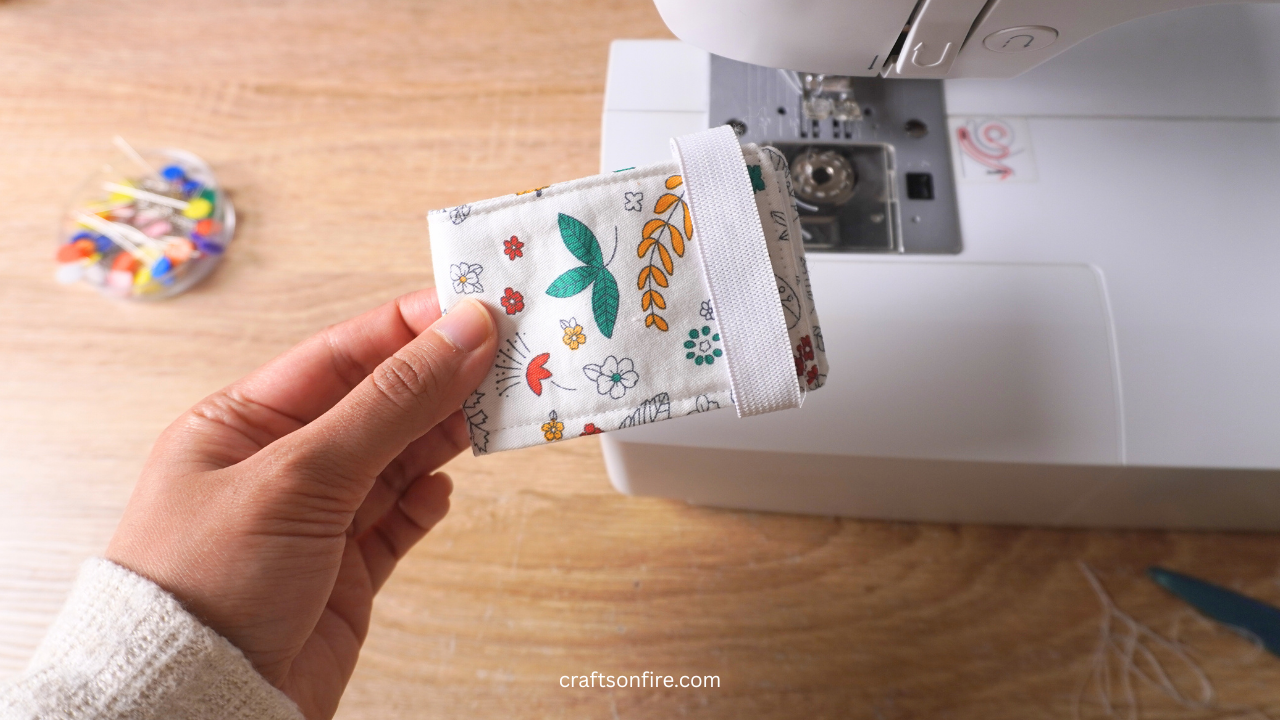
Go ahead and give the piece a quick press with the iron. To complete the needlework, finish with a topstitch on the patterned fabric. When you get to the elastic part, just pull the elastic as you sew.
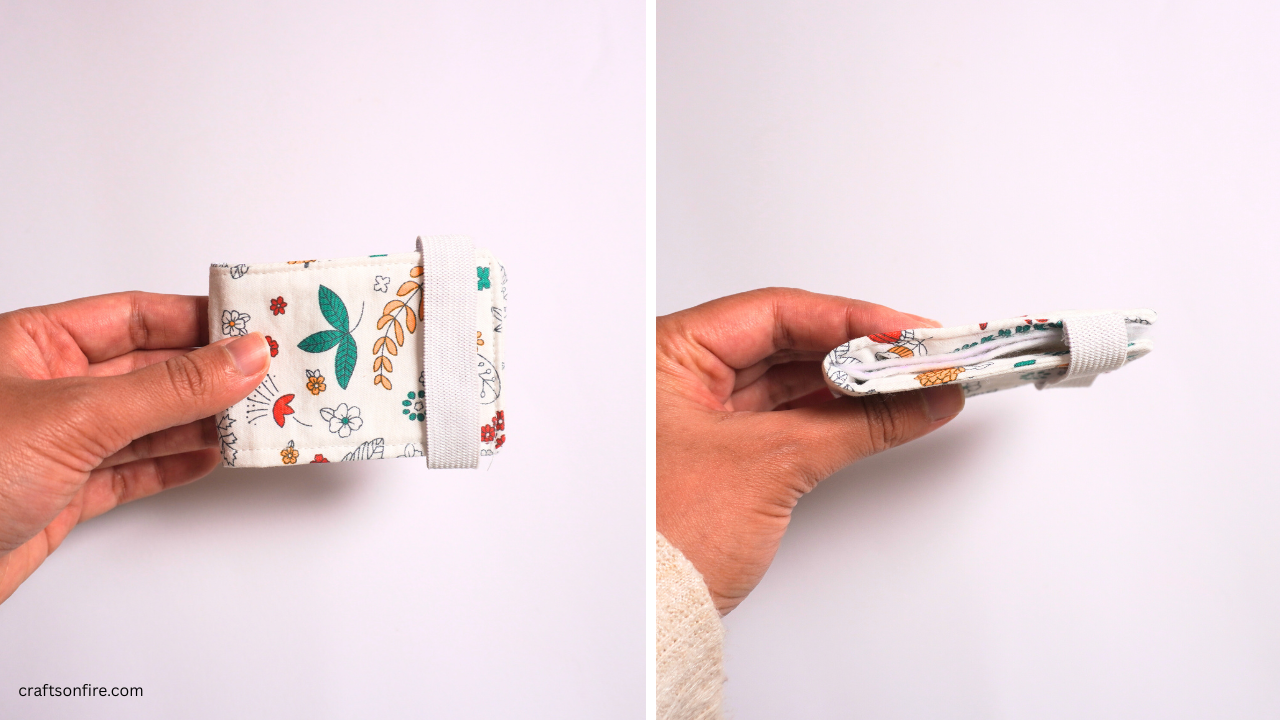
Ready result
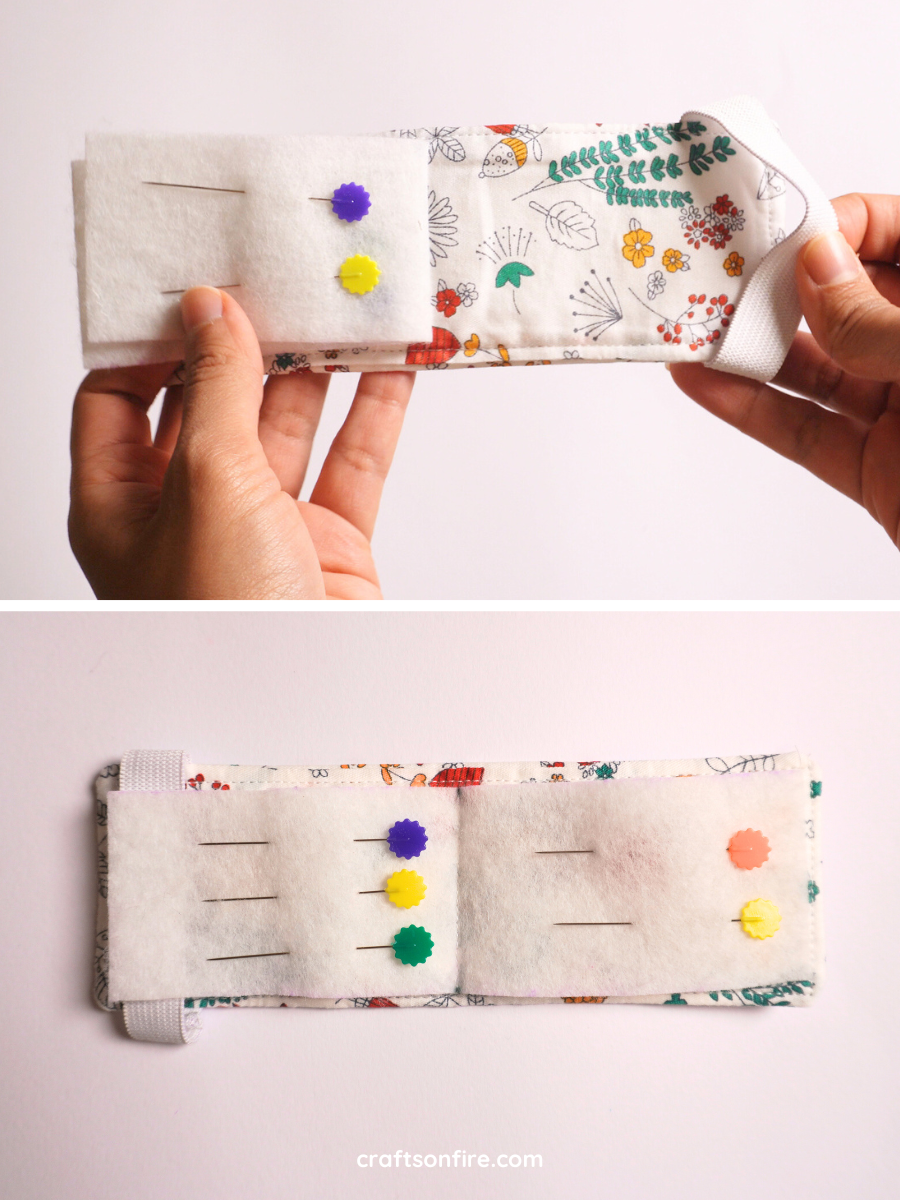
How cute is this needlepoint notebook?! This has easily become my favorite project and I can’t wait to make more of these in cuter fabrics.
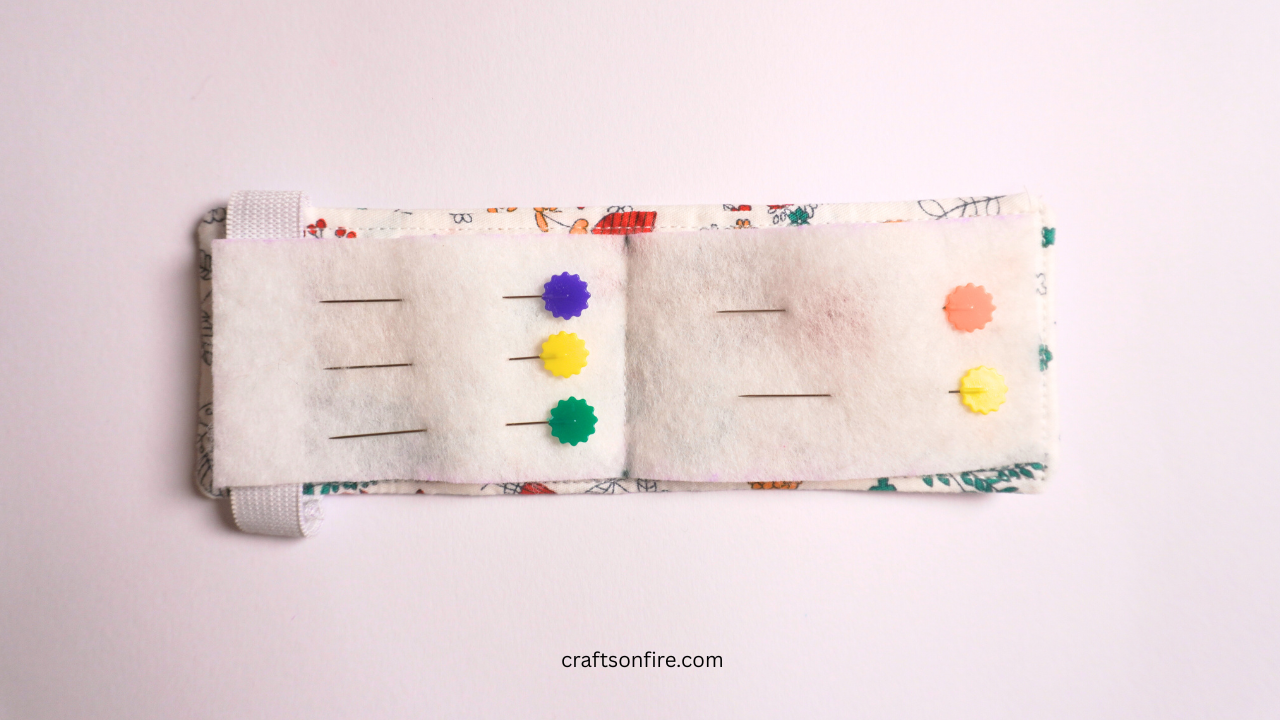
You can also make this notebook any size and it only takes a few minutes to sew.
If you need more layers (or pages) for the notebook, just add more felt/wadding before sewing. It’s that easy!
I hope you creative souls enjoyed following my needlepoint book tutorial. If you have any questions or tips you’d like to offer, leave them in the comments below.
But before you go, here are some more sewing tutorials to try next: