

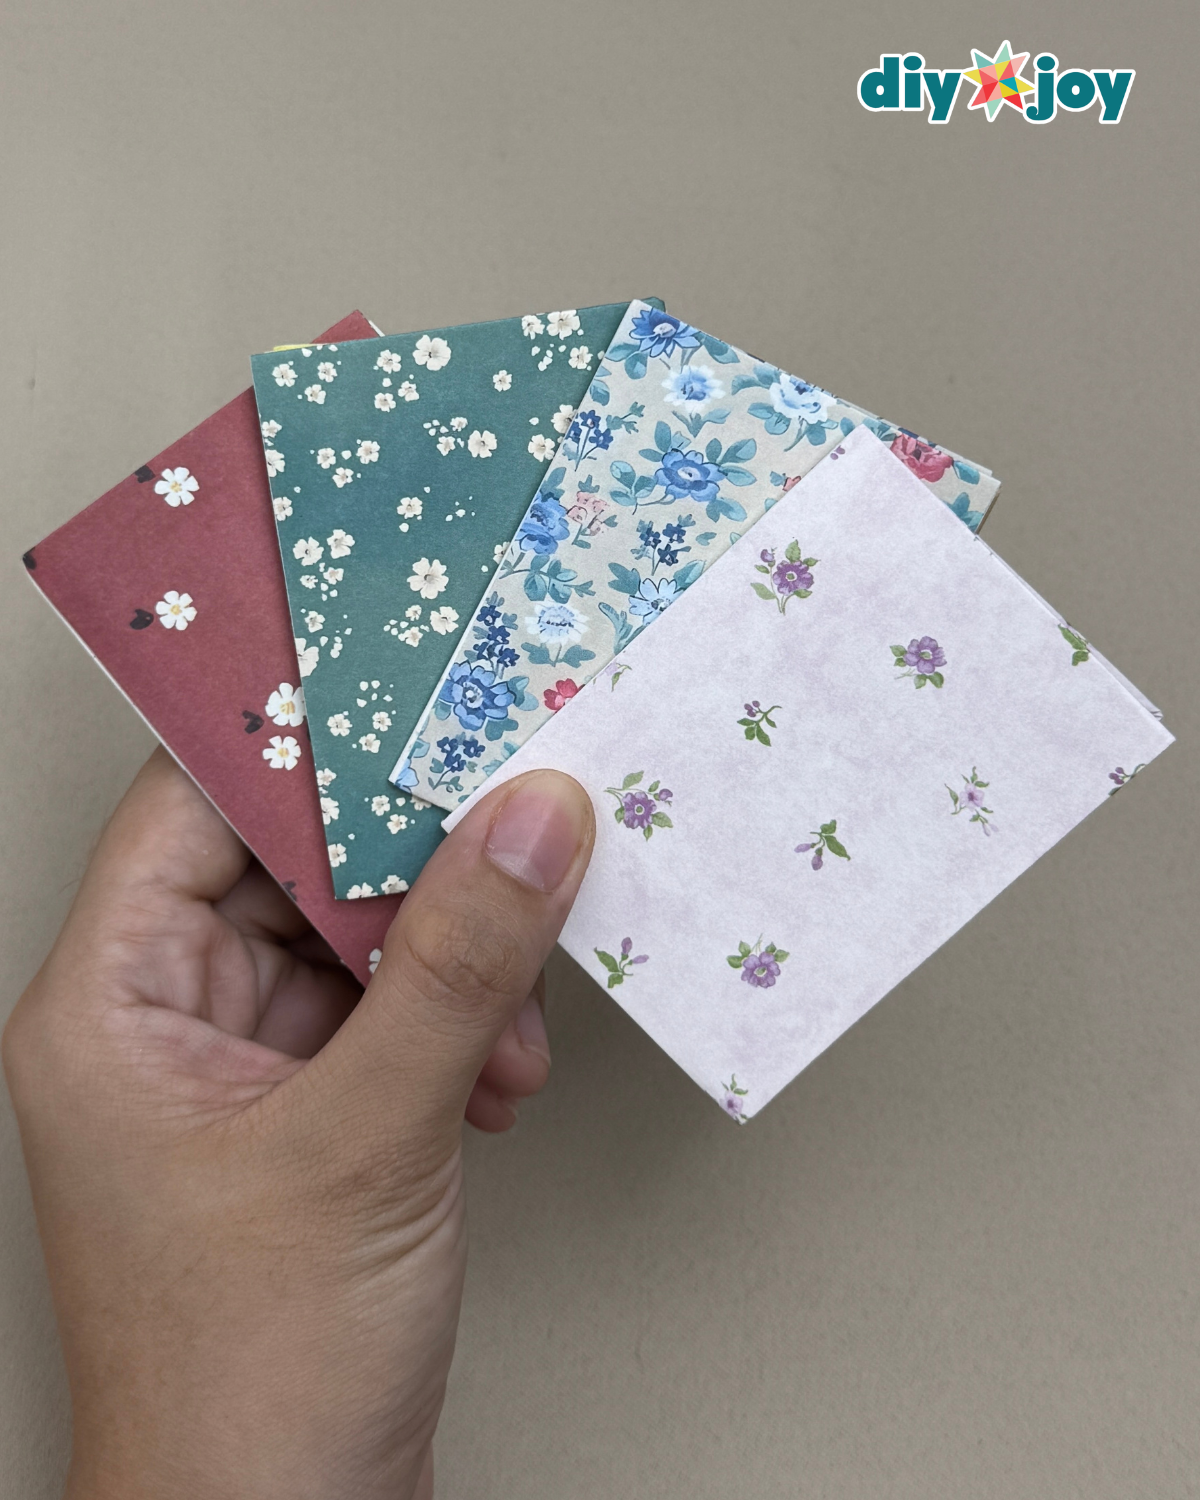
If you love crafting, you probably know the struggle of having lots of leftover supplies sitting around “just in case” you need them someday. I’m especially guilty when it comes to paper crafts – I always end up with scrapbook paper, patterned paper, cardstock scraps and random colorful sheets that are too pretty to throw away. While some end up being recycled, there’s always plenty left over for a fun little spontaneous DIY project like this one.
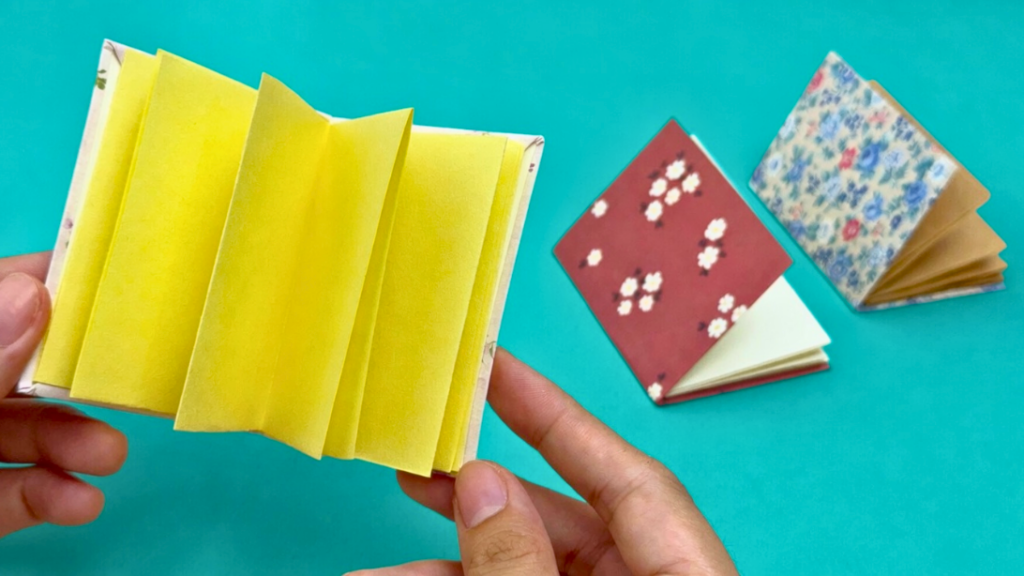
For today’s craft idea, I decided to turn my leftover paper into the cutest mini notebook ever. And when I say mini, I mean small enough to fit in your pocket, bag or even your pencil case. It’s one of those easy DIY paper crafts that looks adorable but is also surprisingly functional because you can still use it like a regular notebook for quick notes, reminders, doodles or little journal entries.
Related: DIY Glitter Foam Flower Pen
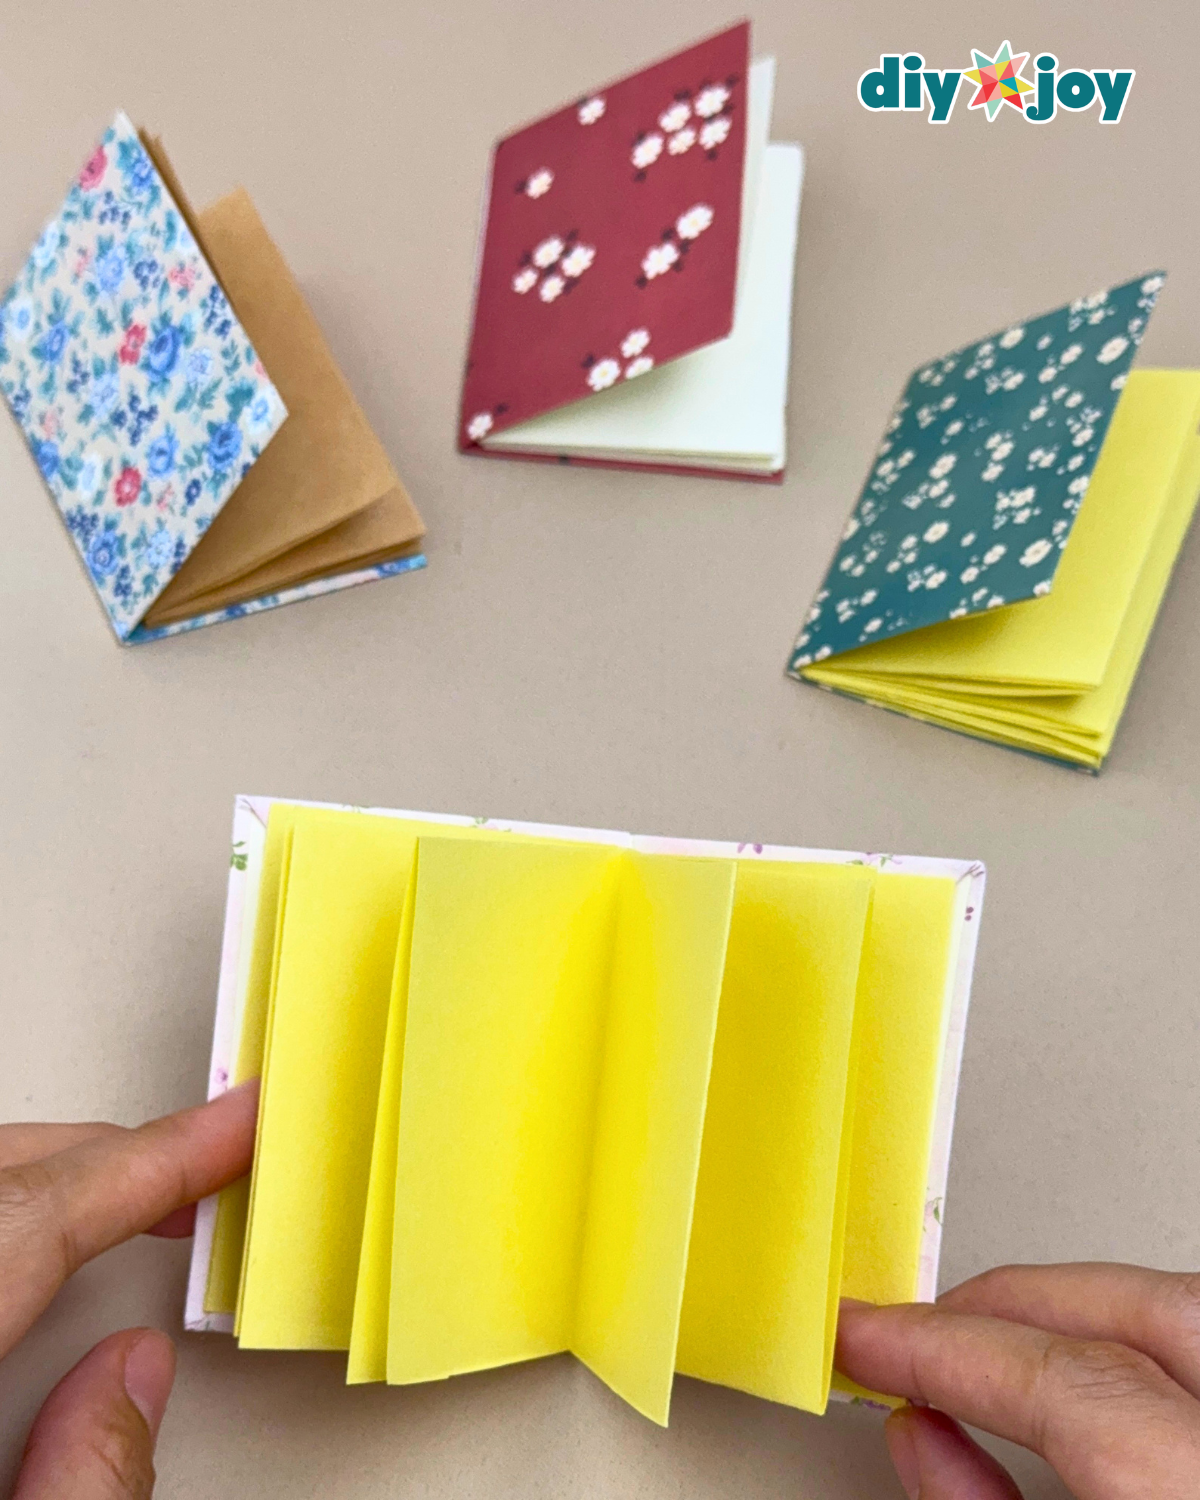
What makes this DIY mini notebook project even more fun is how customizable it is. You can mix and match different paper colors, patterns, textures and designs to create a complete collection that all look completely different from each other. Whether you want something colorful, aesthetic, minimalist, cute, or scrapbook-inspired, this project lets you get creative without needing expensive materials or complicated steps.
It’s also a perfect beginner-friendly craft because it’s quick, relaxing, and easy to make with supplies you already have at home. Before you know it, you’ll end up making multiple little notebooks because they’re honestly so fun and satisfying to make. They also make beautiful handmade gifts, mini journal ideas or creative additions to your desk setup and craft collection.
If you’re looking for an easy paper craft idea that’s inexpensive, creative, and actually useful, this DIY mini notebook project is definitely one to try.
How to make a mini notebook
-
Step 1: Fold and cut the paper
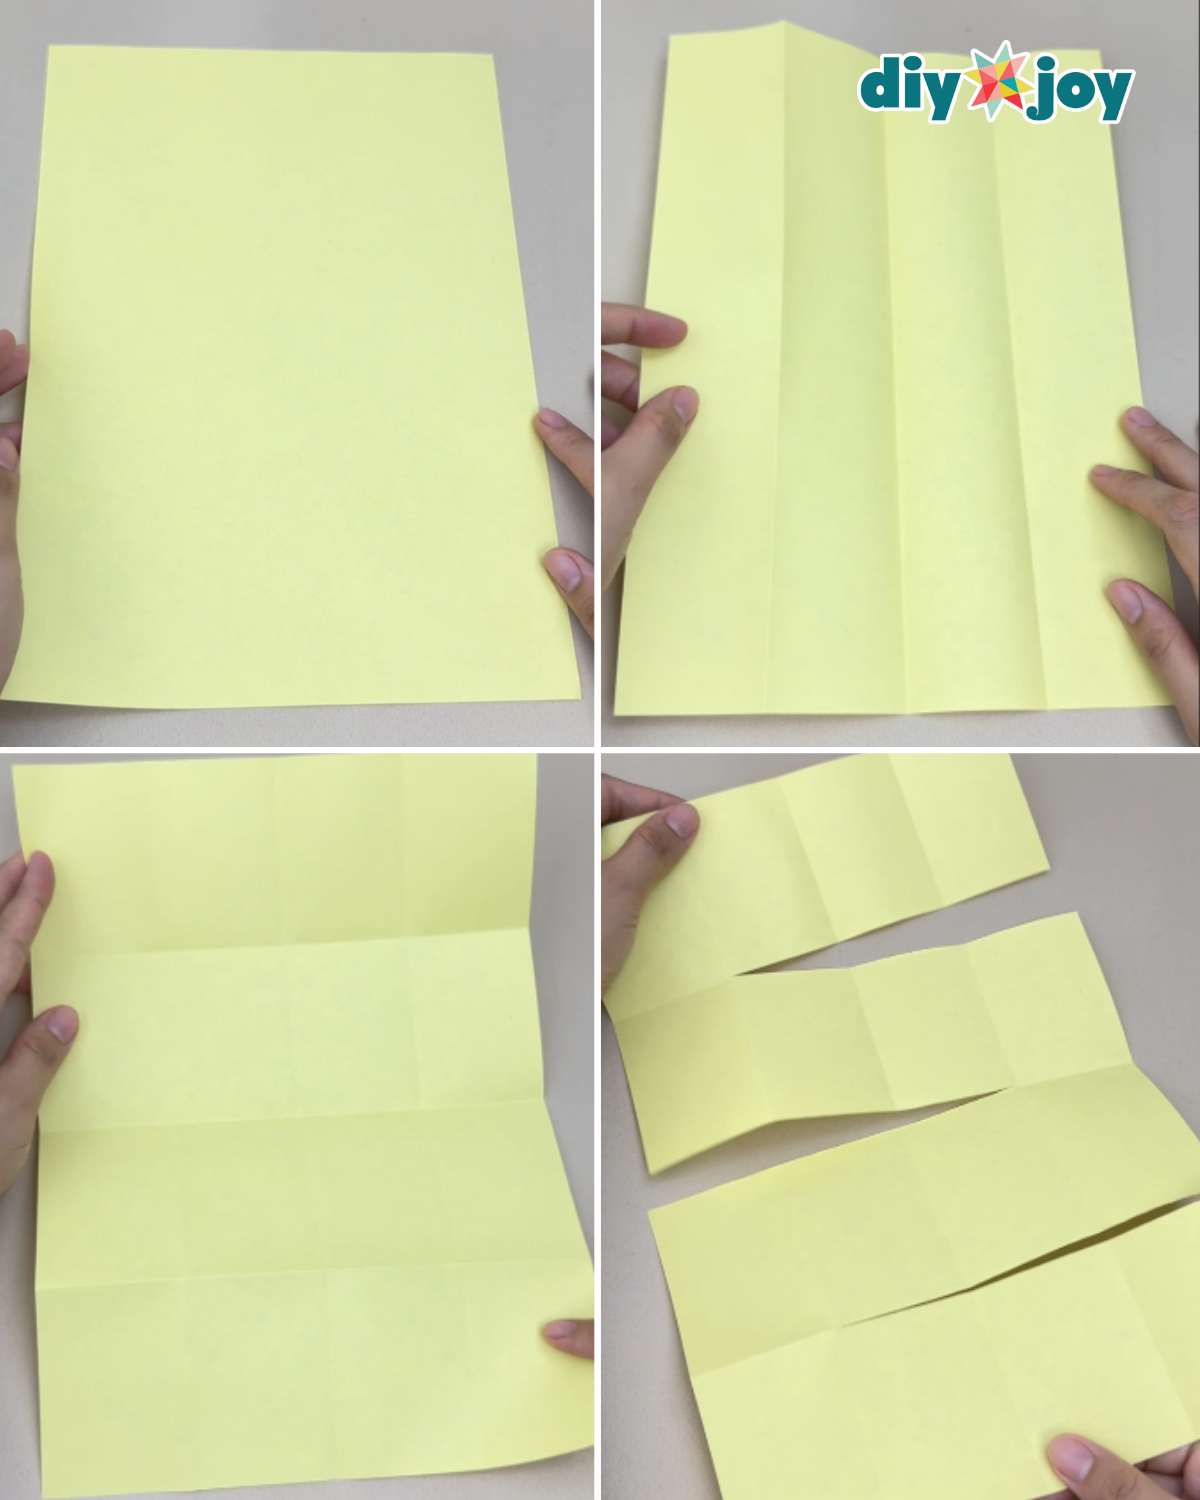
Fold the paper in half lengthwise, then fold it in half again. Unfold the paper, then fold it in half crosswise and fold it in half one more time, pressing each time to create a tight crisp.Using the crease line as a guide, cut from right to left along the first crease, then from left to right along the middle crease, and finally from right to left along the last crease. Be careful not to cut all the way through the end panel, as it needs to stay attached.
-
Step 2: Fold the paper into an accordion
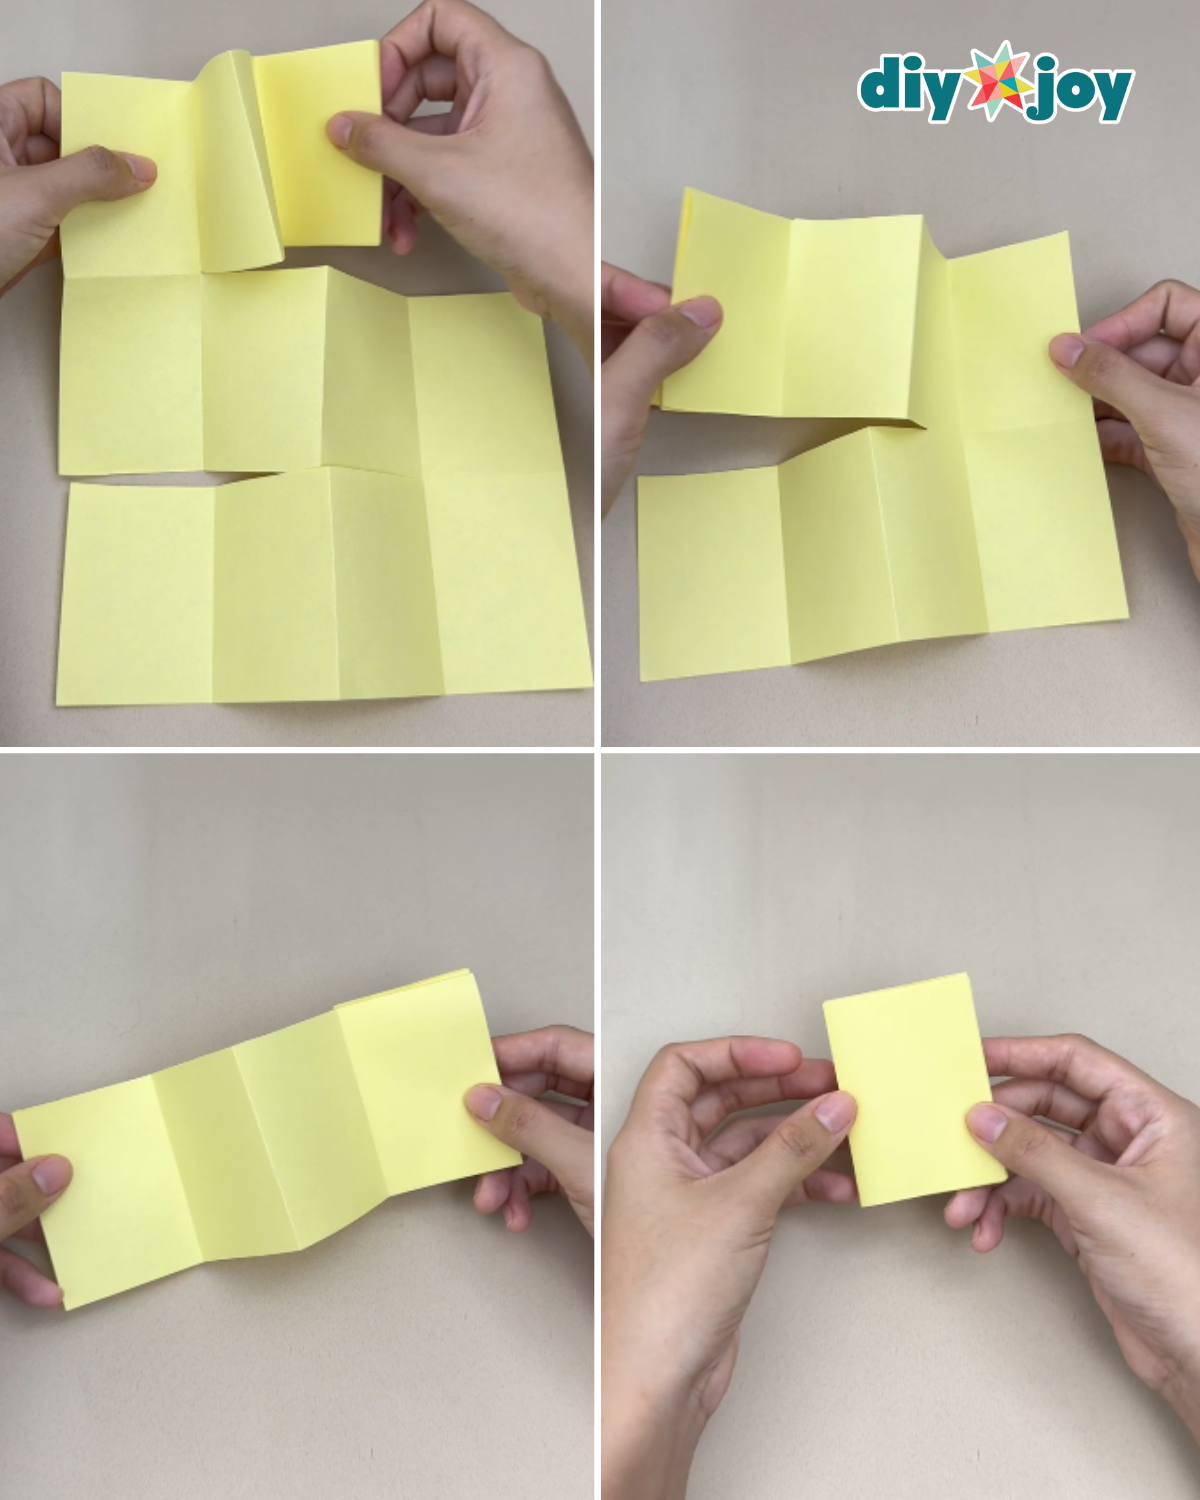
Fold the first panel forward, then fold the next panel backwards. Continue folding the paper in an accordion pattern until you reach the last panel of the row. Once you reach the end, fold the next panel back and continue the accordion-folding pattern. Repeat this process till the end of the paper. -
Step 3: Make the notebook cover
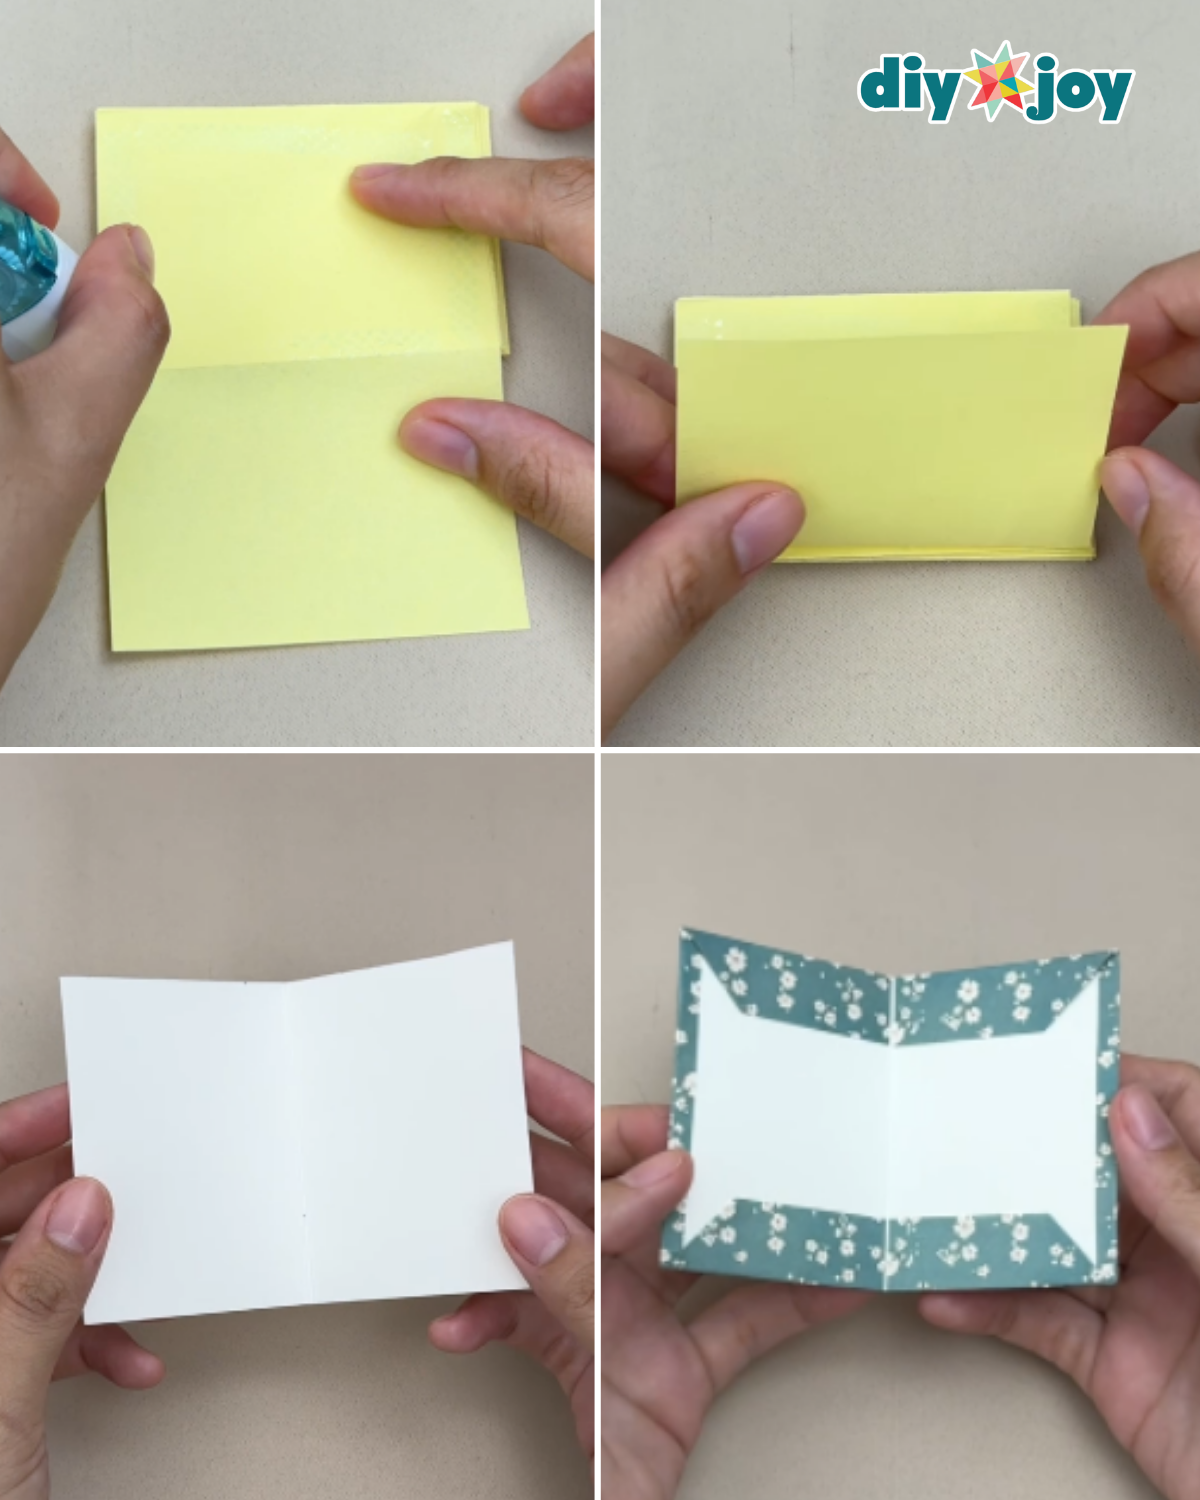
Attach the last panel to its side panel to secure the accordion pages. Do this step on both ends of the notebook. Measure the length and width of the finished notebook, then cut a piece of cardstock to those dimensions. Cover the cardstock with your chosen printed paper to create a neat notebook cover. -
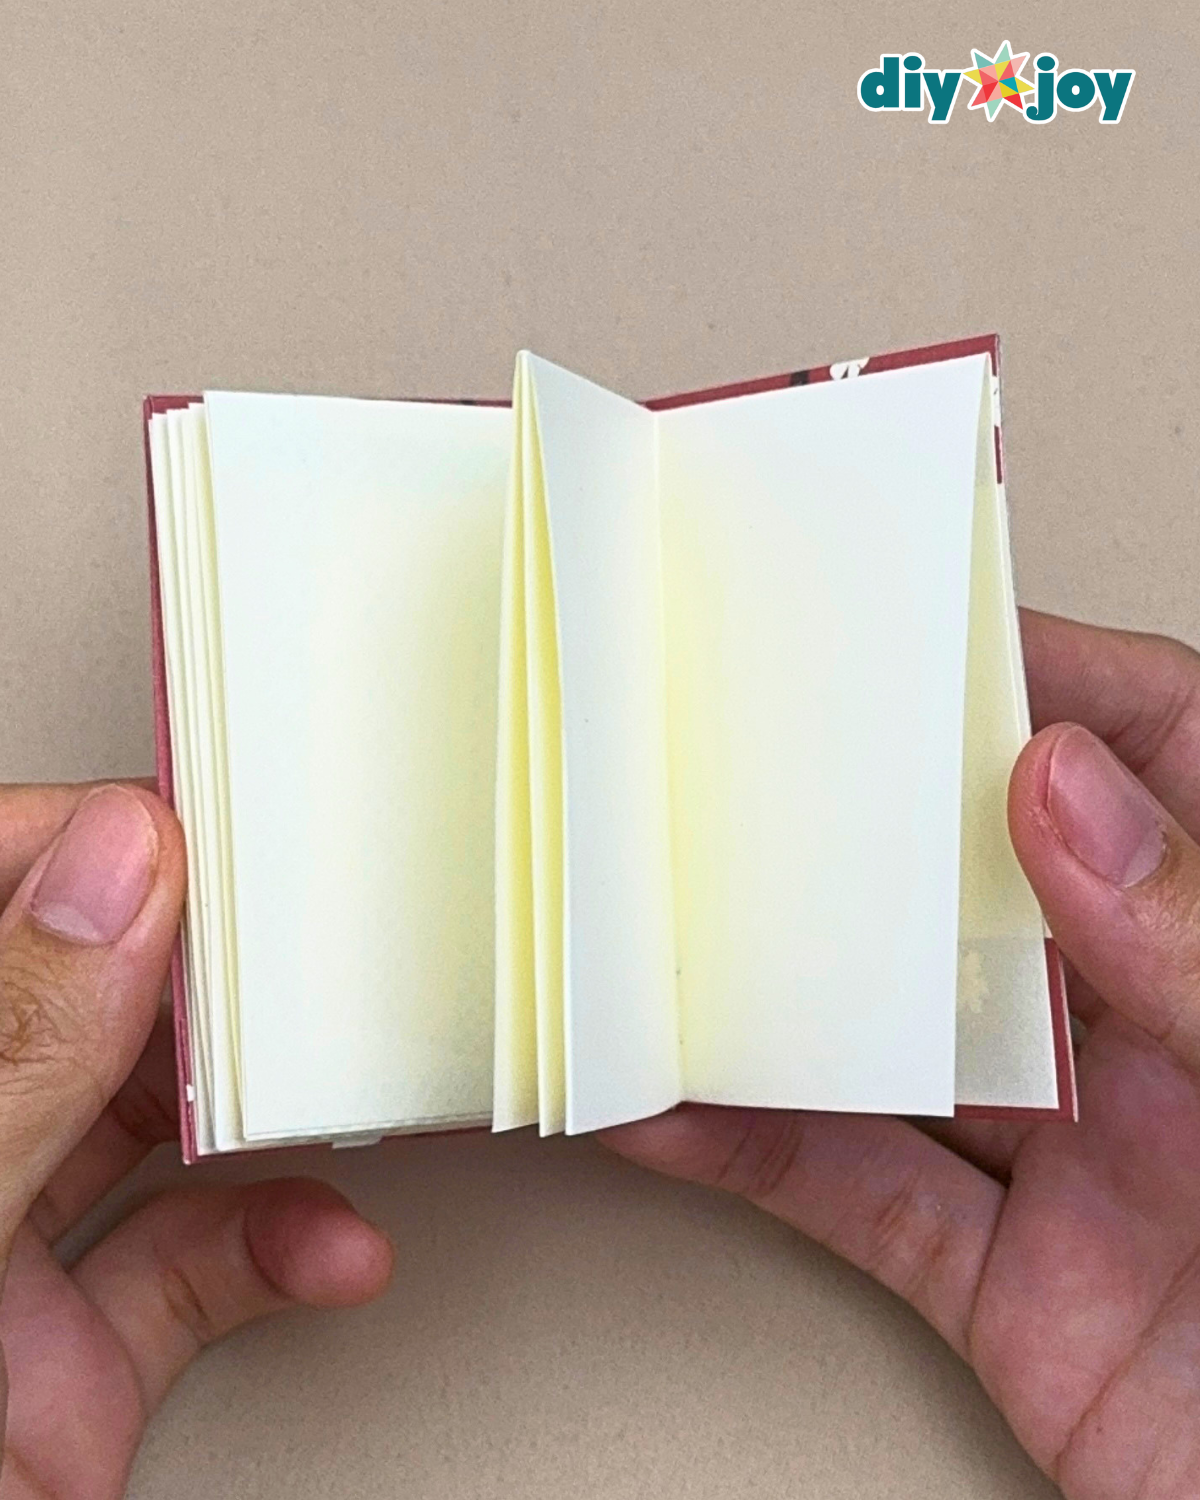
Step 4: Attach the notebook to the cover
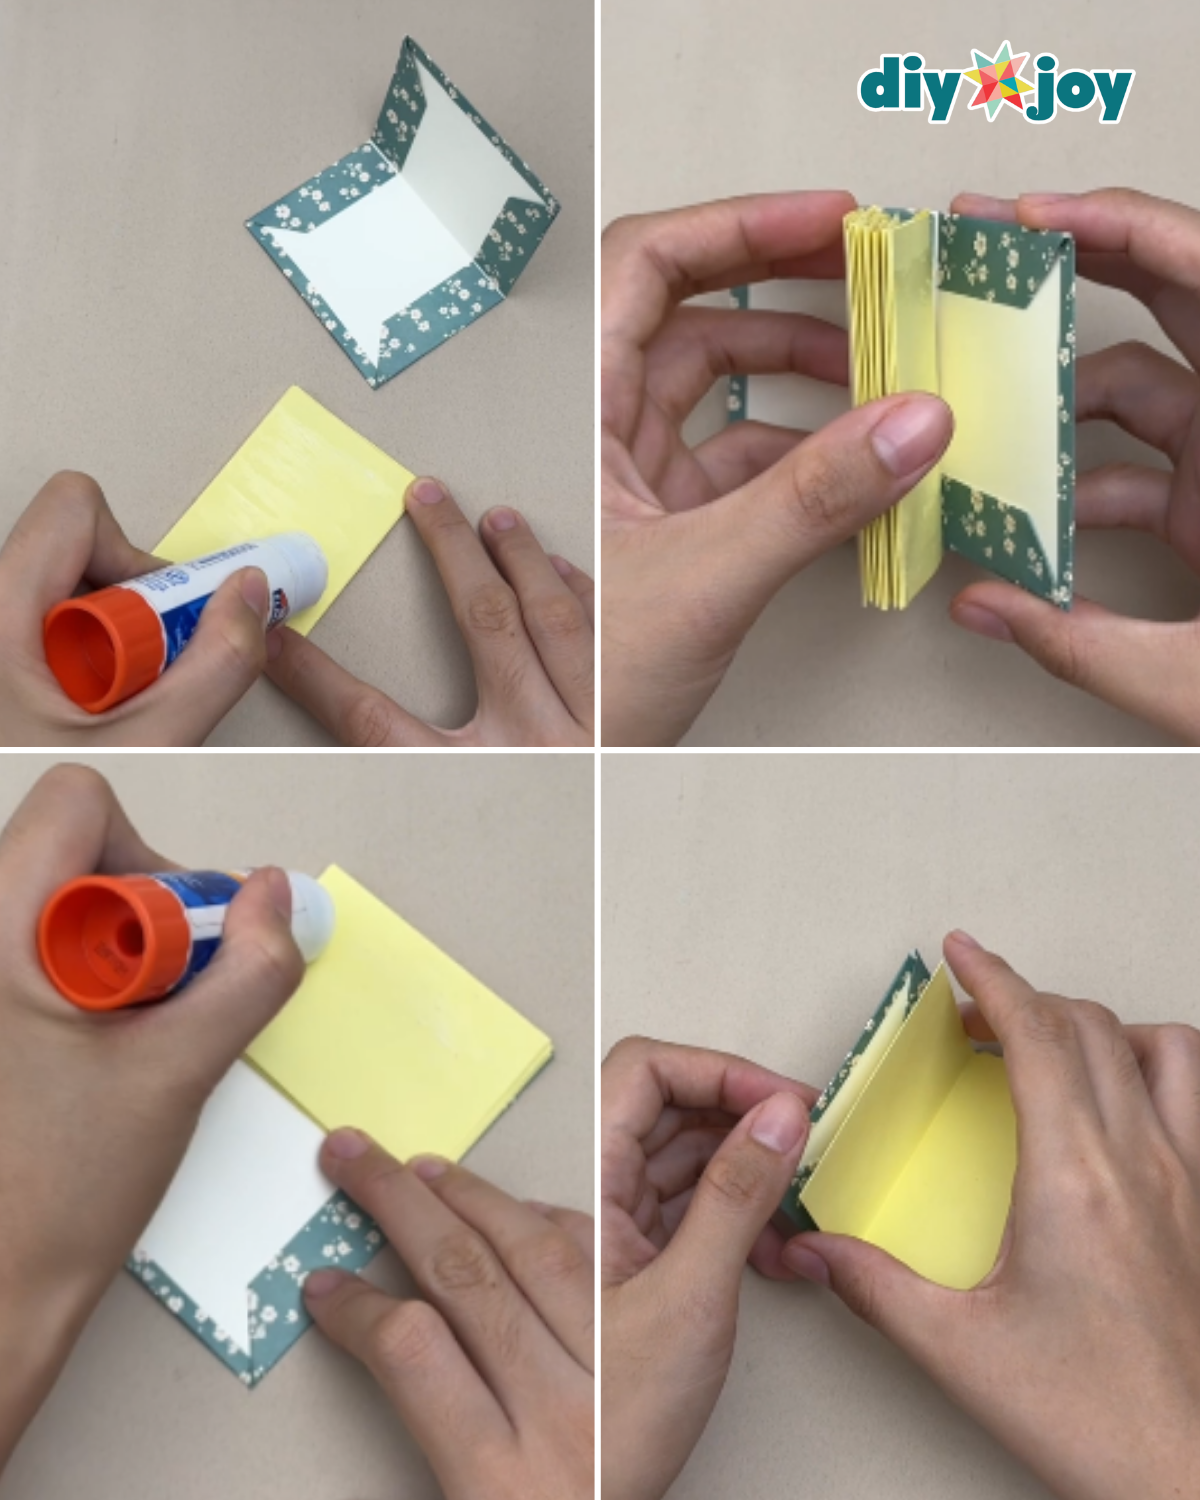
Apply glue to each last page of the notebook, then carefully attach them to the inside of the cover. Press firmly to secure everything in place and make sure it is properly aligned.
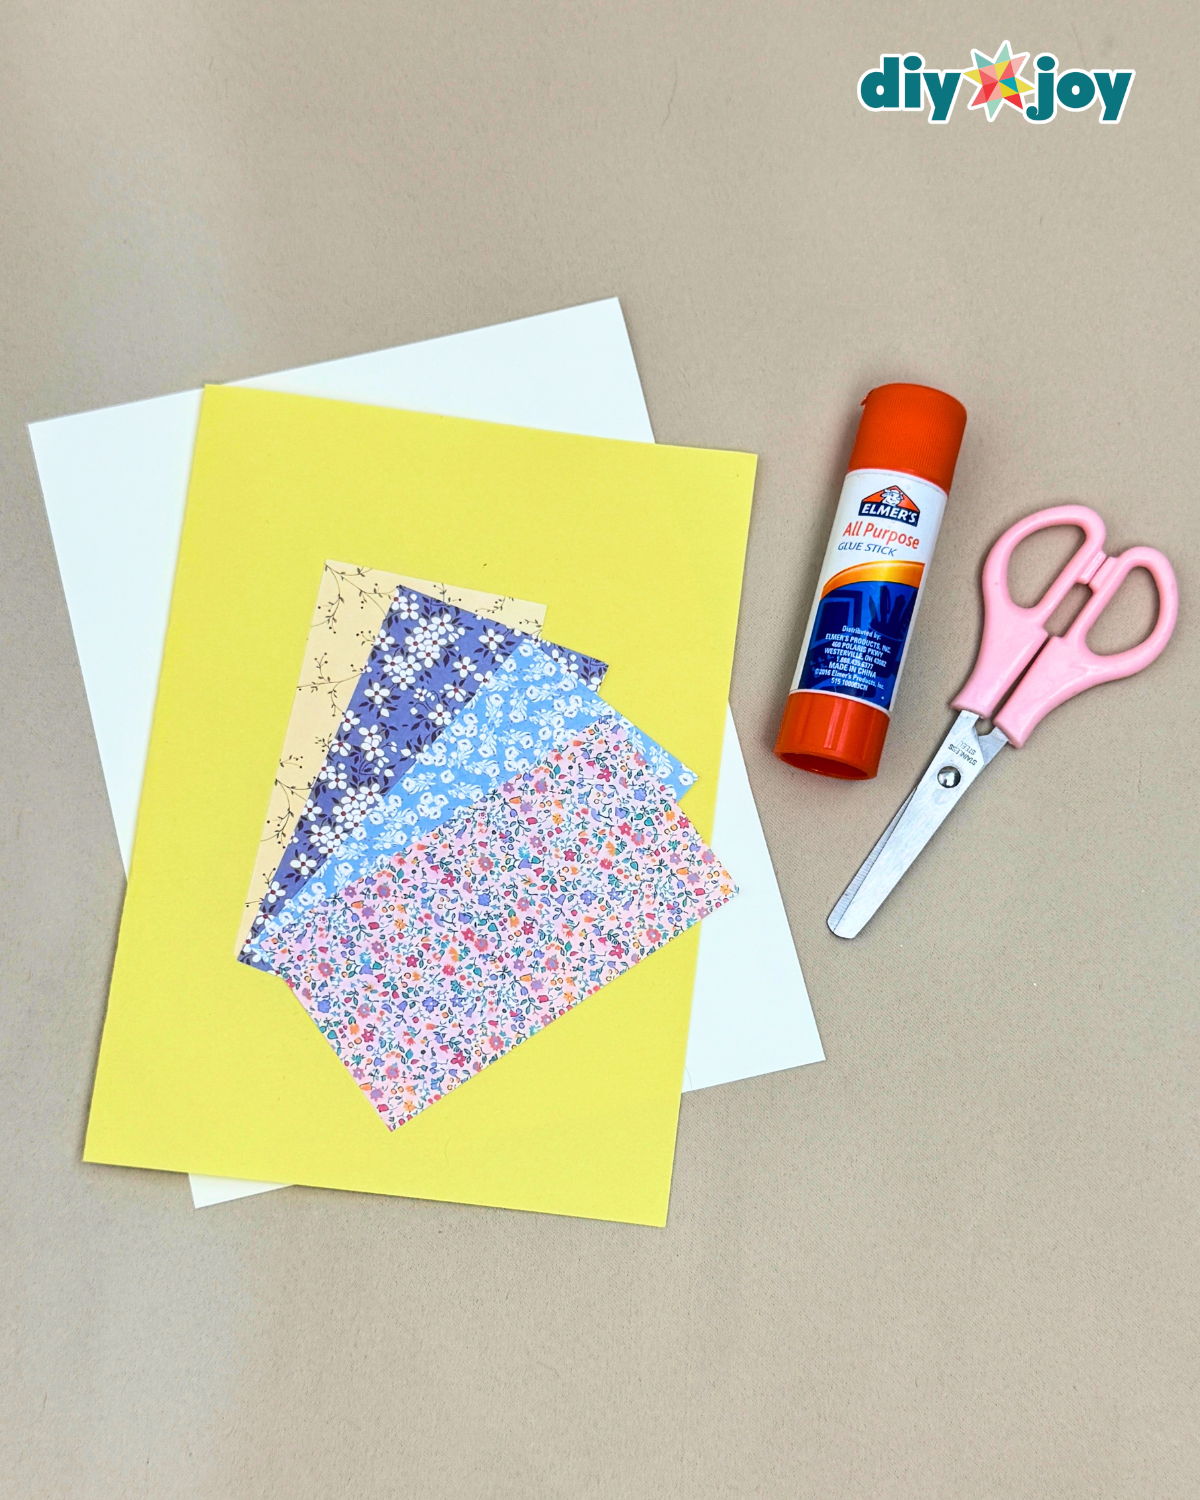
material
- Colored paper
- cardstock
- Printed paper
- Scissors
- ruler
- pencil
- Glue or tape
![]()
Why you’ll love this:
You’ll love this DIY mini notebook because it turns scraps of leftover paper into something beautiful, useful, and surprisingly satisfying. It’s fast, beginner-friendly, and lets you play with different colors and designs while creating a little notebook that you can actually use for notes, doodles, or reminders.

DIY projects to try next:
*If you like this craft, then visit our official website, follow us Facebook pageAnd subscribe to us YouTube channel For more!


