

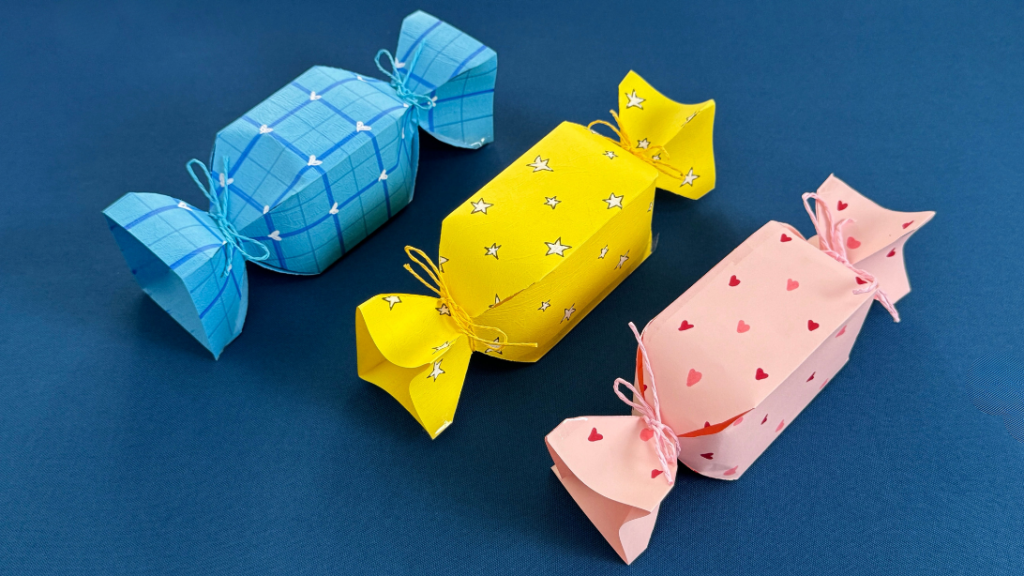
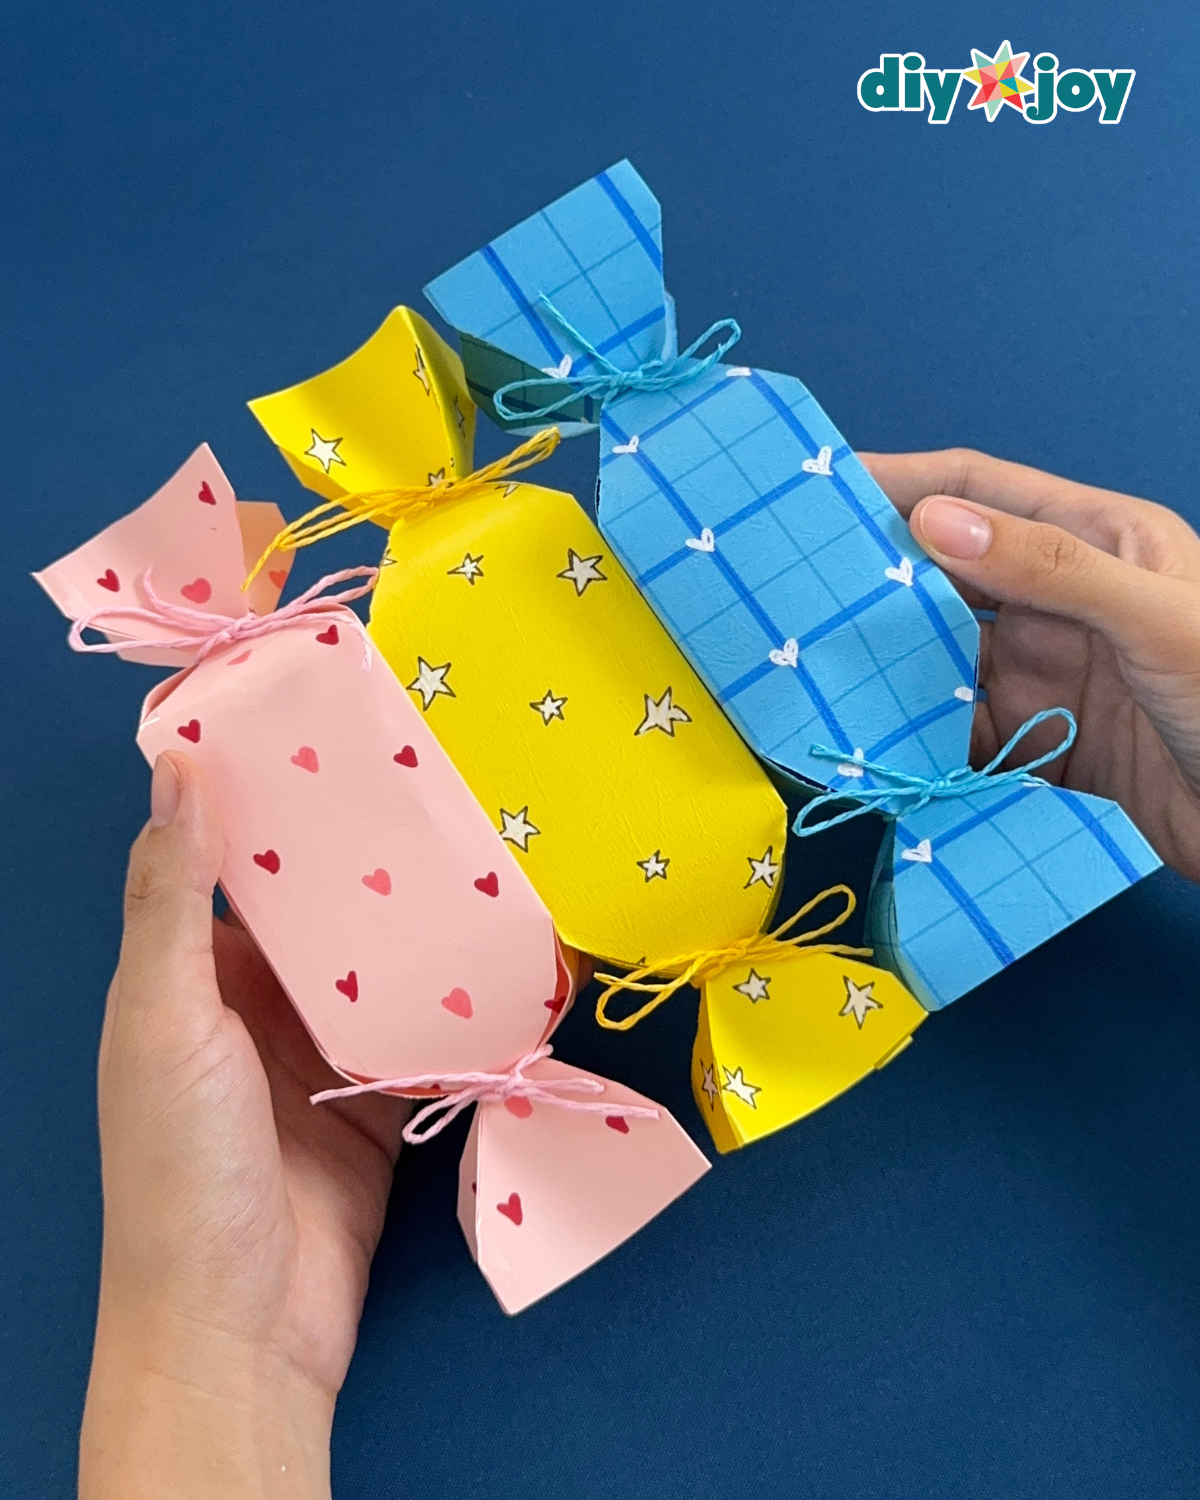
Have you ever needed a cute way to package a small gift but don’t have a gift box, treat bag or gift holder? That’s where this DIY paper candy package comes in. Shaped like wrapped candy, this fun paper craft is a fun and creative way to package small gifts, candy, jewelry, party favors, and other small surprises without spending extra money on store-bought packaging.
One of the best things about this DIY paper gift holder is how versatile it is. You can make them using almost any type of paper, whether it’s scrapbook paper, patterned paper, construction paper, wrapping paper, or plain paper. If you’re using a blank sheet, you can easily customize it by drawing with your own designs, doodles, patterns, or Sharpies to make it completely unique and personal.
Related: Easy DIY Flower Pot Candy Jar
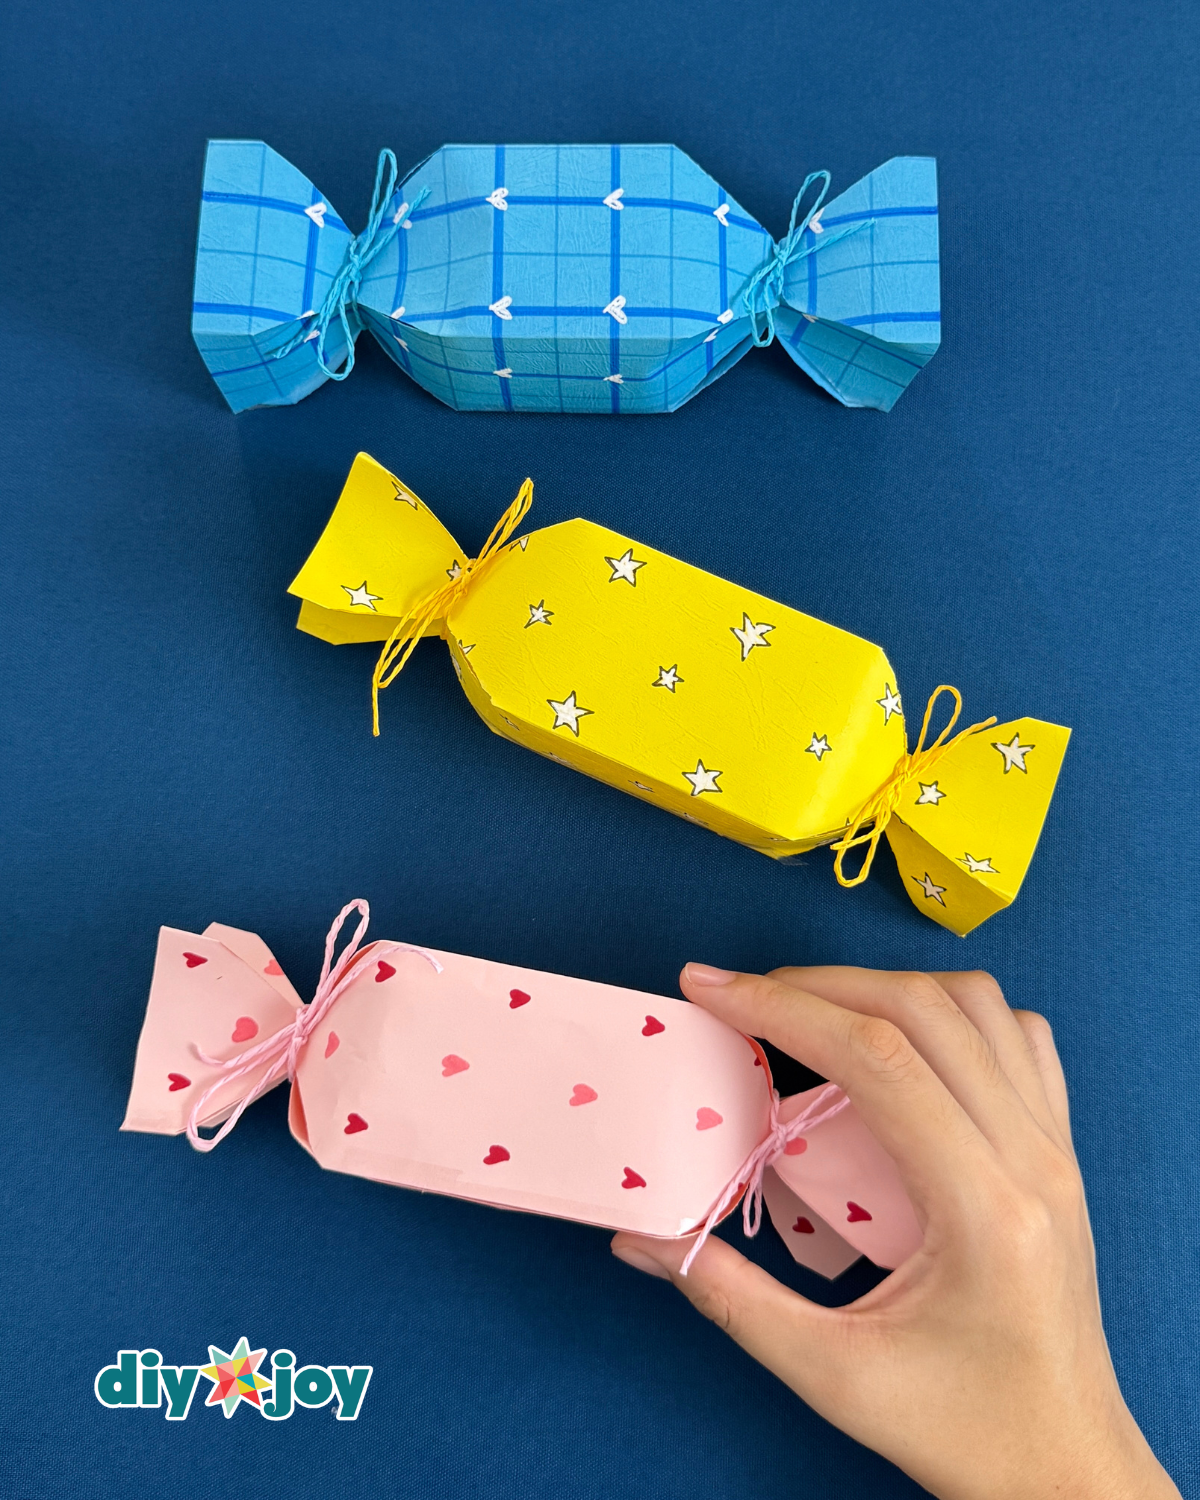
These paper candy packages are not only cute, but also super easy and quick to make. It requires no complicated folds or special tools, making it a perfect beginner-friendly paper craft for kids and adults alike. In just a few minutes, you can create a handmade gift package that’s thoughtful, creative, and feels more special than a plain store-bought bag.
This is one of those craft projects that comes in handy when you need a last minute gift idea. Instead of making a trip to the store, you can make a beautiful handmade gift holder using materials you already have at home. It’s affordable, practical, customizable and a great way to add a personal touch to any small gift.
Whether you’re packaging treats, jewelry, cash gifts, party favors, or small items, this DIY paper candy package is an easy craft that makes gift giving even more fun and special.
Paper Candy Package Step by Step
-
Step 1: Paper Base Male
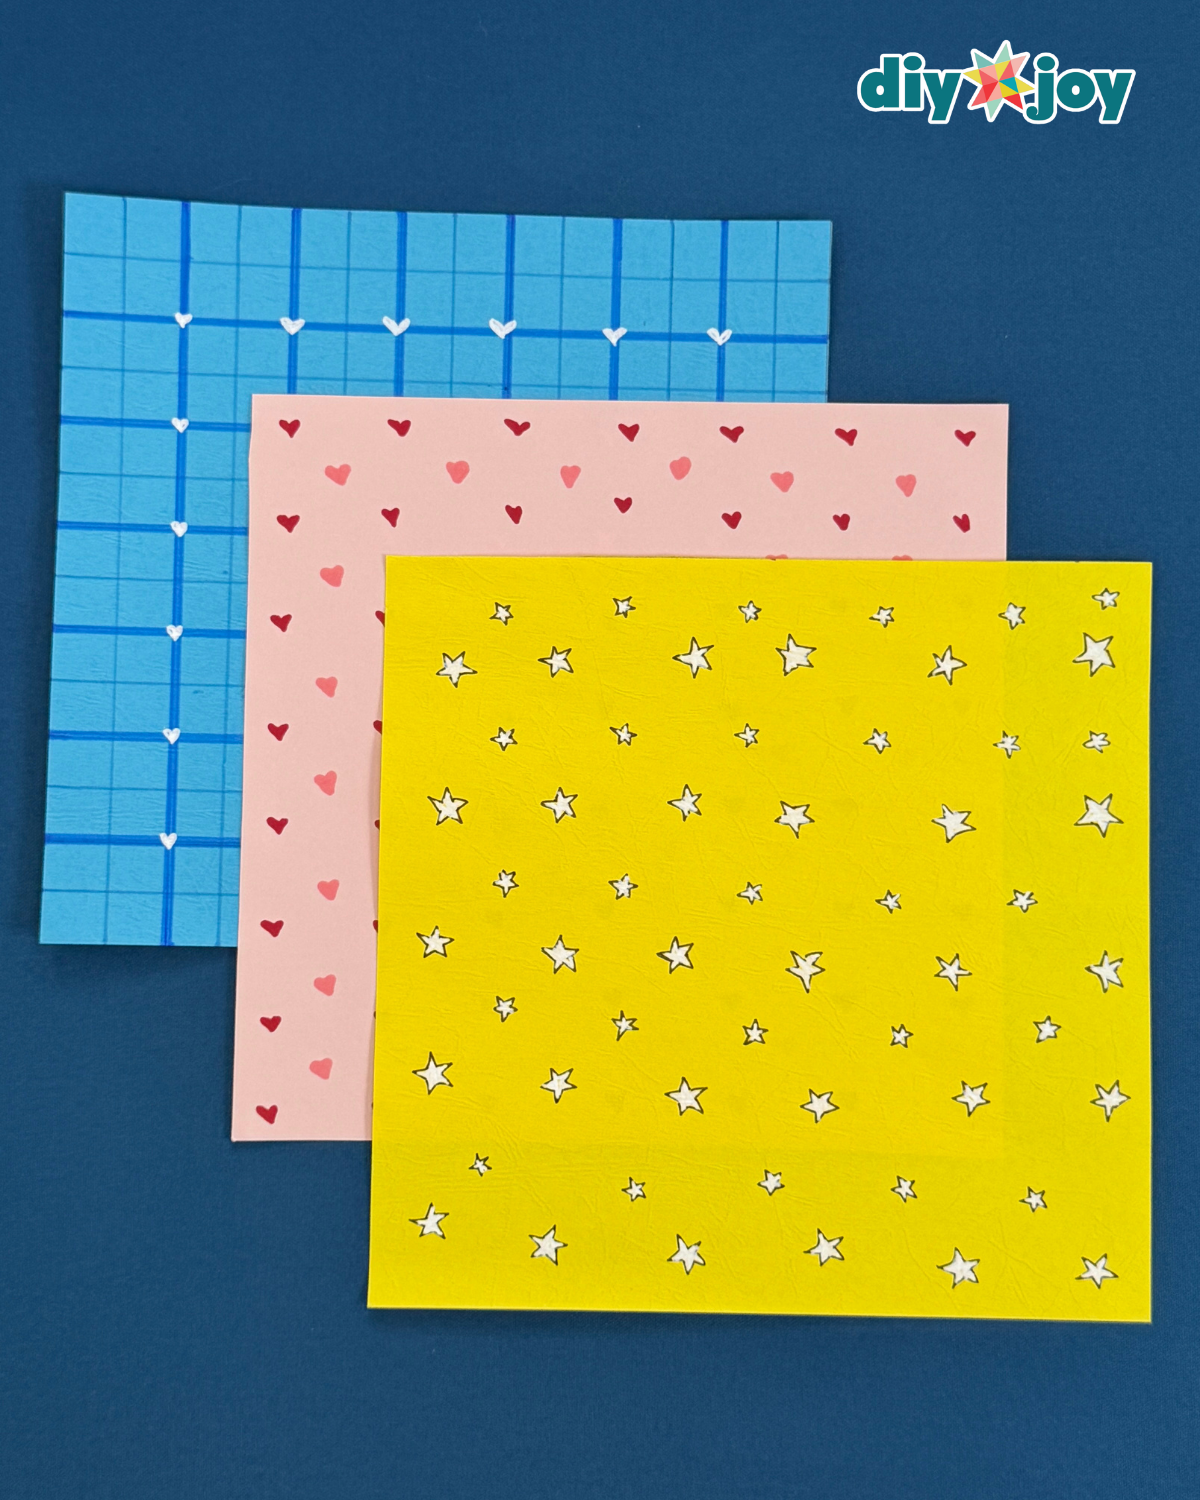
Cut a piece of colored paper into squares, then draw your design using a Sharpie. You can use textured or plain colored paper, but thicker or sturdier textured paper works best for this project. -
Step 2: Fold and secure the paper base
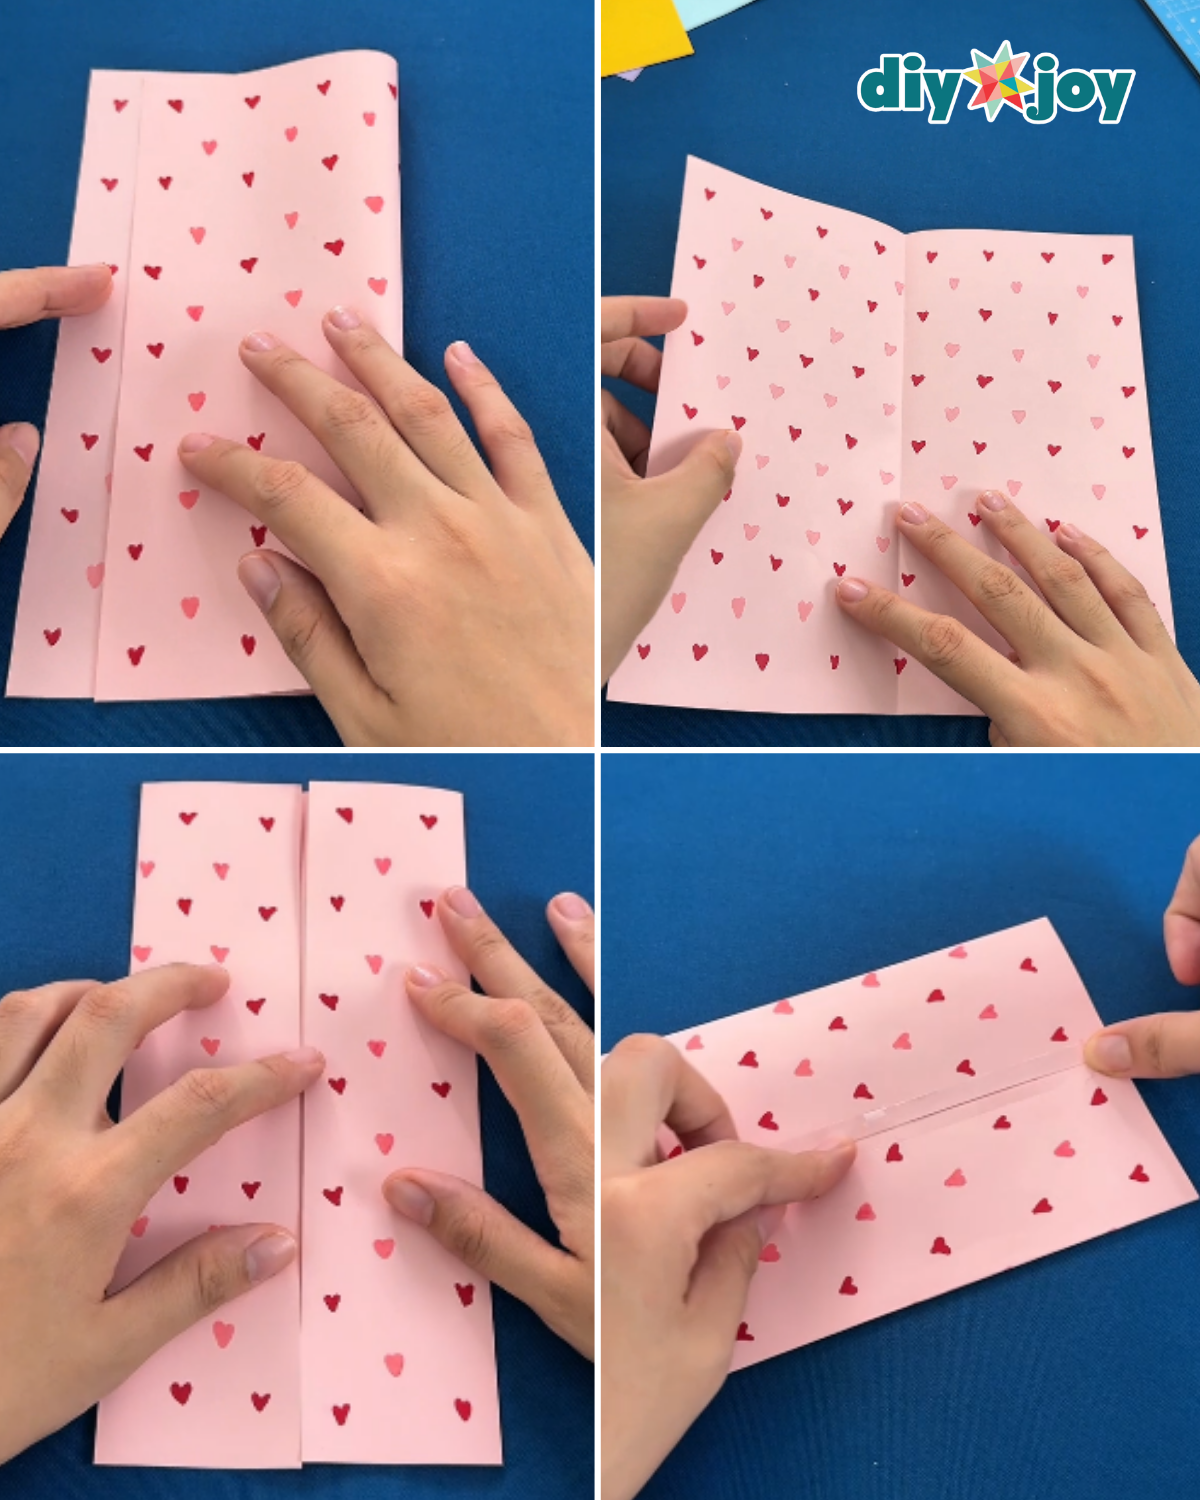
Flip the paper over so that the wrong side is facing up. Fold it in half and press firmly along the crease to make a clean fold, then unfold. Next, fold both sides towards the center crease so that the edges meet in the center and press with each fold to form a new crease. Finally, tape the edges together in the center to secure the shape. -
Step 3: Shape the paper
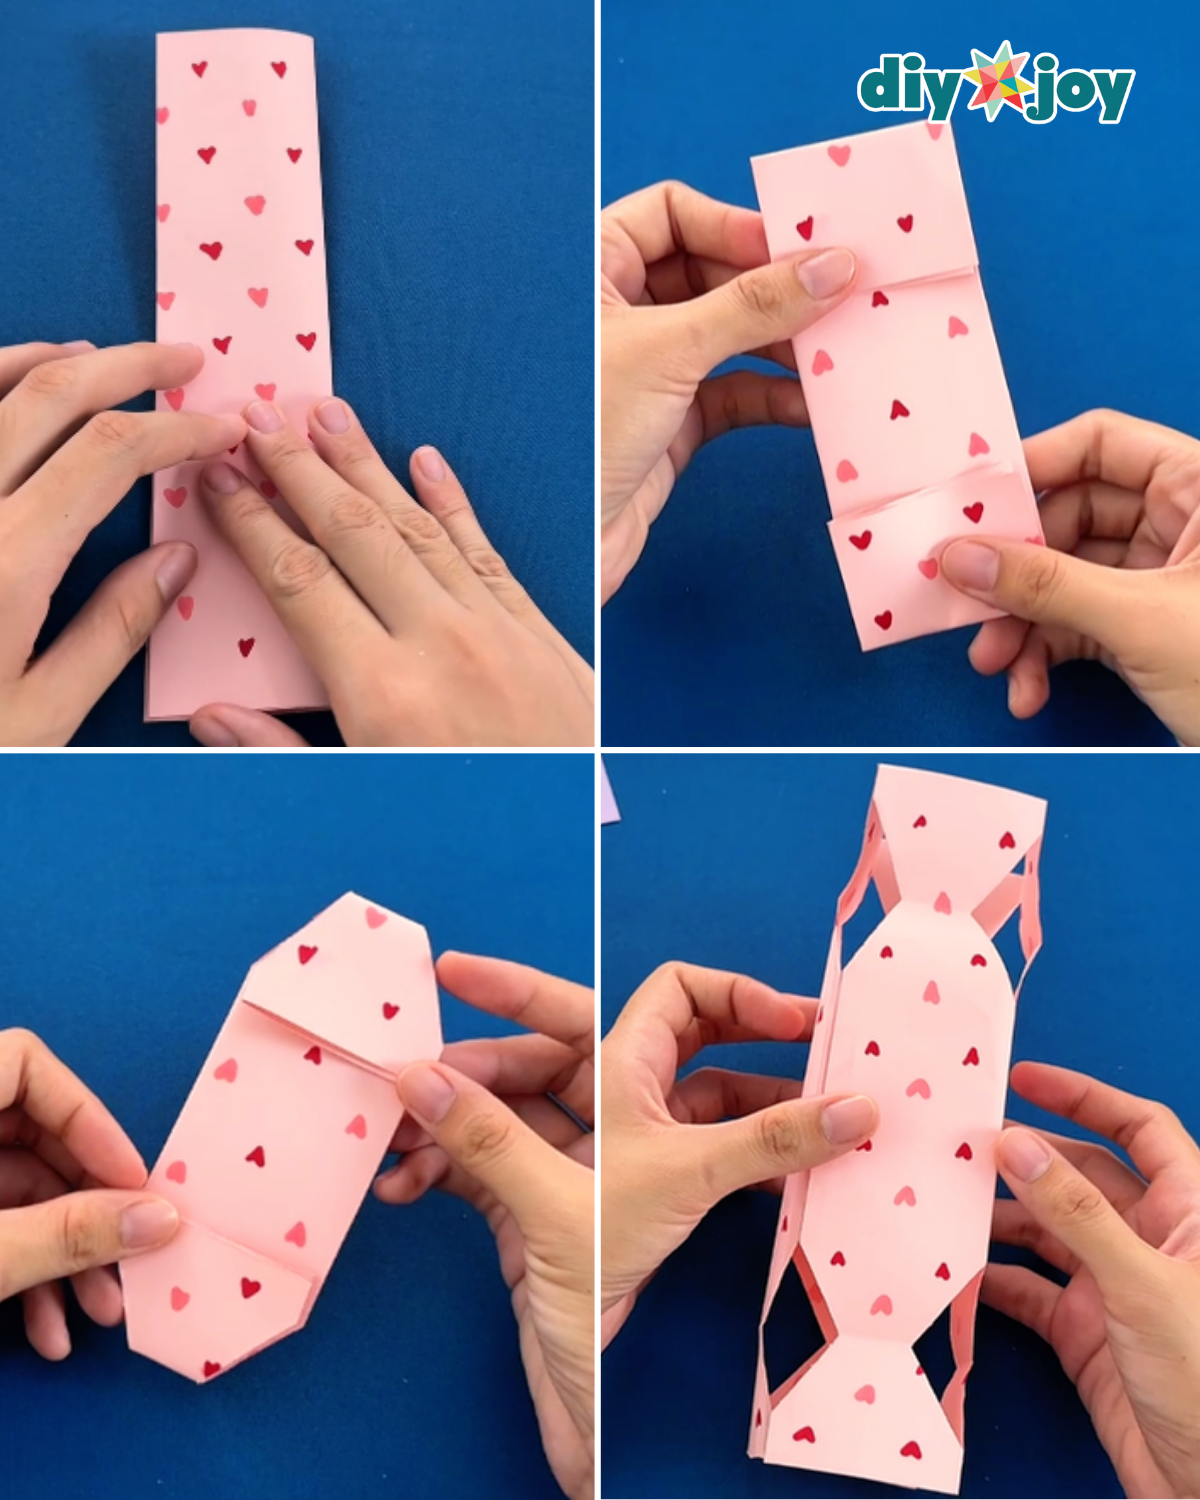
Fold the paper in half, then fold the top and bottom edges inward about 1½ to 2 inches. Next, cut the folded corners diagonally. Unfold the paper, then gently shape it as needed to create your final design. -
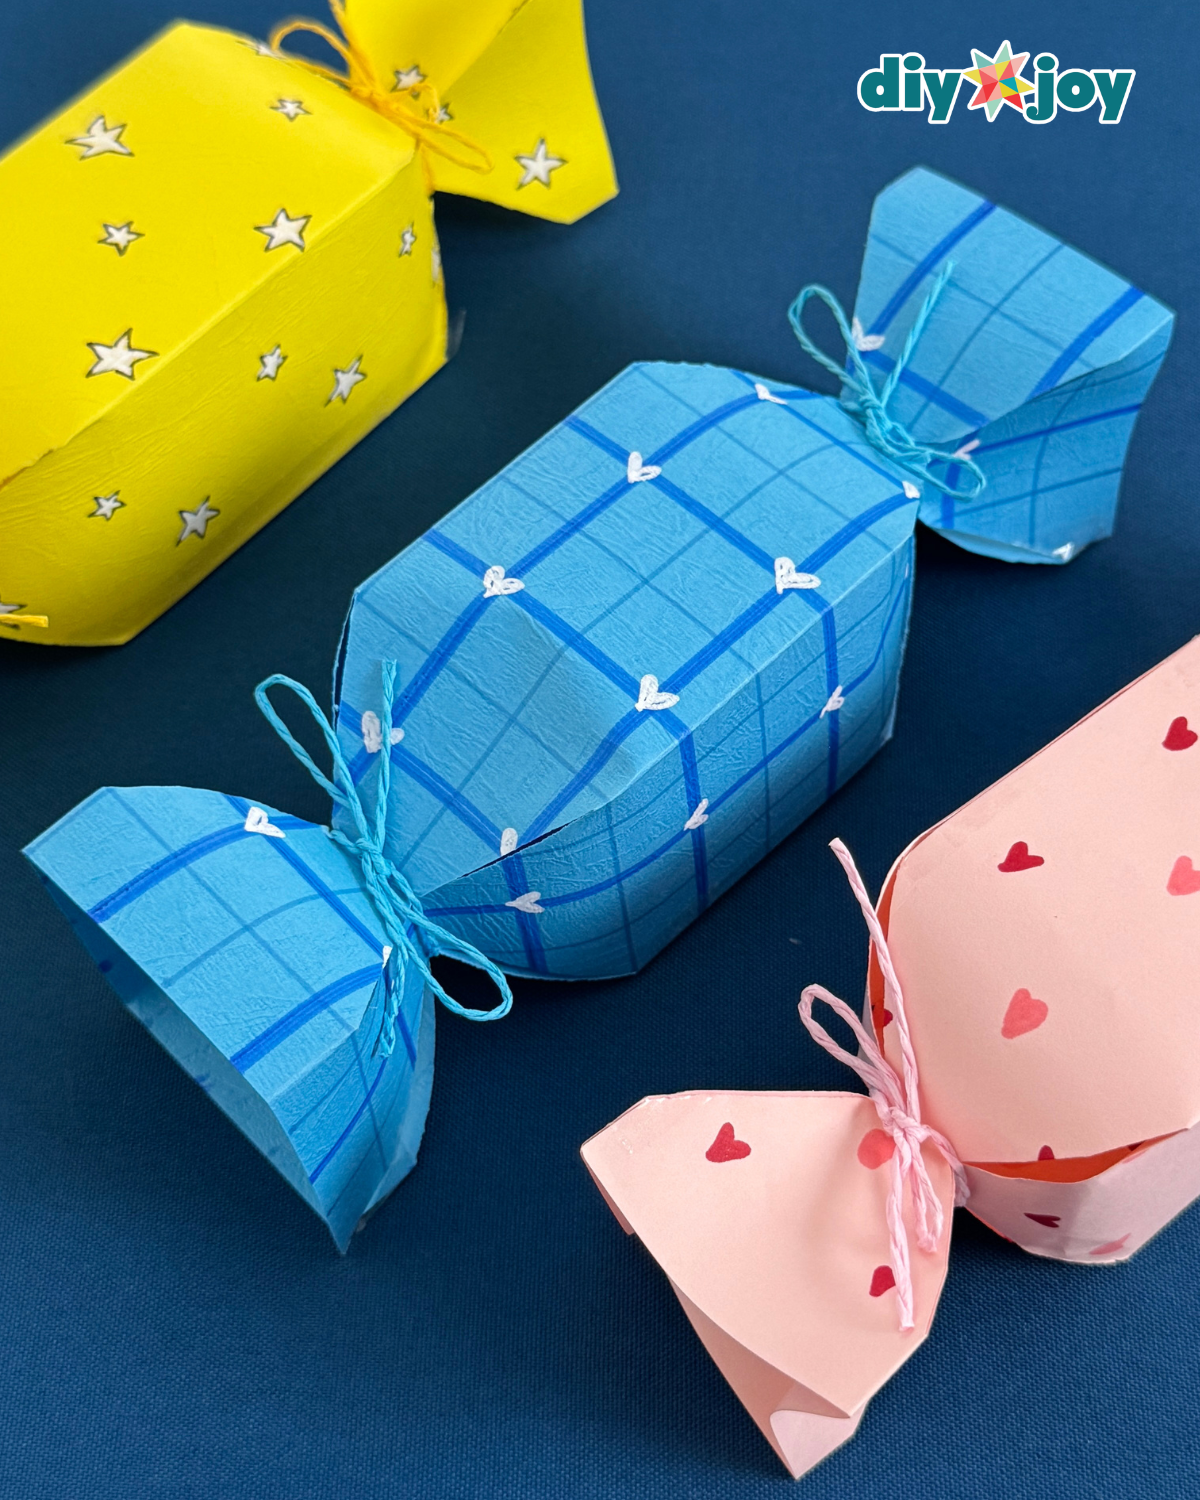
Step 4: Finish the candy package
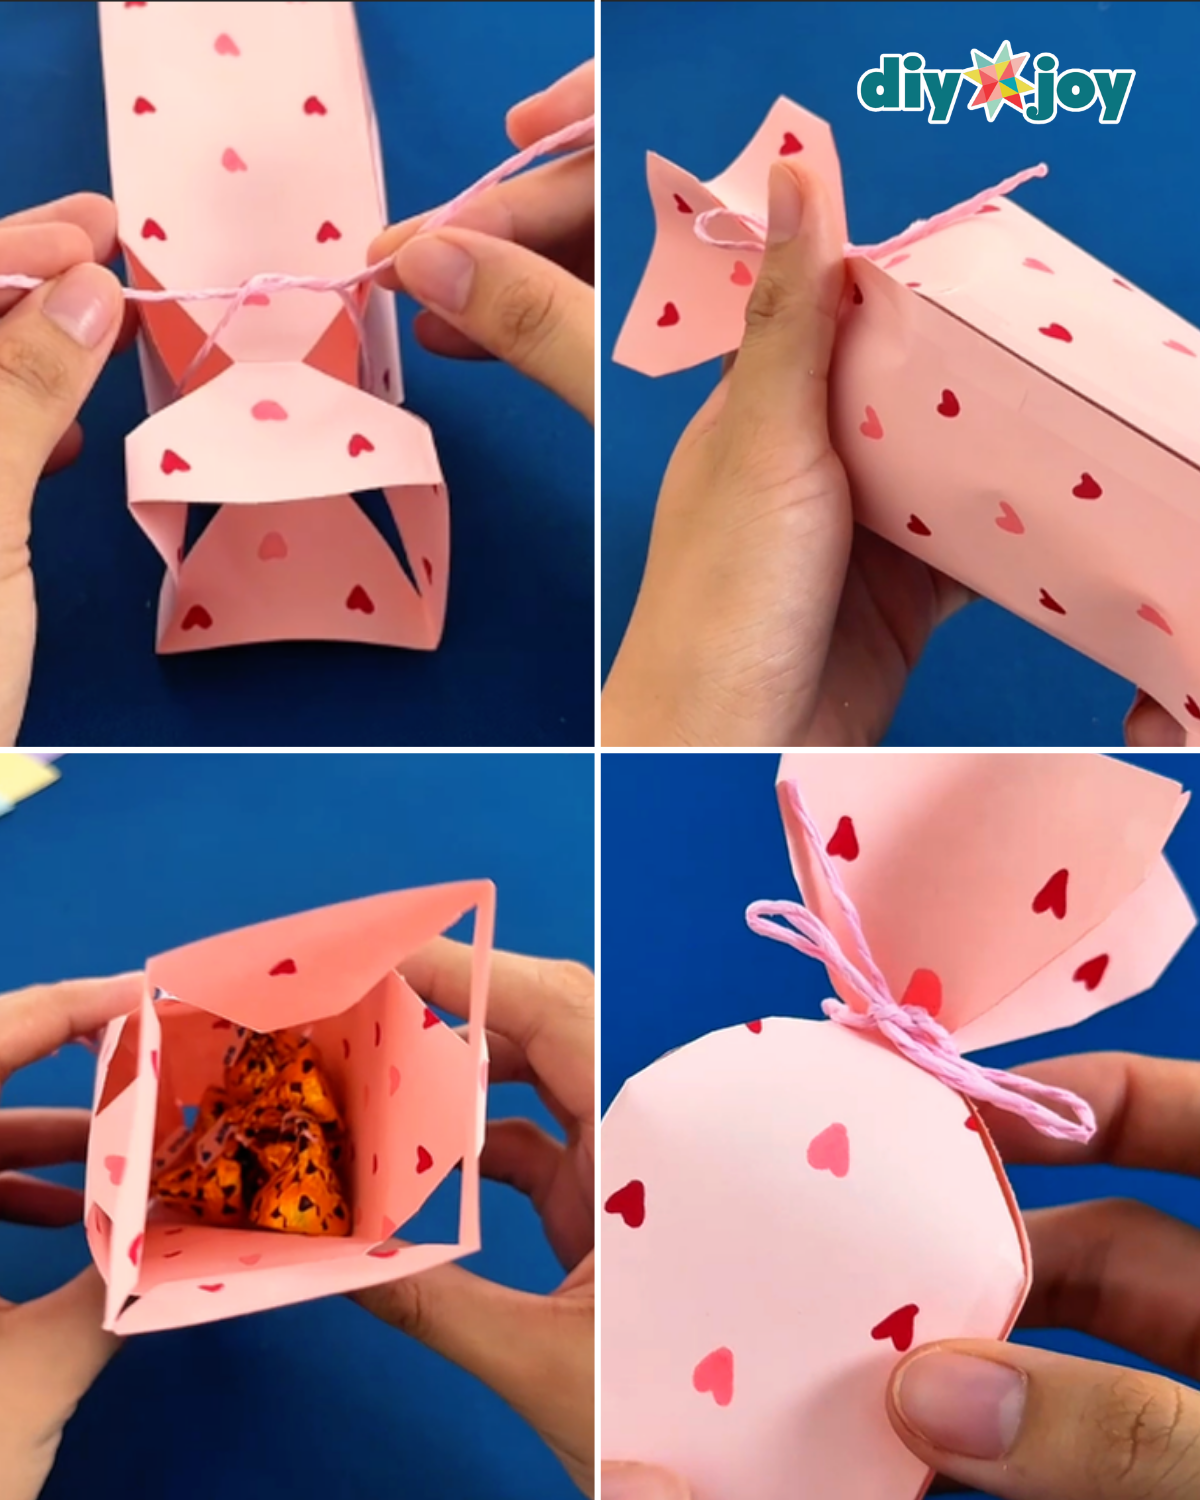
Tie one end of the candy package to the neck using a piece of string, then adjust and shape as needed. Fill the package with candy, treats, or any small items you want to include. Once filled, tie the other end securely around the neck to close the package.
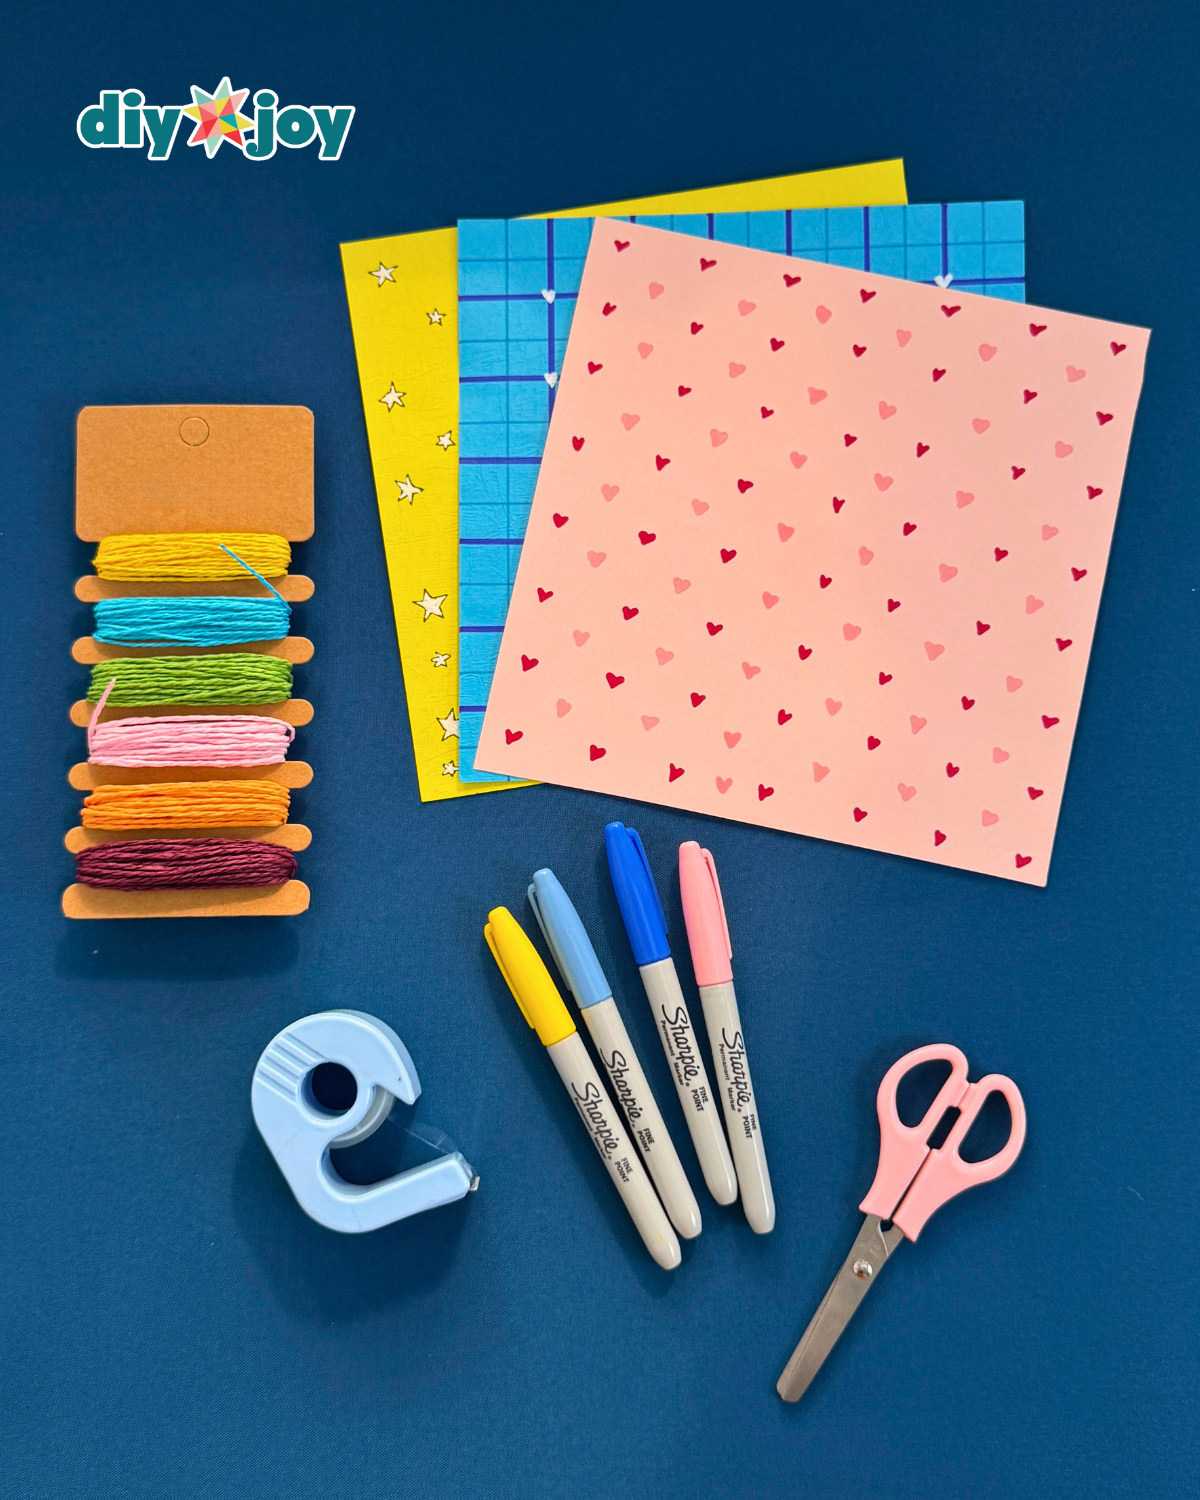
material
- colored paper, Plain or textured
- Sharpie
- string,
![]()
Why you’ll love this:
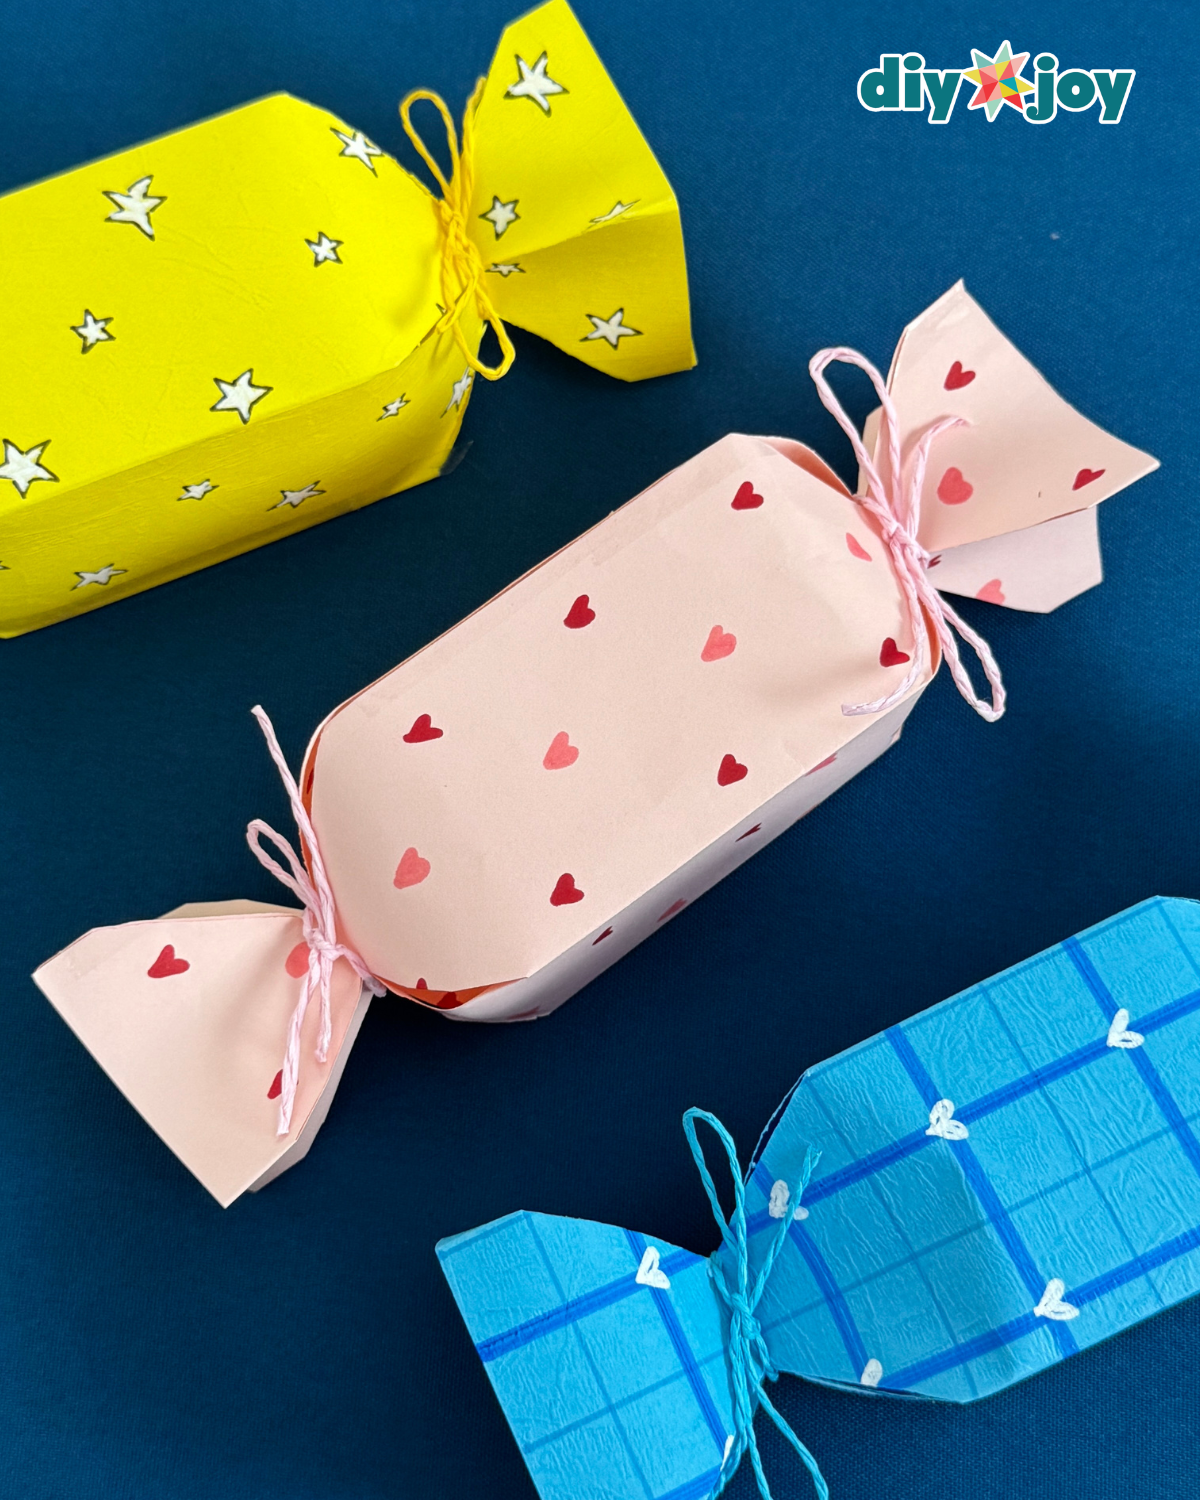
You’ll love these DIY paper candy packages because they’re quick, easy, and incredibly versatile. It turns ordinary paper into a beautiful gift holder in just minutes, making it perfect for last-minute gifts, party favors, treats and little surprises while letting you customize the design however you like.
DIY projects to try next:
*If you like this craft, then visit our official website, follow us Facebook pageAnd subscribe to us YouTube channel For more!


