

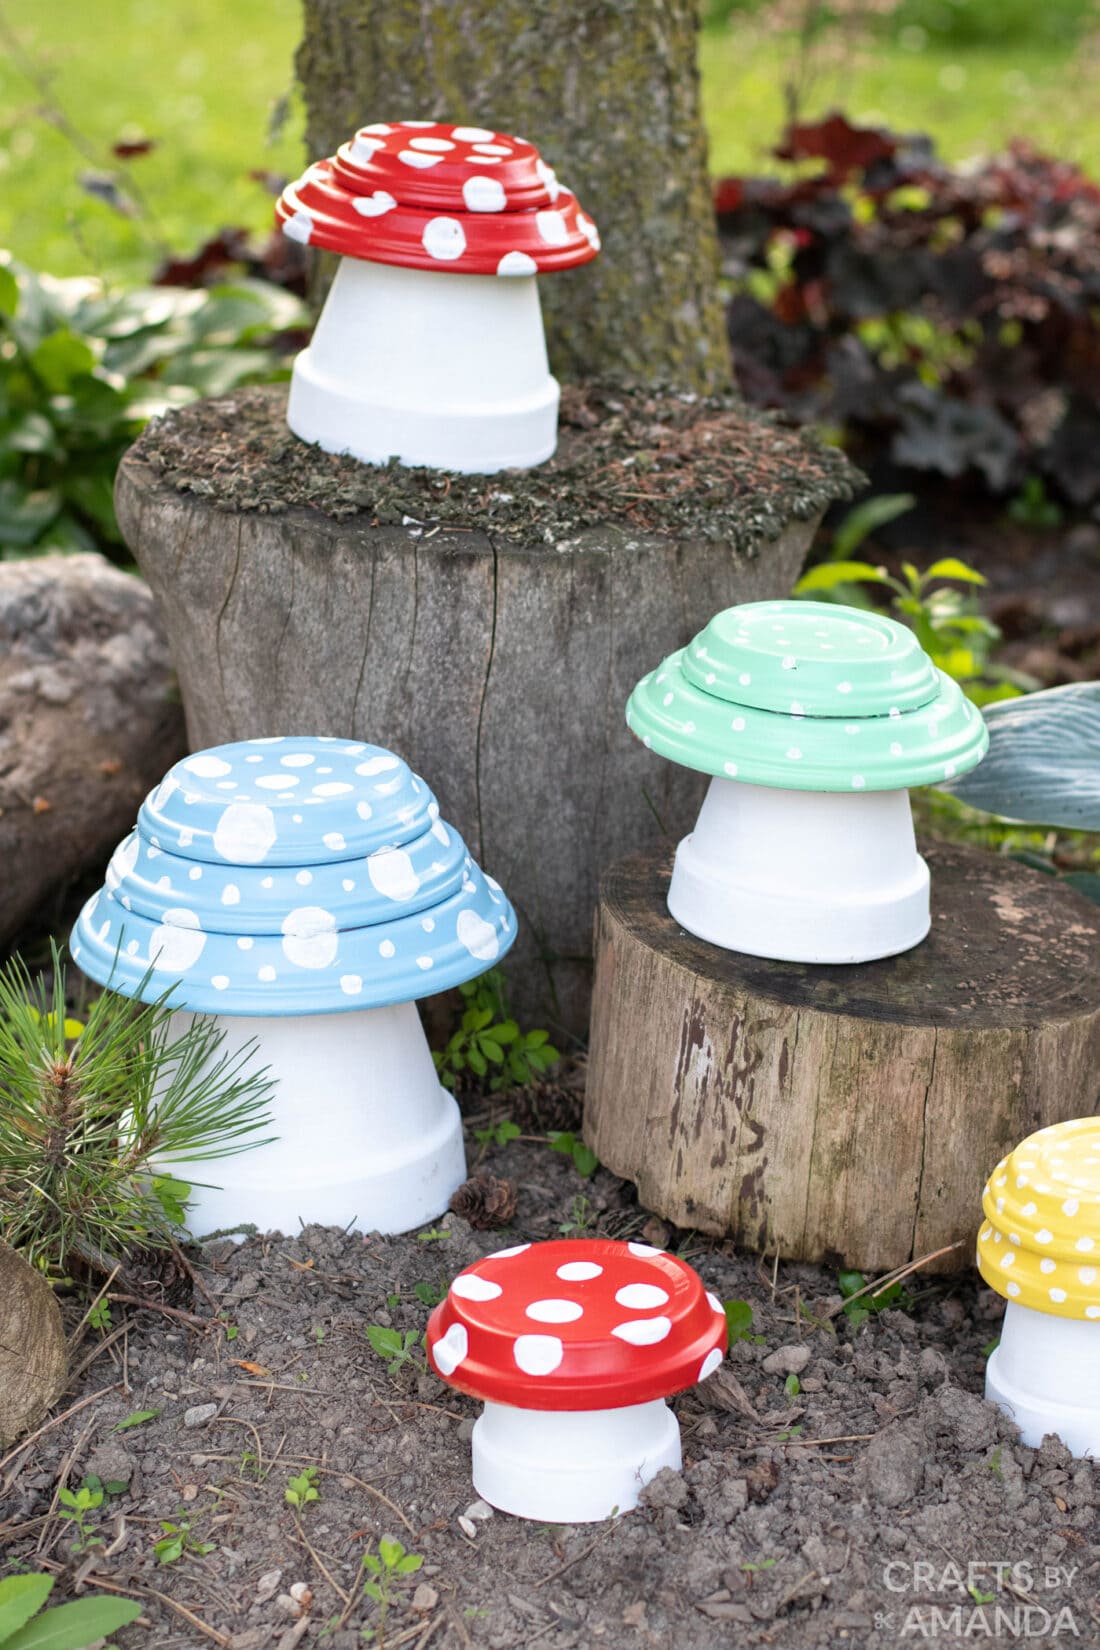
These colorful clay pot toadstools are made from terra-cotta pots and saucers that are decorated with bright and cheerful paint colors. It’s a beautiful addition to your garden decor and really easy to make.
Why we love this project
Making your outdoor space whimsical and inviting is as simple as adding a few statement pieces throughout. Here comes the adorable clay pot toadstools!
Along with some other fun garden crafts like a Giving water that can pour crystals And some too Beaded garden sparklersYour yard will be swimming with DIY projects that will spark some fun conversations.
Useful project information:
- Age Level: 12 and up
- Mess Factor: Medium (paint)
- Difficulty Level: Medium
- Completion Time: Less than 1 hour active
- Cost Estimate: Less than $15.00 depending on the supplies you have
Craft supplies you will need
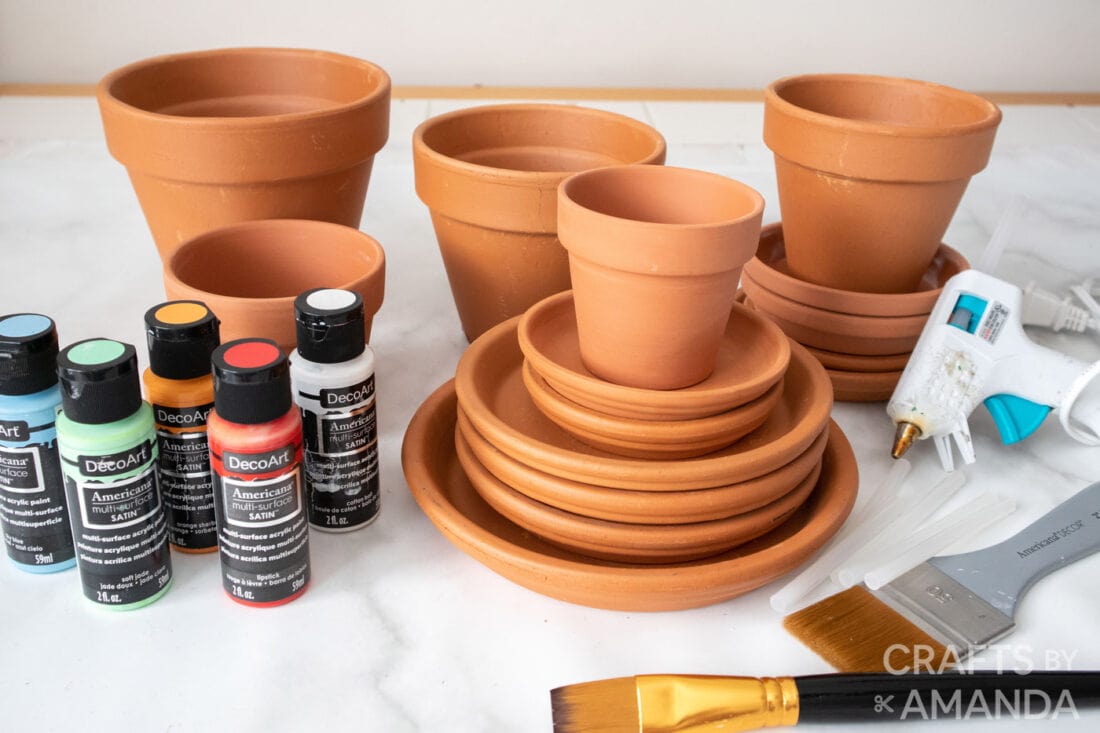
Find the complete list of supplies and directions in the printable version at the end of this post.
How to make clay pot toadstools
Here are step by step photos and instructions to help you visualize how to build this project. Please scroll down to print the instructions!
- Remove all labels from Pots and Saucers.
- Determine the layout by turning the pots upside down and start stacking the saucers upside down on top of the pots. Stack the saucers from largest to smallest on top.
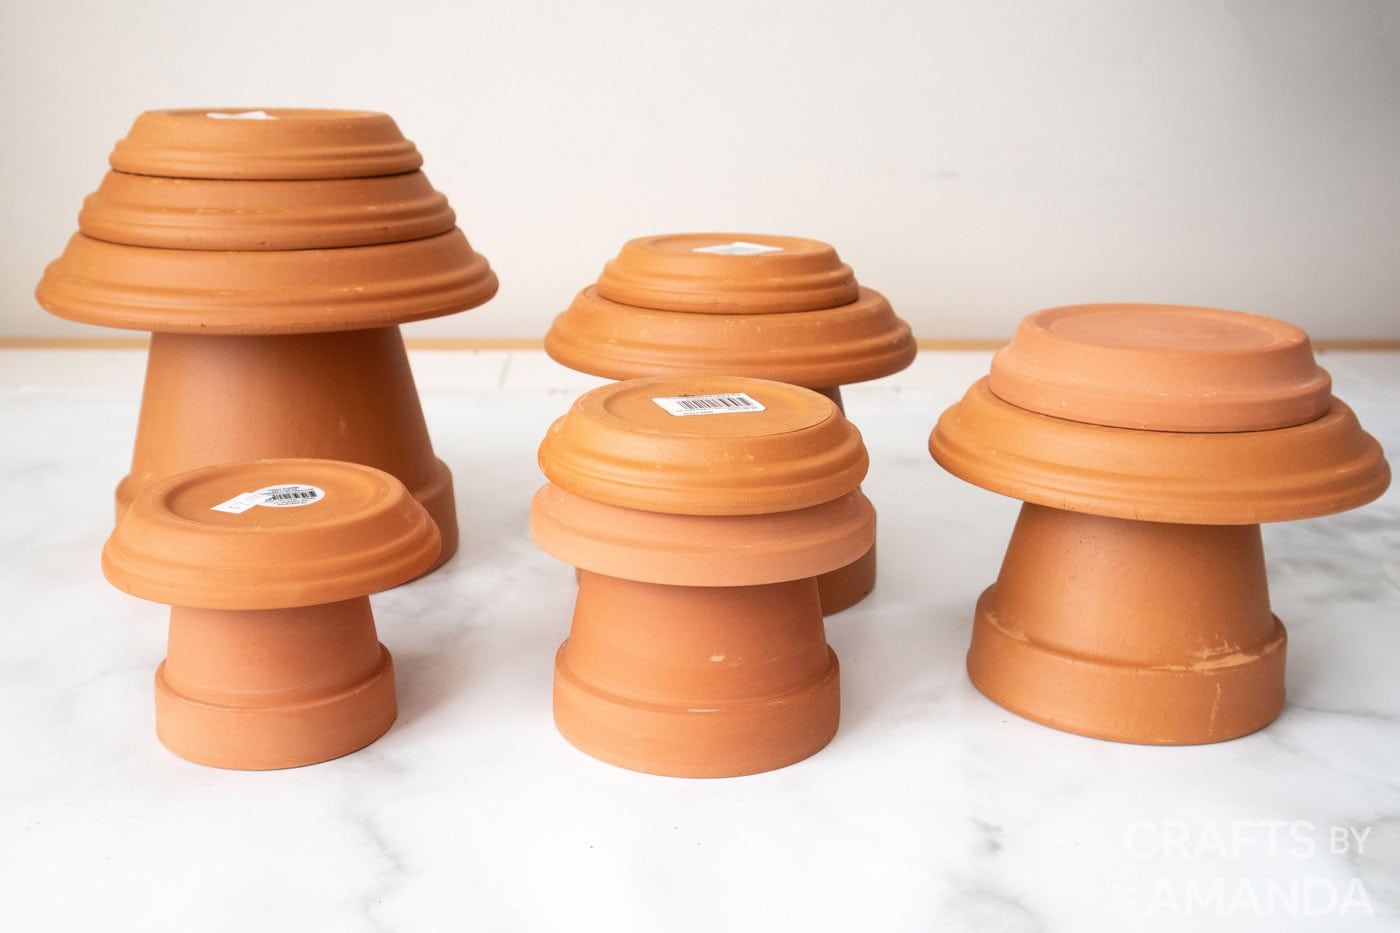
- Once happy with the placement, decide on a color for each mushroom and then separate the saucers so they don’t mix when painting.
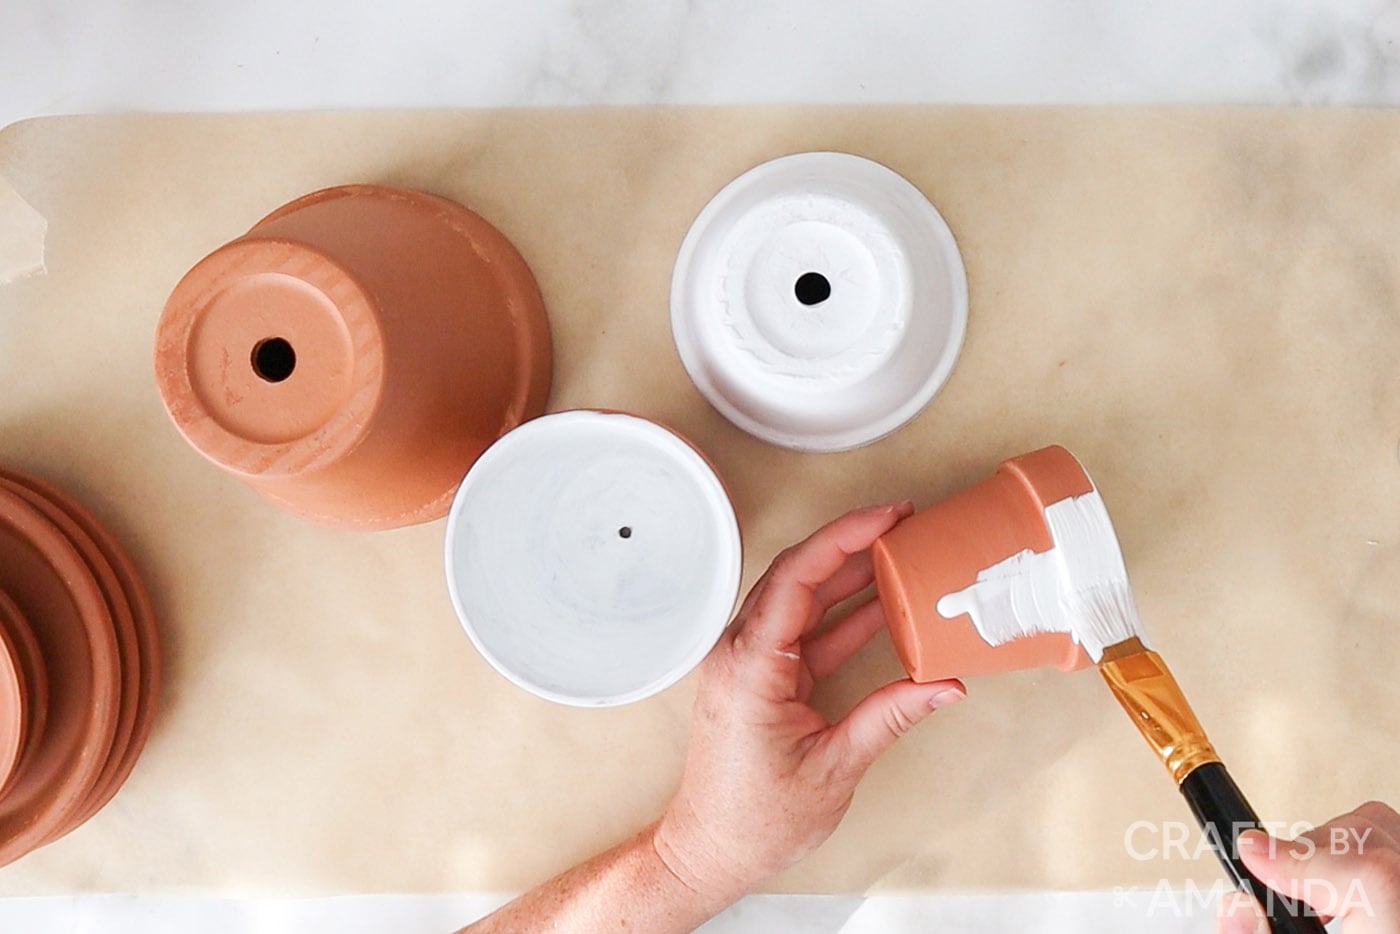
- Apply a coat of white multi-surface paint to all the pots using the largest paintbrush. Also paint the inside of the pots to seal all surfaces of the terracotta clay. Allow the paint to dry completely before applying another coat of paint and add several coats of paint until the desired coverage is achieved.
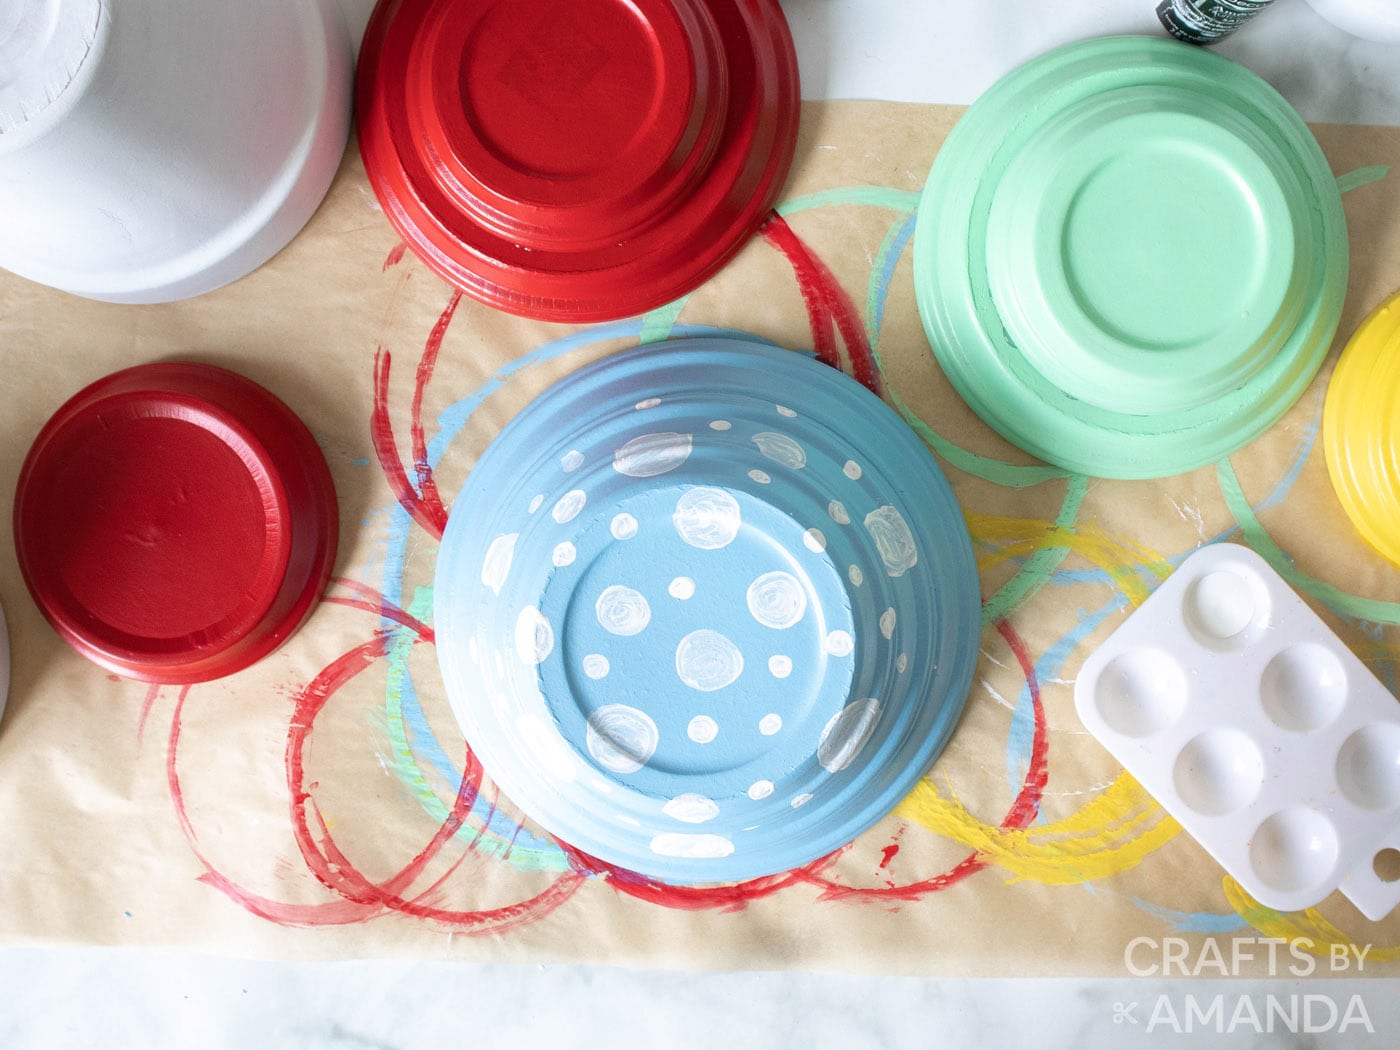
- Paint the saucer in a variety of multi-surface paints. Allow the paint to dry completely before applying another coat of paint and add several coats of paint until the desired coverage is achieved.

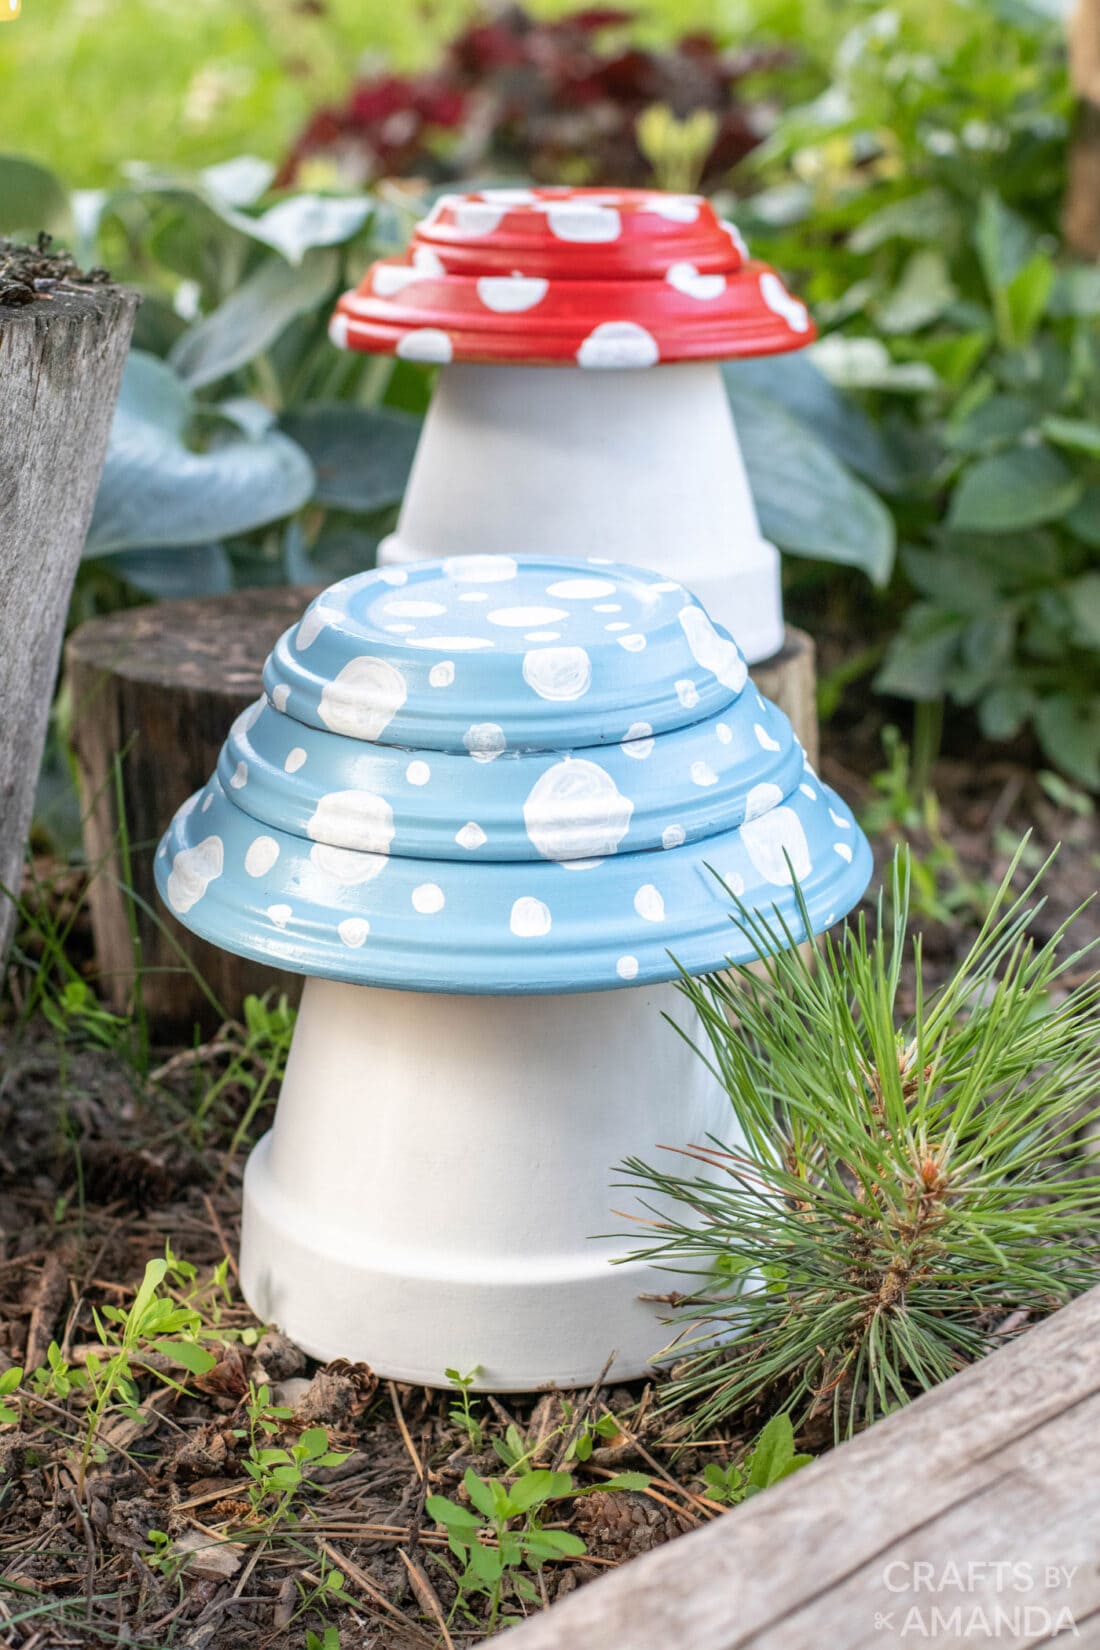
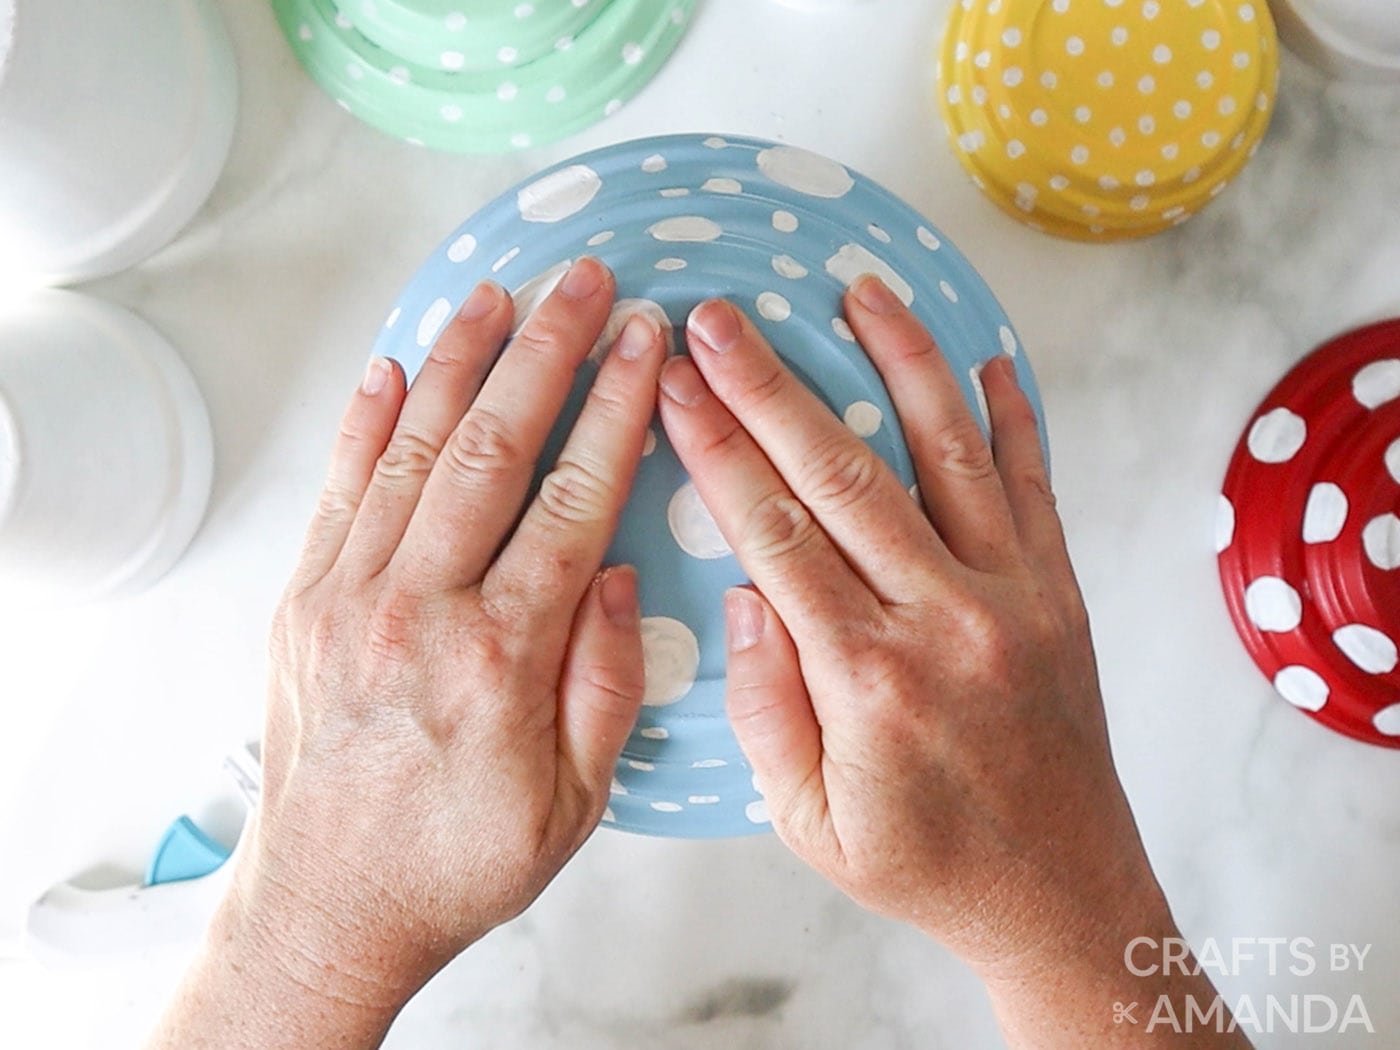
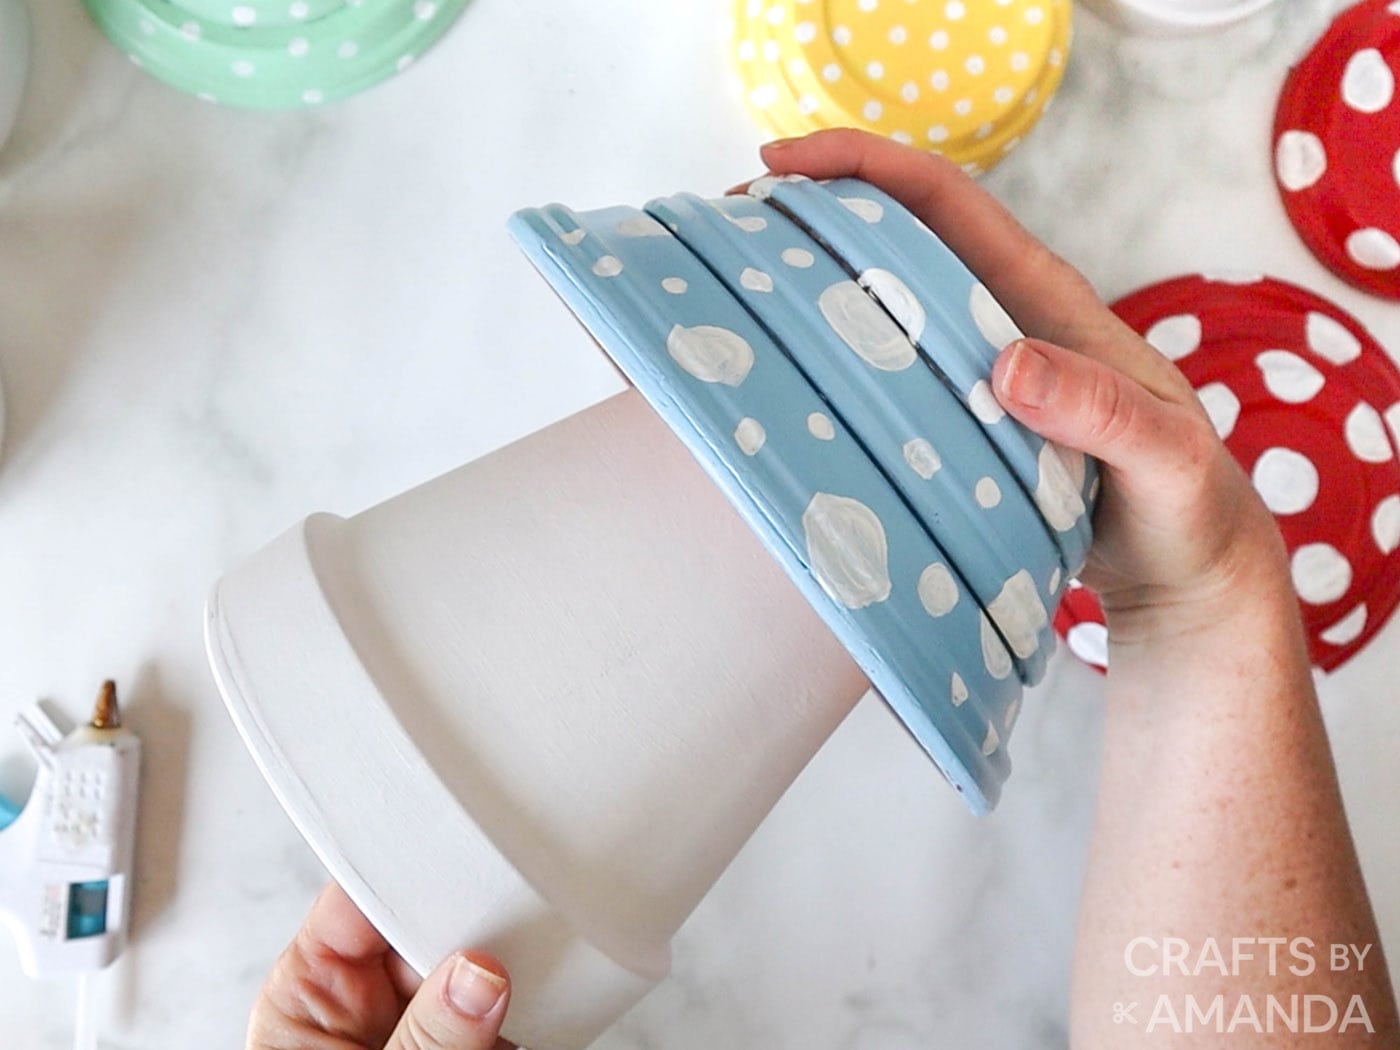
- Once dry, stack the saucers by color to make mushroom tops and paint white polka-dots in different sizes. Apply another coat for better coverage.
- Now turn the painted pots upside down and start assembling the mushrooms. Apply, work quickly Hot glue Between each layer of pot and saucer until toadstool mushrooms are formed. As the glue dries, gently press the pieces together. Repeat the process for the remaining terracotta pot mushrooms.
- Finally, place them in your garden for enjoyment.
Expert crafting tips
- Alternatively, you can try using different sizes of pottery and instead of stacking the saucers together, invert them on top of each other to achieve a mushroom shape. If you can find round pottery near you, these would work great too!
- If you wish, you can apply a clear coat on top of the finished product.
- Instead of drawing circles with a paintbrush, you can use different sizes Sponsor sponges For quick results.
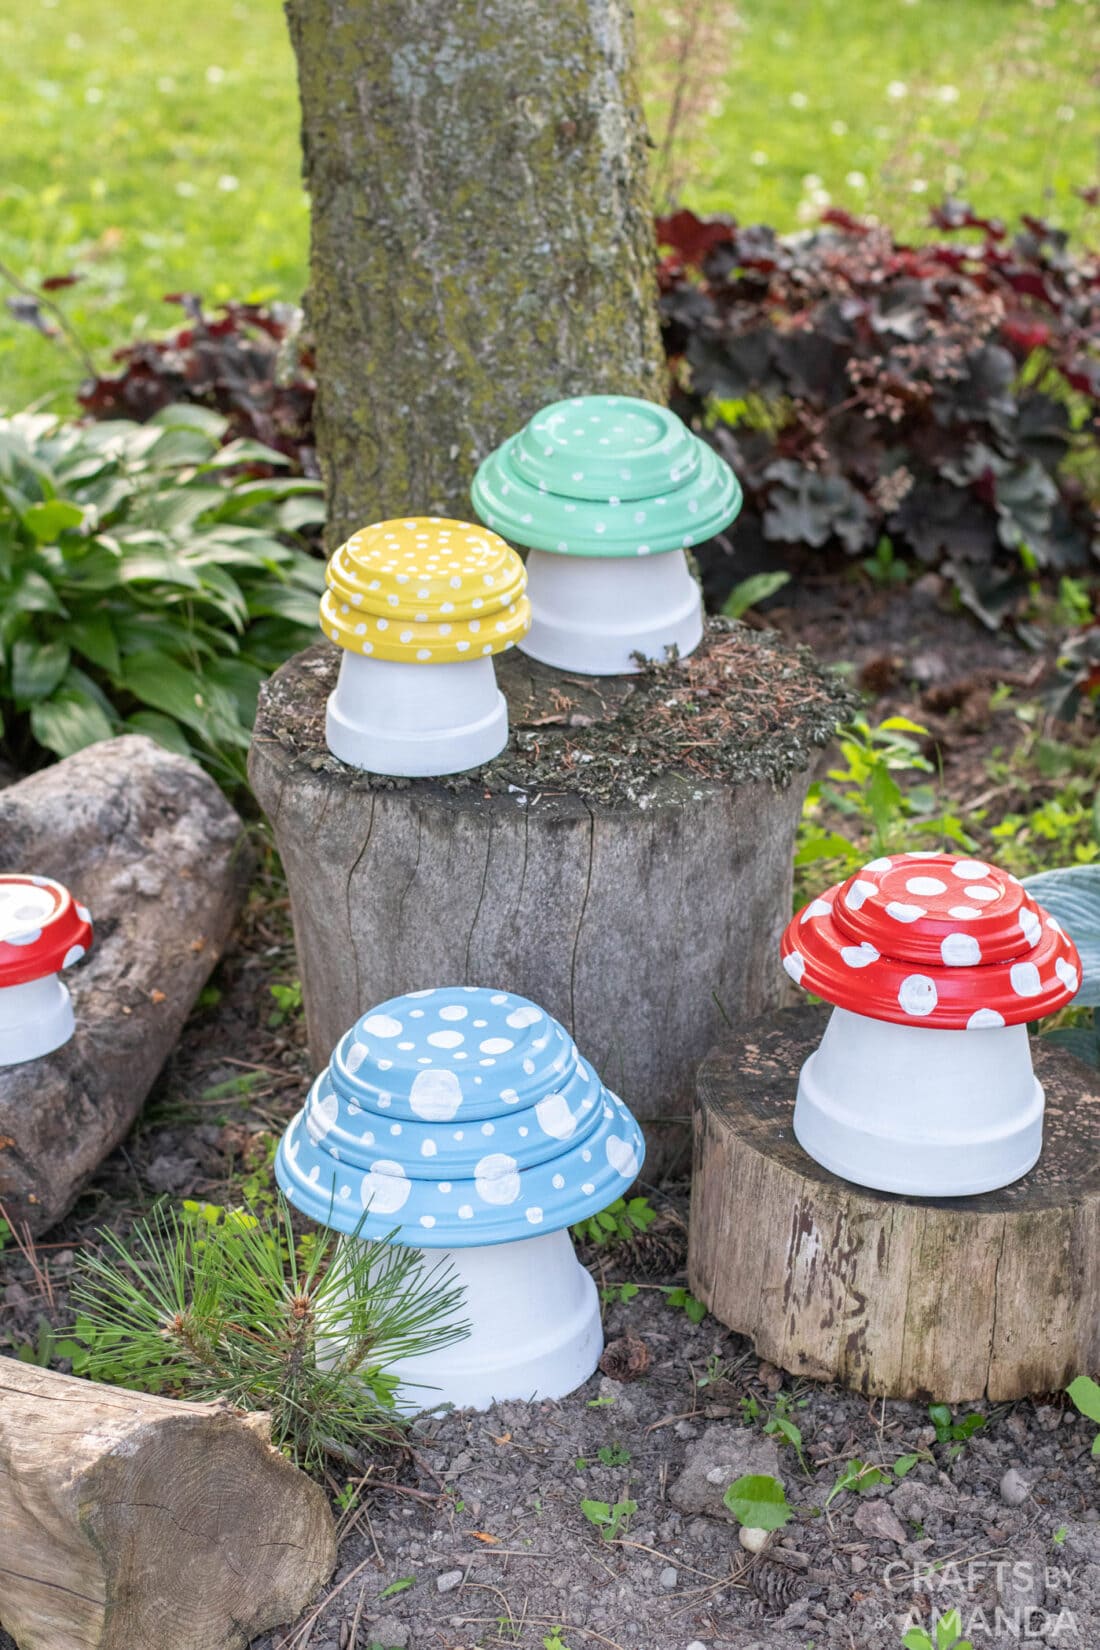
Have fun adding a pop of color to your outdoor space with these adorable clay pot toadstools. From all of us Pottery CraftsThese little mushrooms are definitely among our favorites!
More garden crafts and projects
I love creating and sharing my projects with you! I know it’s hard to remember to come back and search, so I’ve made it easy for you with my weekly newsletter! you can Subscribe for free And I’ll send you fun crafts and delicious recipes to your email every week.
Clay pot toadstools
Add a pop of color to your outdoor space with these adorable clay pot toadstools!
Makes: 5 toadstools
supplies
Blue Toadstool
- 1 5.5” pot
- 5” saucer
- 1 6” saucer
- 1 7.5” saucer
Big red toadstool
- 1 4.5″ pot with a 6″ saucer
- 1 4” saucer
Little Red Toadstool
- 1 3” pot
- 1 4.5” saucer
Big green toadstool
- 1 4” pot
- 1 6” saucer
- 1 4” saucer
Yellow toadstool
- 1 3.5” pot
- 2 4” saucer
DecoArt America’s Multi-Surface Satin Paints
- Cottonball
- lipstick
- Canary
- Sky blue
- Soft jade
Instructions
-
Remove all labels from pots and saucers.
-
Determine the layout by turning the pots upside down and start stacking the saucers upside down on top of the pots. Stack the saucers from largest to smallest on top.
-
Once happy with the placement, decide on a color for each mushroom and then separate the saucers so they don’t mix when painting.
-
Apply a coat of white multi-surface paint to all the pots using the largest paintbrush.
-
Also paint the inside of the pots to seal all surfaces of the terracotta clay. Allow the paint to dry completely before applying another coat of paint and add several coats of paint until the desired coverage is achieved.
-
Paint the saucer in a variety of multi-surface paints. Allow the paint to dry completely before applying another coat of paint and add several coats of paint until the desired coverage is achieved.
-
Once dry, stack the saucers by color to make mushroom tops and paint white polka-dots in different sizes. Apply another coat for better coverage.
-
Now turn the painted pots upside down and start assembling the mushrooms. Working quickly, apply hot glue between each layer of pot and saucer until a toadstool mushroom is formed. As the glue dries, gently press the pieces together. Repeat for the remaining terracotta pot mushrooms.
Expert tips and FAQs
- For paintbrushes, we used different sizes (fine tip, fine angle tip, 1⁄2” flat, and 2” flat).
This post originally appeared here on July 16, 2021.


