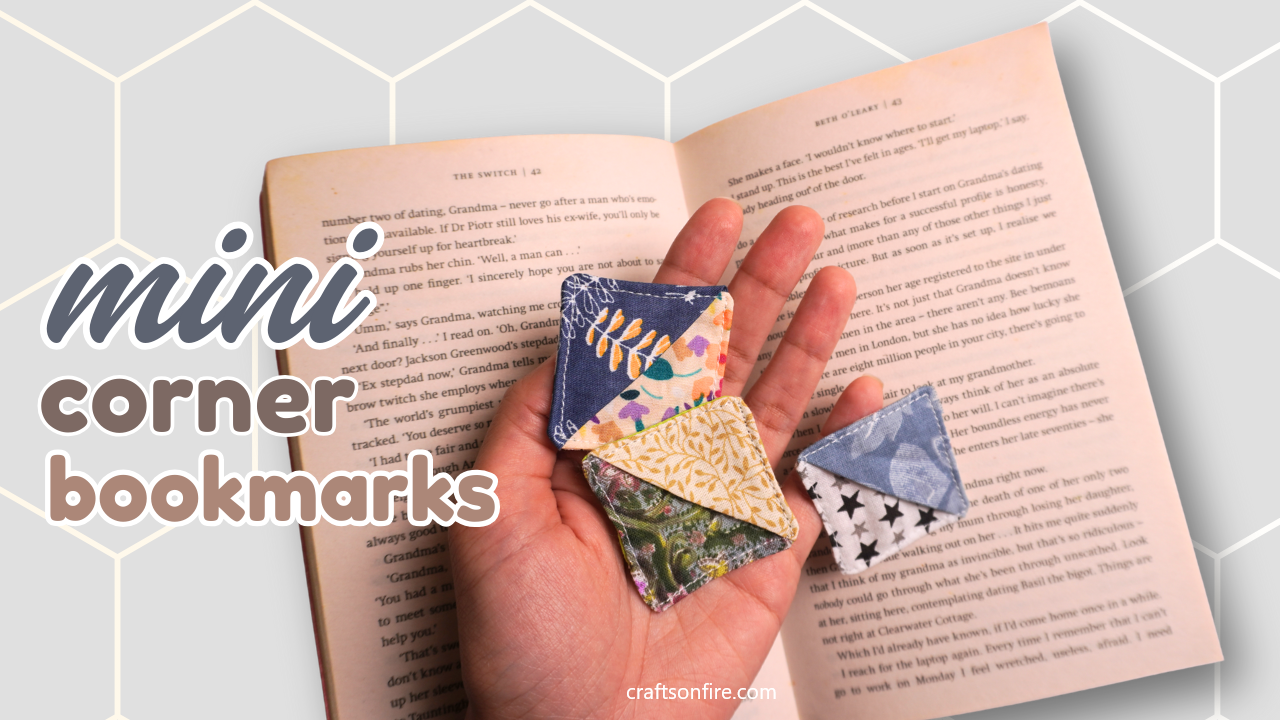
Learn how to sew a miniature version of the popular corner marks with my easy step-by-step sewing guide for beginners. This cute and easy project is perfect for anyone, even if you’re just looking for a quick 5 minute project.
These mini corner bookmarks are so adorable! You’ll want to sew a bunch of these.

*This post may contain affiliate links. We will earn a commission at no additional cost to you if you use one of our links. Please read our disclosure for more details.
Another great thing about these mini corner bookmarks is that you can sew them using leftover fabric.
It only takes a small amount of fabric, so it’s the perfect way to make something special out of all those scraps.
You can also create many different color combinations when making these bookmarks. There are so many endless possibilities and I’m sure they will all look amazing.
Grab your supplies and let’s get started.
DIY mini corner marker
Consumables
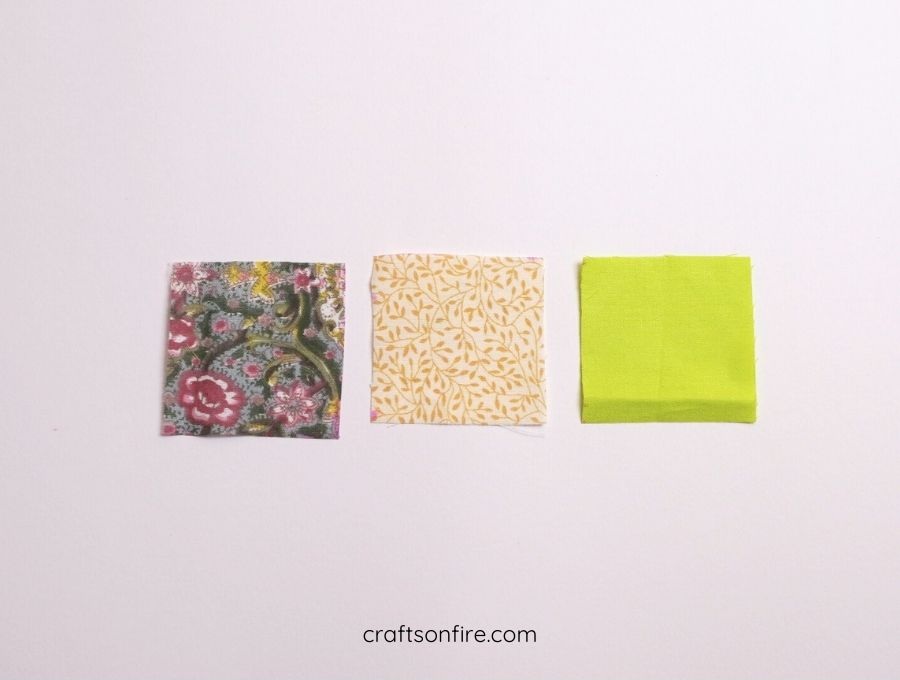
- 3 x Patterned fabric squares – 6 cm x 6 cm (2.36″ x 2.36″)
- Clip/sewing pin
- Sewing machine
Video tutorial
Instructions

Step 1: Take your first piece of fabric and fold it into this triangle shape. Put that aside for now.
Step 2: Take your second piece of fabric and place the first folded piece on top of it, with the folded edge inward. Right sides should be facing inwards.
Step 3: Place your last fabric square face down on top of this.
Step 4: Mark one corner as a reminder to leave it open when sewing.
Step 5: Go to the machine and sew the pieces together using a 0.3cm/0.5cm seam.

Step 6: Once your piece is sewn, trim the corners.
Step 7: Open the unstitched part and pull the right side of the fabric through the opening.
Step 8: Then open the corners with your finger or pen. Then, fold the raw seam over the opening and head to the machine to add topstitching to the mark.
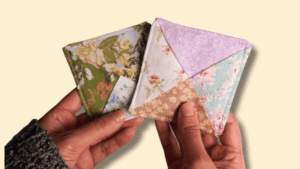
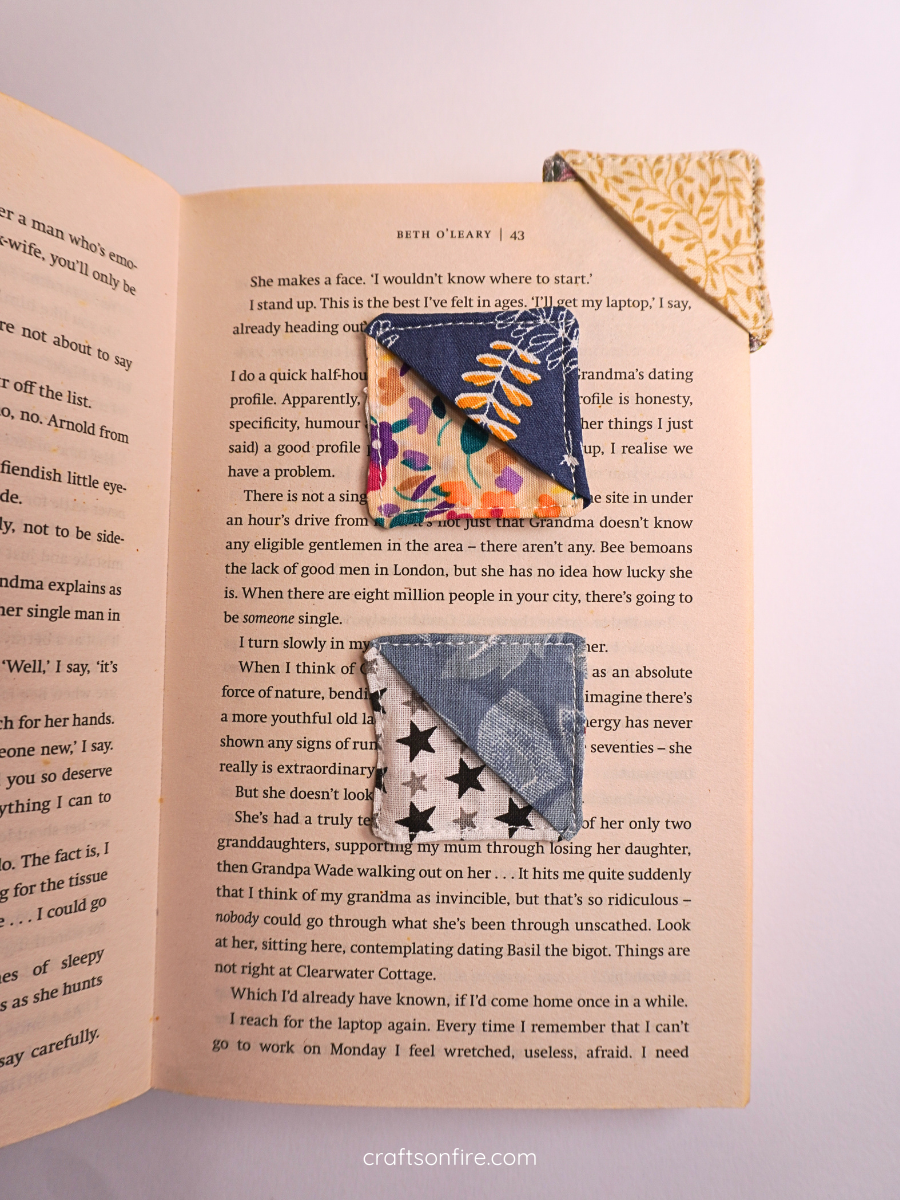
Here’s what this little corner check looks like when it’s done:

Fits perfectly on the edge of any book. You can put it on one or multiple pages – whatever works best for you!
I have now sewn 3 more of these mini corner bookmarks and they all turned out perfect. You can actually make this bookmark in any size and with any leftover fabric you have!
This is definitely a quick and easy sewing project that will only take about 5 minutes. You can make so many of these little corner markers in just a few minutes, which is pretty exciting to be honest.
I love every one of them and plan to make a few more and give them away to other book lovers.
It’s just a small but meaningful gift that anyone would love.
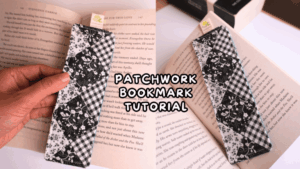
I also sewed the full size corner check last year. You can find the full tutorial here.
There is so much to love about corner bookmarks, and sewing a smaller version of it was definitely worth every minute spent on it.
With that said, I hope you enjoyed this sewing idea. This is a great project to try if you’re short on time but still want to be creative.
If you plan to make this bookmark out of fabric, let me know in the comments below.
For now, here are some more sewing tutorials for beginners to check out next:
DIY Patchwork Folded Coaster (Sewing Tutorial)