
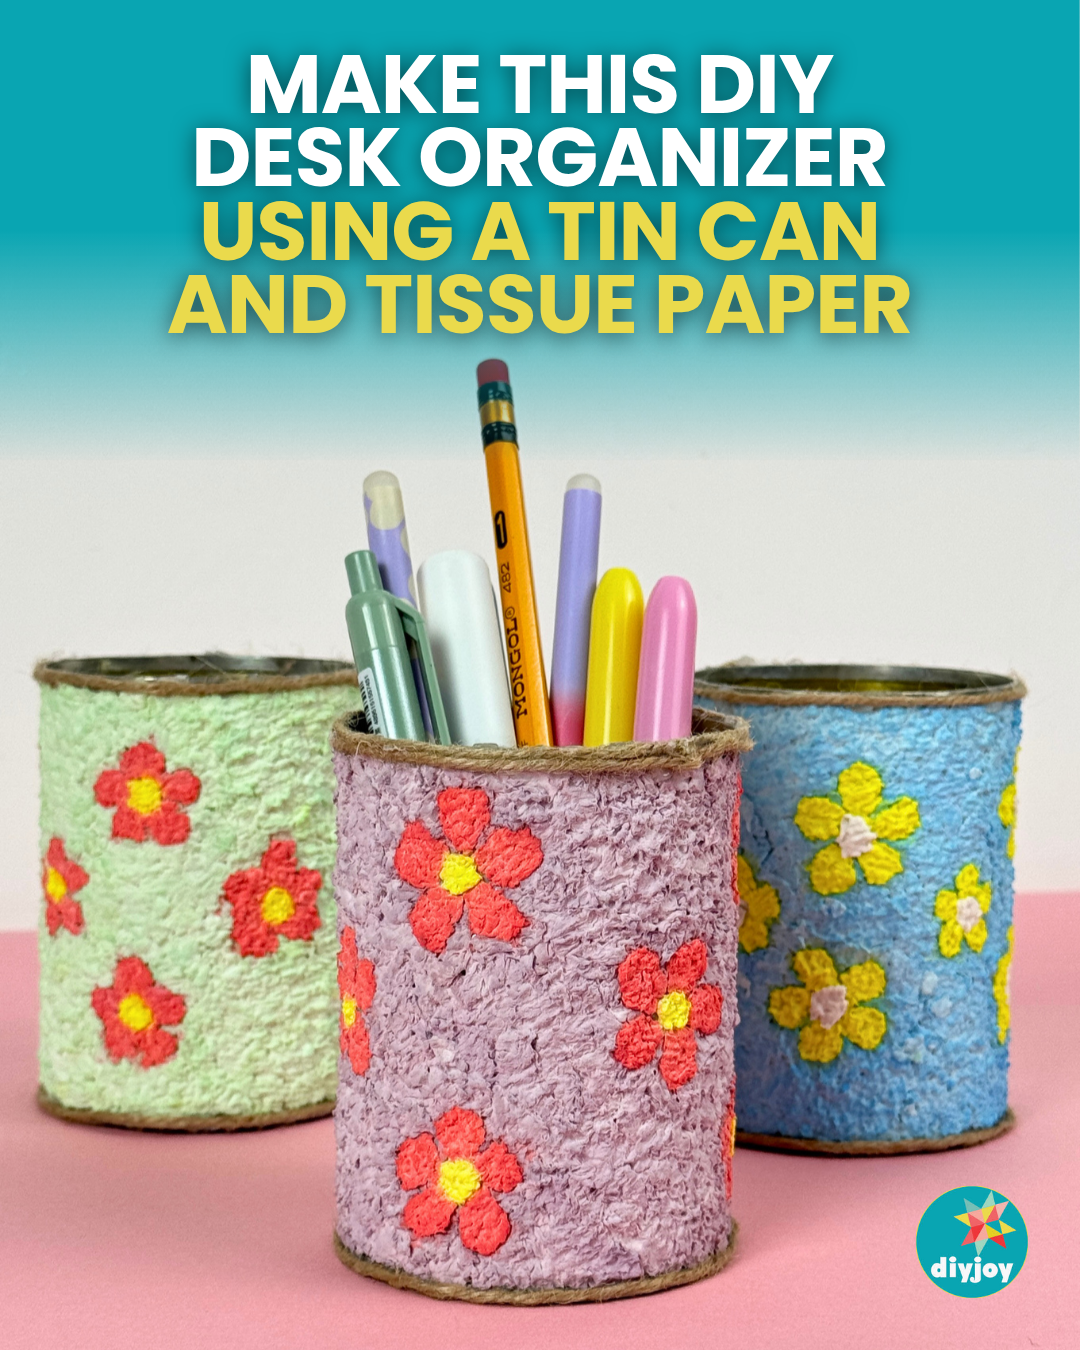
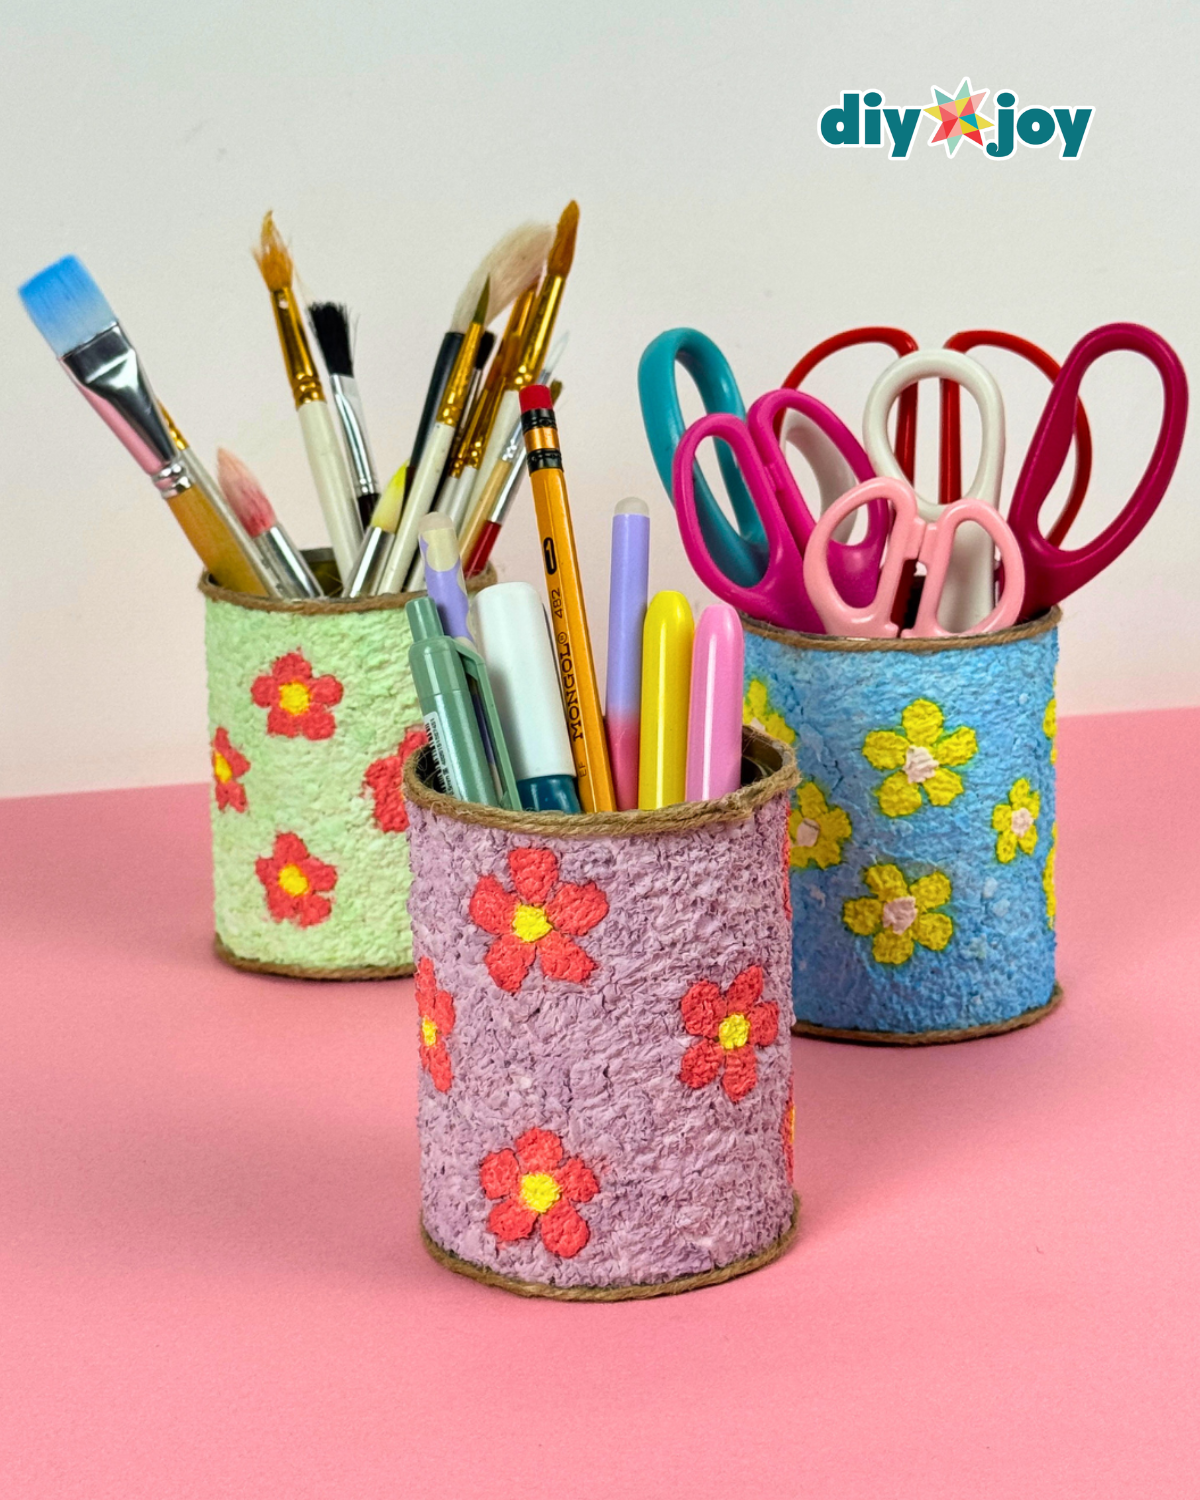
If your desk is starting to look a little messy with pens, scissors and paint brushes everywhere, this DIY tin can desk organizer is the easiest way to get everything under control. It’s a simple, beginner-friendly craft that turns an empty tin can into beautiful and functional storage using tissue paper, paint, and the papier-mâché technique.
Related: Textured heart canvas art painting
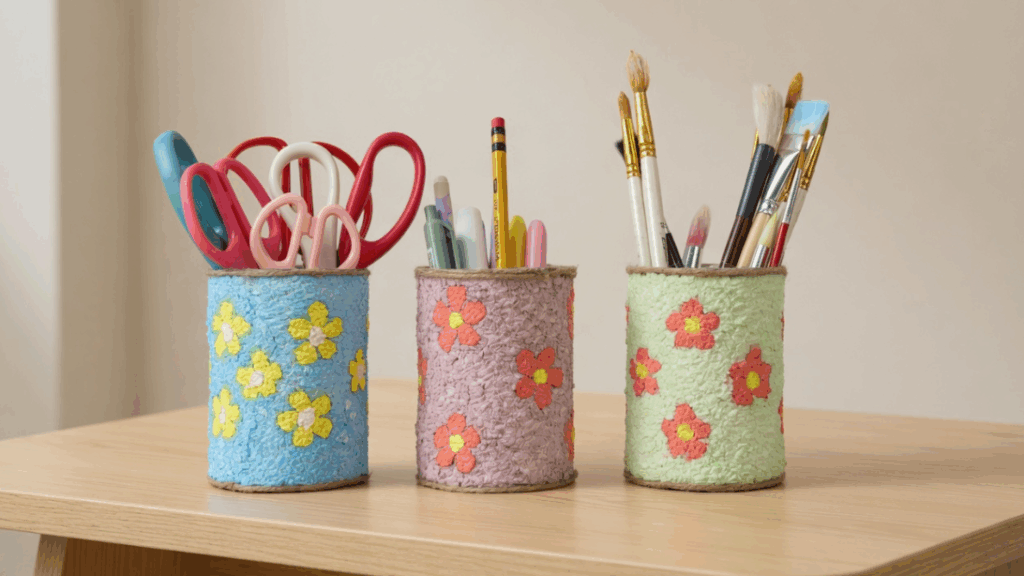
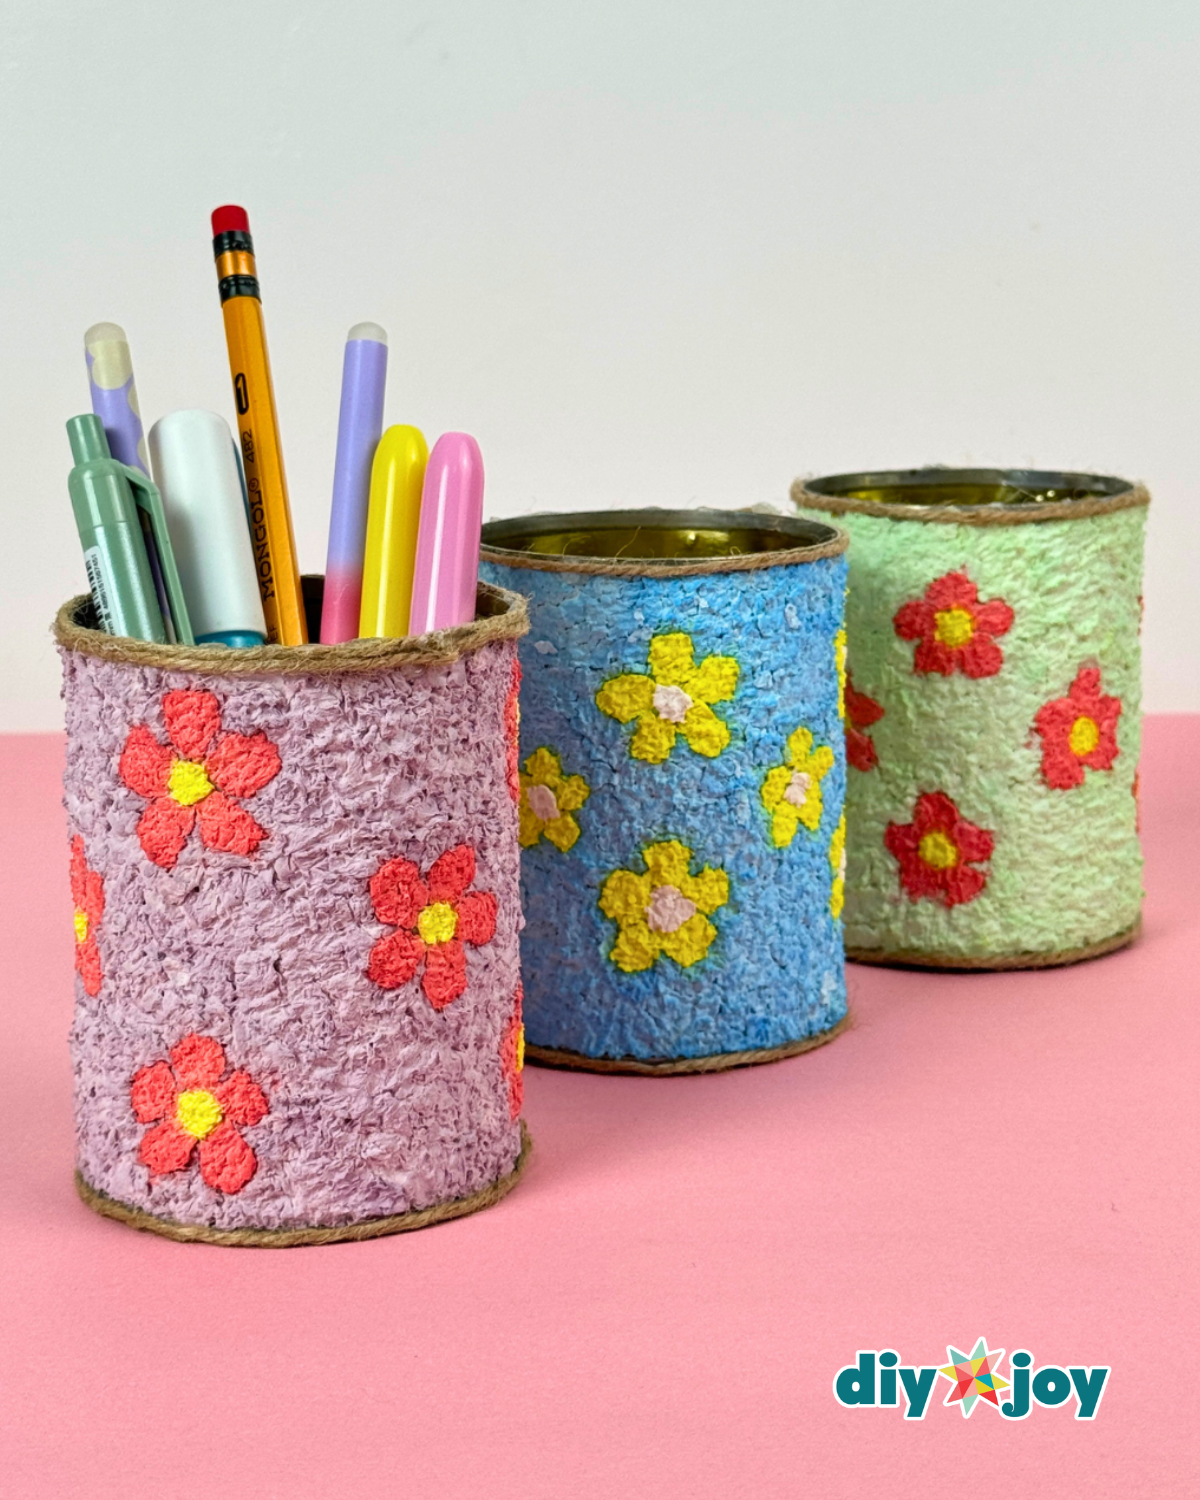
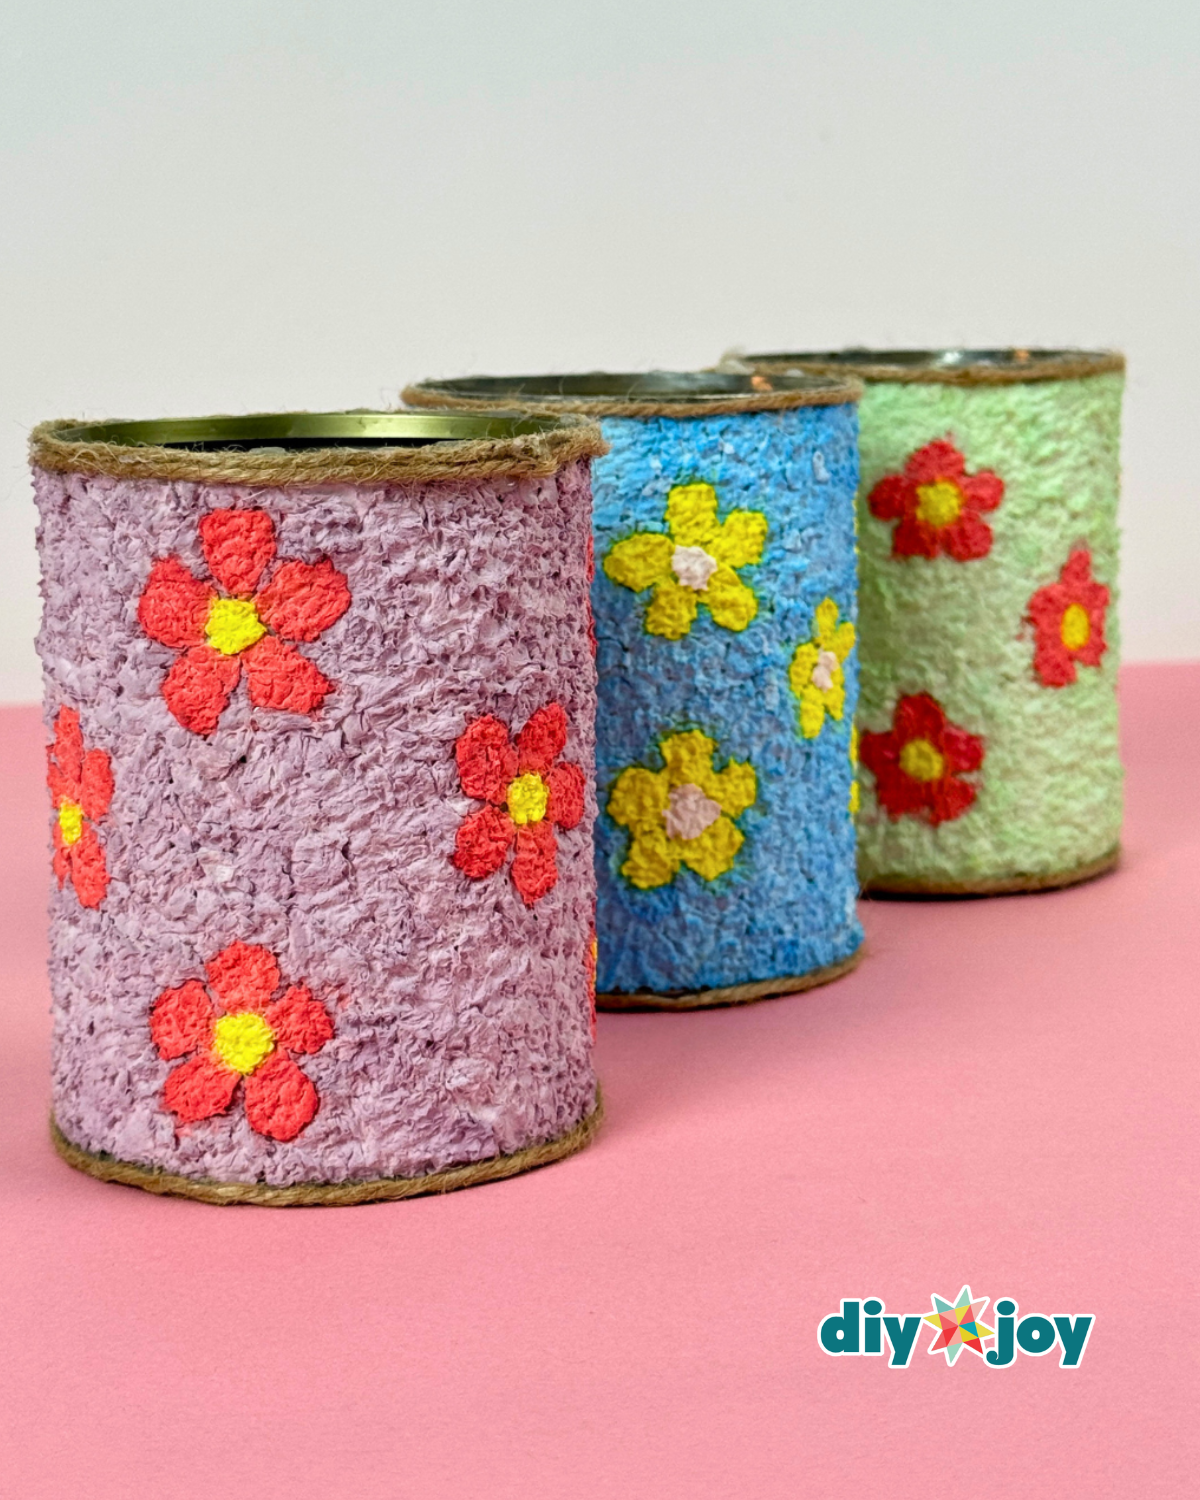
This DIY tin can desk organizer is perfect for holding your daily essentials while adding a handmade touch to your workspace. It’s lightweight, practical and fully customizable, so you can match your style using whatever colors or designs you like. In this tutorial, we are going with a floral theme, but you can easily change it based on your preference.
What makes this project even better is how affordable and flexible it is. You’re basically recycling stuff you already have at home and turning it into something useful and decorative at the same time.
It also makes a thoughtful, handmade gift that feels personal without being complicated or expensive. On top of that, it’s the kind of quick, satisfying project that you can complete in one sitting and immediately see the difference it makes on your desk.
How to make a tin can desk organizer
-
Step 1: Prepare and soak the tissue

Tear the tissue into small pieces and place in a bowl. Pour water over the tissue and soak it until completely soft. Once soaked, squeeze out excess water and transfer the tissue to a clean, dry bowl. Mash it further until it becomes a soft, pulpy mixture. -
Step 2: Mix the glue and paint
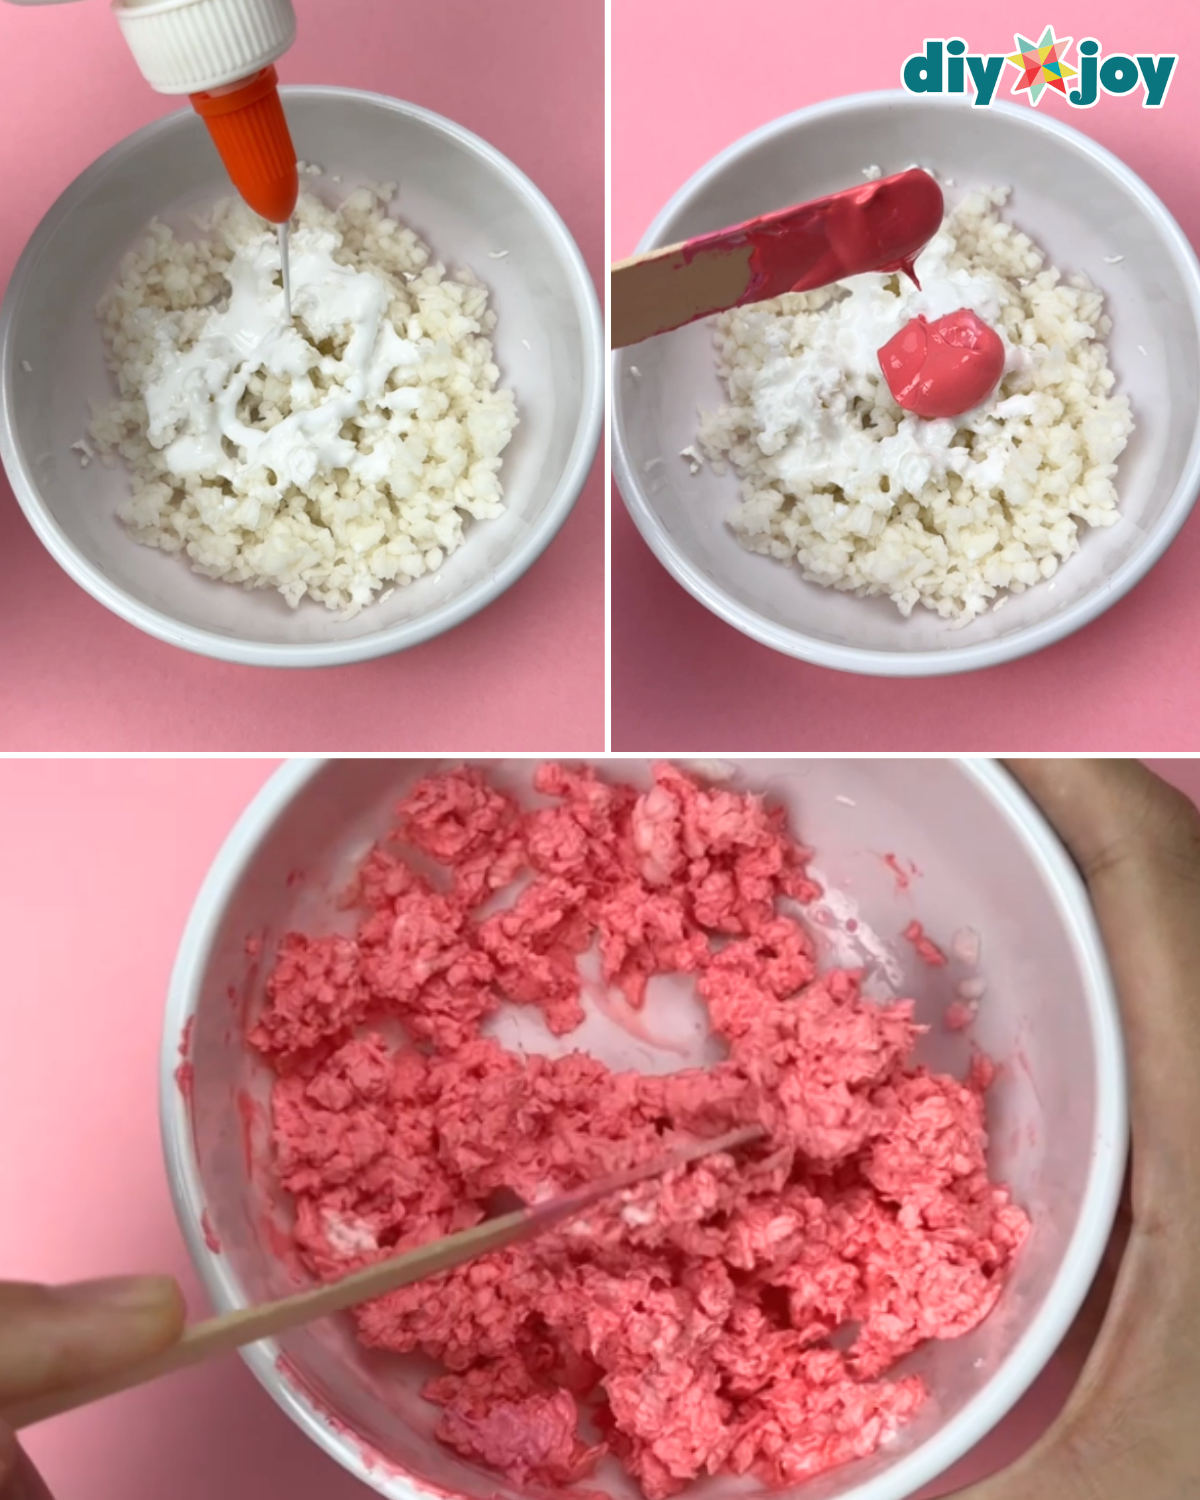
Add glue to the tissue pulp, then add your chosen paint color. Mix everything well until completely combined and evenly colored. If the mixture is too dry or crumbly, add a small amount of water to loosen it. You can also add a little more glue if needed to achieve a smooth, workable consistency. -
Step 3: Draw the Design
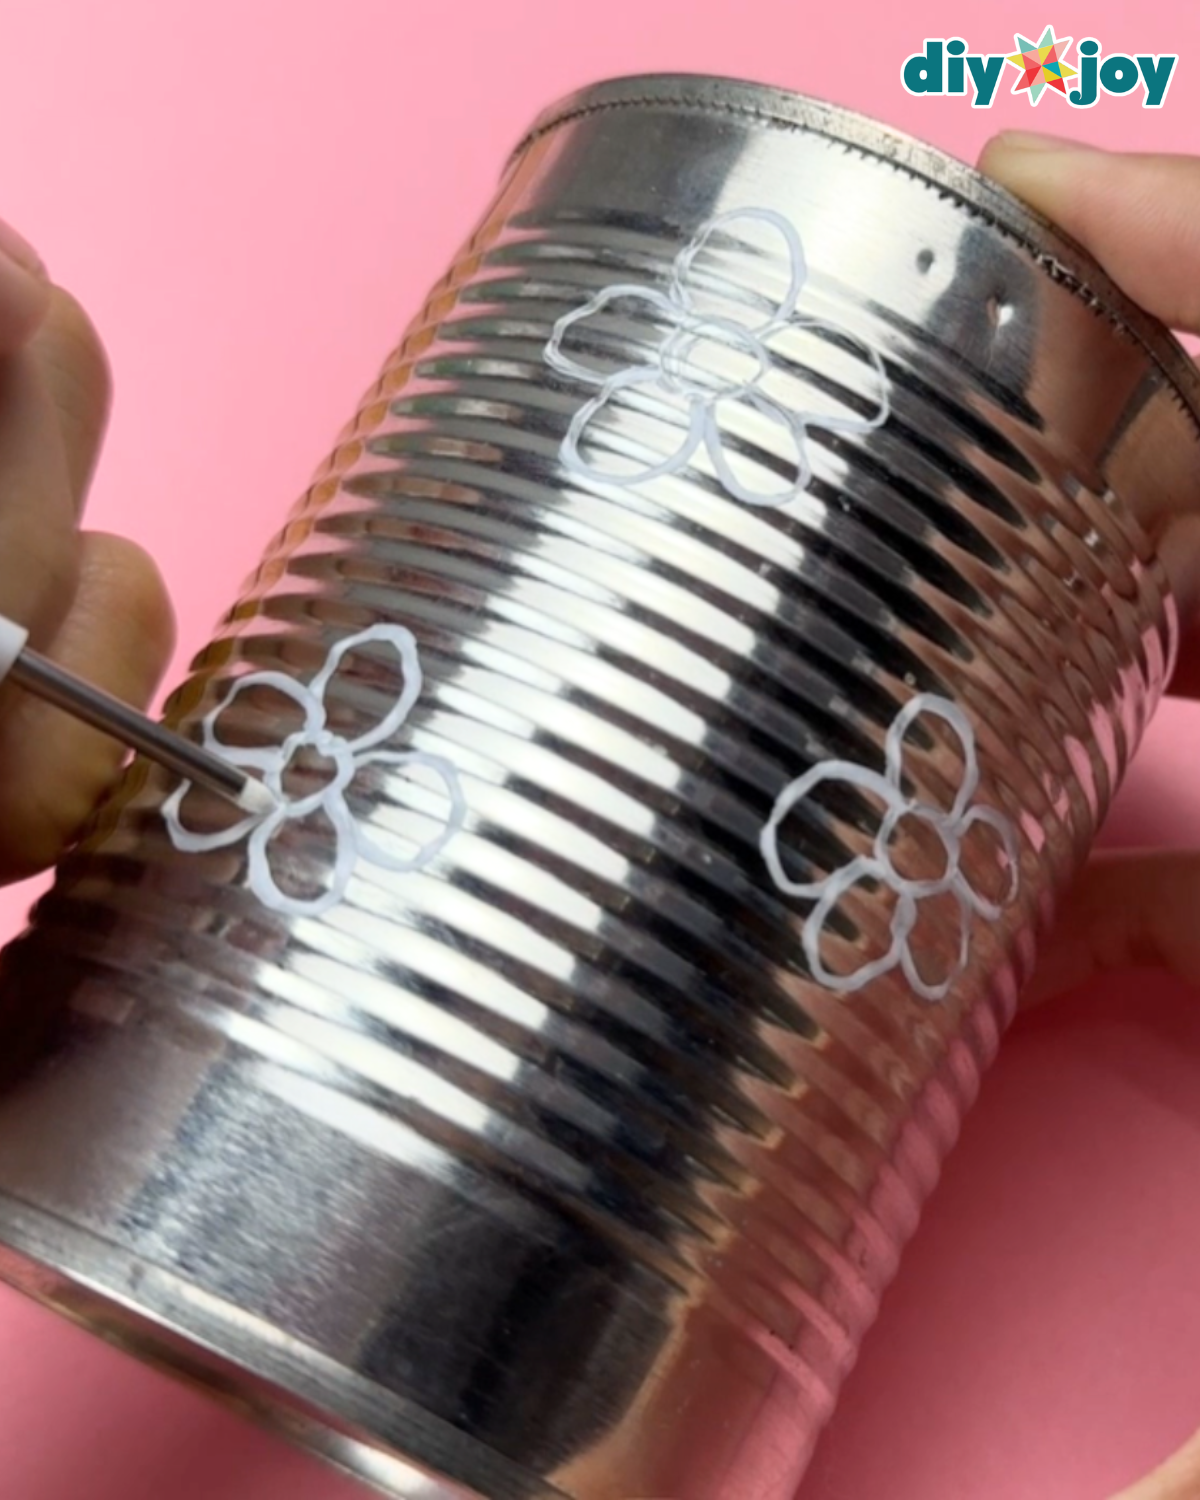
Draw a flower or any design of your choice on the tin can. Large designs are easy to work with, easy to fill and quick to finish, especially for beginners. -
Step 4: Fill in the background and flower
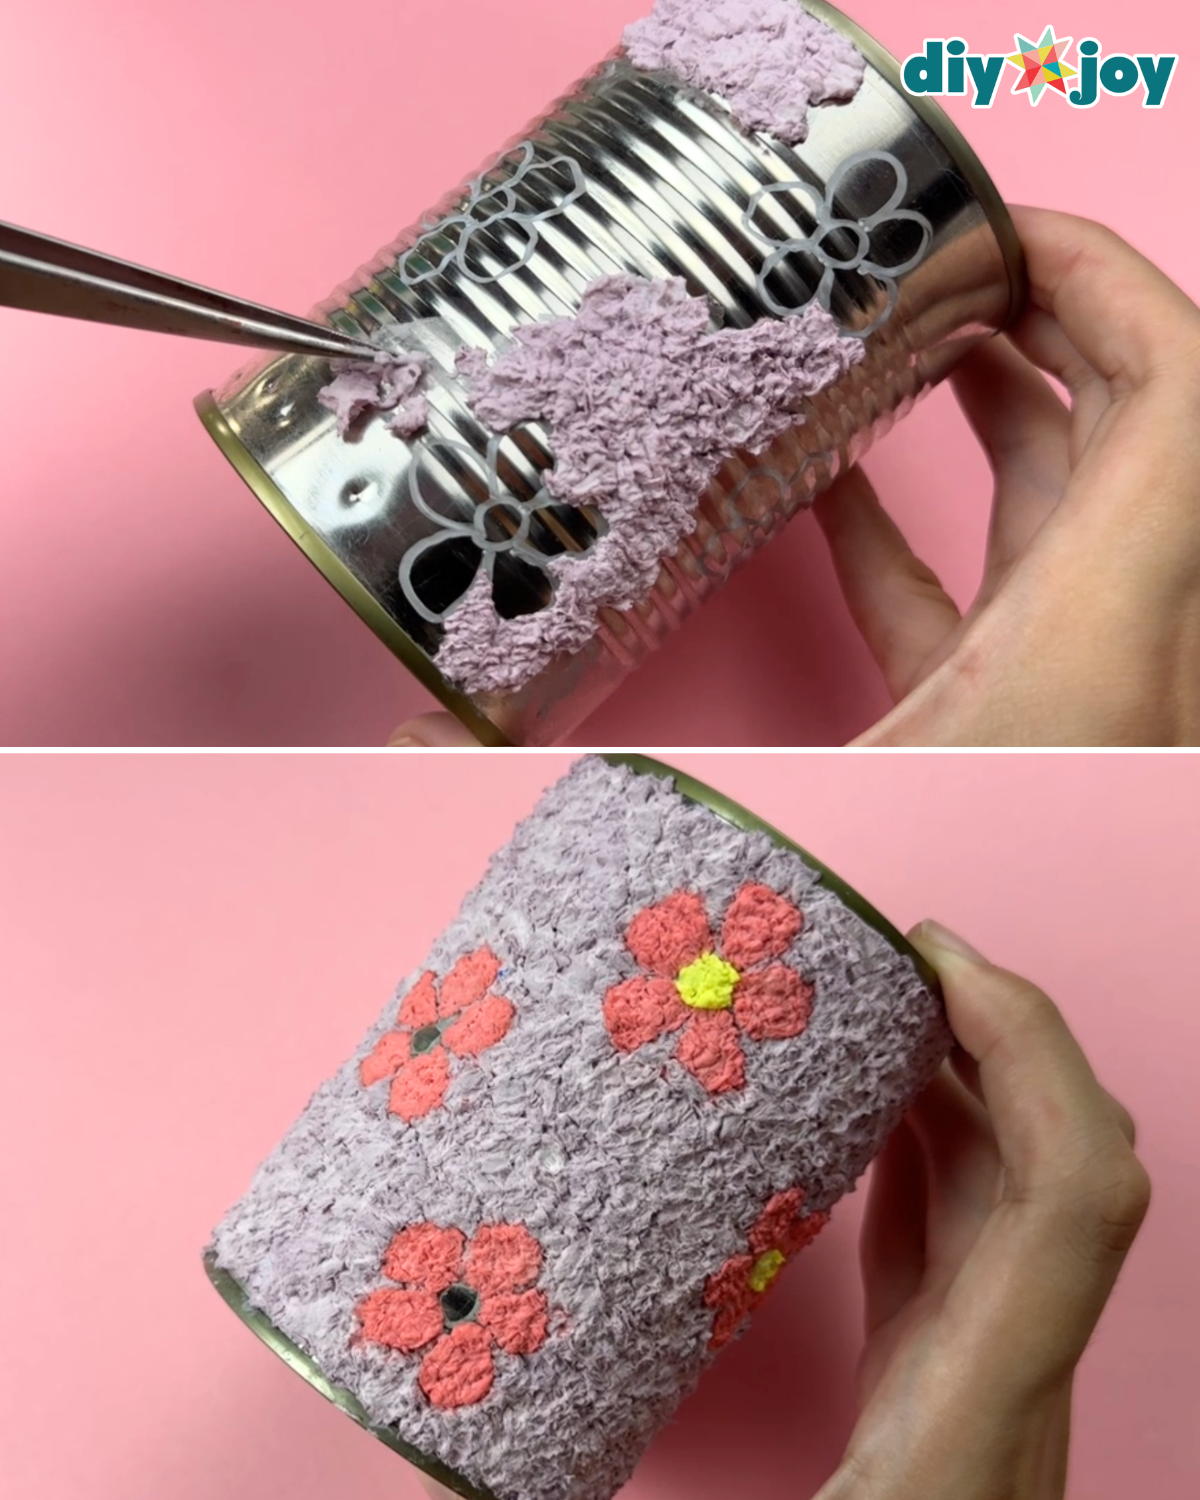
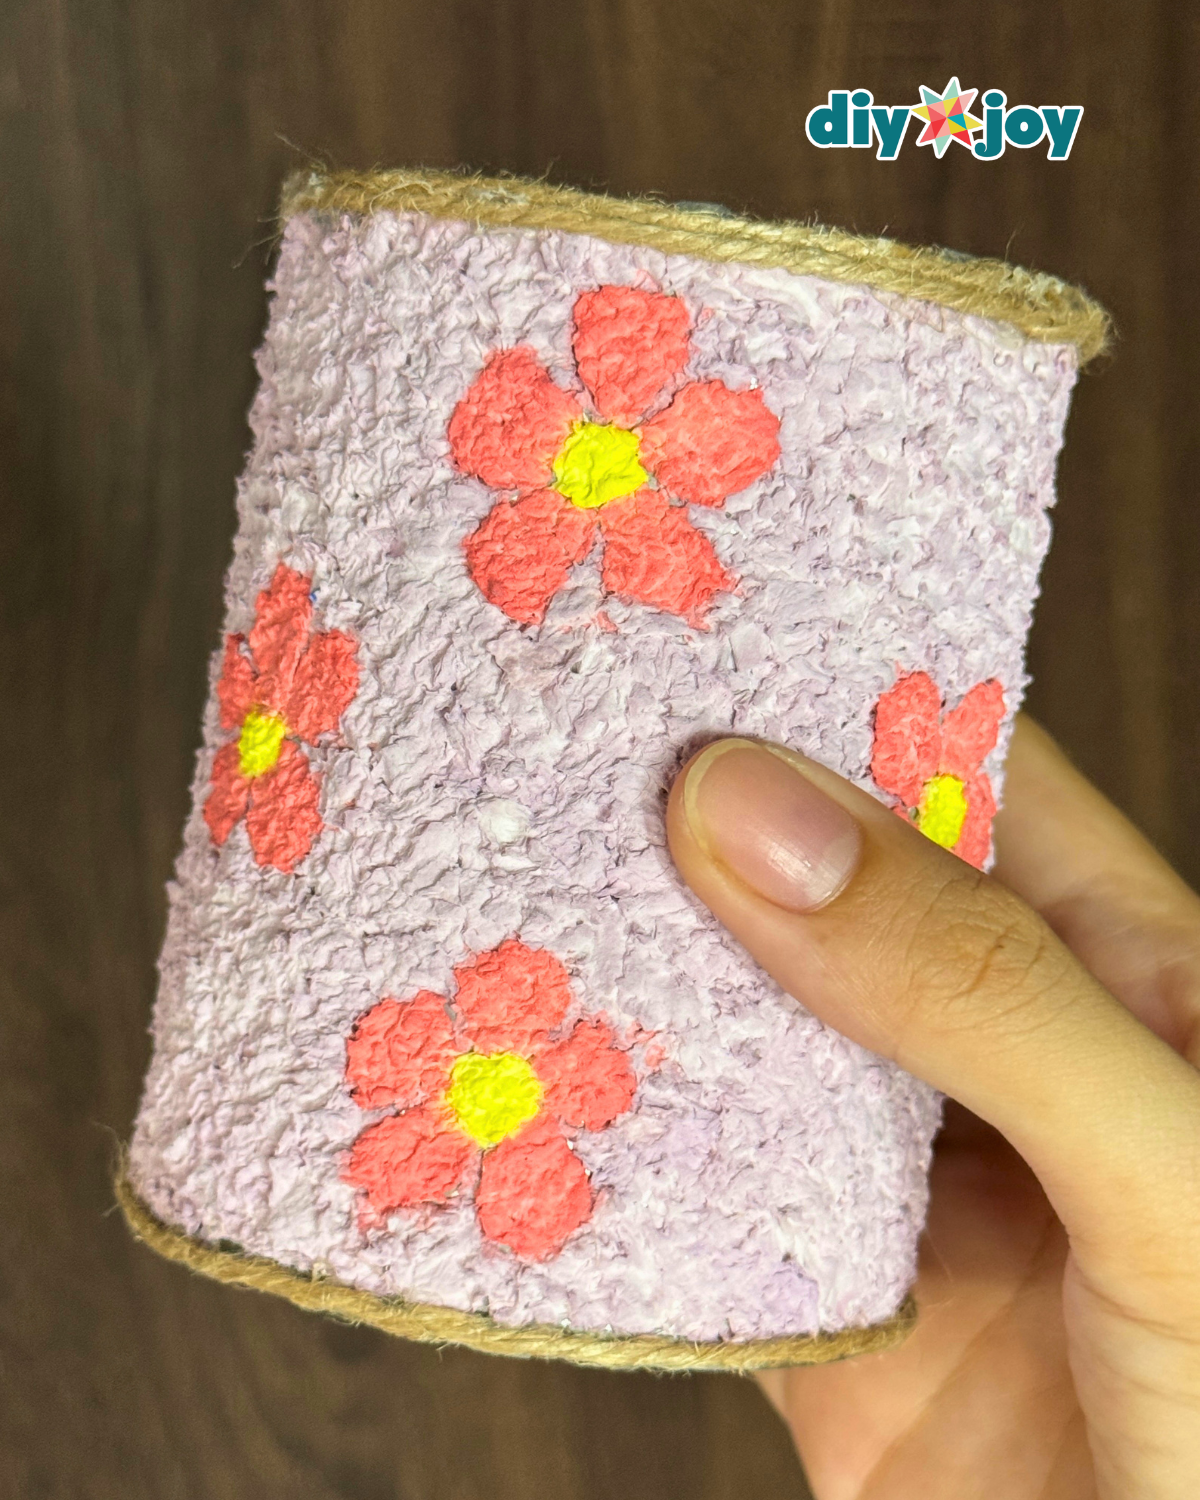
Fill in the flower or chosen design with your favorite colors, then do the same for the background. Allow it to dry completely before use. Depending on how thick the application is and how moist the mixture remains, drying can take up to 24 hours.You can also work in layers for better results—start by filling in the background first and letting it dry completely before adding the flowers. This helps prevent the dyes from bleeding or the tissue mixture from inadvertently mixing together.
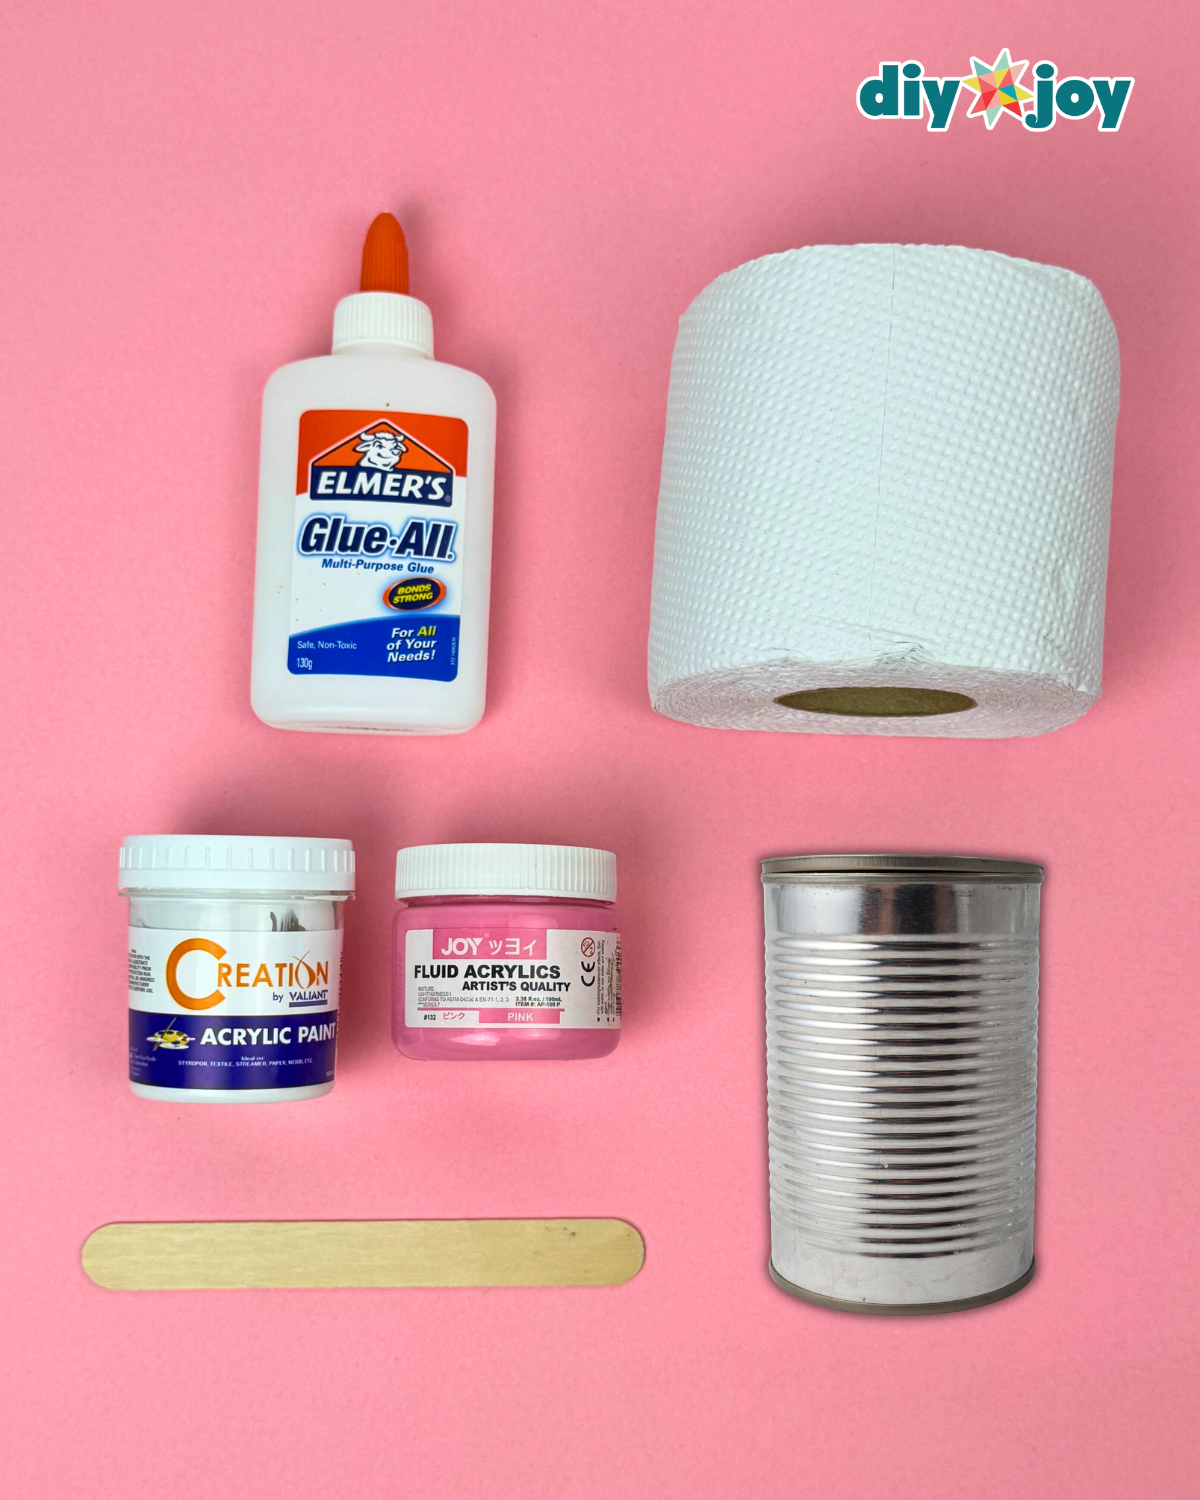
material
- tin can
- water
- tweezers
- Tissue paper
- Long nib marker
- Glue
- Acrylic paint
![]()
Why you’ll love this DIY
You’ll love this DIY project because it’s an easy way to turn everyday clutter into something useful and visually pleasing.
It helps you organize your desk without spending too much, gives an old tin can a second life, and lets you completely customize something that’s actually a joy to use every day.
It’s also a cute and easy handmade gift idea that you can make for loved ones!
What to try next:
*If you like this craft, then visit our official website, follow us Facebook pageAnd subscribe to us YouTube channel For more!


