
We may earn revenue from products available on this page and may participate in affiliate programs. Learn more ›
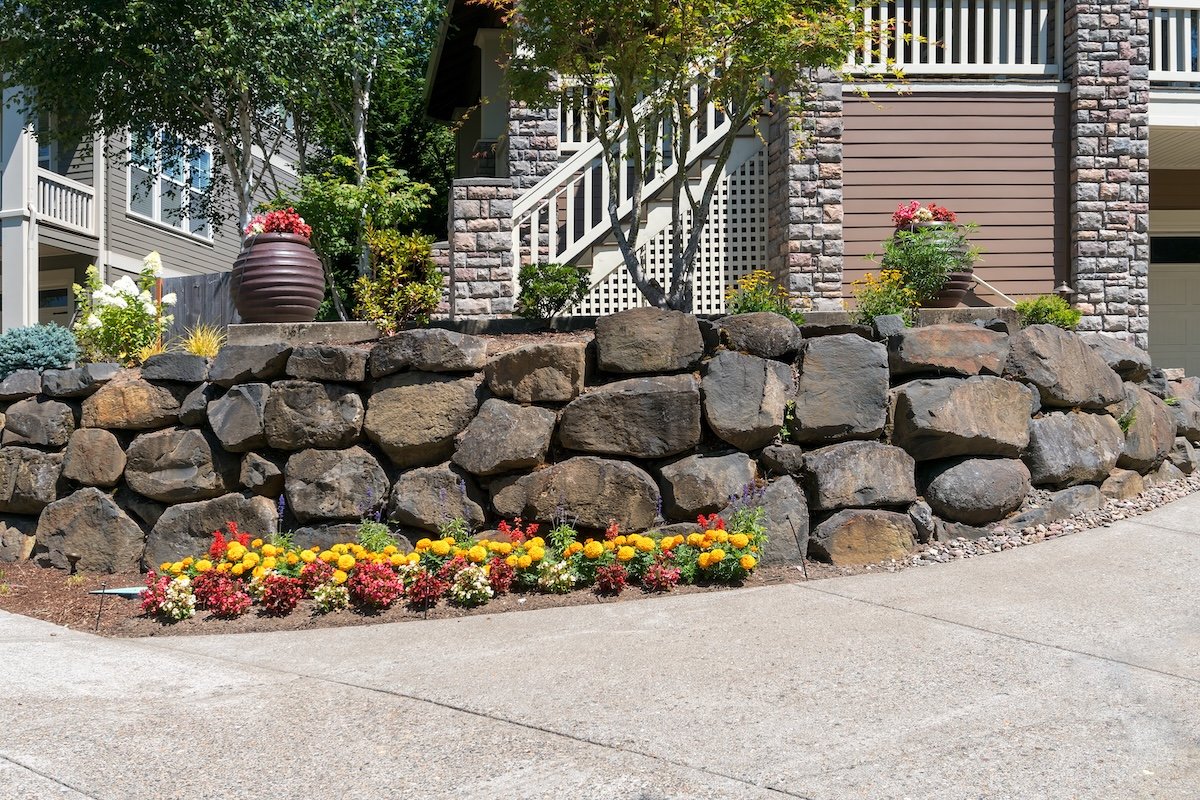
Reducing soil erosion, turning slopes into terrace backdrops, creating focal points in the landscape—retaining walls serve many purposes. Indeed, there are some common ways to correct the problems caused by those hilly areas! Well-constructed retaining walls transform an inefficient slope into usable outdoor space for gardening.
Despite their simple appearance, these walls require planning – sometimes professional engineering – to maintain their shape. Soil is heavy, especially when it is wet from rain. A basic retaining wall 4 feet high and 15 feet long will likely have to be supported. 20 Tons of soil pressure. With each additional foot of elevation, ground pressure increases significantly. Miscalculate your construction plans, and you could end up with a weak wall that risks bulging or, worse, collapsing altogether. For this reason alone, retaining walls taller than 4 feet should be designed and constructed by professionals.
Short retaining walls, however, can be built by enthusiastic workers who have a working knowledge of construction. Does that sound like you? If you want to get your hands dirty and enhance your landscape with a retaining wall, these guides to building a retaining wall are a good start.
Don’t forget to check with the authorities.
A Retaining wallThe impact on the natural flow of water can affect your neighbors, so some communities require homeowners to obtain a permit before construction begins. You will need to submit plans for your wall and schedule a property inspection to ensure that building a retaining wall will not cause drainage problems.
While you’re at it, make a call, too DigSafe (811)A nationwide service that will notify local utility companies that you plan to dig. This can determine if their buried lines will be in the way and mark their exact locations.
Choose a wall material that you can easily work with.
Retaining walls can be built using a variety of materials, from poured concrete and pressure-treated railroad ties to natural stone, even brick. For DIY purposes, choose manufactured blocks that are specifically designed for building retaining walls; A locking flange on the bottom edge creates a secure connection between the rows. These blocks (like these are available in gray and earthy tones in textured or smooth faces Belgard maintenance wall blocks) can be found at virtually any home improvement store and many garden centers as well.
The best garden cart
Worx Aerocart 8-in-1 Yard Cart/Wheelbarrow/Dolly
The Worx Aerocart can carry up to 300 pounds – perfect for moving supplies for your retaining wall project. Read our full review.
Buy on Amazon
Photo: Amazon
Related: 11 Retaining Wall Ideas That Work Hard to Look Good
Start with a good foundation.

Your retaining wall will only be as strong as its support system. For stacked-block retaining walls not exceeding 4 ft., a trench filled with 3 in. crushed rock Will help the wall to move and settle. The exact depth of the trench depends on the proposed height of the wall, but follow this rule of thumb: Dig a trench one-eighth of the wall plus 3 inches. For example, if you want the full height of your retaining wall to be 3 feet (36 inches) high, you’ll need to dig an 8-inch deep trench to start the wall below grade with 3 inches of crushed rock and about 5 inches (or one-eighth of the visible retaining wall).
Do not place blocks on non-level surfaces.
The first course (or row of blocks) sets the stage for the rest of the wall, so it’s important that you make it perfectly level. If it is not, subsequent rows will also not be level, resulting in a retaining wall that is lopsided and unattractive. Use a 4-ft Carpenter’s levelAs Craftsman 48-inch aluminum levelMake sure the gravel layer below the first course of blocks is level before you start setting the blocks. Any discrepancy here will show up high in the wall.
Stack the blocks on a slight backward slope.
It is less likely to be pushed outward by soil pressure than a plain-old vertical wall. Design and build your retaining wall to slope at a minimum rate of 1 inch for every 1-foot rise (height). Fortunately, retaining wall blocks makes this “step-back” construction incredibly easy to achieve. A locking flange on the bottom edge of each block guides it to click into position behind the bottom block, preventing the top blocks from pushing outward.
Don’t forget to allow for drainage.
Groundwater is the natural enemy of retaining walls. When it saturates the clay-type soil, it swells and pushes too much on the back side of the wall. To avoid having Repairing a failing wallMake provisions for drainage when you go to build the wall. Backfilling the space behind the blocks with crushed stone and then installing a Flexible perforated drain pipeAlso known as “drain tile,” it can create a necessary escape route for groundwater at the base of the wall. The perforated pipe will carry the groundwater to each end of the wall where it can be removed. The ends of the drainpipes should then protrude from each end of the wall, and you can cover them with crushed stone to disguise their appearance.
Backfill properly.
After your drainpipe is in place, you should backfill the remaining space behind the blocks with sand or Pea gravel. Either will allow water to filter into the drainpipe at the base of the wall. For best results, backfill with a few inches of material after placing each course of block and use a hand tamper to compact the material. By tamping the backfill every 6 inches or so, you will ensure that it is tightly packed, which will provide additional support from the pressure of the soil behind the wall.
Don’t build one tall wall if you can build multiple tiered walls instead.
While retaining walls taller than 4 feet must be engineered by professionals, you can DIY a solution for steep slopes by building two or more shorter “tiered” retaining walls against one tall wall. A series of short walls adds visual structure, and each individual wall will support less soil weight, ensuring that it is less likely to fail. When building a tiered set of retaining walls, place the higher wall behind the lower wall twice the height of the lower wall. For example, if the lower wall is 3 feet high, the higher wall should be set back at least 6 feet from the lower wall. This prevents the higher from exerting pressure on the lower.
Homeowner Survival Kit


