
Thinking about starting the Curly Girl Method? I did, and I won’t lie, the curly girl method is not for the faint of heart. It’s strict, and all the rules make hair care quite boring. That said, it can also be very rewarding. It’s a great feeling to look back and realize how long it’s been since you’ve used a flat iron. And finally feeling confident rocking your natural curls? priceless. But it has taken many bad hair days and many lessons learned to get to that point. To help you release some of the frustration, I’ve put together some key lessons I’ve learned that have made all the difference for me.
Why I started the “Curly Girl Method”.
After a year or two of college I noticed that my hair was thinner, more brittle, and more frizzy. I thought it must have been from using too much heat on my hair. So, I decided to tackle my newfound hair woes by trying to wear my natural curls, and ditched the flat iron. This was tough at first, it took at least a few months for my natural curl pattern to show.

Just when I started to get frustrated, I discovered the “Curly Girl Method”. I decided this must Be the way to fix all my previous hair transgressions. Read through a blog post that Summarize the rulesIt makes a lot of sense. No more silicones, no more heat, no more sulfates and a whole new set of “CGM approved” hair products.

It wasn’t cheap, and it wasn’t easy. My bathroom became more messy than ever, which was much needed institution. But, eventually, I got the hang of styling my curls, and my curl pattern came out of all the previous damage. This was really really nice, and I started loving my curls. That brings me to lesson number 1…
1. Be patient – you won’t see results right away
The period where I said I “got the hang of styling my curls” wasn’t just about learning how to apply curl gel. No, that includes the time it takes for my hair to bounce back from years of damage. My hair was so used to being flat ironed into submission every day that it couldn’t snap into curl mode the first day. I’ve heard from others starting the Curly Girl Method that it can take anywhere from a few weeks to 6 months or even a year for your natural curl pattern to really show, so be patient! But, I also learned a lot about how to style my beautiful, wavy curly hair. Here are some of the lessons I learned in that area.
2. Products do not work equally on all hair
This was a curveball for sure. I was all about trying new hair products – would recommend anything really. But I was often disappointed when they worked horribly on my hair. This was because my hair wasn’t like theirs—which seems pretty obvious in retrospect. But for instance, most Shea Moisture brand products that other girls swear by make my hair look too weighed down. It took me a while to realize that with my fine, thin hair, I needed to avoid products with heavy butters in them and focus on lighter formulas.

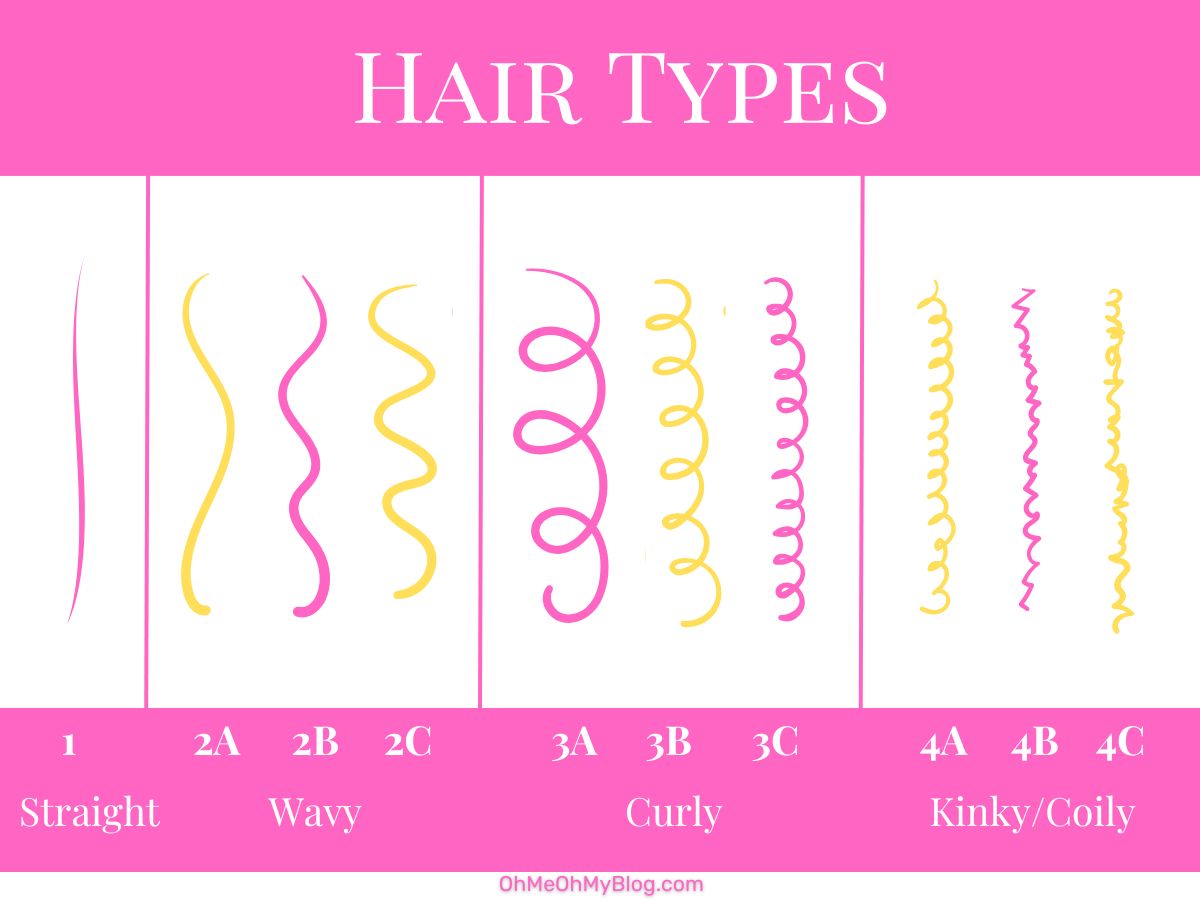
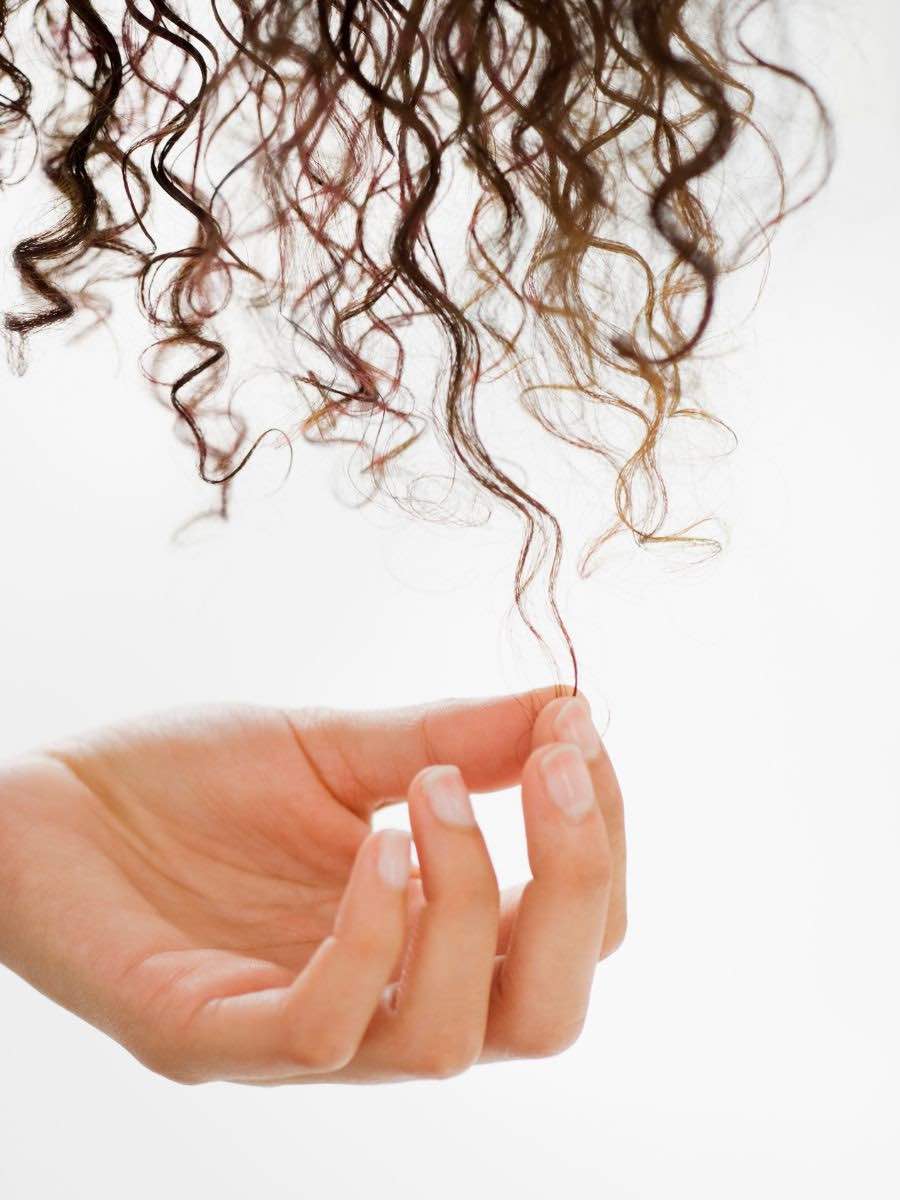
3. Knowing your curl type helps. a lot
Once I found a guide to the different words to describe your curly hair, choosing hair products became a lot easier. Curls can be grouped by shape, as seen in the picture below. In addition to curl patterns, hair can also be described as thin, fine, thick, or coarse. Do you know the difference? It wasn’t until I started learning all this that I realized that thin doesn’t mean the actual strands of hair are thin.
4. How to apply curl gel
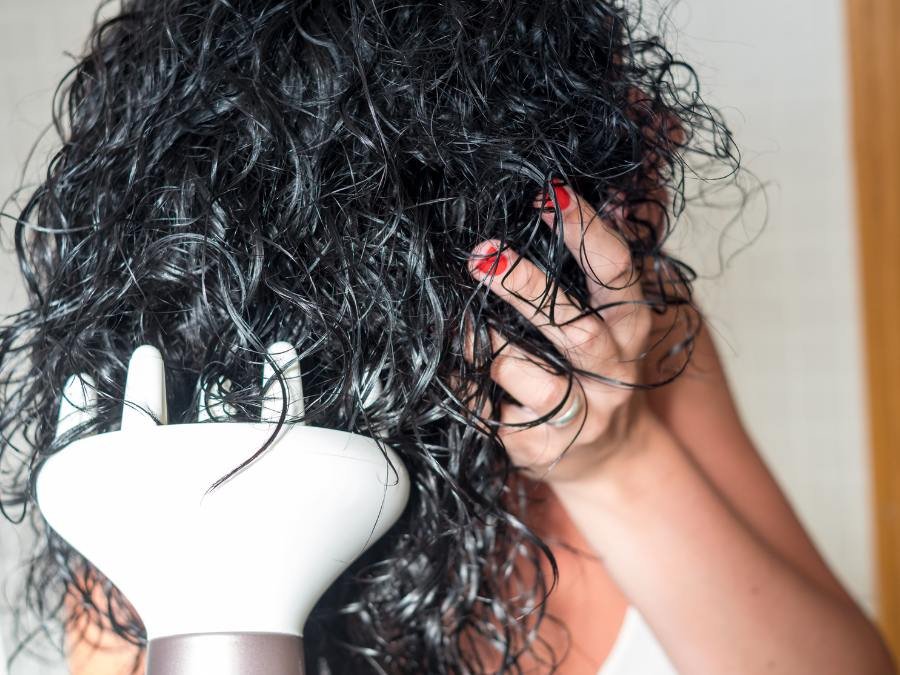
I always thought curl gel was not for me. After trying in the past, desperately wanting to get air-dry curls effortlessly, I had no success. I’ll apply it after I get out of the shower, towel dry my hair briefly, and then scrunch. Little did I know, I was doing it all wrong. The gel works best when applied to wet hair. Like, a lot wetter than I would have thought. This helps it soak and coat all of your hair evenly. Now, I spread the curl gel evenly throughout my hair by combing it with my fingers, add a little more water to clump my curls together, then hold my hair in a microfiber towel for about 5 minutes to soak it all in. After that, I spread it out or let it air dry.

5. Make a crunching sound
A catchy phrase popular in the curly girl community, this really changed the way I looked at curl gel. As I mentioned above, I tried using curl gel first. Based on my results, I really didn’t think the curl gel would work for my hair. It makes my hair feel dry and crunchy. Little did I know, all I had to do was wait until my hair was completely dry, then scrunch it to reveal soft, touchable curls! Waiting for your hair to dry is the key. “Crutch” is the cast left behind from the prison. It helps keep your curls in place by drying them. So if you scrunch too early, you won’t get the same hold from your gel, and your hair may end up frizzier.

6. Many products work best when paired with other products
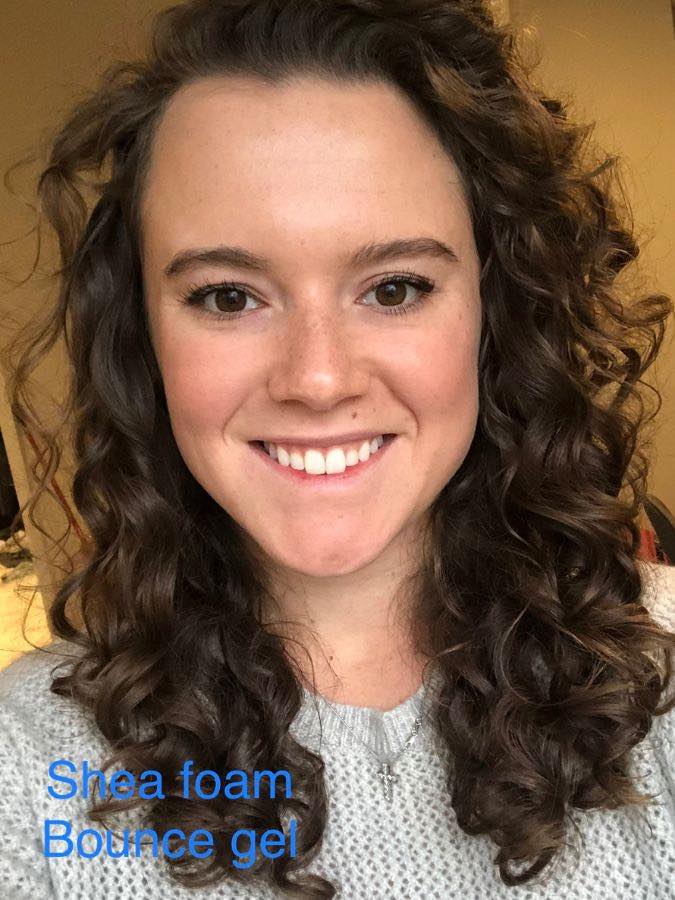
This was very confusing to me at first. I really thought the products were developed to just… work? But no, everything with curls has to be complicated. If you buy a product that doesn’t work for you, try combining it with another product that complements it. It also helps a lot to take pictures and notes of what worked and what didn’t. For example, through my experiments with curl gel, I realized that it works well paired with curl foam. It really helps to document what works and what doesn’t. This leads me to my next lesson learned…
7. Take progress pictures!
You’re probably thinking this sounds like overkill… I mean, isn’t it for more likes dieting And fitness goals? But this is helpful in many ways. For one, you can track which products work well and which don’t (I just edit photos on my phone as shown below). But, if you fall into a slump, looking back at the pictures and realizing how far you’ve come can be very encouraging. I’ll sometimes look at my “curls” photo album on my phone and be totally re-motivated to put more effort into my curls.
8. How to balance protein and moisture
Did you know that your hair may be better suited to protein-rich products or not at all suited to them? The best way to find out is to try testing different products on your hair. To find protein-rich products, simply search for it first in the product name (many brands have styling products specifically for this). You can also see the ingredients for any type of protein. It won’t always say protein, but if you see “hydrolyzed” in the ingredient name, there’s a good chance it’s protein. Here is an example of me using one of the products from the photo above.

9. Pay attention to your scalp
It’s easy to get carried away with just tracking your hair style success. But don’t forget to take care of your scalp. Your scalp is the key to hair growth and hair health. Include a mask to cleanse the scalp, and don’t forget to use a clarifying treatment periodically to remove build-up. It’s also good to look at your scalp to check if any of your products are irritating it. If you see red patches, flakiness, etc., it’s time to fix the problem.

10. The Curly Girl Method is not a panacea
If you’re embarking on the Curly Girl Method to address hair thinning and damage, do some digging first. While many CGM regimens will help prevent damage and help regain your curl pattern, they will not necessarily prevent hair loss. Hair loss and damage was part of the reason I started, and I wish I had taken the time to learn about all the different things that can cause hair loss before jumping into CGM. While I’m sure my hair was damaged by the heat, I finally realized that most of my hair thinning was probably hormonal. That’s a story for another time. Bottom line, take some time to do your research first.
Where am I now in my “hair journey”.
After all that, you might be wondering if I stuck with the curly girl method for long. i don’t have There were many things that I felt did not work for me. I loved my results when I made time to do a hair mask once a week, clarify my hair, detangle my hair and style it properly. Once I got tired of doing all that (I basically a A messy bun Now) and tracking my results, I realized I wanted a low-maintenance hair routine.
What I took away from the Curly Girl Method
I’m back to using silicones (I find my hair is better under control with them). However, I only make this exception for some of my favorite hair products. For example, Pillow Soft Curls Cream was my favorite curl cream before starting CGM. It’s now my go-to for air dry hair days when I don’t care for a strong hold.
I gave up using the “co-wash”. You use this in place of shampoo when following the Curly Girl Method. I liked the idea, but for my thin, fine hair, I just needed to really clean my hair to keep any volume, and co-washes just weren’t doing the trick.
What I keep from the Curly Girl method
It has definitely changed how I dry my hair. I was rubbing my hair like crazy to make it dry faster. Now I can’t even imagine doing so much damage to blow dry my hair. Instead, I prefer something like a t-shirt or a microfiber hair wrap This one.

I always try to prevent damage while sleeping. Every night, I a Silk pillow. This helps reduce frictional damage to your hair while you sleep. The one I linked has a zipper, which I found necessary after using other pillows. Since silk is very slippery, once unzipped the area easily slips or falls out. If I really want my curls to stay in tact, I’ll sleep in them too buff. I tried to sleep Bonnet But I just struggle to tie my hair inside. All of these options are great for preventing friction damage while sleeping.

I pay more attention to ingredients and brand quality. While I don’t follow all the CGM rules around ingredients right now, I do to do Read the labels. I aim to buy products with clean ingredient lists and stick to brands I trust. Two tools I use to do this include the Think Dirty app and this one curlsbot The website is extremely helpful when you’re first starting out with the Curly Girl Method and struggling to understand what you can and can’t buy. The Think Dirty app is even more helpful in identifying toxic ingredients and finding clean beauty brands.
Good luck with your curls!
Whether you decide to adopt the Curly Girl Method or not, I really hope this lesson helps you figure out how you want to take care of your hair. It is worth the effort. Want to change your hair style? Check out our list of super cute Short hairstyles For women over 50 years of age. Or, if you have long hair and need some ways to style it this summer, you’ll love our list Braided Updos for Long Hair. You should also check out our other beauty stuff


